Nail ideas / Polish, wraps & stickers
Gel nail stickers: formats and application
Gel nail stickers range from fully cured decals you press on like regular stickers to semi-cured gel strips that need a lamp to finish. Knowing which format you have determines whether you need a UV or LED lamp and how long the stickers will last.
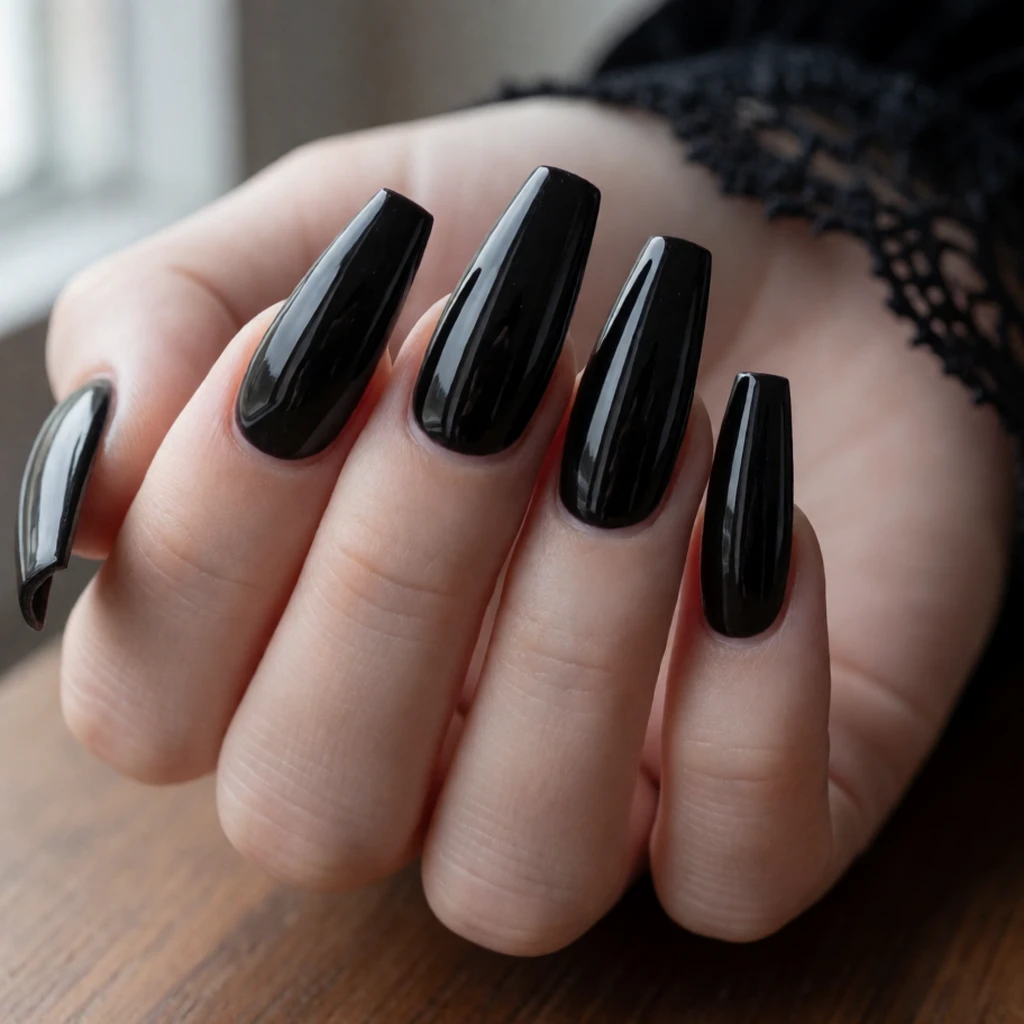
Three rules
Start here.
- Read the product label before you start to determine whether your gel stickers are fully cured (no lamp needed) or semi-cured (lamp required), because the two formats follow completely different application steps.
- Prep the nail surface by cleaning and buffing lightly before applying any gel sticker, because gel bonds best to a clean, slightly rough surface free of oil and residue.
- Apply top coat over fully cured stickers to seal the edges and extend wear, but follow the product's directions for semi-cured strips, which may not need additional top coat if they are designed to self-seal.
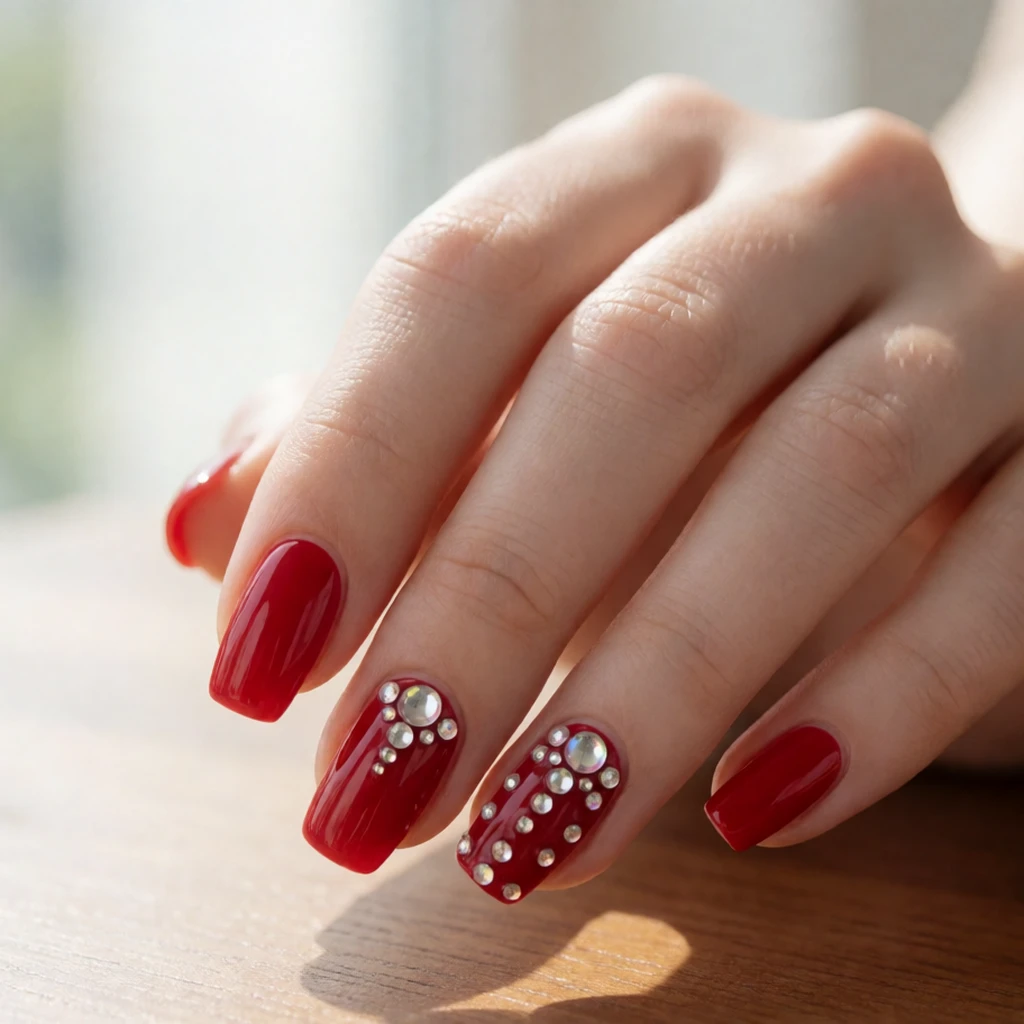
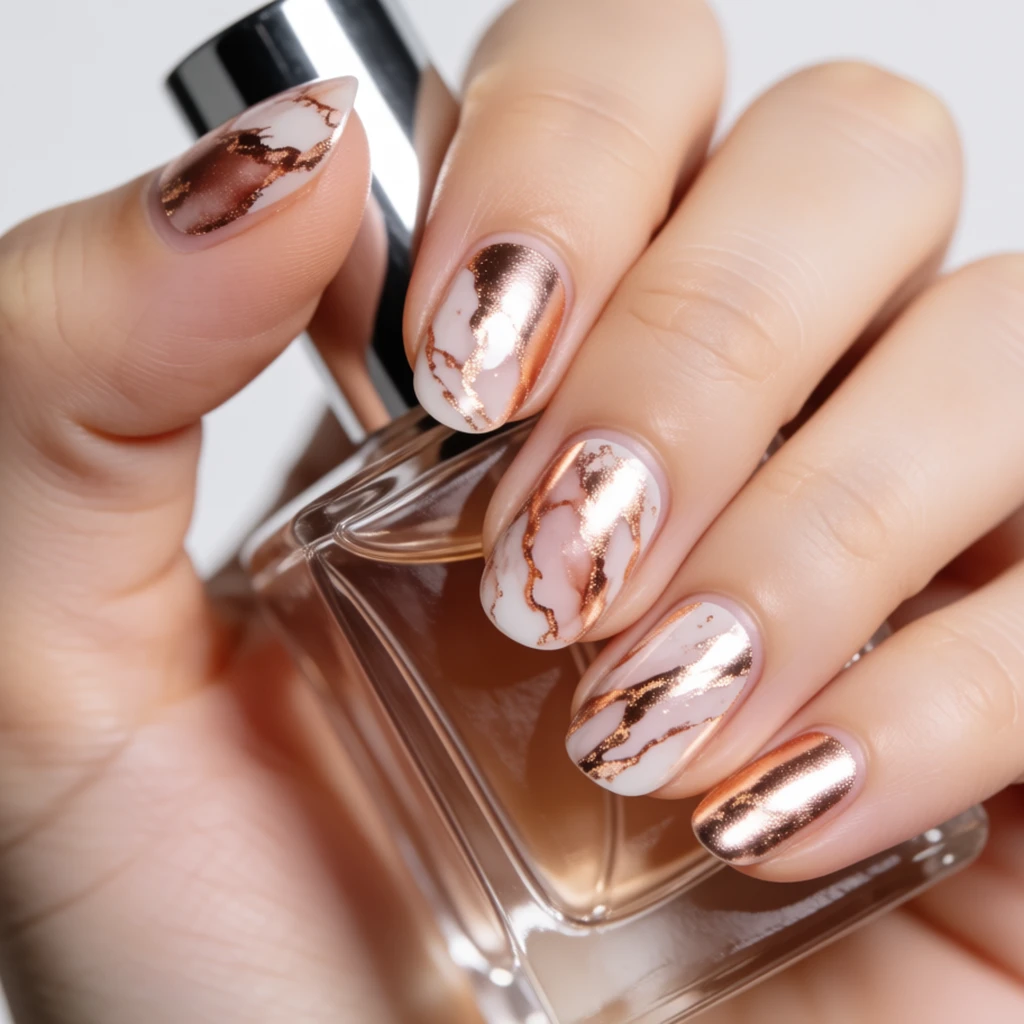
A styling reference, not a product photo.
What defines it
The basics
Gel nail stickers are adhesive decals or strips made from gel material that bond to the natural nail or a gel base coat. They come in two main formats: fully cured gel stickers that are ready to apply and require no lamp, and semi-cured gel strips that need a UV or LED lamp to finish curing after application. Both types add color, pattern, or texture without liquid polish, but the application steps and required tools differ based on the format. You identify the format by reading the product label, which will specify whether a lamp is needed.
A well-applied gel nail sticker reads as smooth and seamless because the sticker sits flat against the nail with no lifting at the edges, the pattern or color is evenly distributed, and the finish is glossy or matte as intended. Fully cured stickers look like painted designs and can be layered over a base color; semi-cured strips replace the entire polish layer and cover the nail from cuticle to tip. Poor application shows as bubbles, wrinkles, or edges that lift after a day or two. The key is matching your application method to the sticker format and following the product's specific directions.
Gel nail stickers differ from regular nail wraps because they are made from gel material rather than adhesive film, which typically means better durability and a more polish-like finish. They differ from press-on nails in that stickers are flat and conform to your nail's shape rather than adding length. The main distinction within the category is cured versus semi-cured: cured stickers are a finish step you can apply over any base, while semi-cured strips are a full manicure system that requires a lamp.
Repeatable combinations
Formulas to try
- Fully cured stickers as accent details
- Paint your nails with a base color or leave them natural, then apply fully cured gel stickers as accents on one or two nails. These stickers work like decals: you peel them from the backing and press them onto the nail surface, then seal with a top coat. Use this approach for small motifs like stars, hearts, or letters that you want to layer over a solid color.
- Semi-cured strips as a full manicure
- Apply semi-cured gel strips to all ten nails, smooth them into place, fold the excess over the free edge, file it off, and cure under a UV or LED lamp according to the product's directions. This method replaces polish entirely and gives you a durable finish that lasts up to two weeks. The strips act as both color and top coat in one application.
- Layering cured stickers over gel polish
- Apply a gel base coat, cure it, then apply gel color and cure again. While the color layer is still slightly tacky, press a fully cured gel sticker onto the nail and smooth it into place. Cure once more to bond the sticker, then apply gel top coat and cure a final time. This method embeds the sticker within the gel layers for maximum durability.
- Semi-cured strips on short nails
- Semi-cured gel strips work well on short nails because there is less excess to fold over the free edge and the strip conforms easily to a small surface. Choose strips with small-scale patterns or solid colors, apply them from cuticle to tip, trim the excess, and cure. The finished look is indistinguishable from a painted gel manicure.
- Quick sticker application for events
- Fully cured gel stickers applied over a clear base coat or bare nails give you a finished look in under ten minutes with no drying or curing time. This works for last-minute events where you need decorated nails immediately. Seal the stickers with a quick-dry top coat if you have one, or leave them as-is for a temporary look that will last through the event.
Your needs, your plans
Before you buy
- Format identification
- Check the product label or packaging to see whether your gel stickers are fully cured or semi-cured. Fully cured stickers are typically small decals or designs sold in sheets, and the label will say no lamp is required. Semi-cured strips are usually sold in sets sized for each finger, and the label will specify UV or LED lamp curing times. If you are unsure, assume the product is semi-cured if it comes in nail-shaped strips; assume it is fully cured if it comes as small decorative pieces.
- Tools and lamp requirements
- Fully cured stickers need only a clean nail surface and a top coat. Semi-cured strips require a UV or LED nail lamp, a nail file for trimming excess, and sometimes a wooden stick or rubber tool for smoothing. If you do not own a lamp, fully cured stickers are the better choice. If you already have a lamp for gel manicures, semi-cured strips integrate into your existing routine.
- Wear time and durability
- Fully cured stickers sealed with top coat last five to seven days on natural nails, similar to regular polish. Semi-cured gel strips last ten to fourteen days because they bond through curing and are less prone to chipping or peeling. If you want a two-week manicure, choose semi-cured strips; if you like to change your nails frequently, fully cured stickers are easier to remove and replace.
- Cost and reusability
- Gel nail stickers are typically single-use. A set of semi-cured strips costs about the same as a bottle of gel polish but is used once, while fully cured sticker sheets can be used across multiple manicures depending on how many stickers you apply per session. Factor in cost per wear and how often you change your nail design when choosing between the two formats.
From what you own
Build it and repeat it
Start by identifying your gel sticker format using the product label. If the stickers are fully cured and no lamp is mentioned, prep your nails by pushing back cuticles, buffing lightly, and wiping with alcohol. Apply a base coat or paint your nails with a color if you want the stickers to sit over a background, then let it dry completely. Peel each sticker from its backing and press it onto the nail where you want it placed. Smooth the sticker with your finger to ensure full contact, then seal with a top coat once all stickers are applied. Let the top coat dry completely before using your hands.
If the stickers are semi-cured gel strips, prep your nails the same way: push back cuticles, buff lightly, and wipe with alcohol to remove oil. Select the strip size that fits each nail, peel it from its backing, and align it with the cuticle line leaving a tiny gap. Press the strip onto the nail starting at the cuticle and smooth it toward the free edge, pushing out air bubbles as you go. Fold the excess strip over the free edge and file it off in one smooth downward motion. Repeat for all ten nails, then cure under your UV or LED lamp according to the product's directions — typically 60 seconds for LED or 2 minutes for UV. After curing, check the edges for any lifting and press them down if needed. Some semi-cured strips require a top coat; check the label.
Shop the pieces
16 polish, wraps & stickers pieces
Links open similar items, not the pictured ones.
-
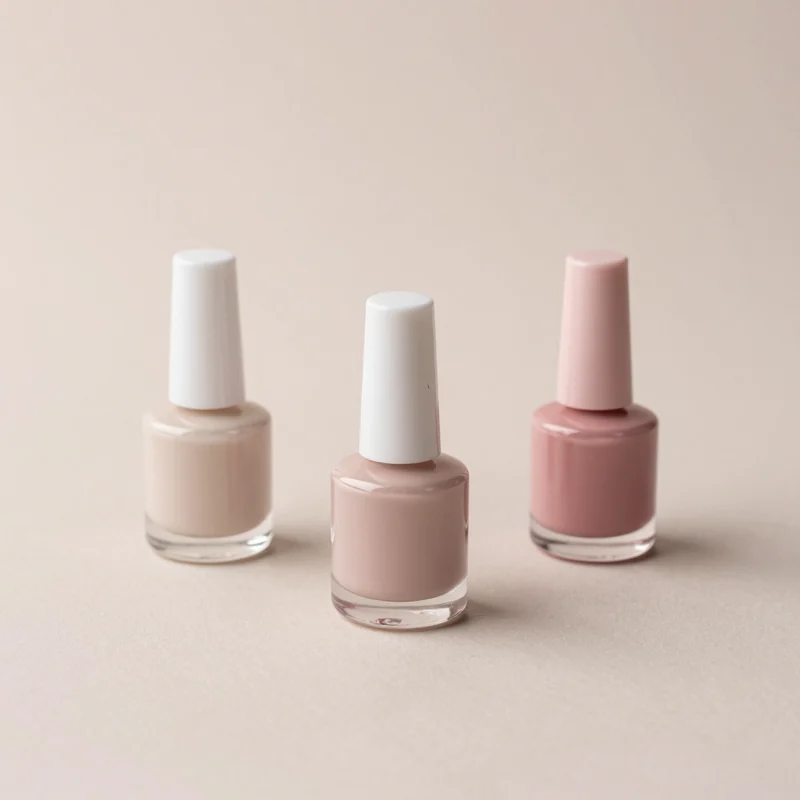
Nude pink nail polish set
What to check
A real product chosen to look like the picture. The picture is a styling reference, not this exact product.
-
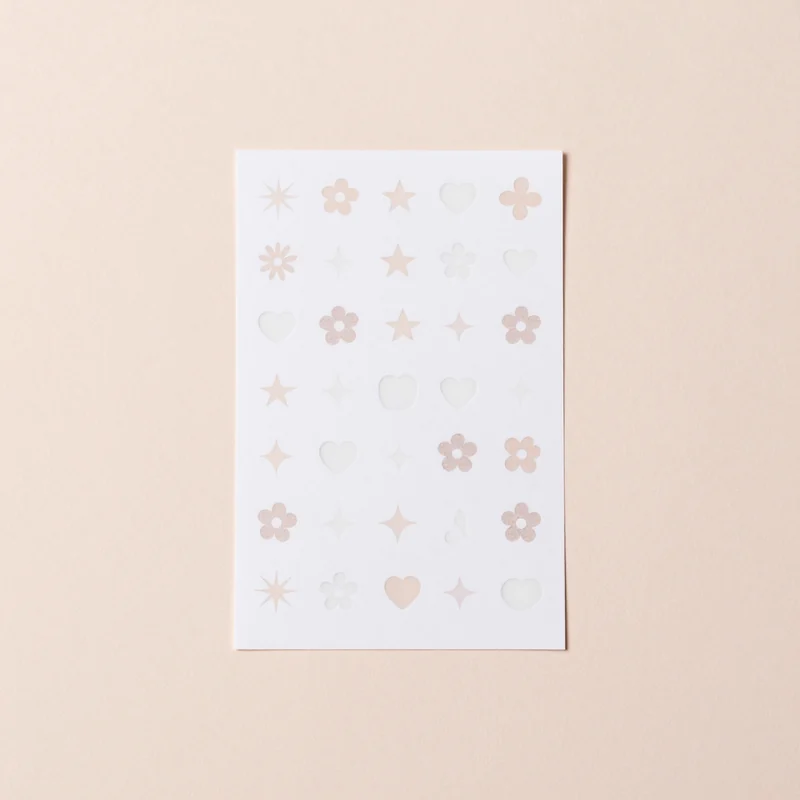
Stickers
What to check
A real product chosen to look like the picture. The picture is a styling reference, not this exact product.
-
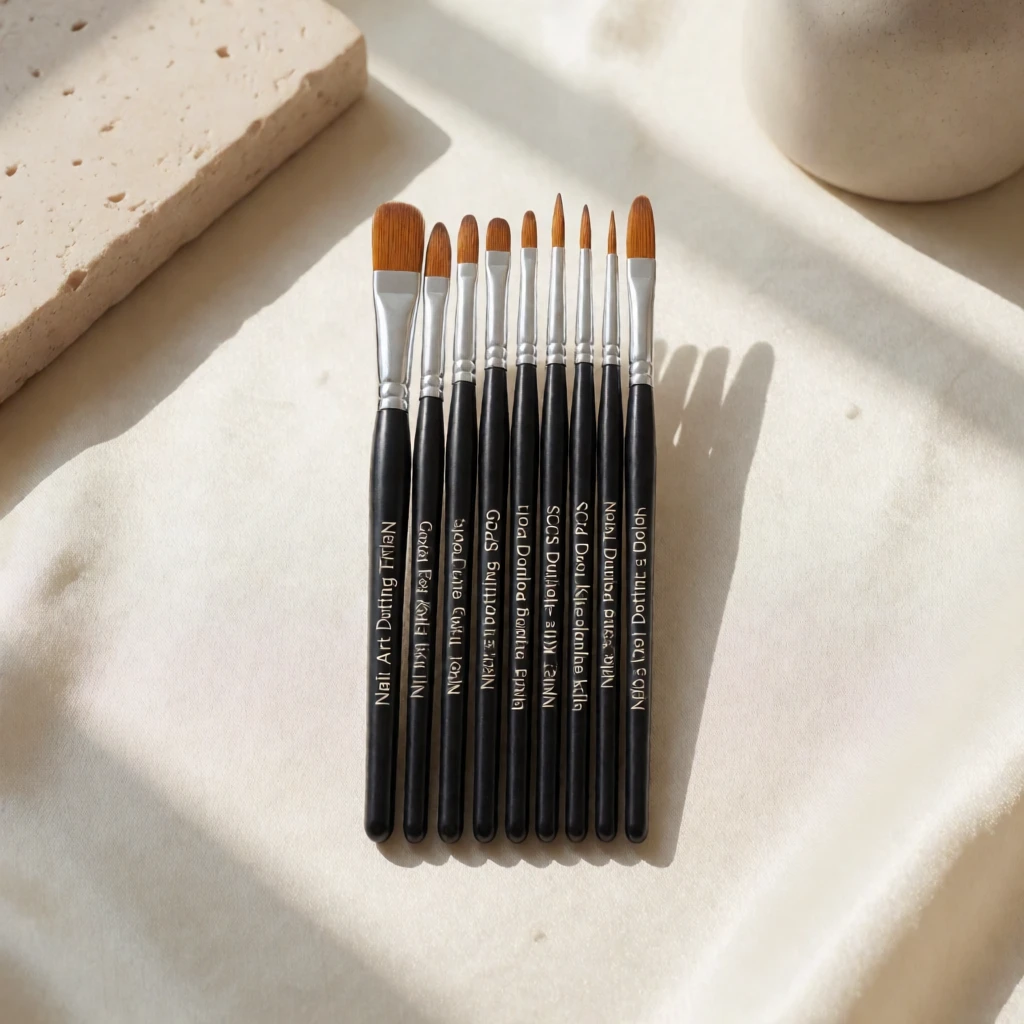
Nail art liner brushes
What to check
A real product chosen to look like the picture. The picture is a styling reference, not this exact product.
-
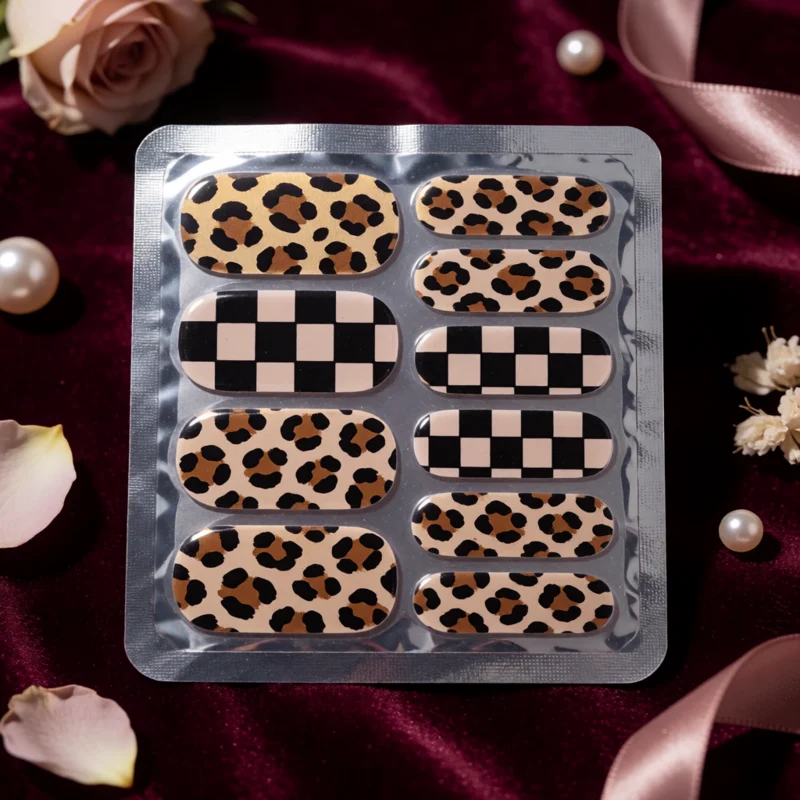
Gel nail wraps
What to check
A real product chosen to look like the picture. The picture is a styling reference, not this exact product.
-
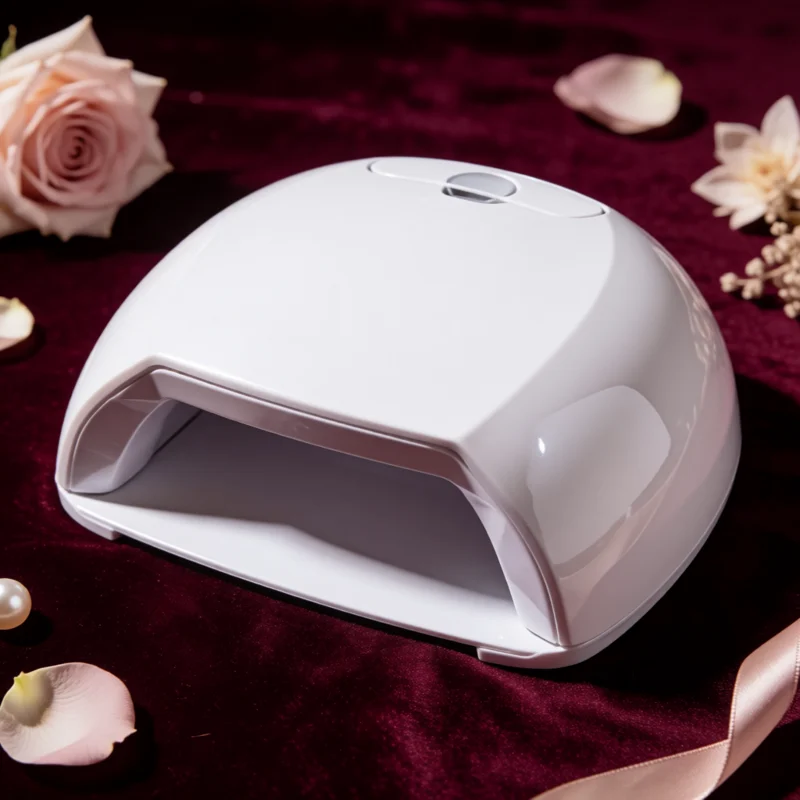
LED/UV nail lamp
What to check
A real product chosen to look like the picture. The picture is a styling reference, not this exact product.
-
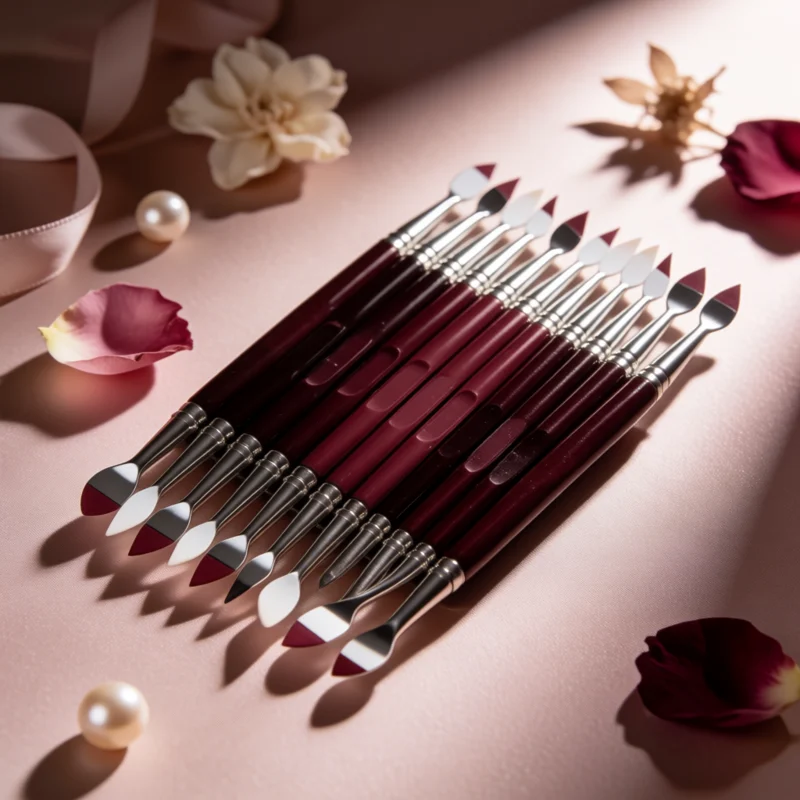
Nail art dotting tools
What to check
A real product chosen to look like the picture. The picture is a styling reference, not this exact product.
-
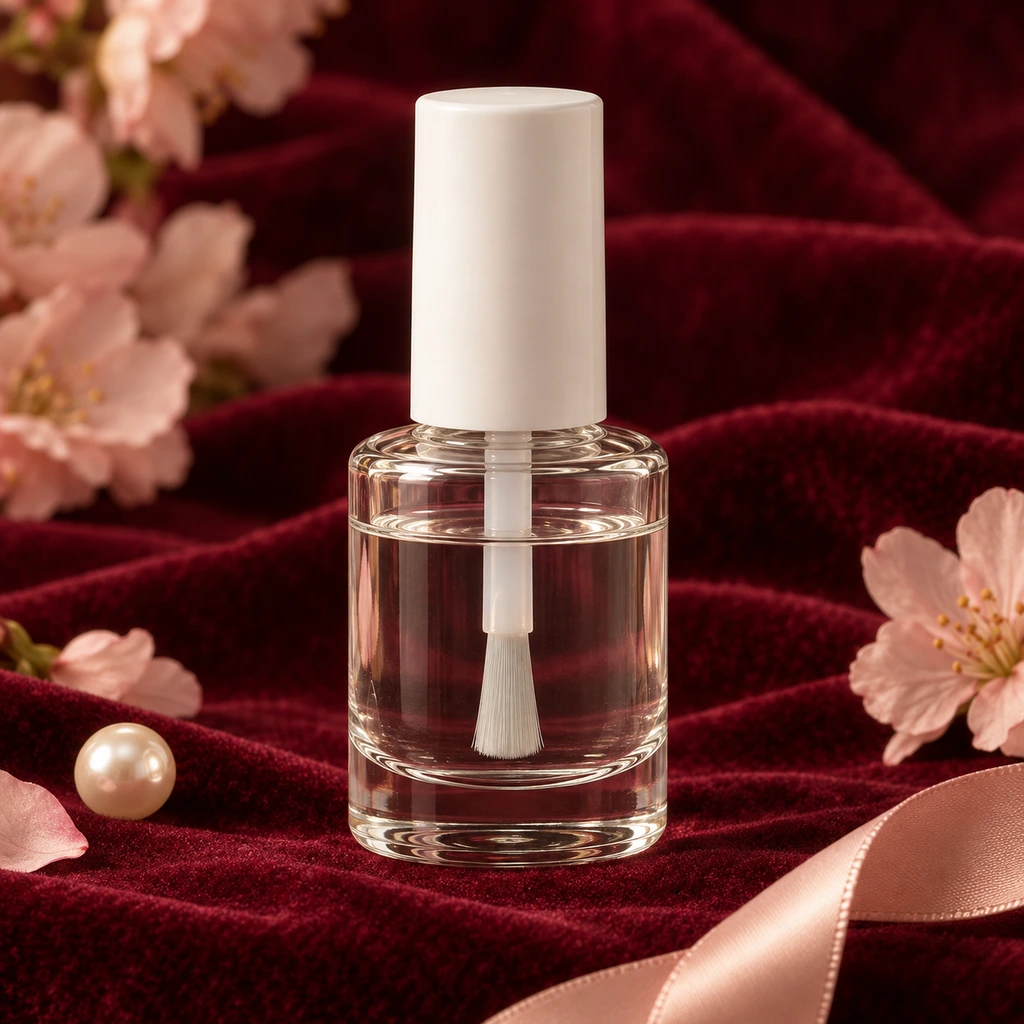
Base coat
What to check
A real product chosen to look like the picture. The picture is a styling reference, not this exact product.
-
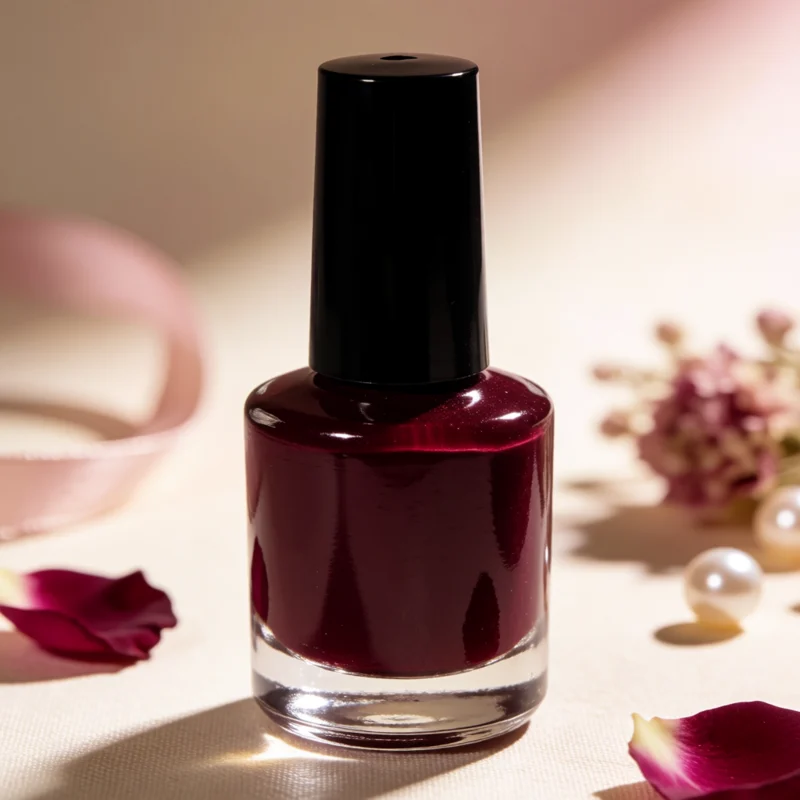
Burgundy nail polish
What to check
A real product chosen to look like the picture. The picture is a styling reference, not this exact product.
Show all 16 pieces
-
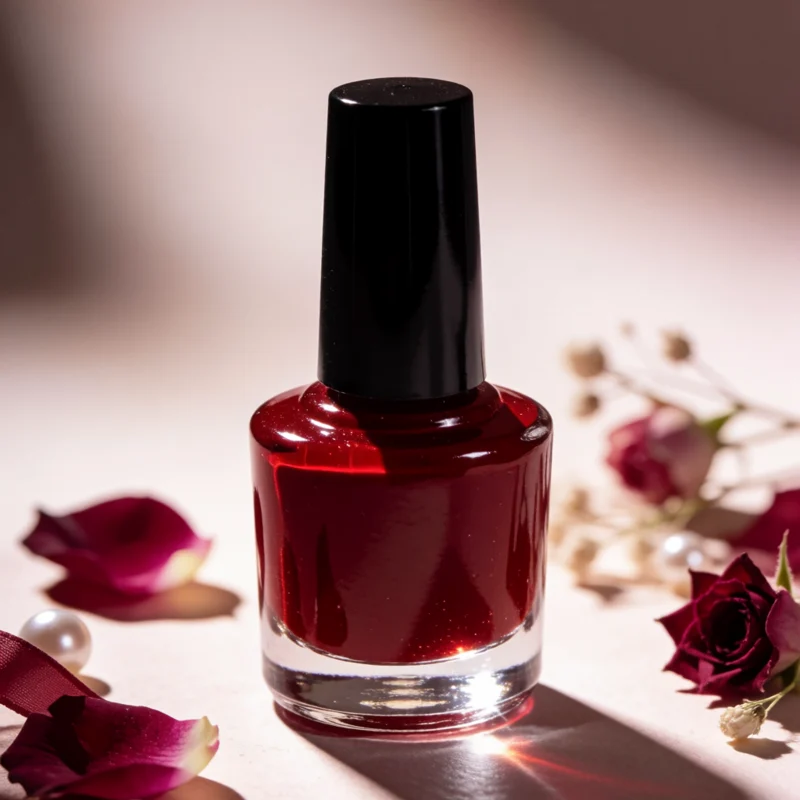
Cherry red nail polish
What to check
A real product chosen to look like the picture. The picture is a styling reference, not this exact product.
-
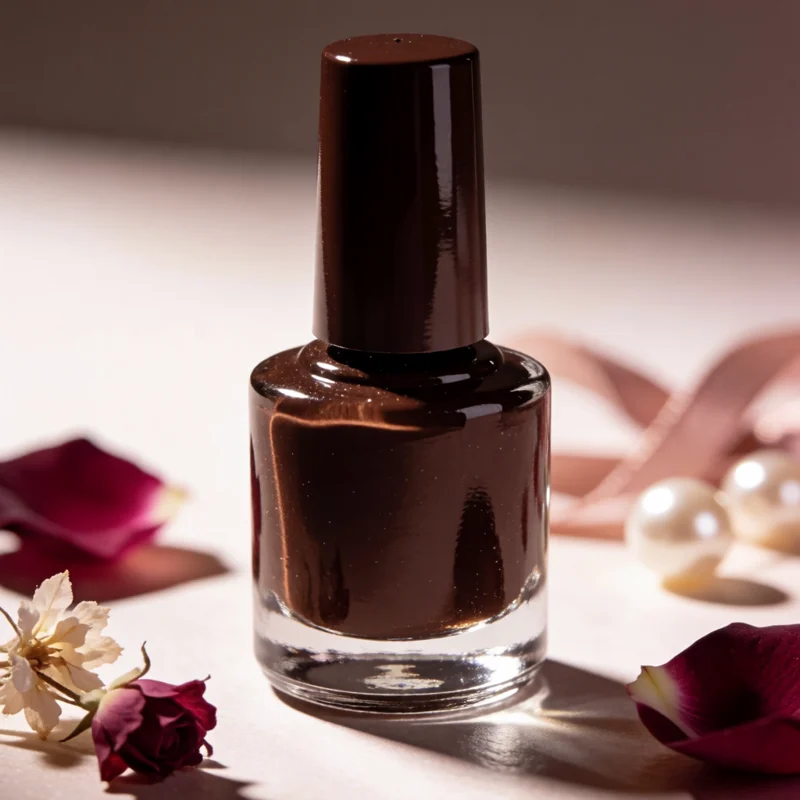
Chocolate brown nail polish
What to check
A real product chosen to look like the picture. The picture is a styling reference, not this exact product.
-
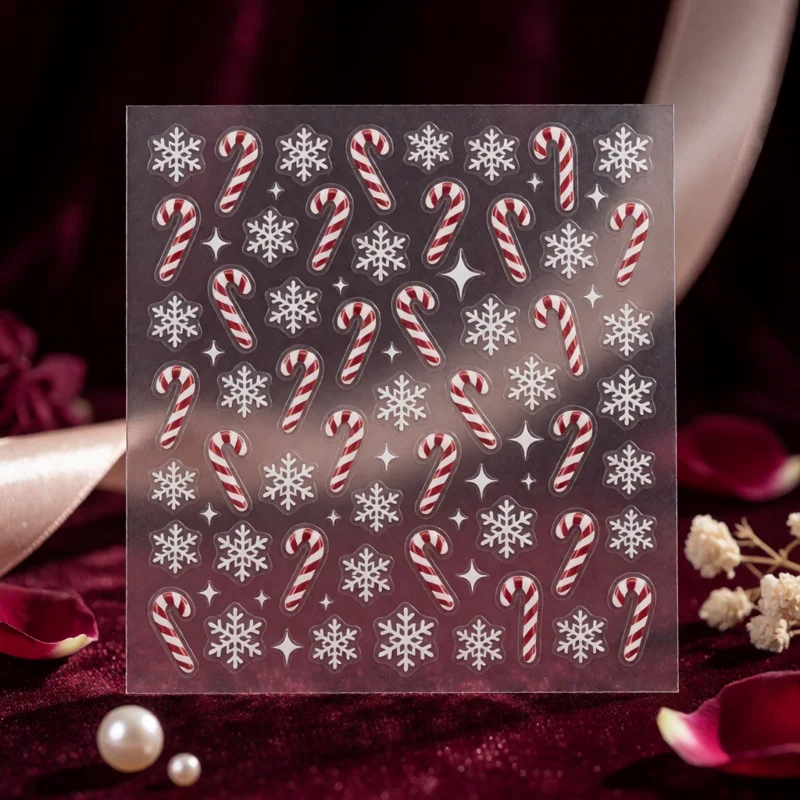
Christmas nail stickers
What to check
A real product chosen to look like the picture. The picture is a styling reference, not this exact product.
-
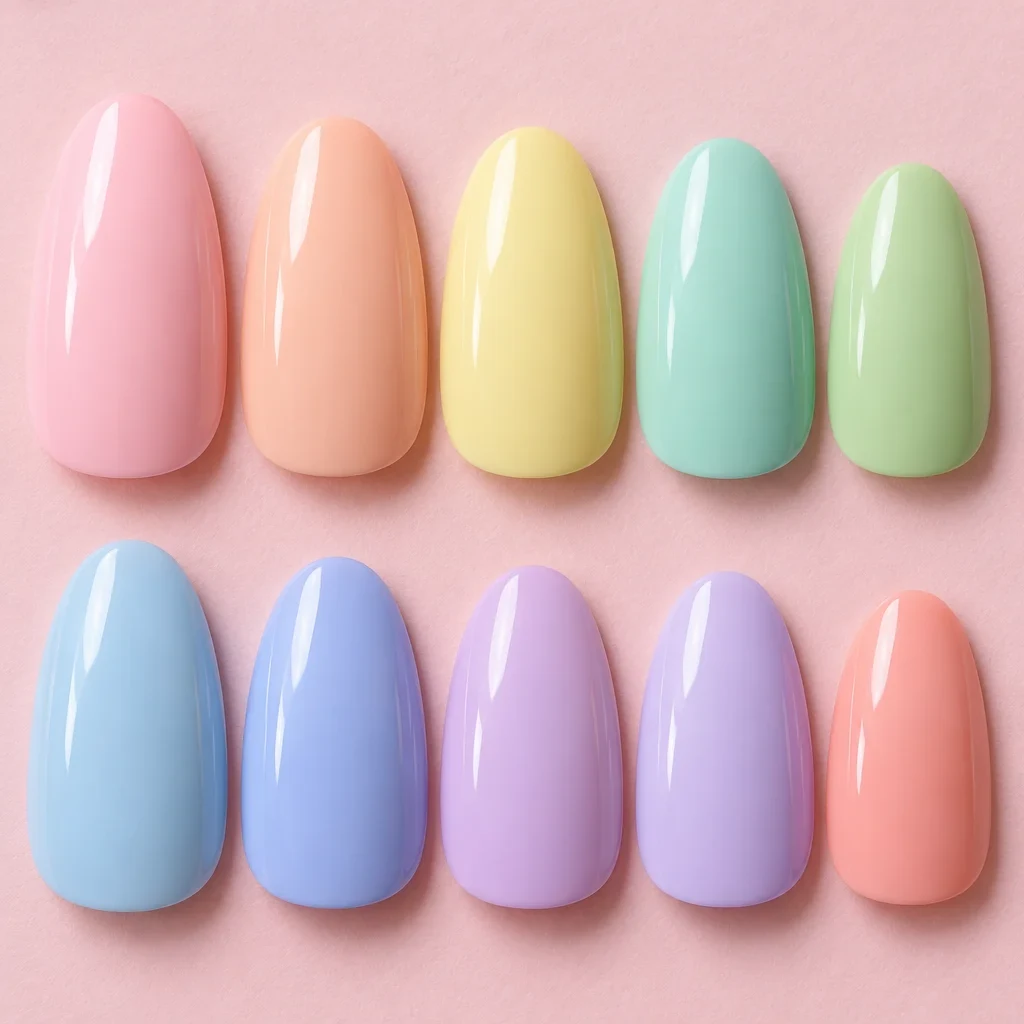
Cute Nail Polish Colors
What to check
A real product chosen to look like the picture. The picture is a styling reference, not this exact product.
-
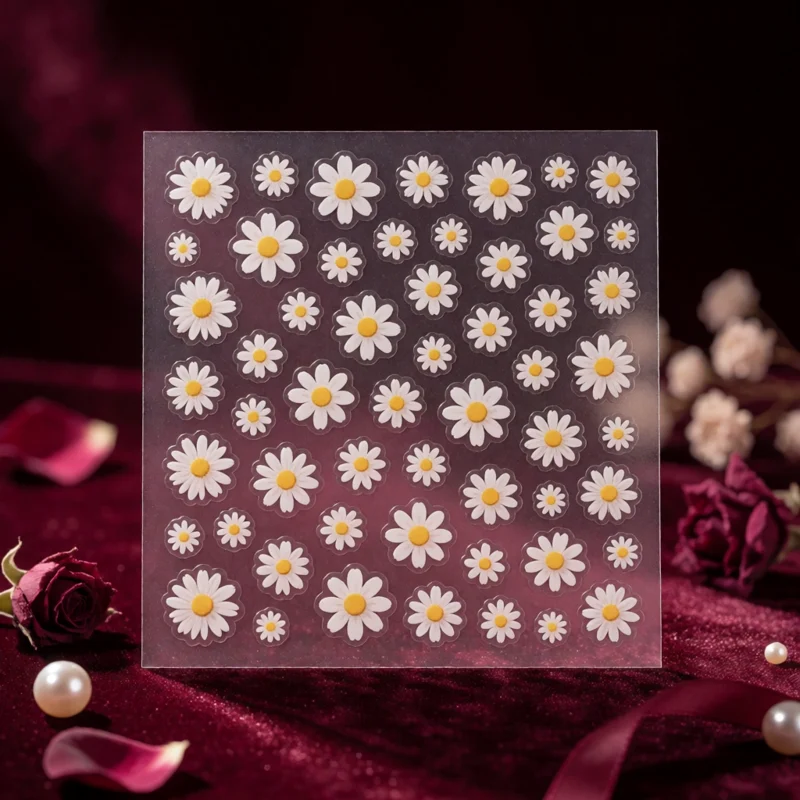
Floral nail stickers
What to check
A real product chosen to look like the picture. The picture is a styling reference, not this exact product.
-
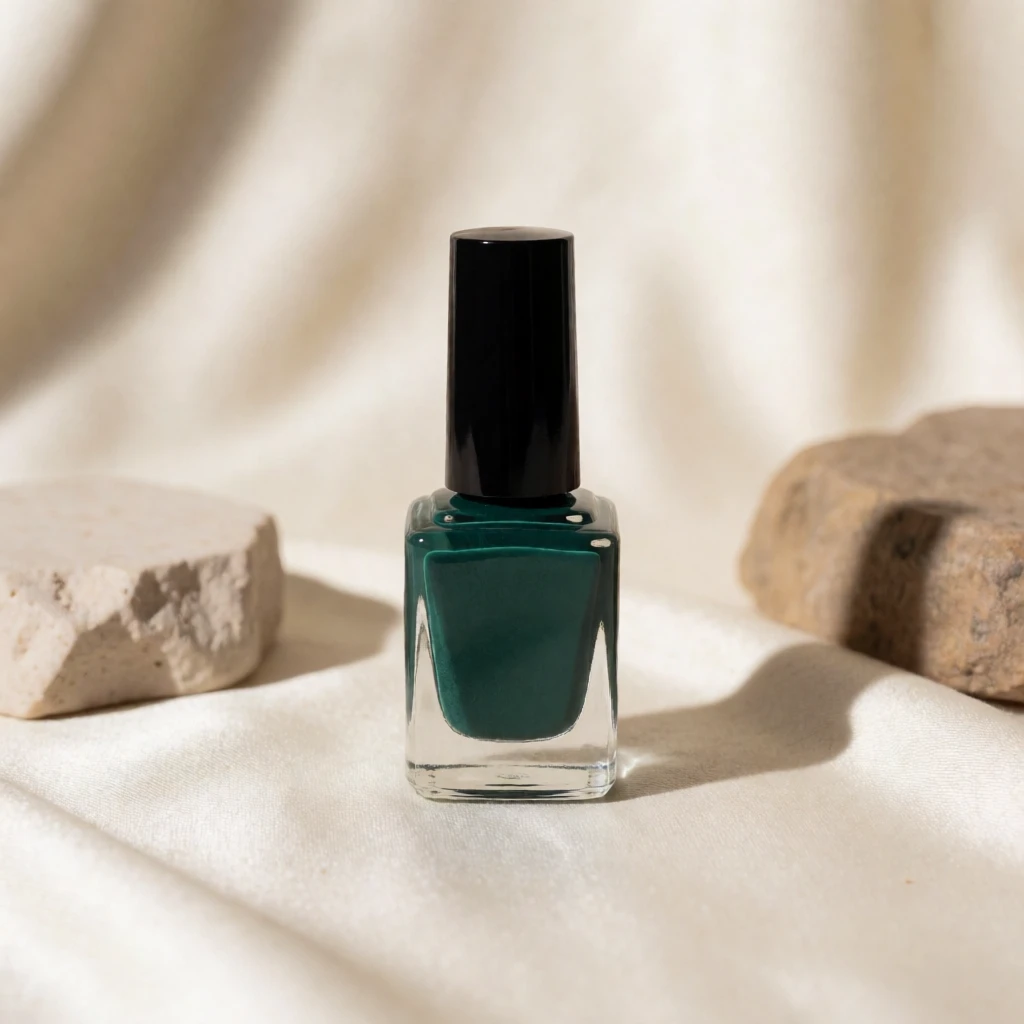
Forest green nail polish
What to check
A real product chosen to look like the picture. The picture is a styling reference, not this exact product.
-
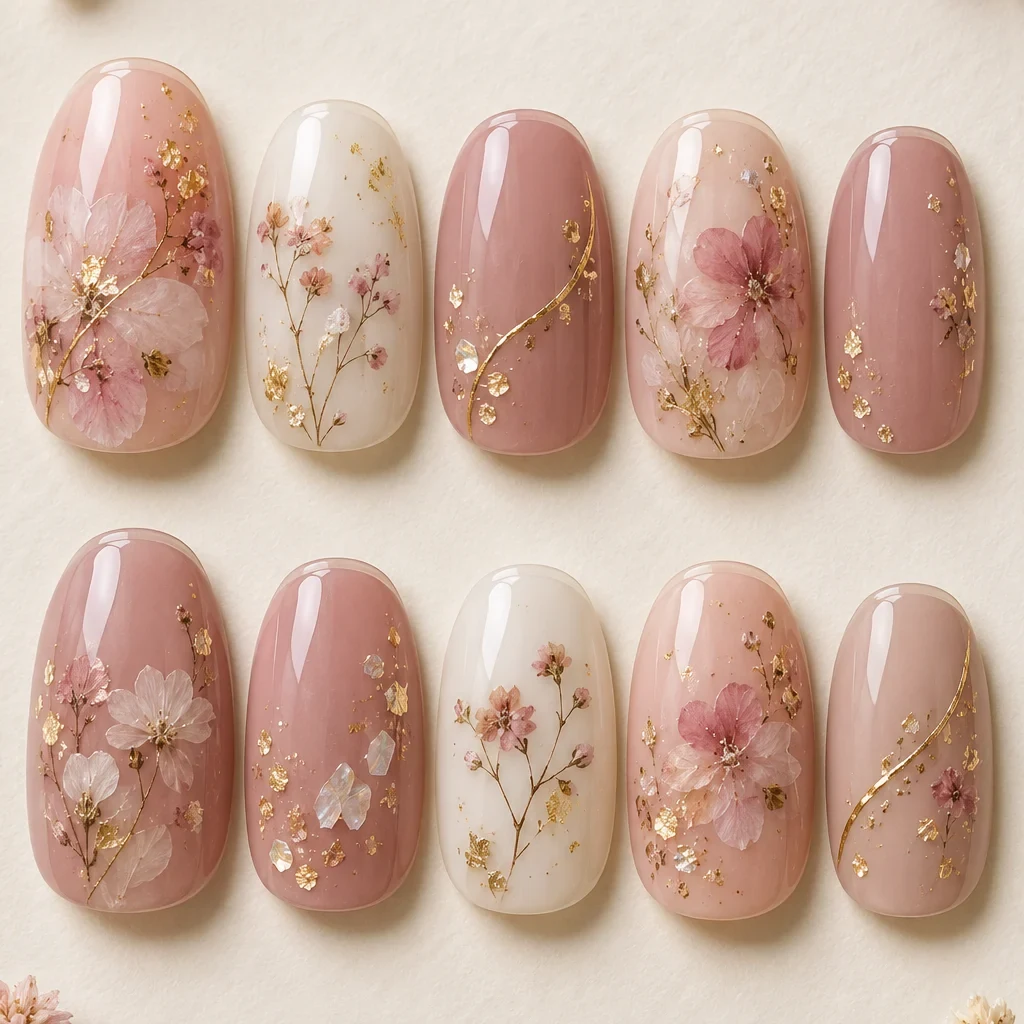
Gel Nail Stickers
What to check
A real product chosen to look like the picture. The picture is a styling reference, not this exact product.
-
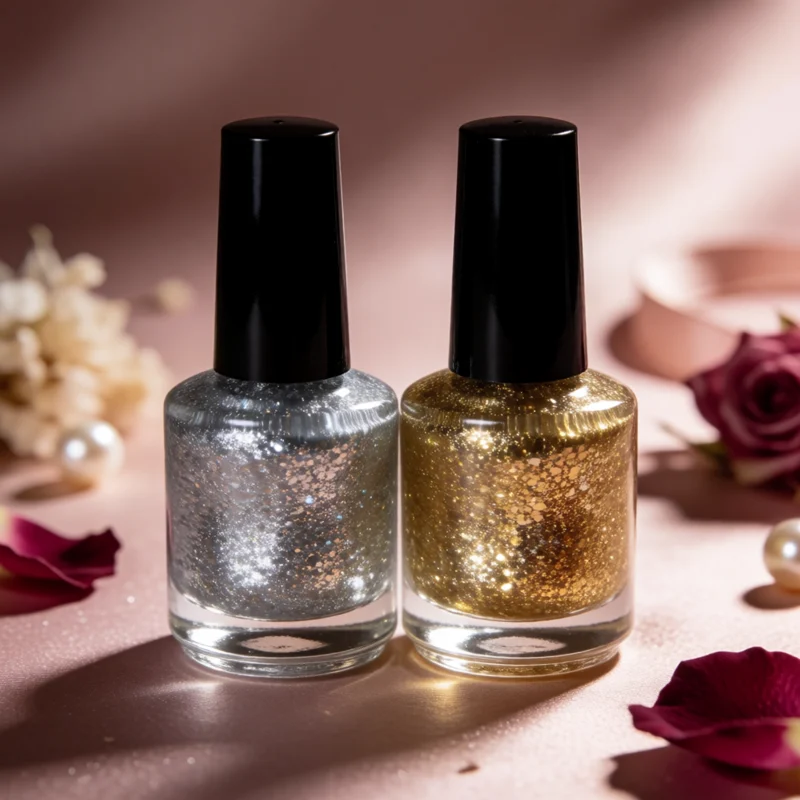
Glitter nail polish
What to check
A real product chosen to look like the picture. The picture is a styling reference, not this exact product.
The gallery
20 polish, wraps & stickers looks
Open a look to see its pieces.
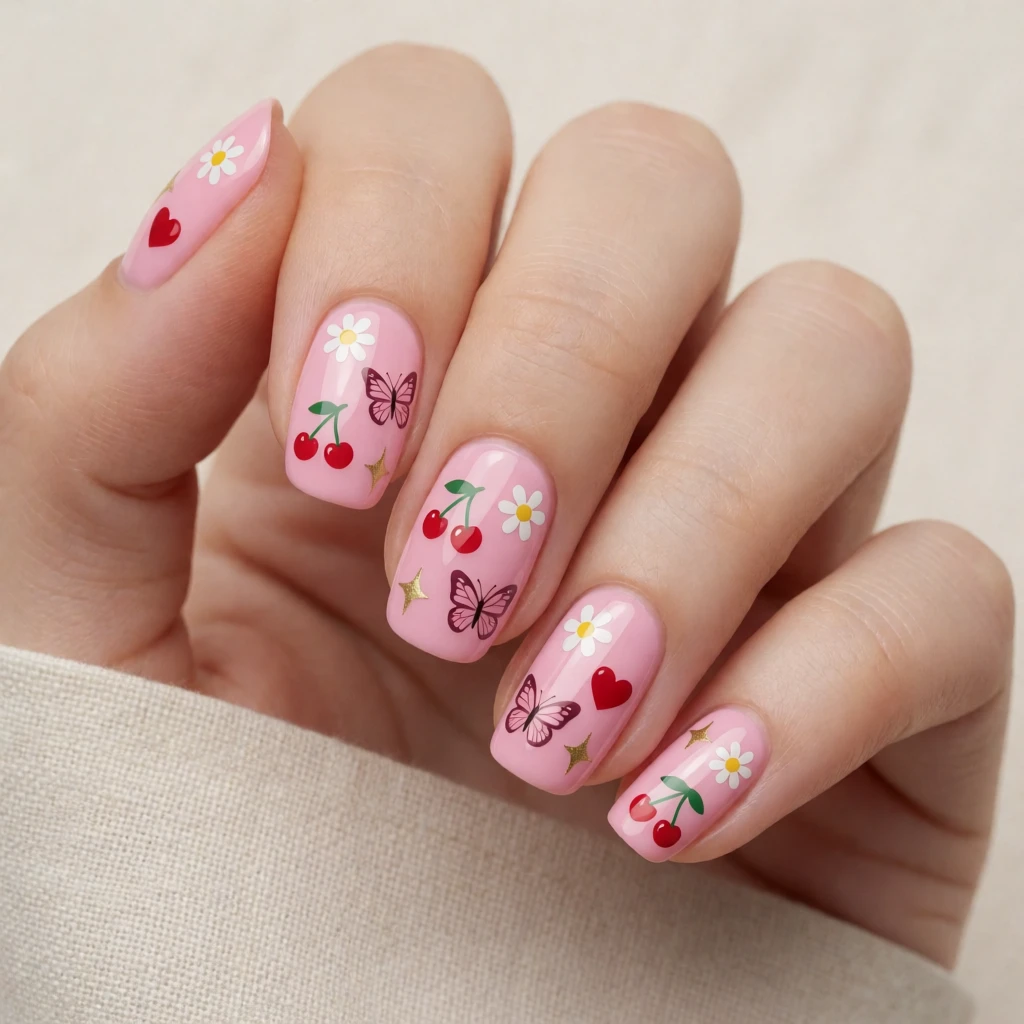 Nail Stickers
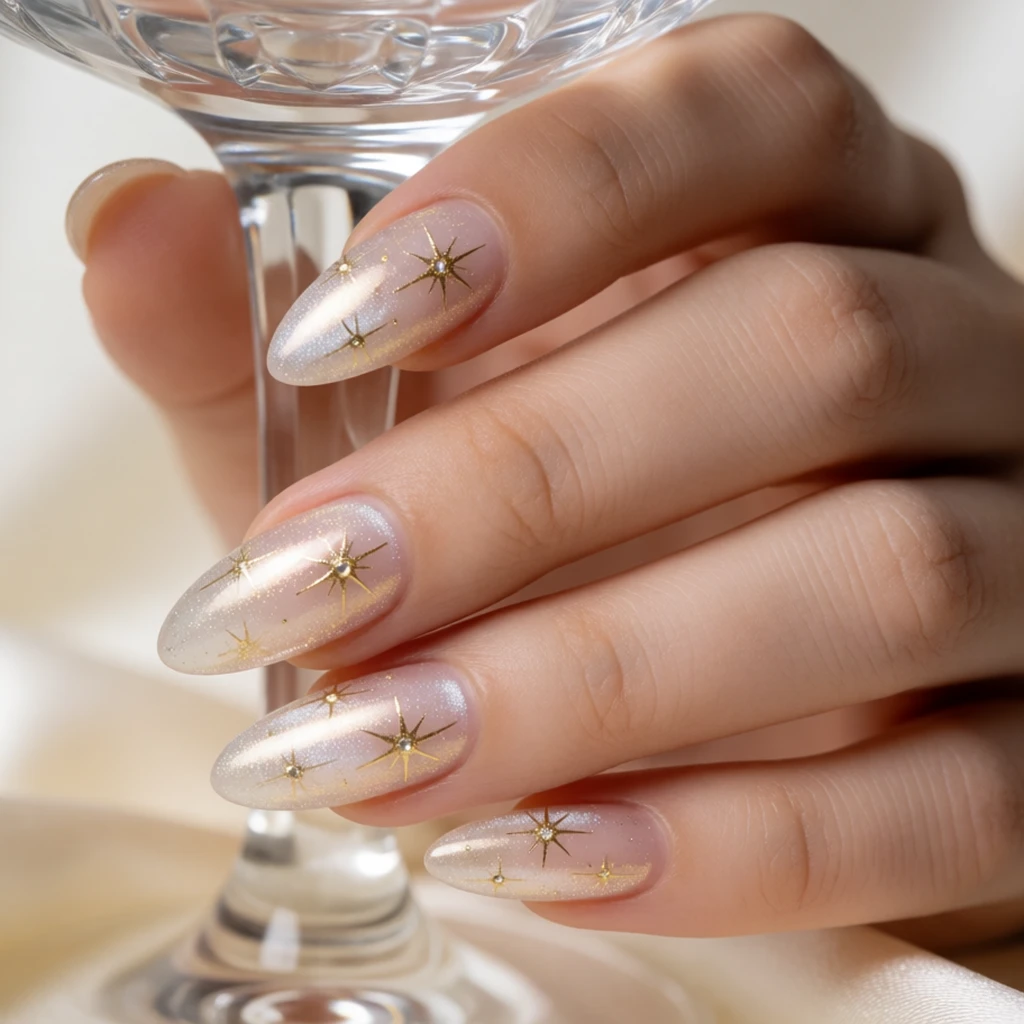 Nail Art Stickers
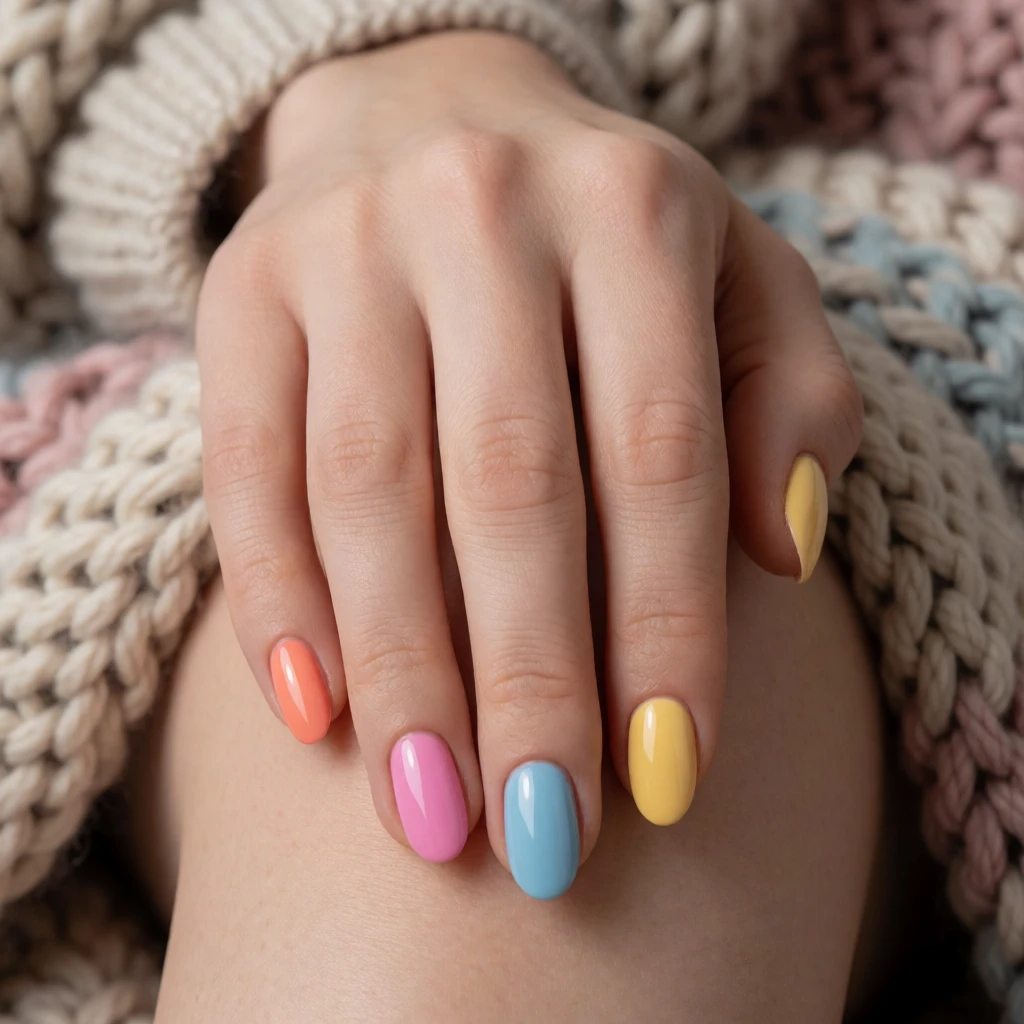 Summer Nail Polish Colors
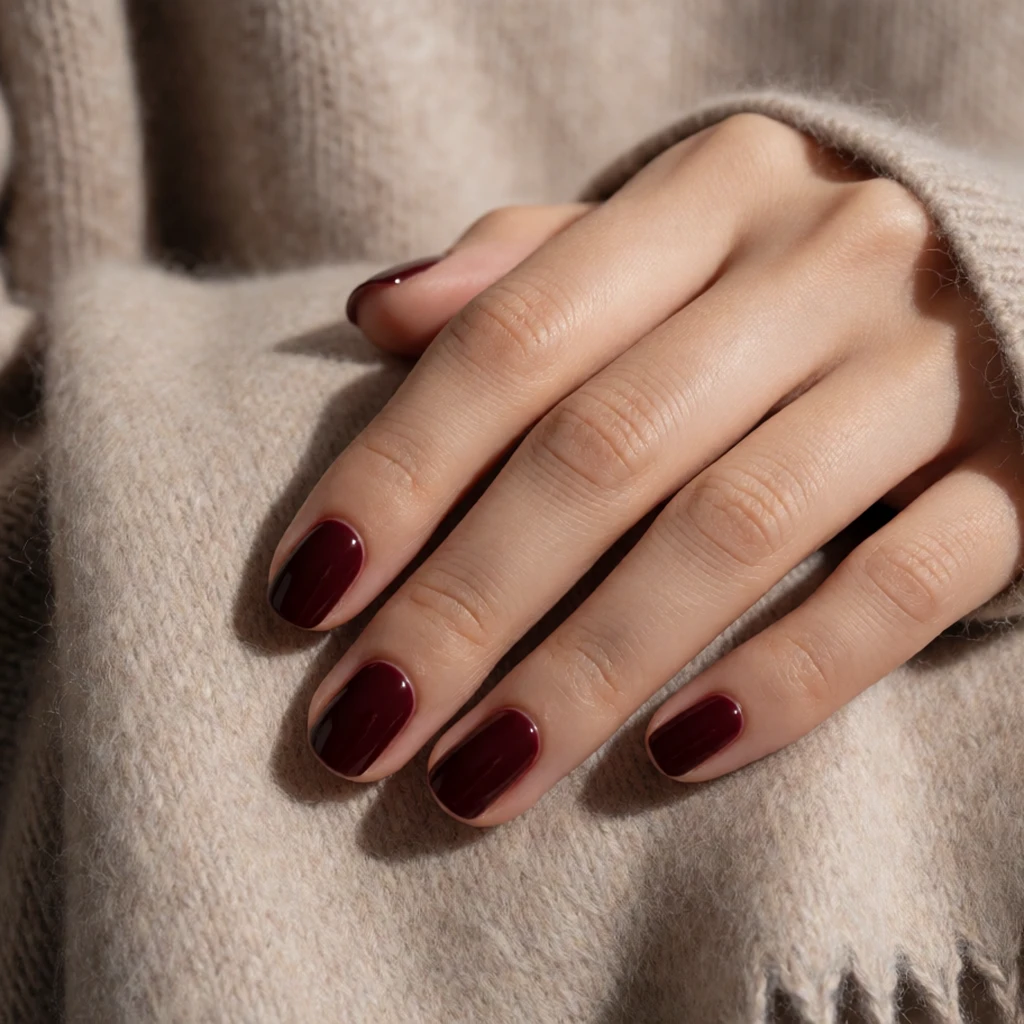 Red Nail Polish Colors
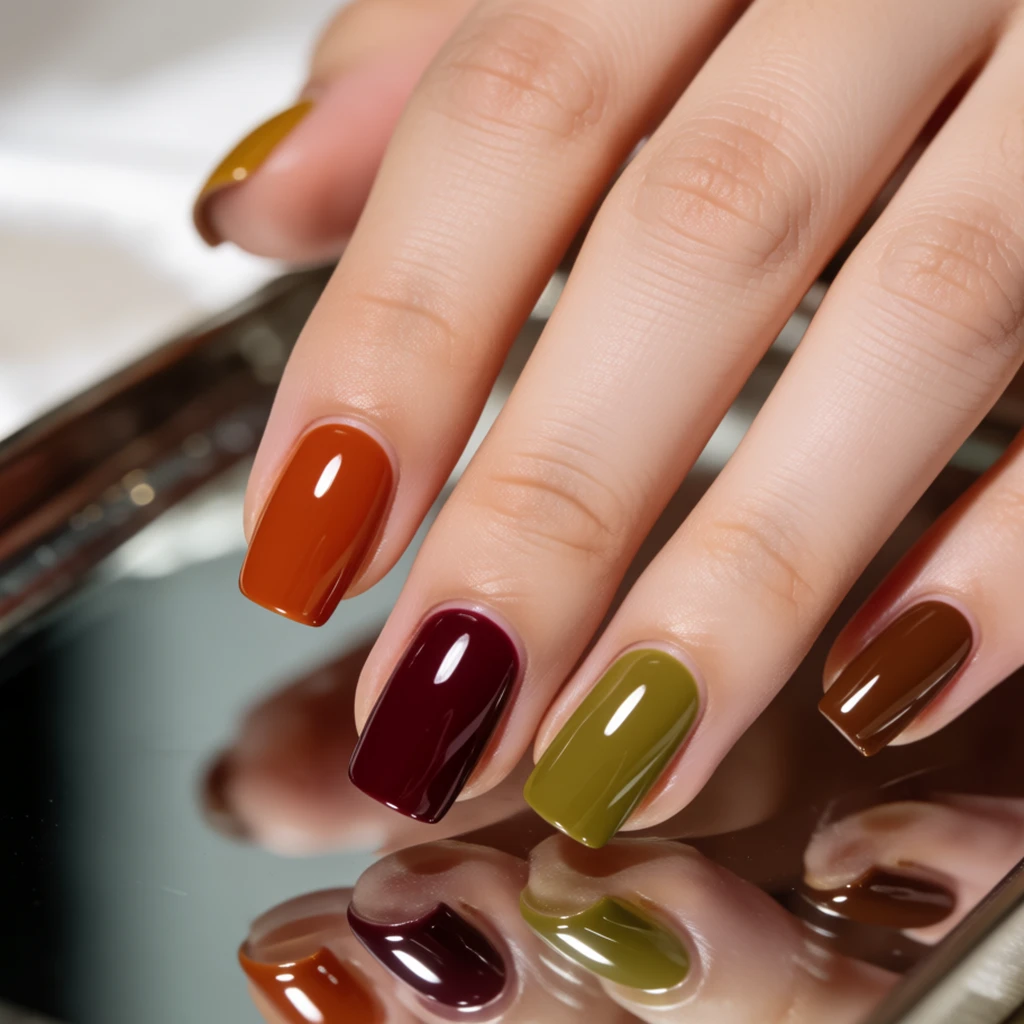 Nail Polish Colors Fall
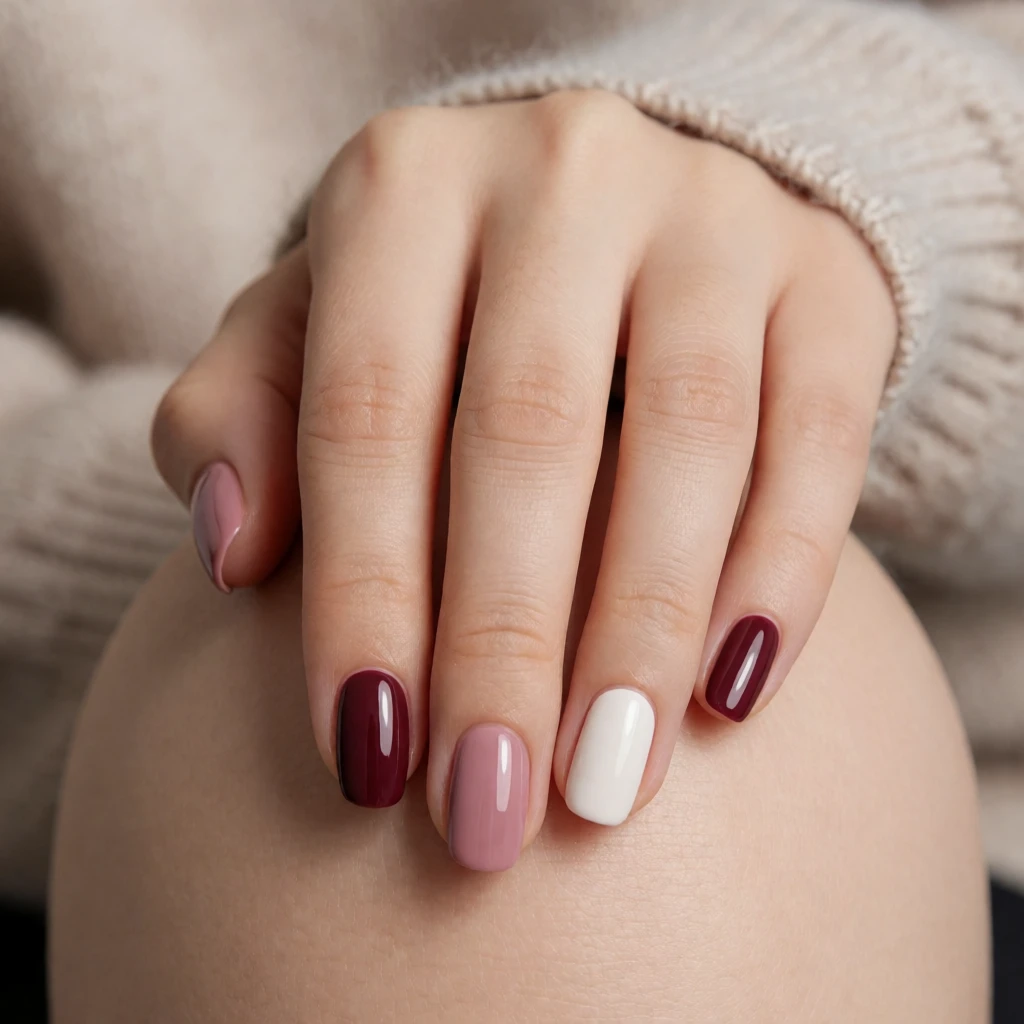 Nail Wraps
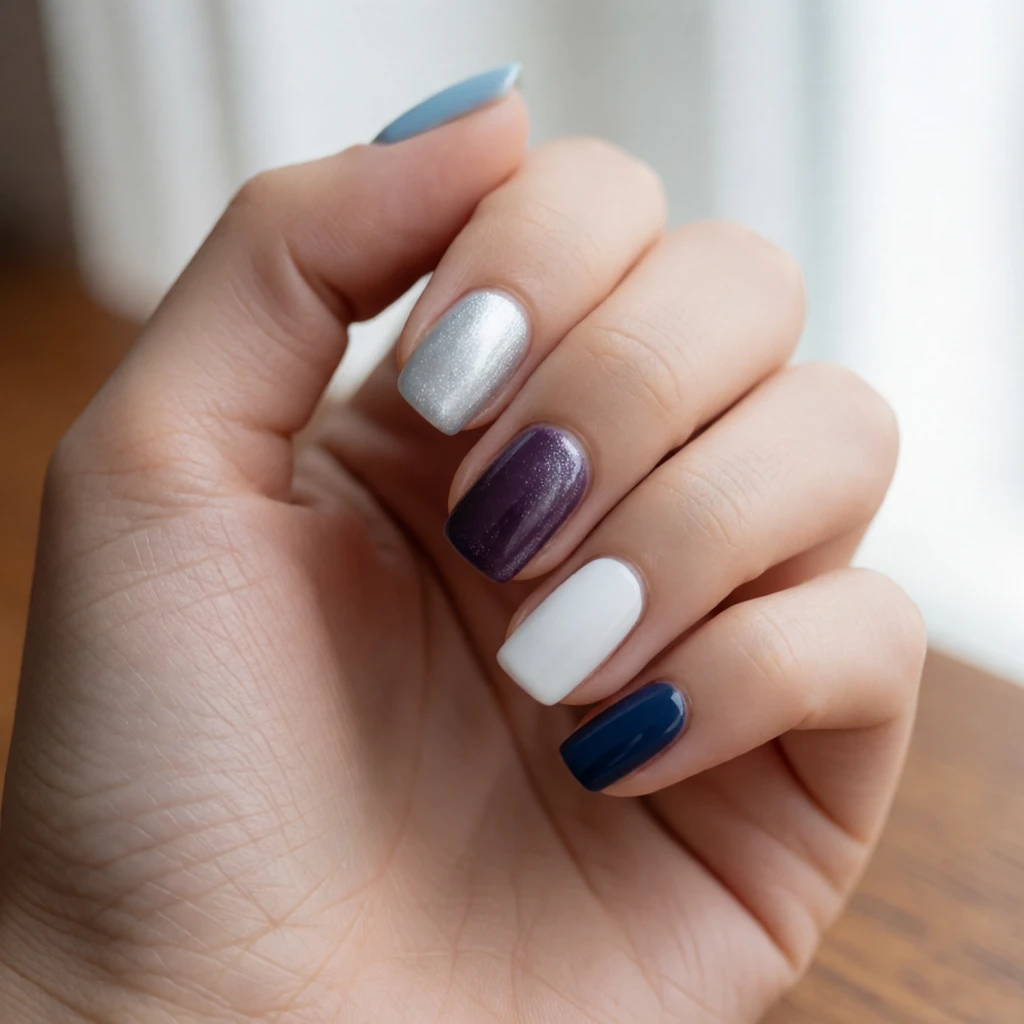 Winter Nail Polish Colors
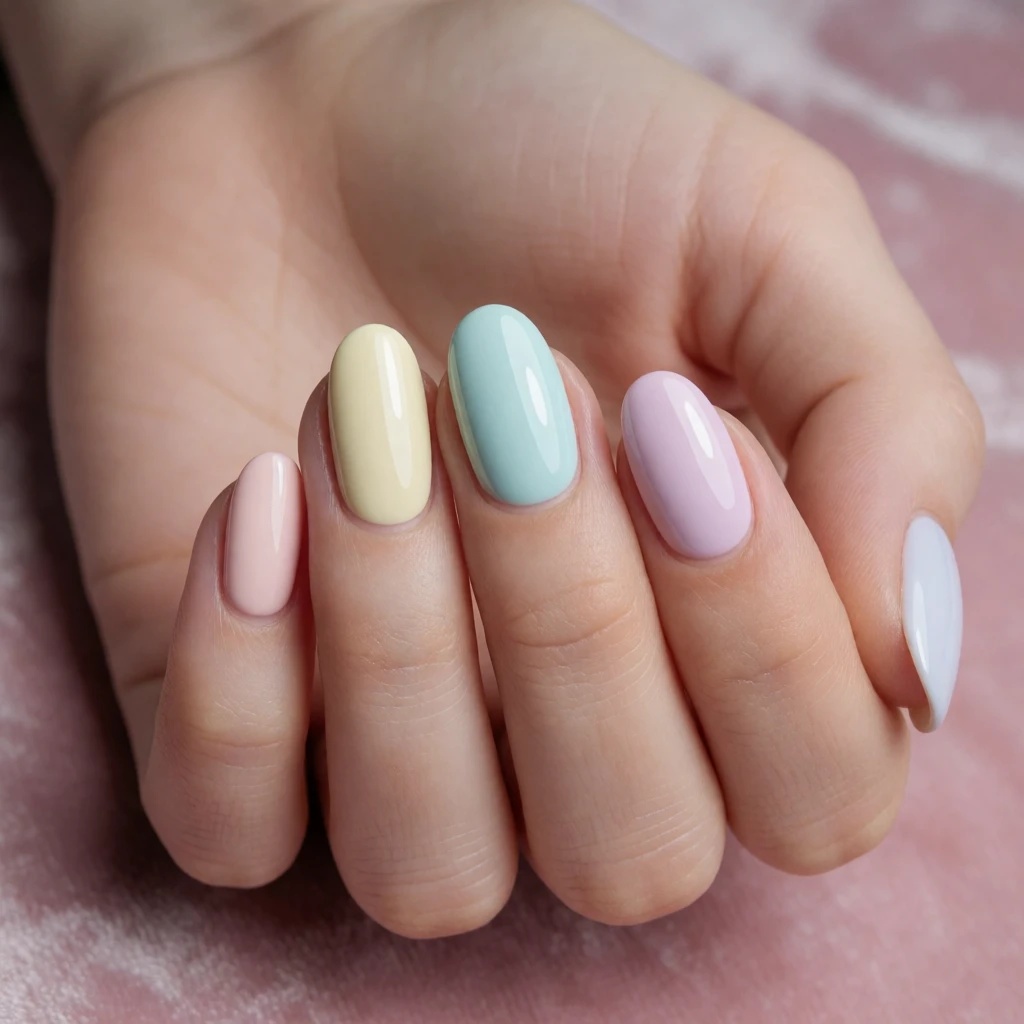 Cute Nail Polish Colors
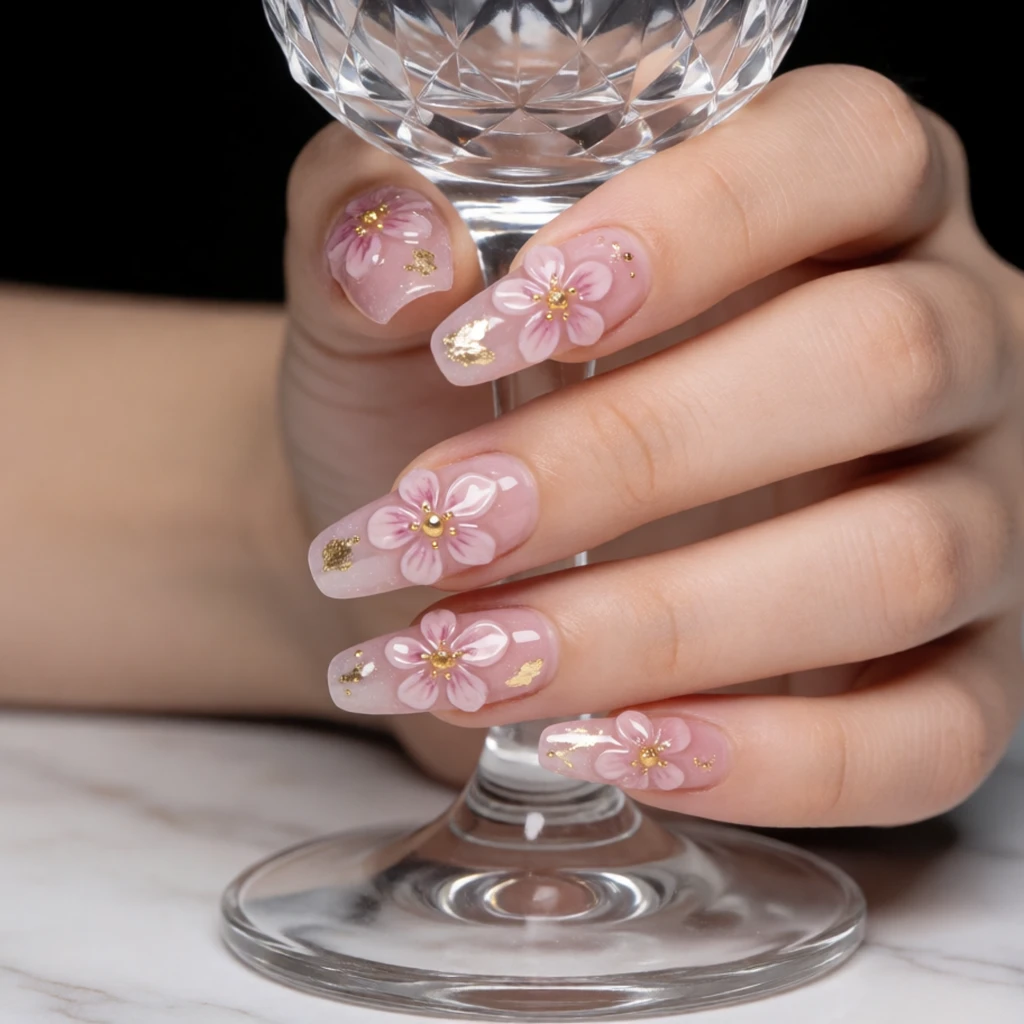 Gel Nail Stickers
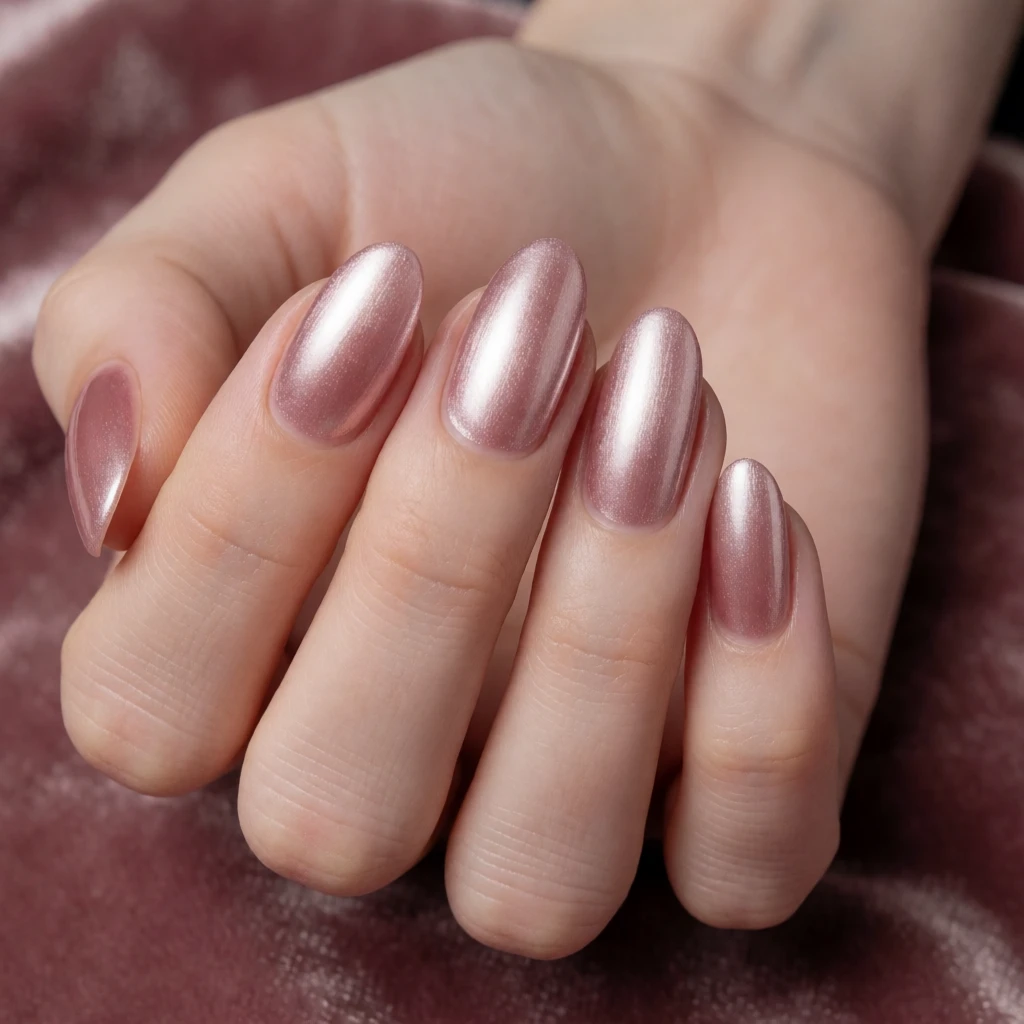 Chrome Nail Powder
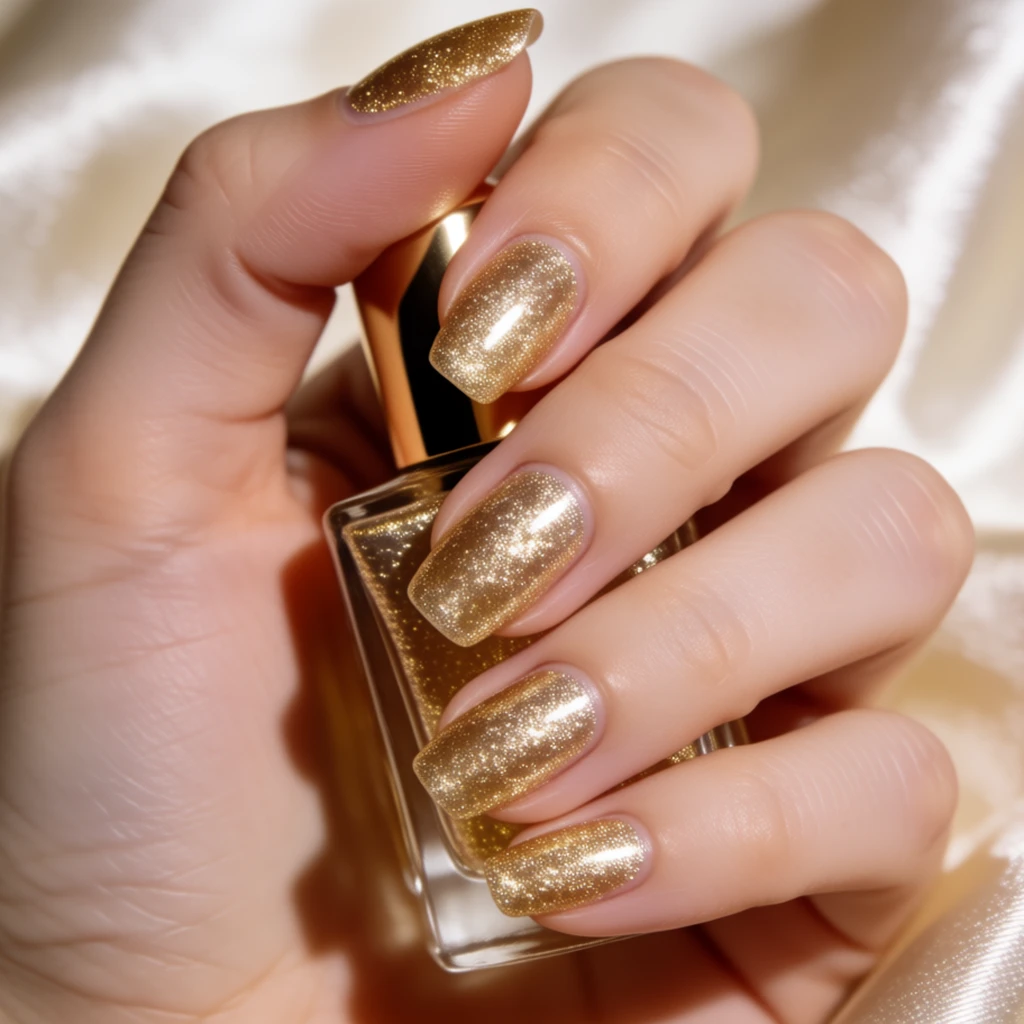 Glitter Nail Polish
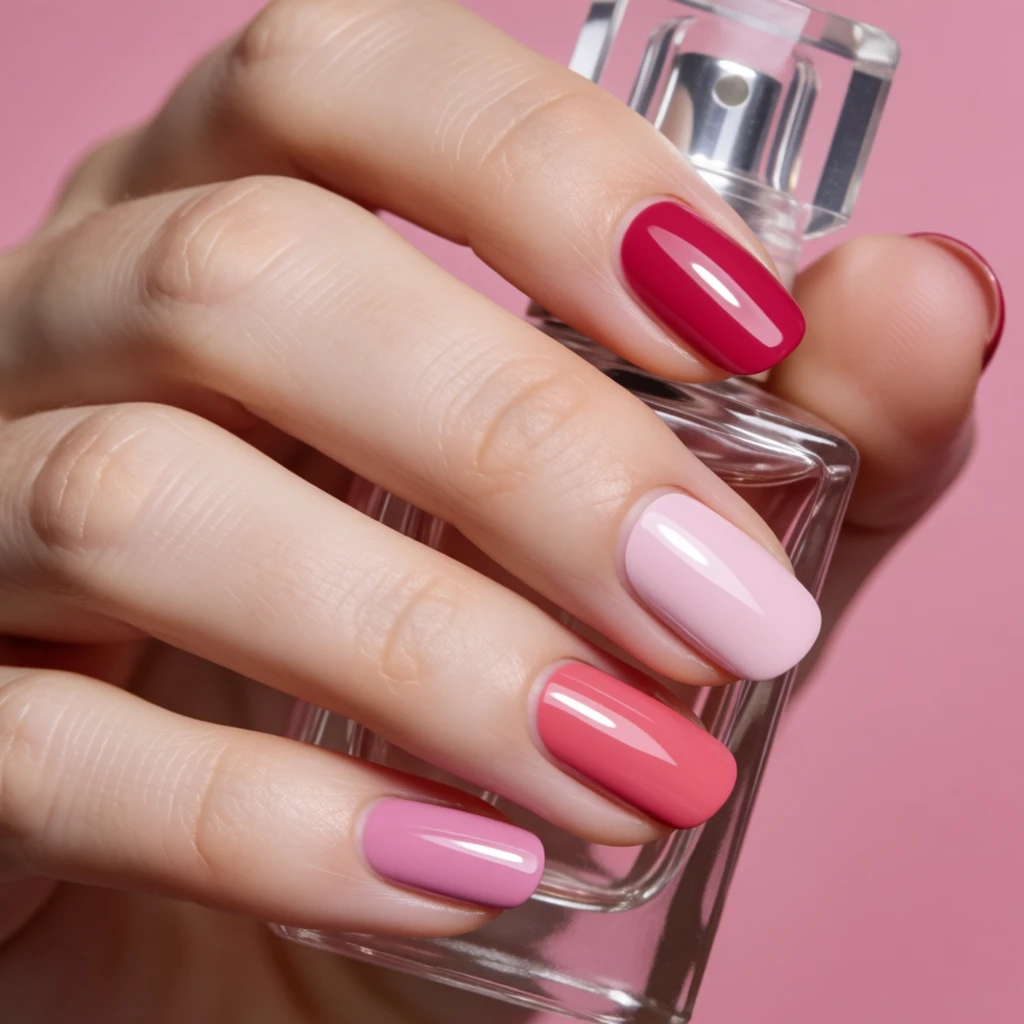 Jelly Nail Polish
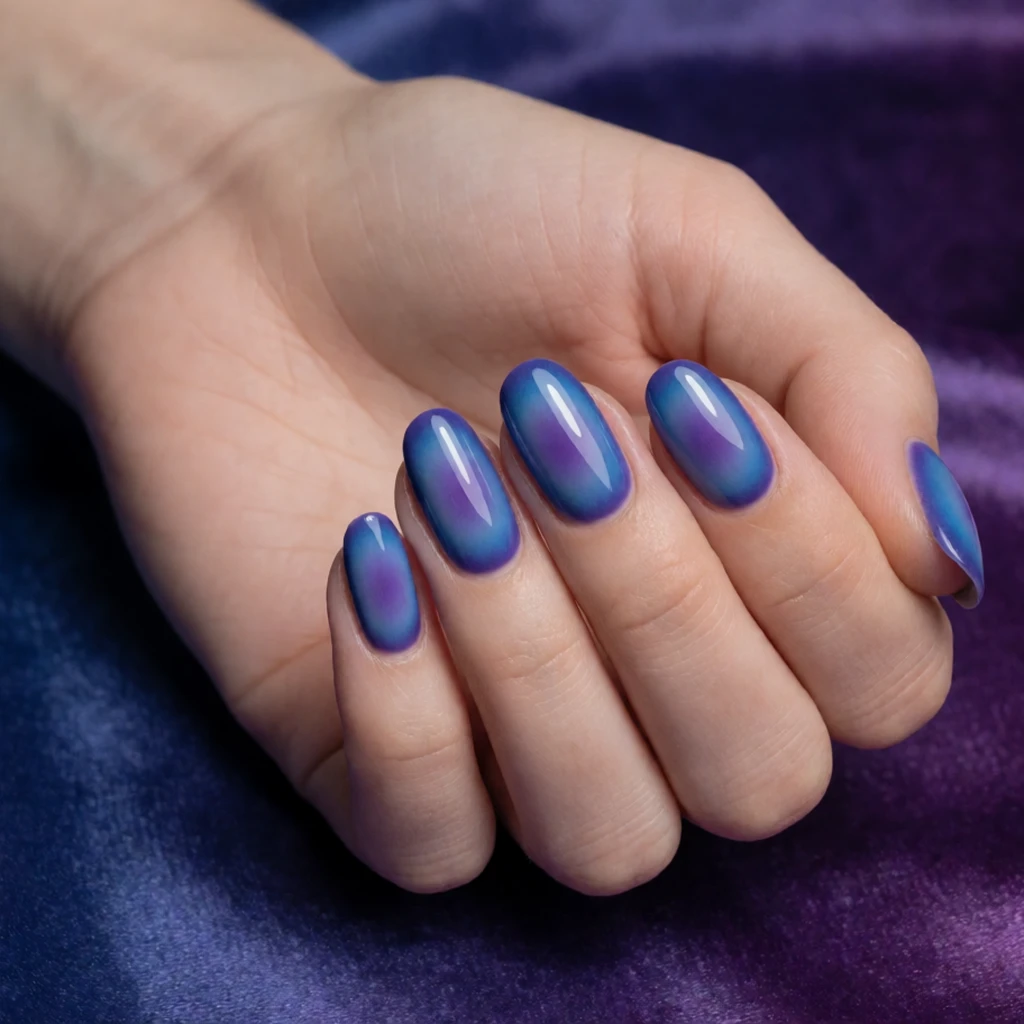 Cat Eye Nail Polish
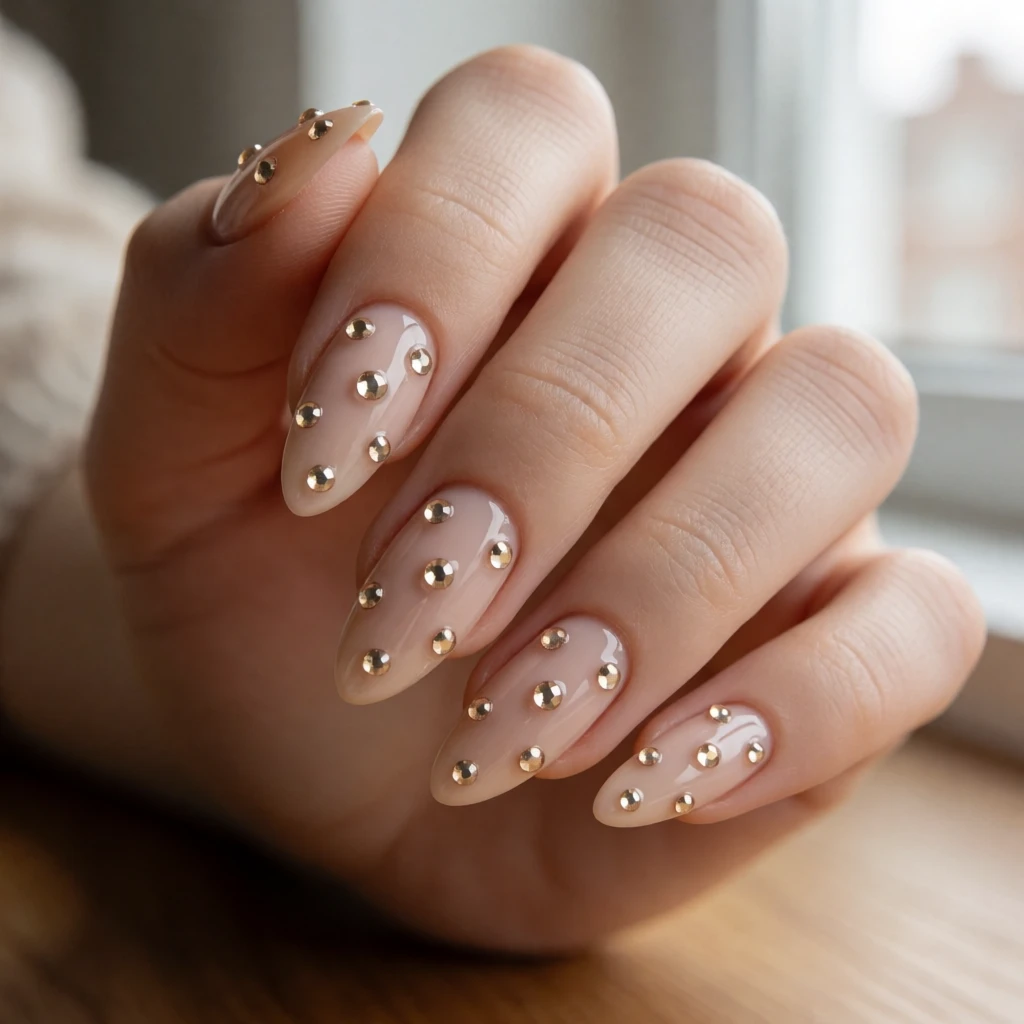 Nail Rhinestones
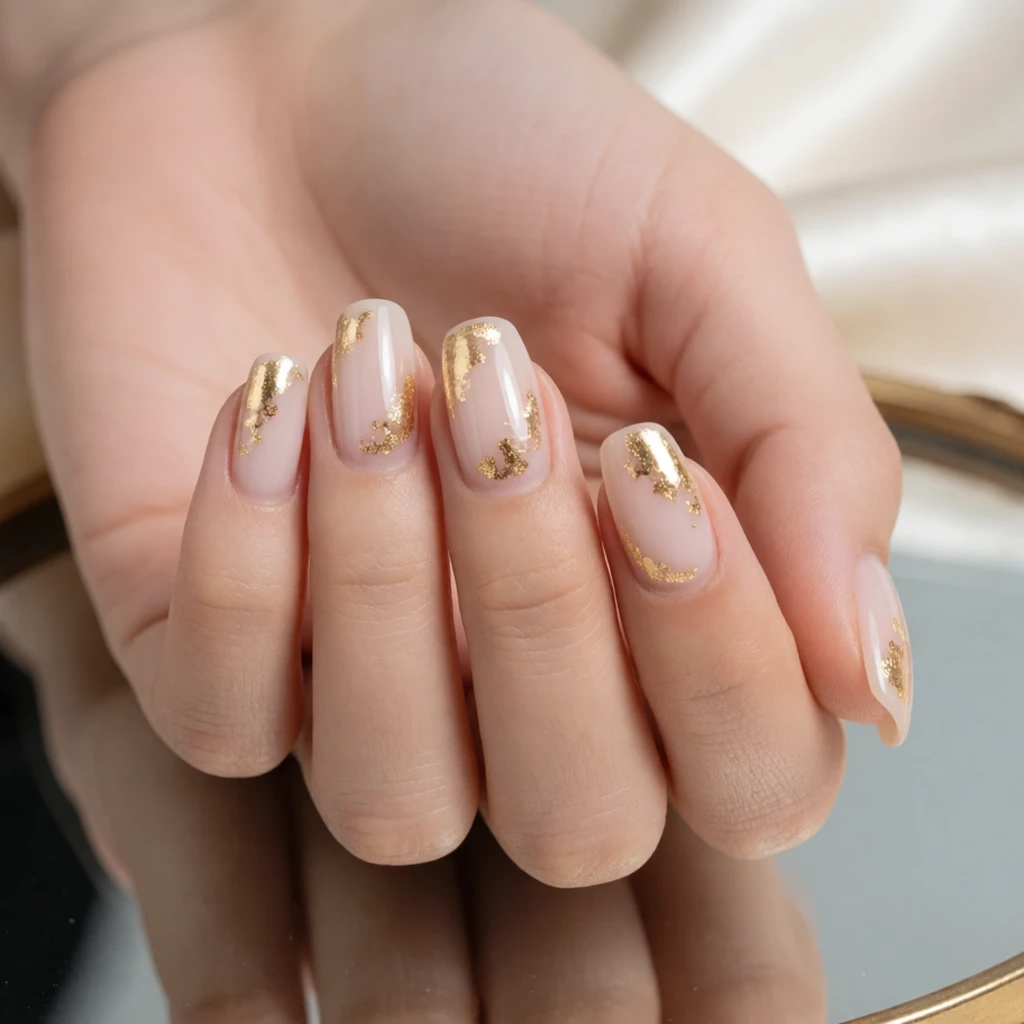 Gold Foil Nail Art
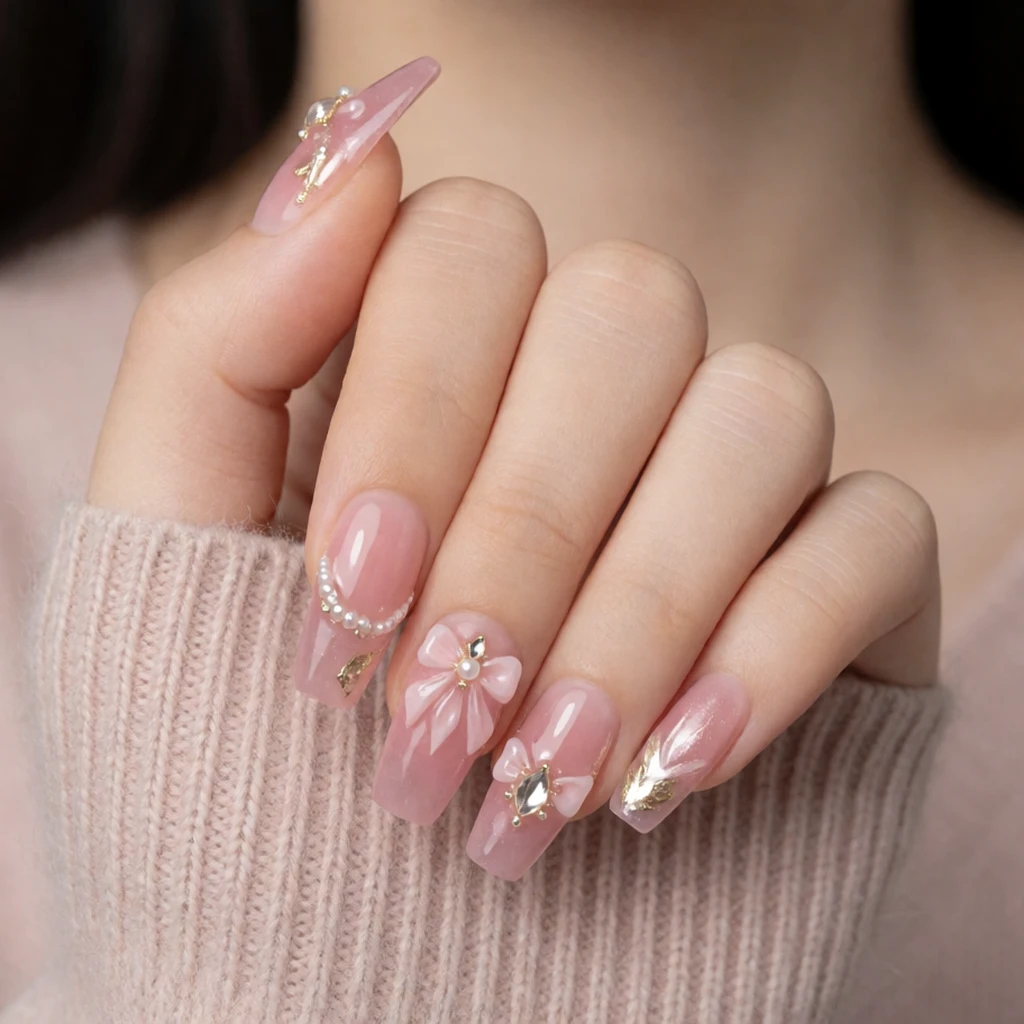 3D Nail Charms
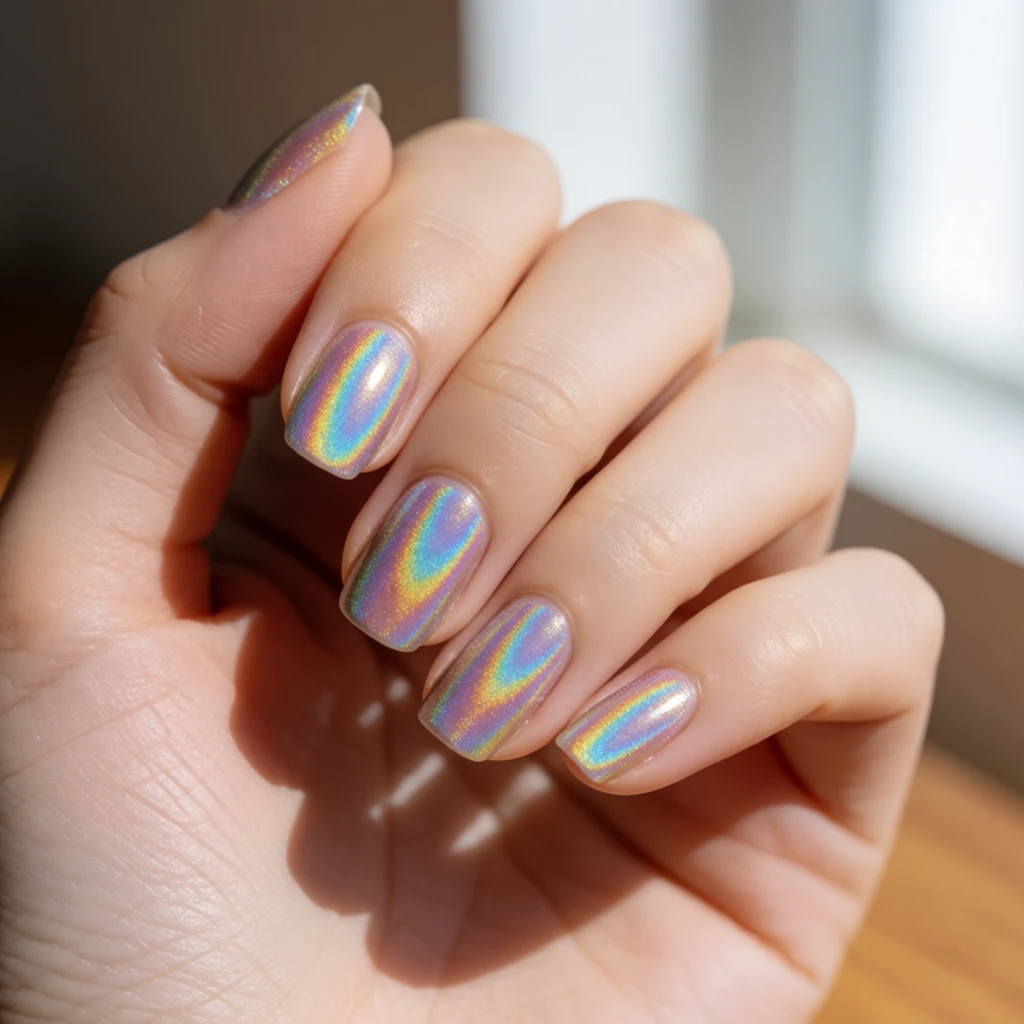 Holographic Nail Polish
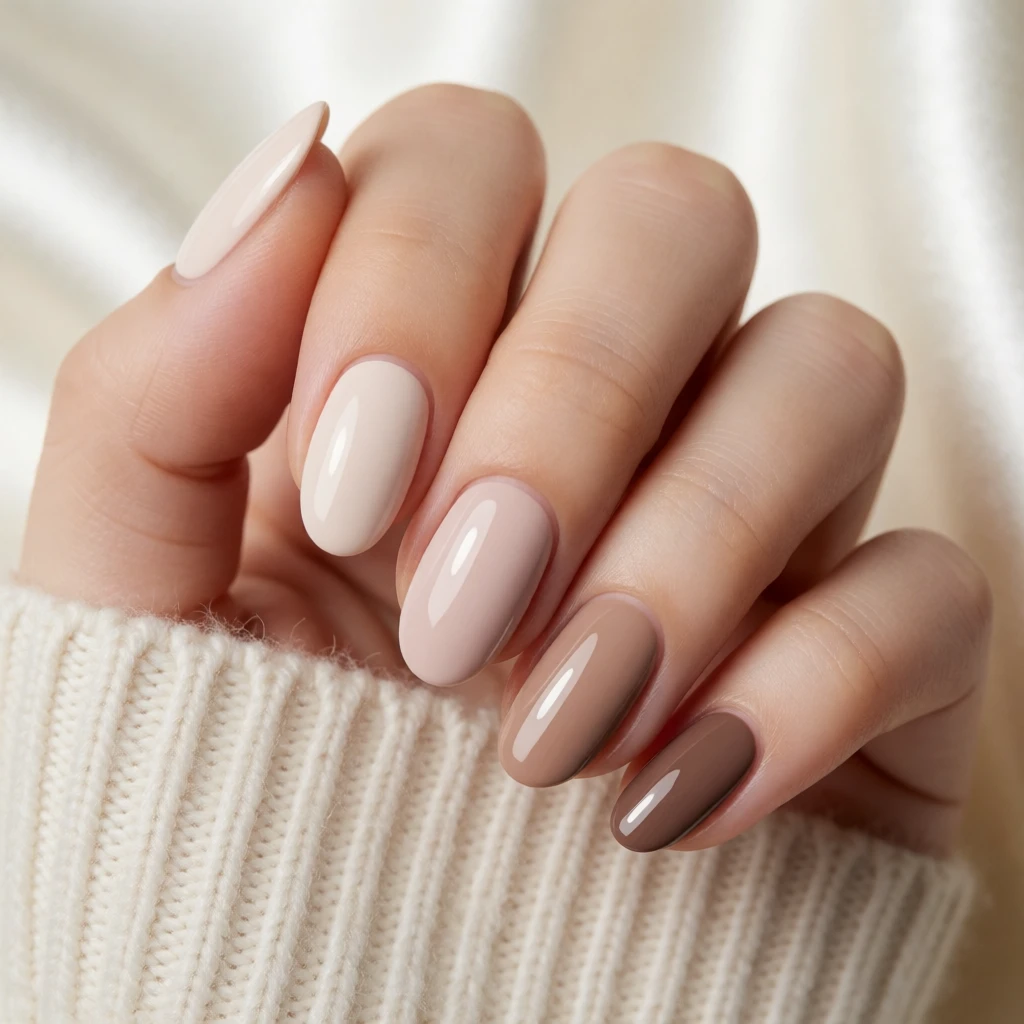 Nude Nail Polish Colors
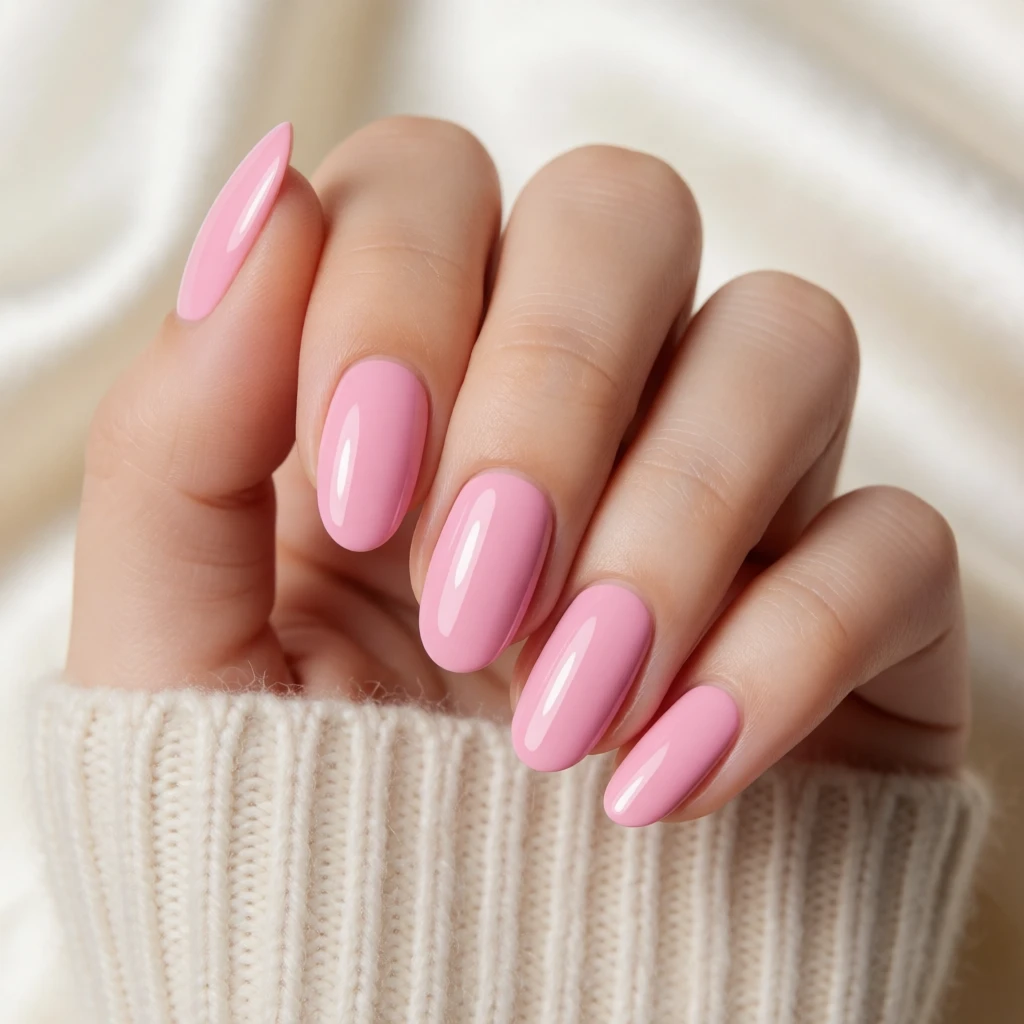 Pink Nail Polish Colors
Keep exploring
Related guides
 Press-on sets
Press-on nails are three-dimensional covers that add length, while gel nail stickers are flat and conform to the natural nail's existing shape. Stickers replace or layer over polish; press-ons replace the entire nail surface.
 Art & themes
Nail art is painted or applied with tools and polish, while gel nail stickers are pre-made decals or strips that bond to the nail in one step without painting. Stickers can be part of nail art but are not the same as hand-painted designs.
- Polish, wraps & stickers
This supplies group includes multiple adhesive formats like wraps, stickers, and other application aids. Gel nail stickers specifically are the subset made from gel material that may or may not require lamp curing.
Questions
Do gel nail stickers need a UV lamp?
It depends on the format. Fully cured gel stickers do not need a lamp; you apply them like regular stickers and seal with top coat. Semi-cured gel strips require a UV or LED lamp to finish curing after application. Check the product label to determine which format you have.
How long do gel nail stickers last?
Fully cured stickers sealed with top coat last five to seven days. Semi-cured gel strips last ten to fourteen days because they bond through curing. Longevity depends on your daily activities, how well you prepped the nail, and whether you used a top coat.
Can you layer gel nail stickers over regular polish?
Yes for fully cured stickers. Apply your regular polish, let it dry completely, then press the sticker onto the nail and seal with top coat. Semi-cured strips are not designed to layer over polish; they replace the polish layer entirely.
How do you remove gel nail stickers?
Fully cured stickers can be peeled off or removed with acetone like regular polish. Semi-cured gel strips remove the same way as gel polish: soak cotton pads in acetone, wrap each nail with foil, wait ten to fifteen minutes, then gently push the strip off with a wooden stick. Never force or peel, which can damage the natural nail.
Generated references, not tested products. How shopping links work.