Nail ideas / Polish, wraps & stickers
Nail supplies guide: polish, tools, wraps, and stickers
Every nail look starts with supplies, and understanding what each product does makes the difference between a set that works and a drawer of things that never get used. Here is what to buy, in what order, and why.
Three rules
Start here.
- Build from the base up: always start with a clear base coat, add colour, add any art or embellishment while the top layer is still slightly tacky, and seal everything with a top coat last.
- Buy one detail tool at a time — a liner brush opens up more design possibilities on its own than three tools you don't know how to use yet.
- Match your supply complexity to your current skill level: stickers and wraps require no tools; dotting tools and foil require moderate control; detailed linework with a liner brush requires practice before the results look intentional.
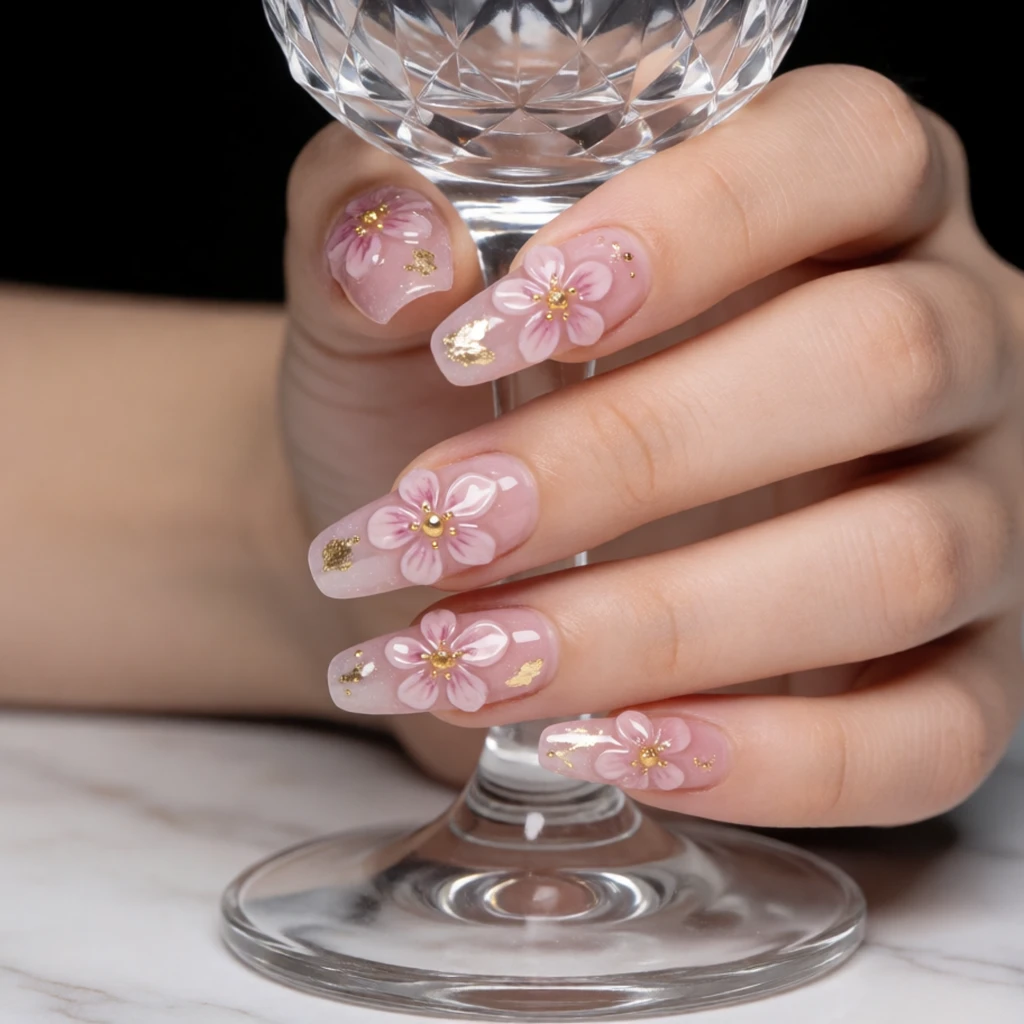
A styling reference, not a product photo.
What defines it
The basics
Nail supplies is the category that covers everything applied to the natural nail to create colour and design: regular lacquer polish, nail art stickers, nail wraps, foil flakes, rhinestones and charms, liner brushes, dotting tools, and French tip guides. These are the raw materials of a DIY manicure. Unlike press-on sets, which arrive pre-designed, supplies require you to make choices about colour, design, and technique — and the result is shaped entirely by your decisions and your level of practice.
The category has two layers. The first is base products: regular lacquer gives you colour and is the canvas everything else goes on. Nail art stickers and wraps go on top of or instead of polish to add decoration with minimal tools; stickers are pressure-sensitive decals, wraps are full-nail adhesive strips. The second layer is detail products: liner brushes apply fine lines and motifs, dotting tools place dots and florals, foil flakes go over a tacky gel layer to create a metallic effect, and rhinestones and charms are placed wet into top coat. French tip guides are adhesive stencils that keep the white tip line of a French manicure straight.
This group differs from the press-ons group in that nothing here adds length or pre-built structure — you are always working on the natural nail as it exists. It differs from the art group in that the art group uses these supplies to produce specific themed looks; this group is about understanding the supplies themselves so you can pick the right ones before you start designing.
Repeatable combinations
Formulas to try
- Regular lacquer + nail art stickers + top coat
- The lowest-effort combination for adding design to a plain colour base: apply two coats of polish, place stickers while the surface is dry, and seal with top coat. Works on any nail length and requires no tools beyond the polish brush.
- Regular lacquer + French tip guides + contrasting polish
- Adhesive tip guides hold the nail in place against the nail so you can paint a clean line across the tip in a contrasting colour — white on nude for a classic French, a colour on white for a modern variation. Remove the guide before the tip colour dries fully for a cleaner edge.
- Regular lacquer + liner brush + detail motif
- A liner brush dipped in polish lets you draw fine lines, leaf shapes, or tiny lettering directly on a cured colour base. Practice the stroke on paper first so your hand knows the pressure required before you go near the nail.
- Foil flakes + transfer gel + base colour
- Apply transfer gel over a cured base colour, wait until the gel is tacky rather than wet, press foil flakes onto the gel, then lift to reveal the transfer. The effect works over any colour but reads most clearly over dark or jewel-toned bases.
- Top coat (wet) + rhinestones or pearls + pressing tool
- Place rhinestones and pearl charms into a freshly applied top coat using a dotting tool or the tip of a liner brush handle, then add a second top coat over the embellishment once the first layer has set to seal the stones. This prevents lifting at the edges.
Your needs, your plans
Before you buy
- Skill and practice
- Stickers and wraps deliver near-instant results regardless of experience; liner brushes and foil flakes need time to learn. Assess honestly where your current skill sits and buy supplies that will actually get used rather than supplies that require a level of practice you haven't built yet.
- Finish and weather
- Regular lacquer can chip more quickly in humid conditions or when hands are frequently wet; a good top coat applied over any supply extends wear across all conditions. Store nail polish away from heat and sunlight to keep the formula from thickening prematurely.
- Occasion and removal
- Nail art stickers and wraps are easy to remove with standard nail polish remover; foil and rhinestones require a soak and some patience to release without smearing. If you need to change your nail look frequently, favour supplies with simpler removal over those with complex layering.
- Budget and expansion
- A bottle of regular lacquer and a pack of nail art stickers is the cheapest entry point in the entire supplies category and gives you immediate results. Add dotting tools and liner brushes as your second purchase, then foil and rhinestones once you are comfortable with layering — this order means every purchase directly adds to what you can already do.
From what you own
Build it and repeat it
If your supply collection starts from zero, the single most versatile purchase is a small set of regular lacquers in your preferred colour family plus a pack of nail art stickers in a design you genuinely like. This combination requires no technique beyond applying polish cleanly and pressing a sticker straight. Once you have practised base application and top-coat sealing a few times, add a dotting tool. A single two-ended dotting tool in small and large sizes unlocks floral patterns, polka dots, and the base technique for more complex motifs.
Your third purchase should be either a liner brush (if you want to draw designs) or nail art foil flakes with transfer gel (if you want metallic effects without chrome powder). Both expand your range significantly at low cost. Rhinestones and pearl charms come last because they require confident top-coat placement to look intentional rather than accidental. French tip guides are a standalone practical purchase worth adding any time you want a cleaner tip line than freehand allows — they are inexpensive, reusable within a session, and make the difference between an approximate French and a precise one.
Shop the pieces
16 polish, wraps & stickers pieces
Links open similar items, not the pictured ones.
-
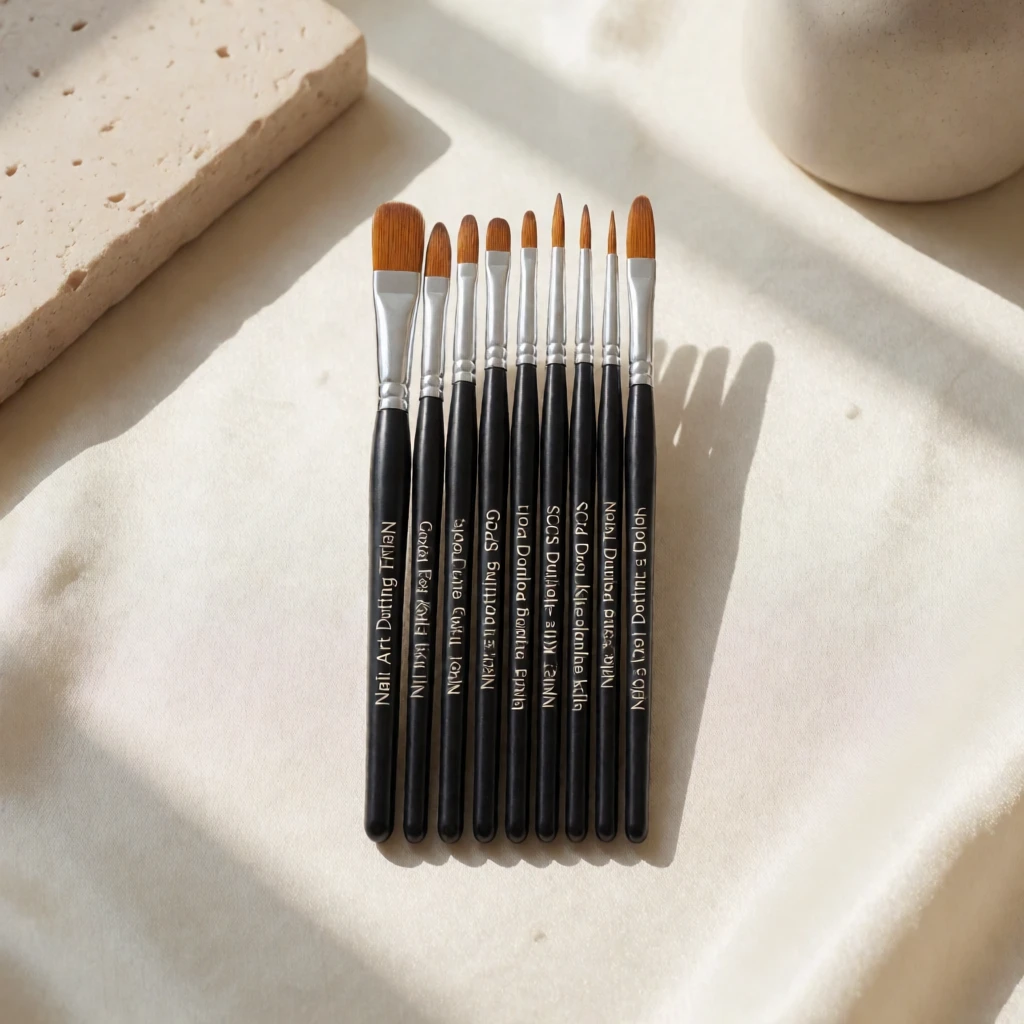
Nail art liner brushes
What to check
A real product chosen to look like the picture. The picture is a styling reference, not this exact product.
-
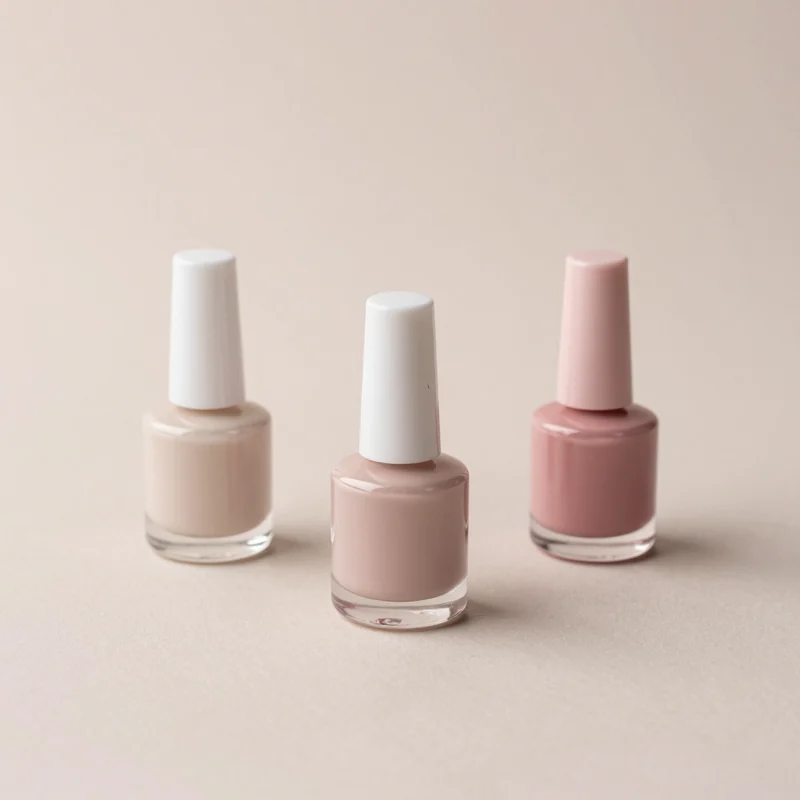
Nude pink nail polish set
What to check
A real product chosen to look like the picture. The picture is a styling reference, not this exact product.
-
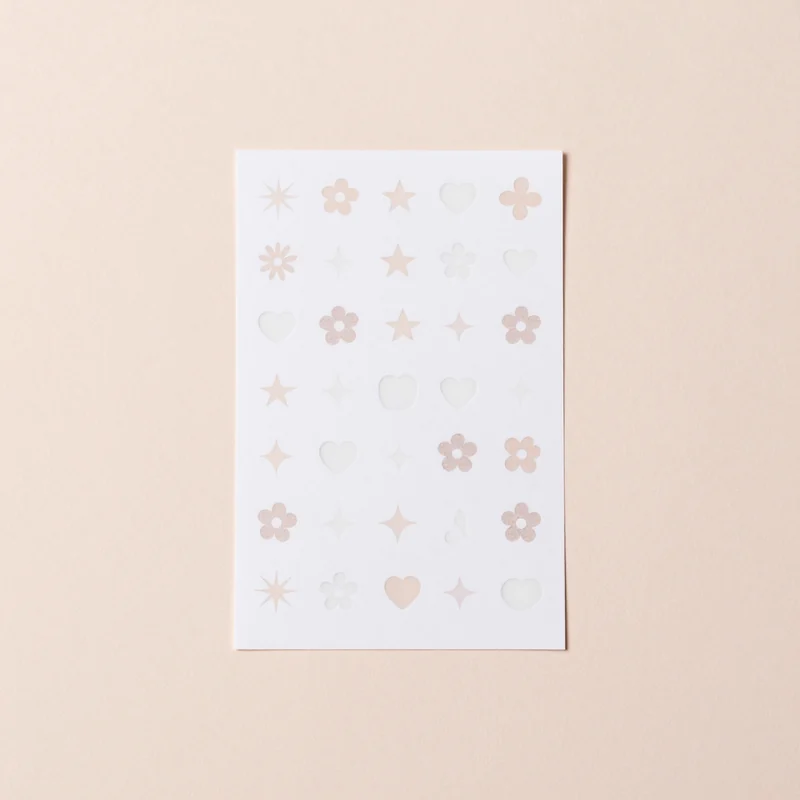
Stickers
What to check
A real product chosen to look like the picture. The picture is a styling reference, not this exact product.
-
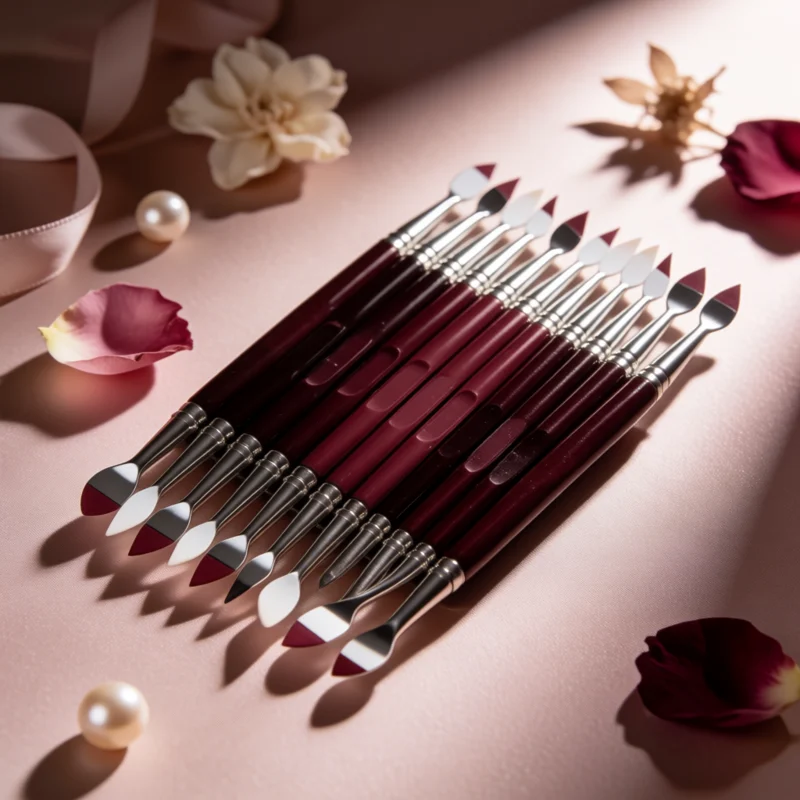
Nail art dotting tools
What to check
A real product chosen to look like the picture. The picture is a styling reference, not this exact product.
-
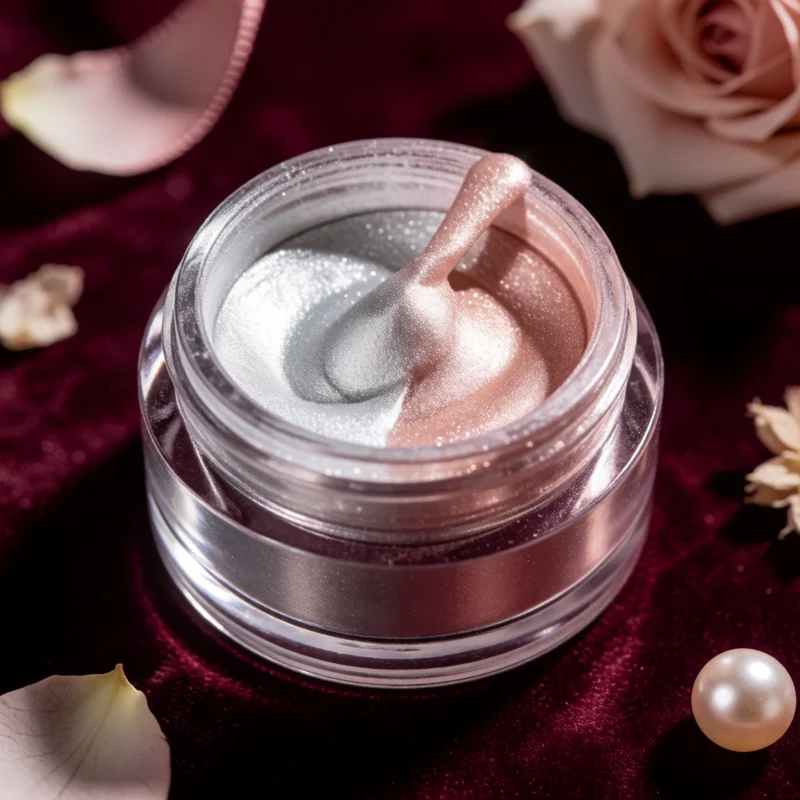
Chrome nail powder
What to check
A real product chosen to look like the picture. The picture is a styling reference, not this exact product.
-
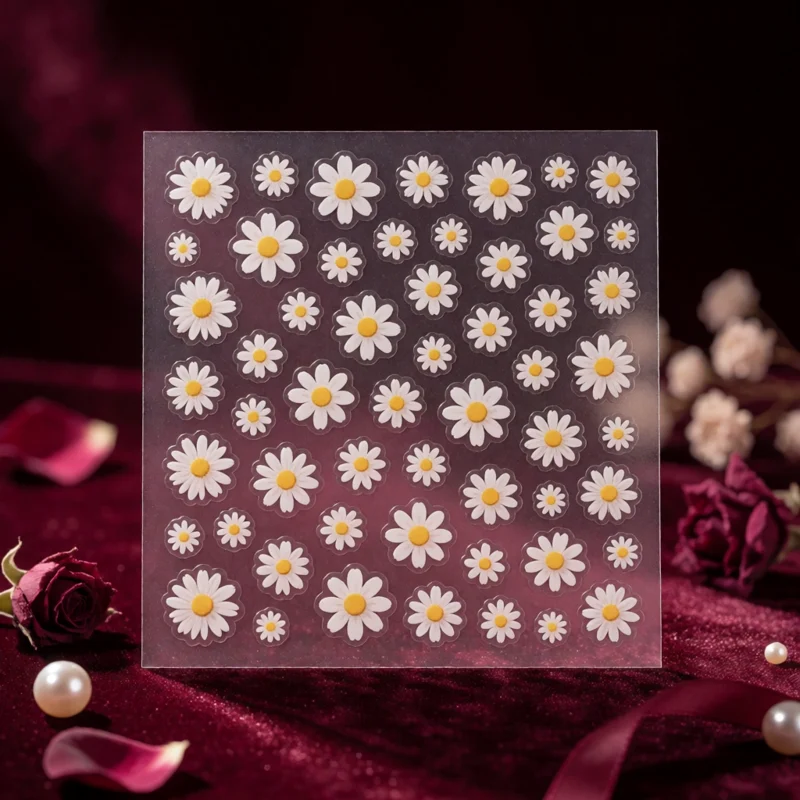
Floral nail stickers
What to check
A real product chosen to look like the picture. The picture is a styling reference, not this exact product.
-
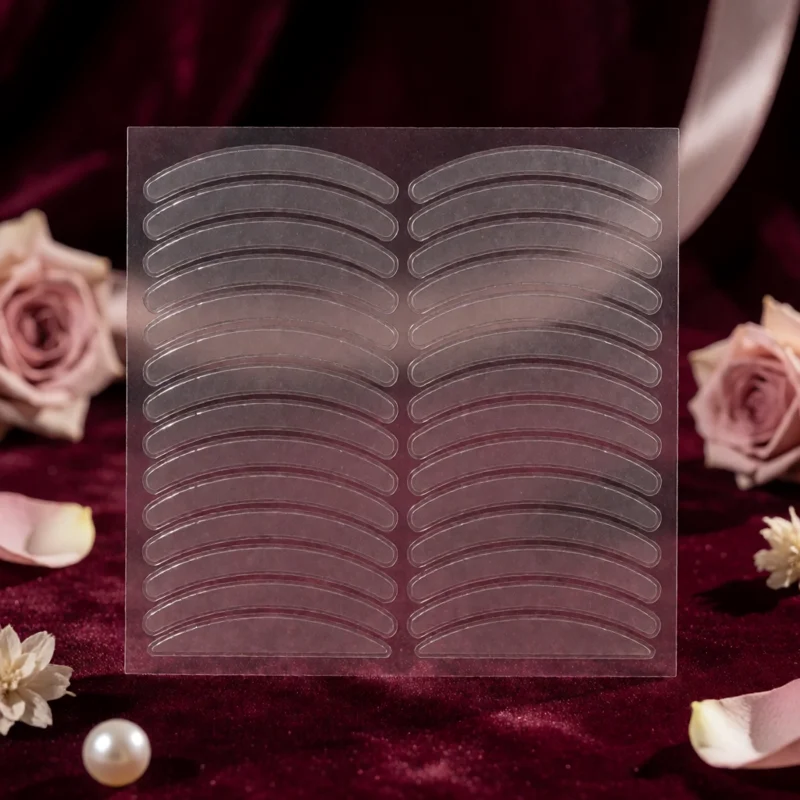
French tip guides
What to check
A real product chosen to look like the picture. The picture is a styling reference, not this exact product.
-
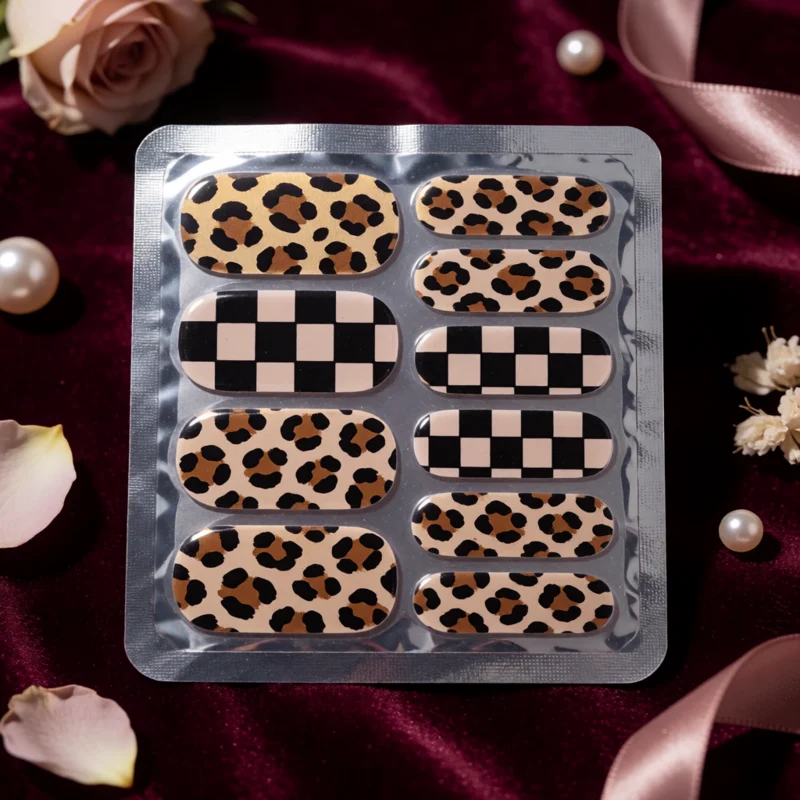
Gel nail wraps
What to check
A real product chosen to look like the picture. The picture is a styling reference, not this exact product.
Show all 16 pieces
-
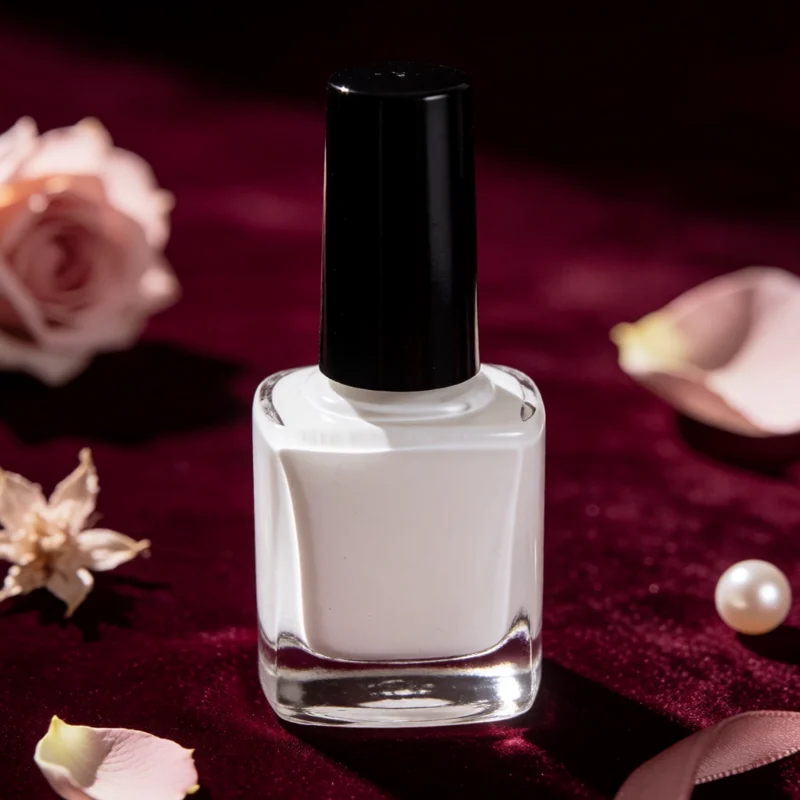
Milky white nail polish
What to check
A real product chosen to look like the picture. The picture is a styling reference, not this exact product.
-
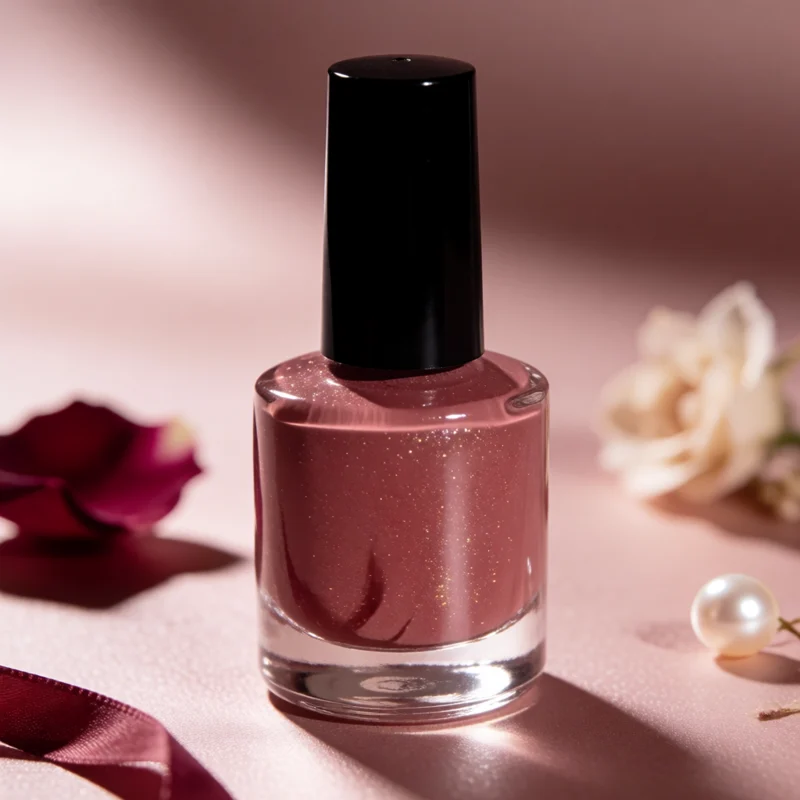
Rosy nude nail polish
What to check
A real product chosen to look like the picture. The picture is a styling reference, not this exact product.
-
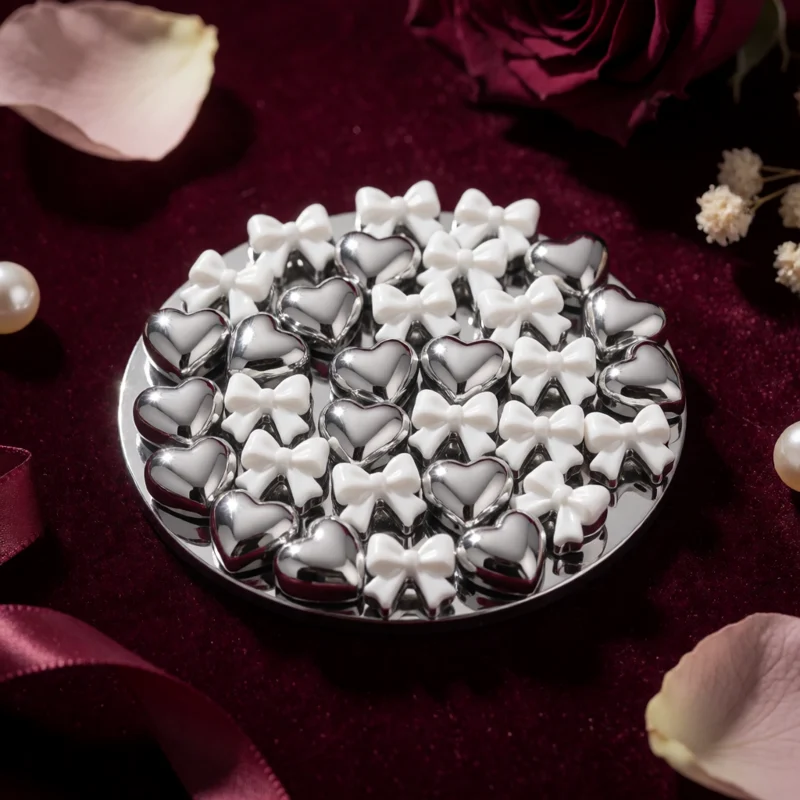
3D heart and bow nail charms
What to check
A real product chosen to look like the picture. The picture is a styling reference, not this exact product.
-
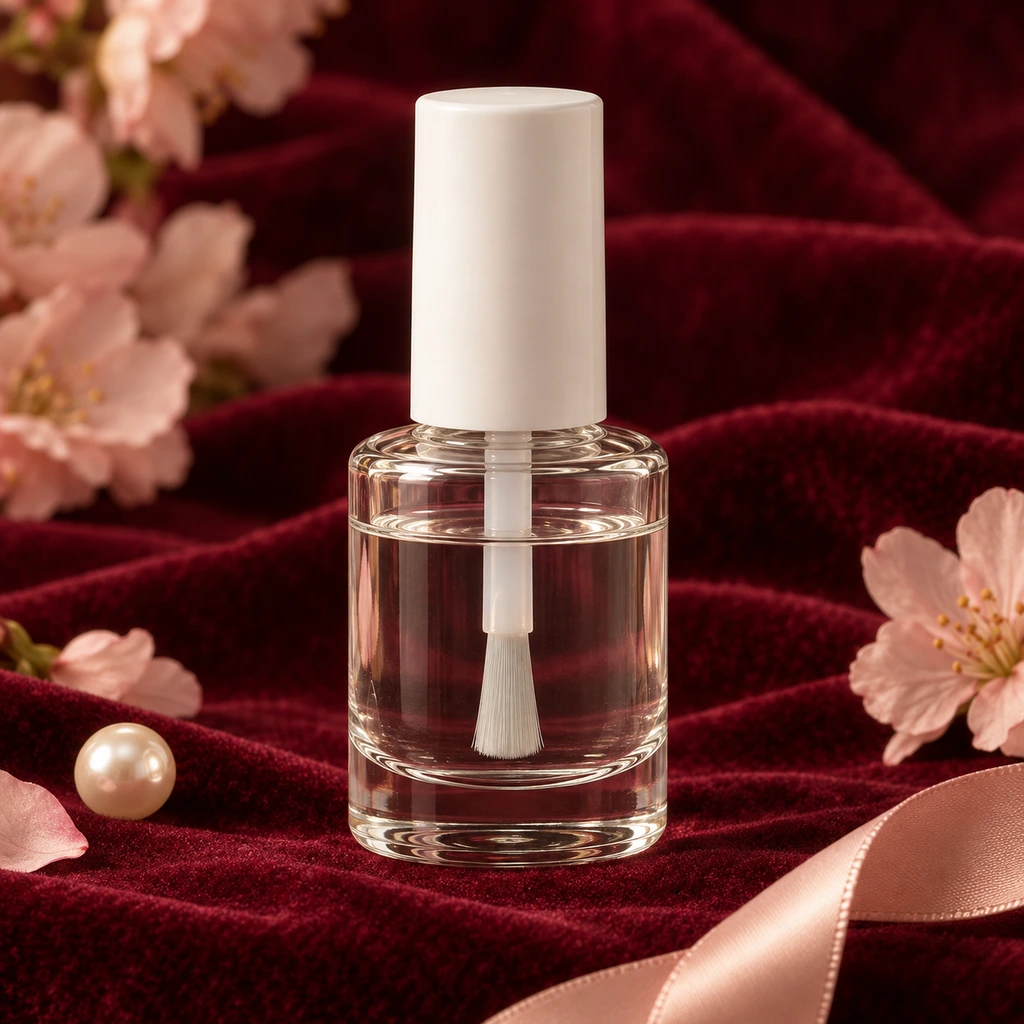
Base coat
What to check
A real product chosen to look like the picture. The picture is a styling reference, not this exact product.
-
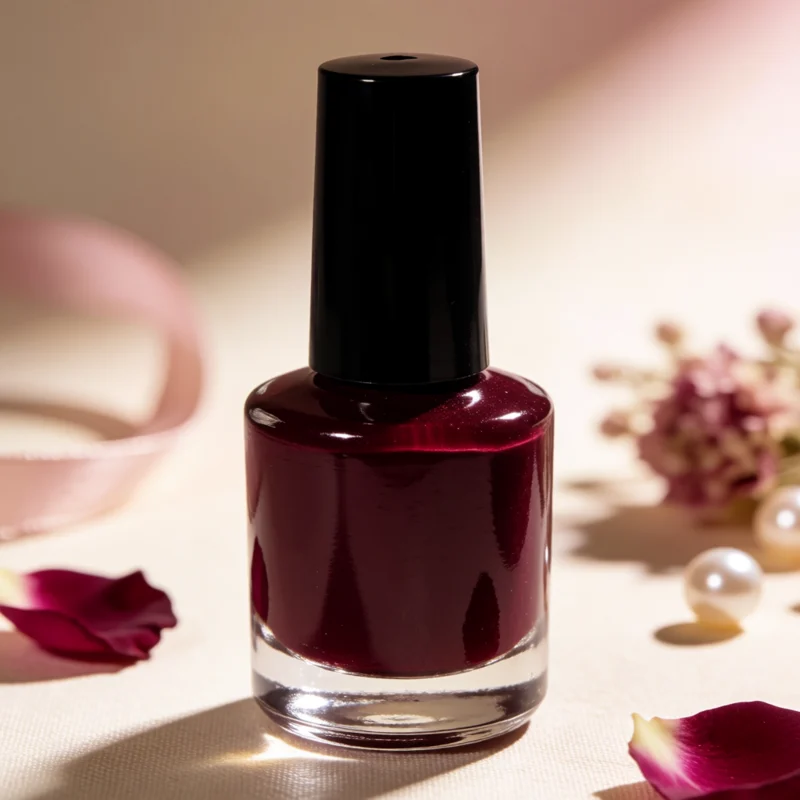
Burgundy nail polish
What to check
A real product chosen to look like the picture. The picture is a styling reference, not this exact product.
-
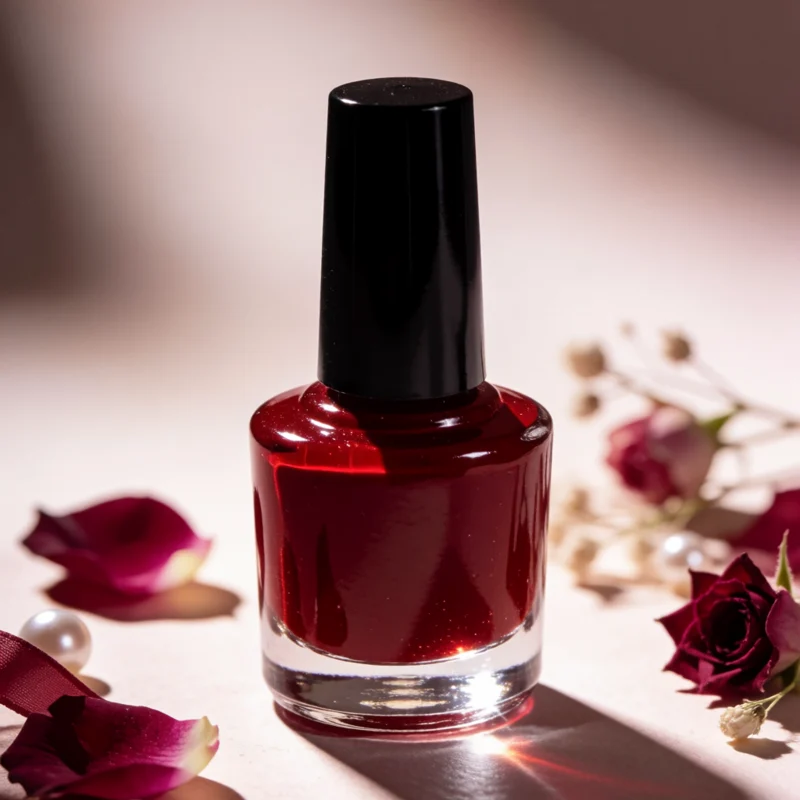
Cherry red nail polish
What to check
A real product chosen to look like the picture. The picture is a styling reference, not this exact product.
-
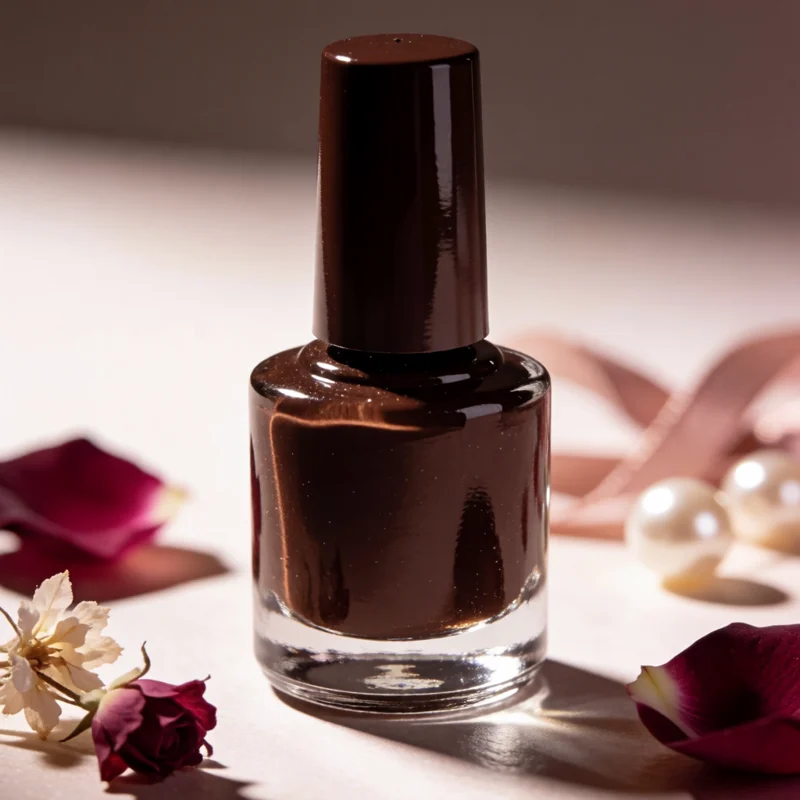
Chocolate brown nail polish
What to check
A real product chosen to look like the picture. The picture is a styling reference, not this exact product.
-
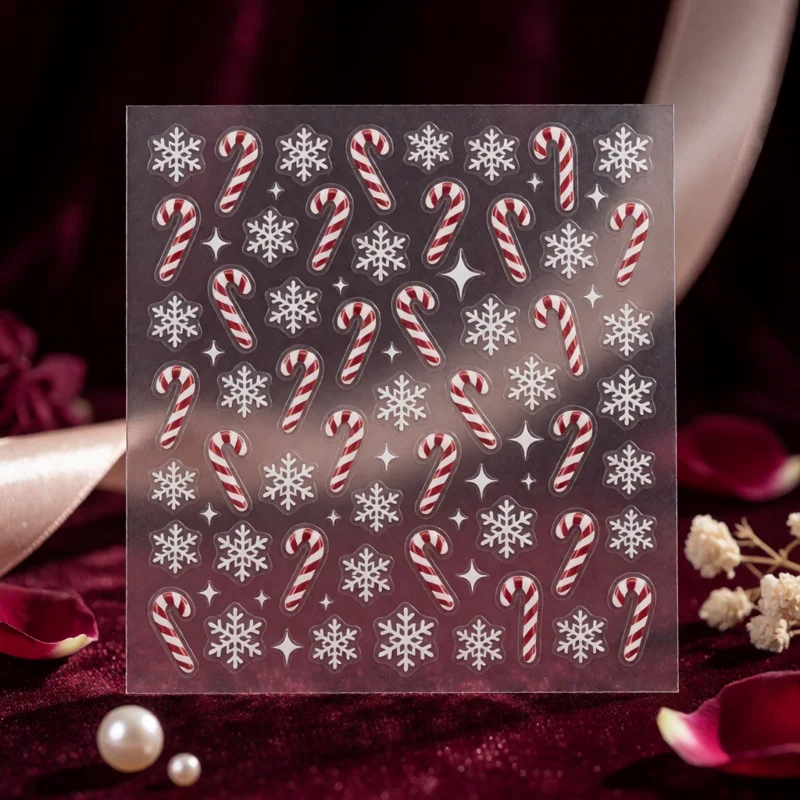
Christmas nail stickers
What to check
A real product chosen to look like the picture. The picture is a styling reference, not this exact product.
The gallery
20 polish, wraps & stickers looks
Open a look to see its pieces.
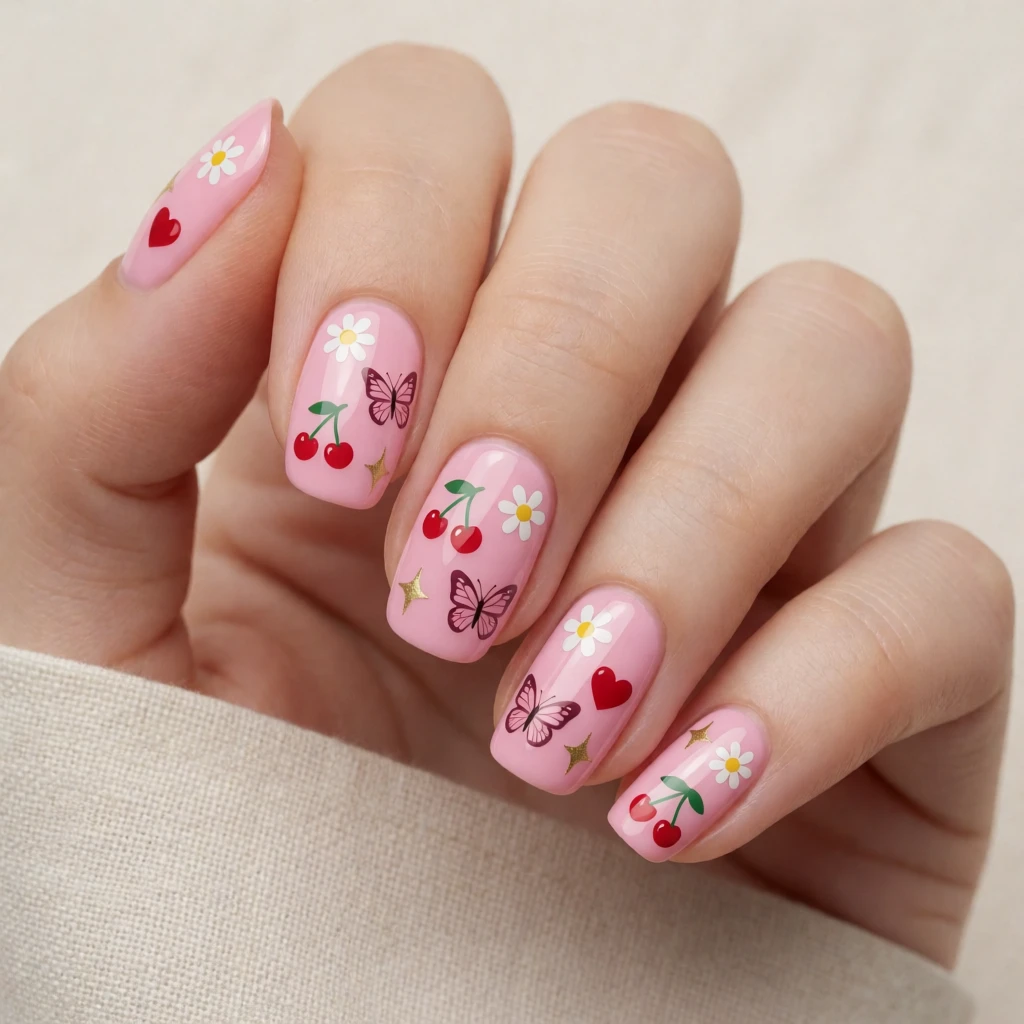 Nail Stickers
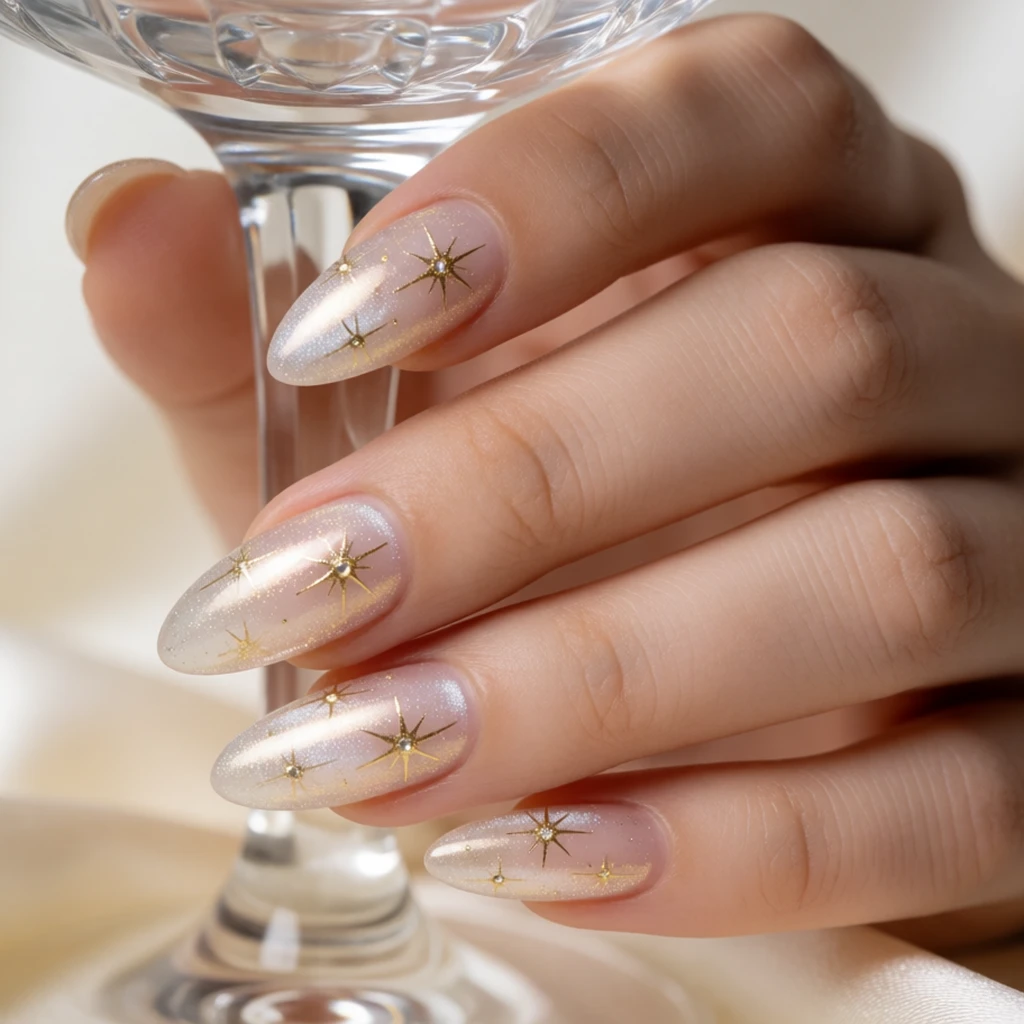 Nail Art Stickers
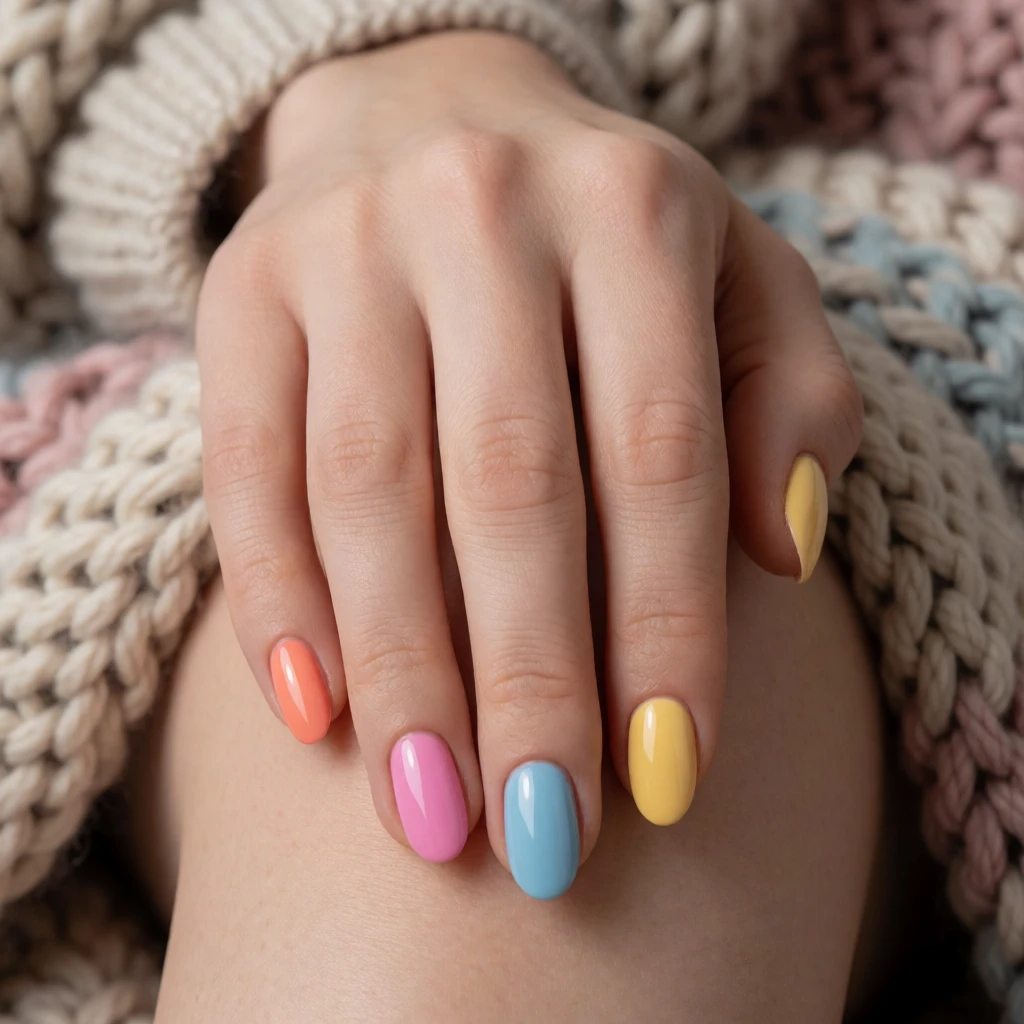 Summer Nail Polish Colors
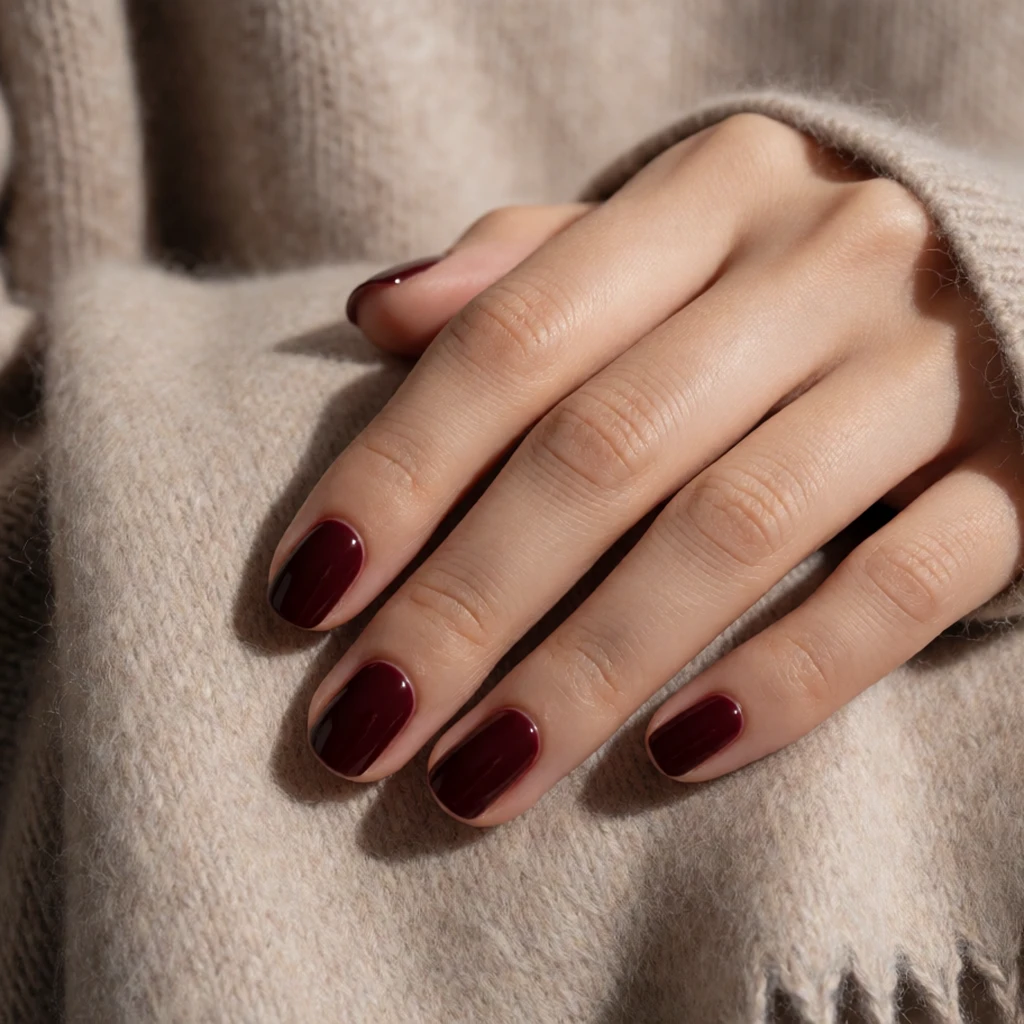 Red Nail Polish Colors
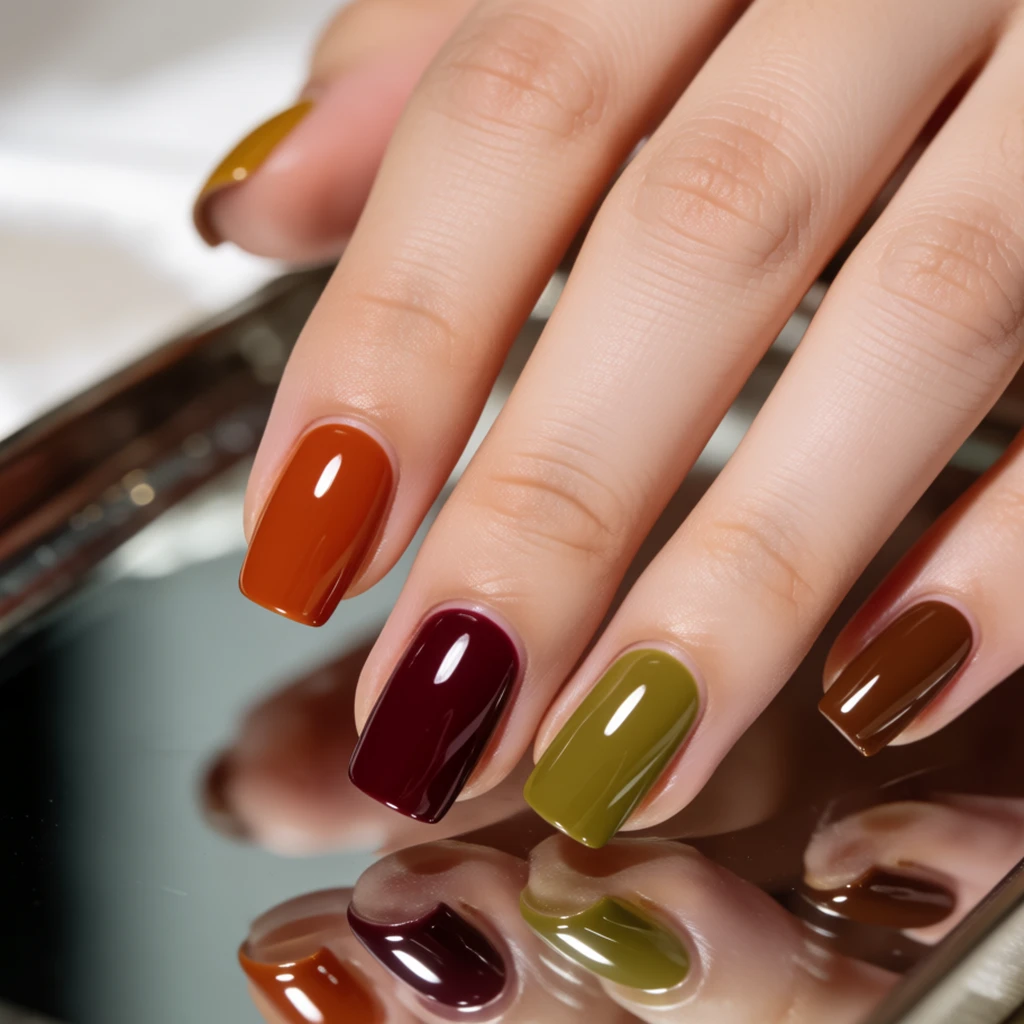 Nail Polish Colors Fall
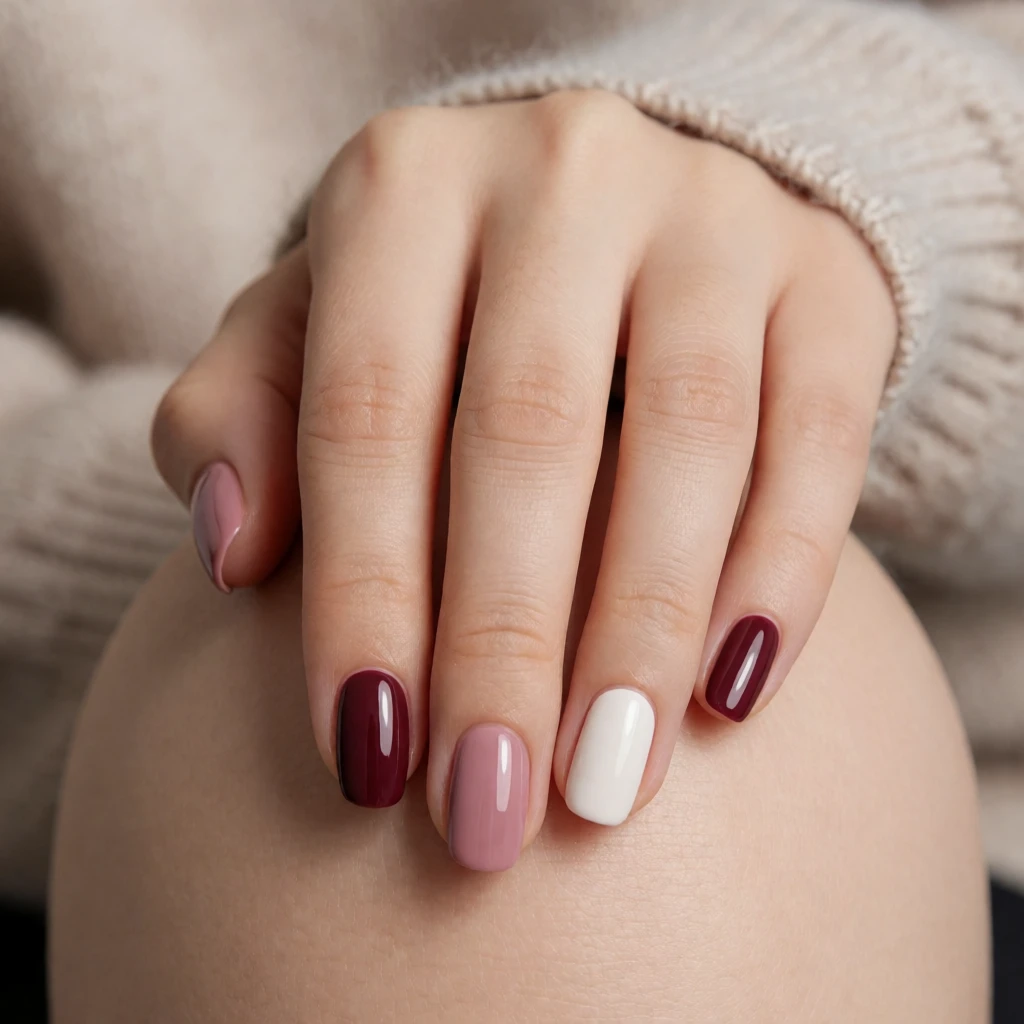 Nail Wraps
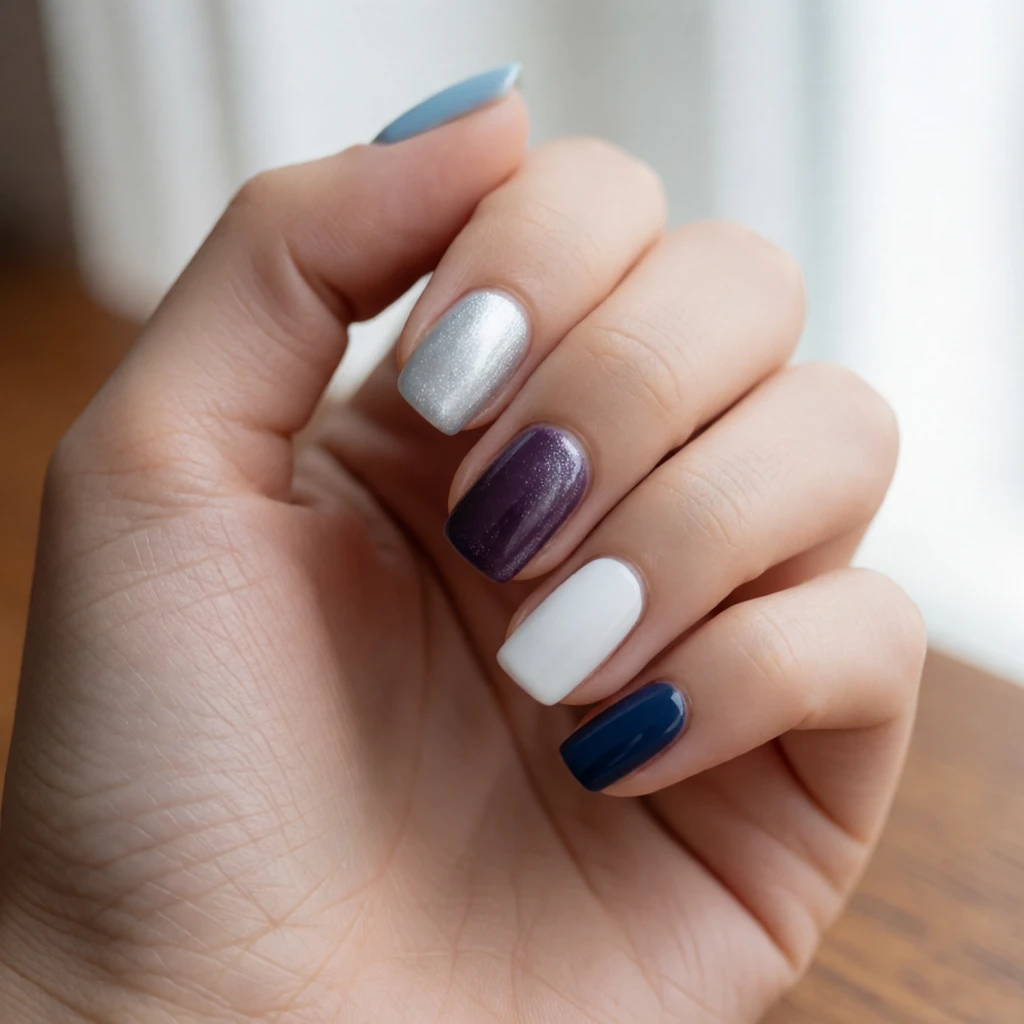 Winter Nail Polish Colors
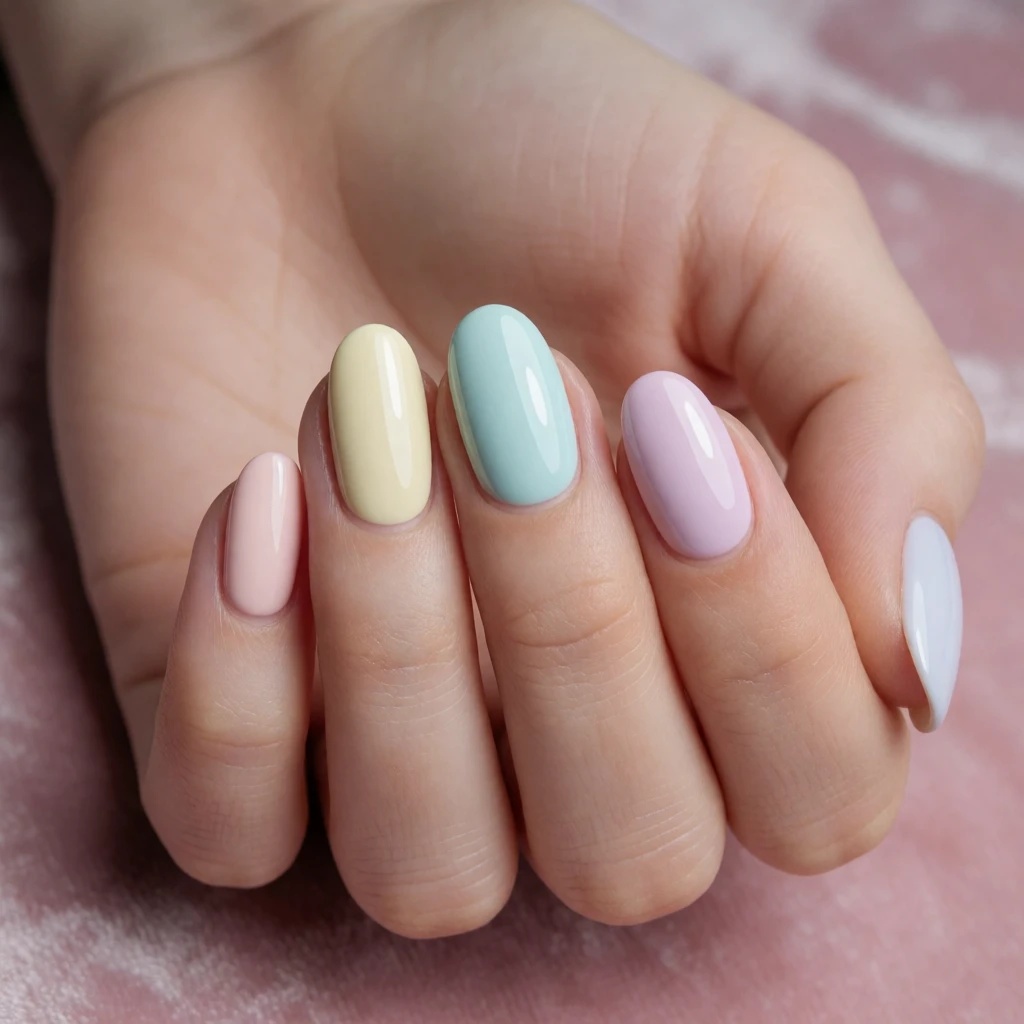 Cute Nail Polish Colors
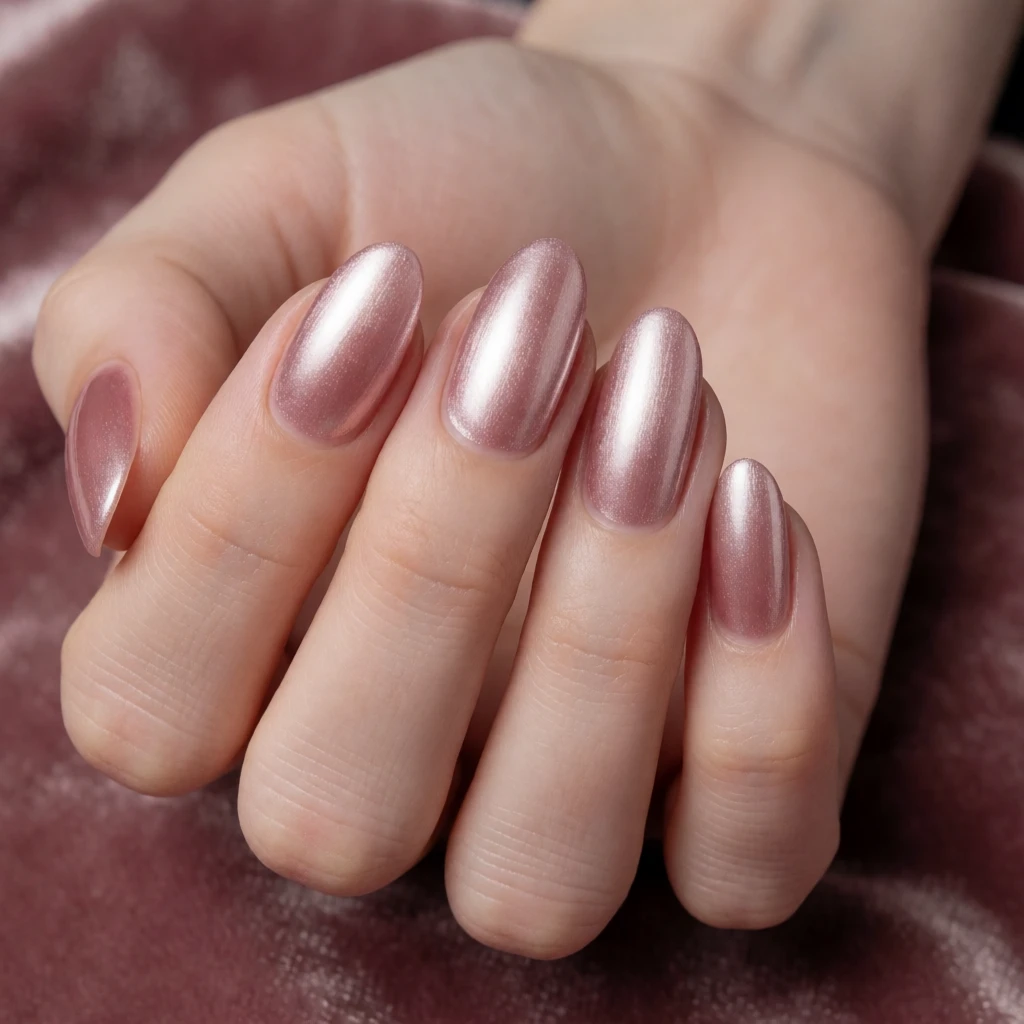 Chrome Nail Powder
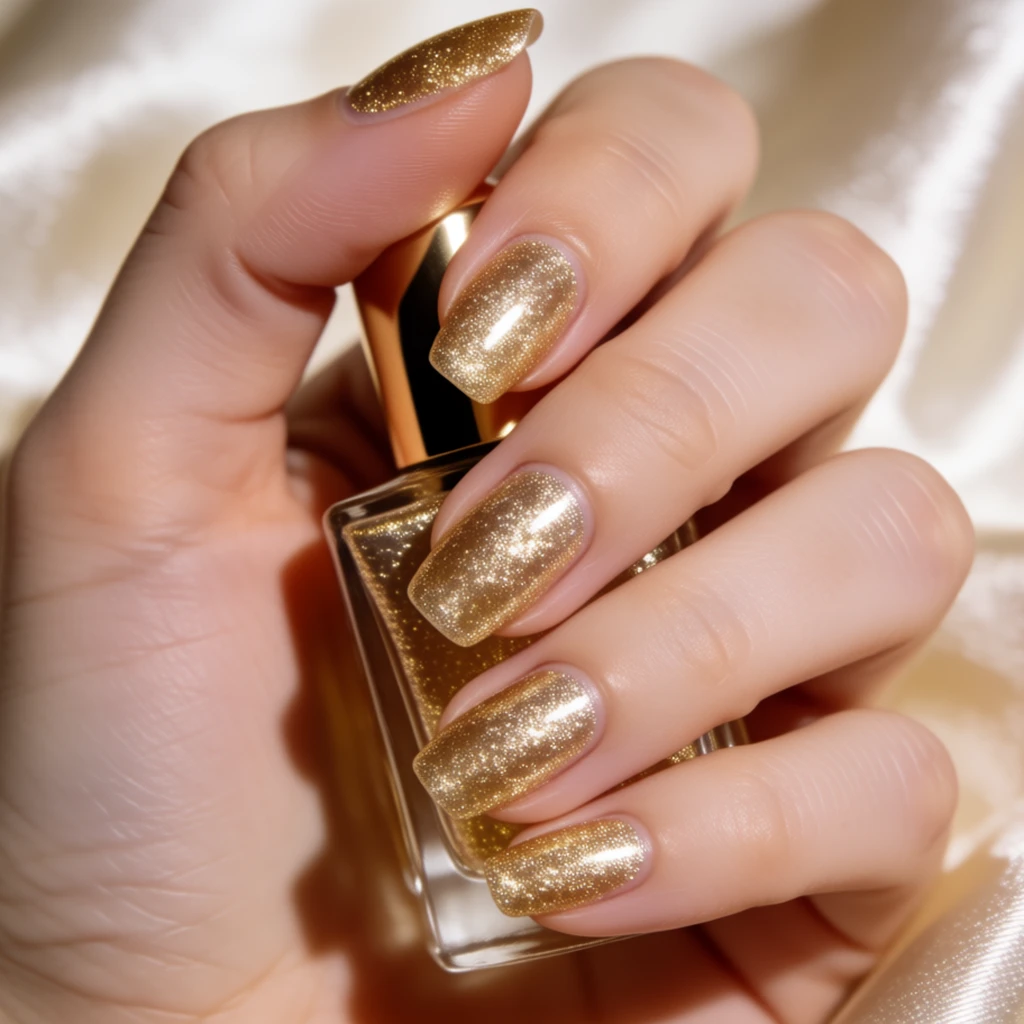 Glitter Nail Polish
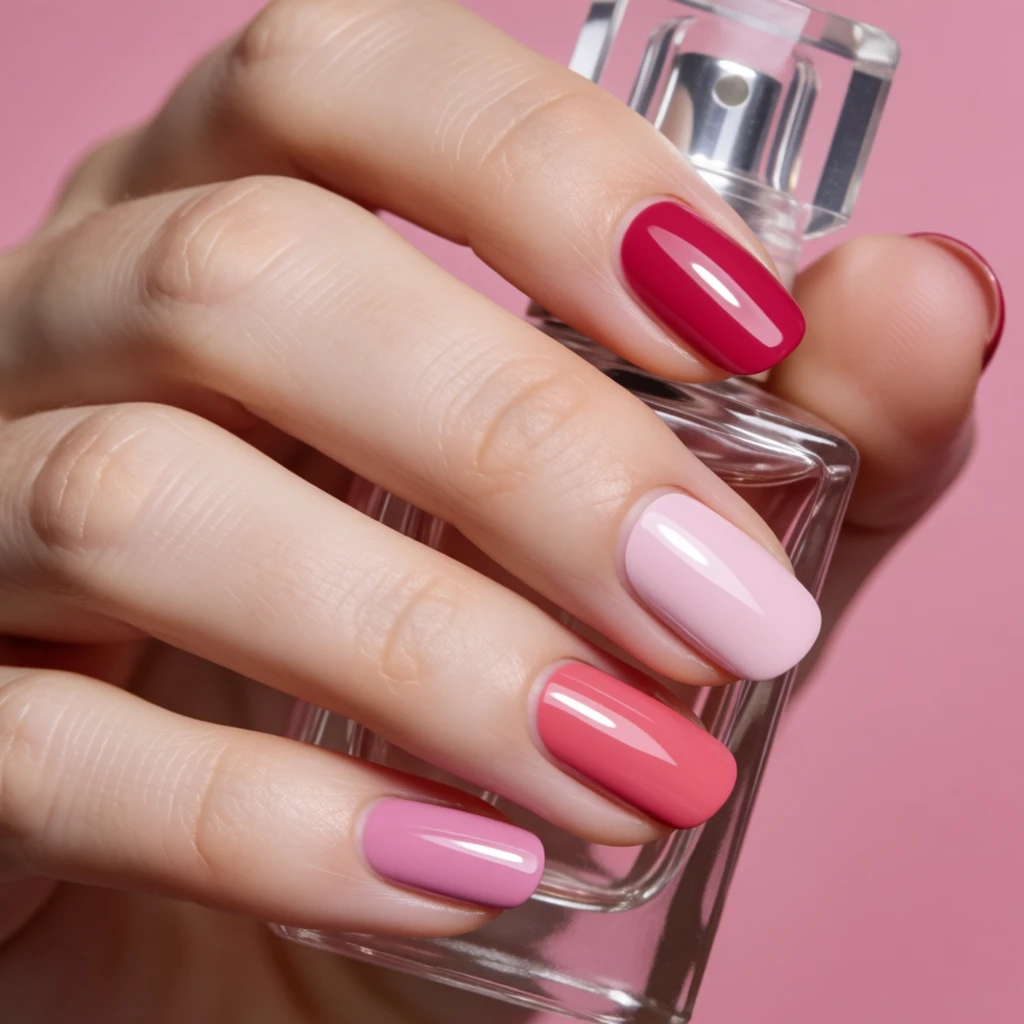 Jelly Nail Polish
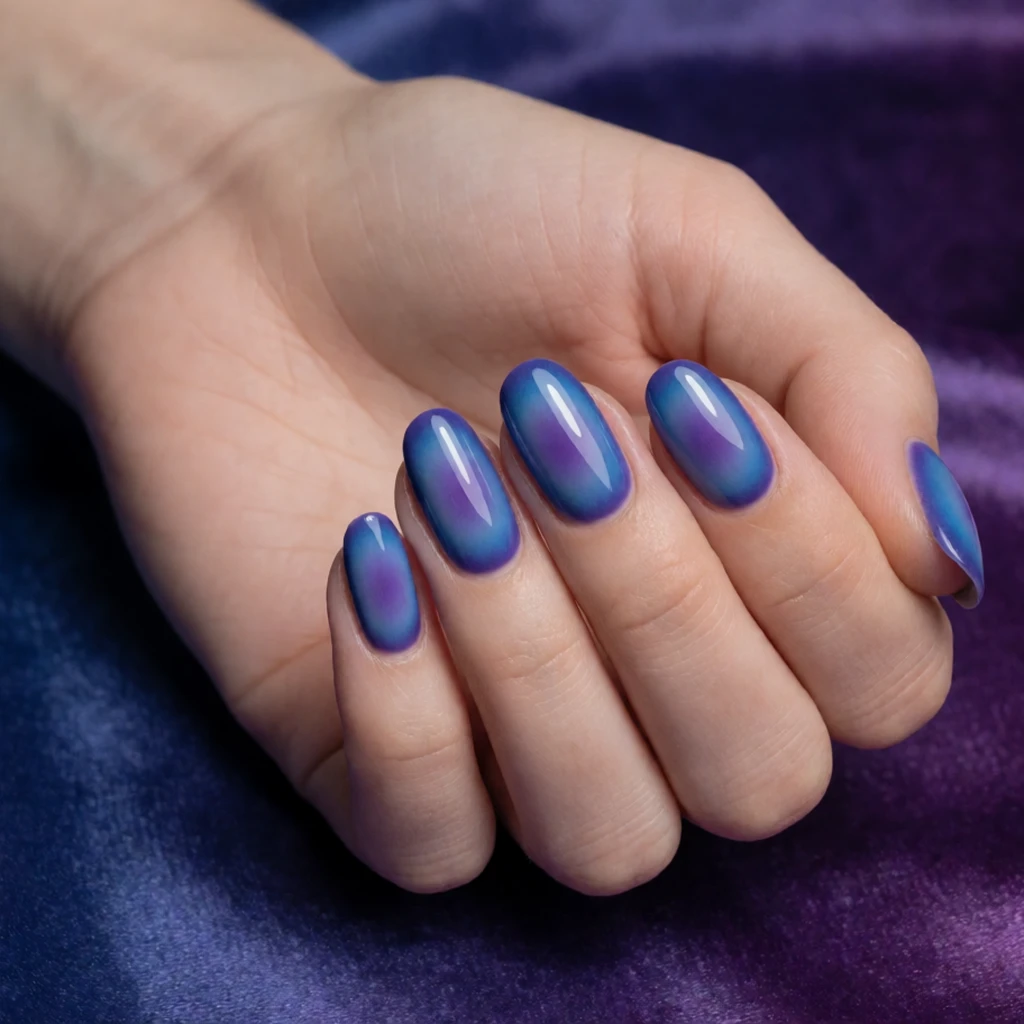 Cat Eye Nail Polish
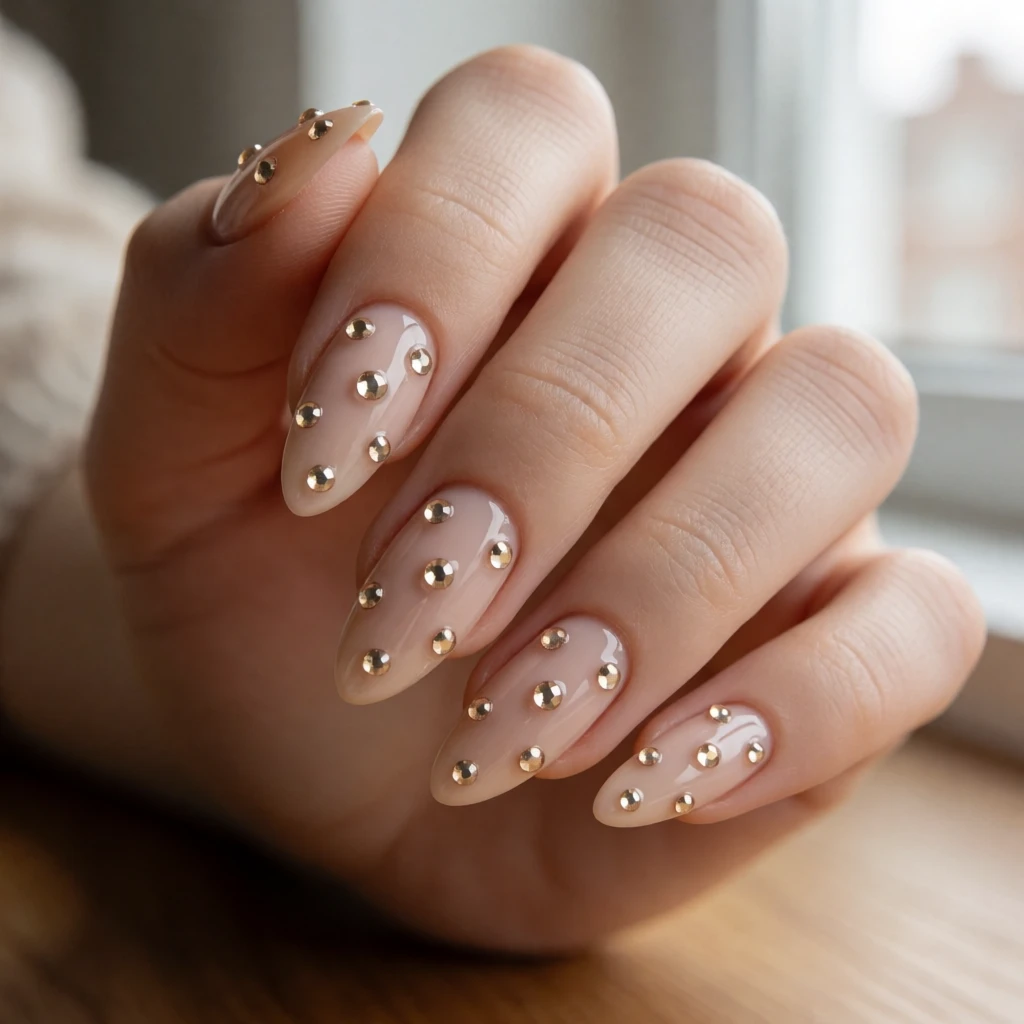 Nail Rhinestones
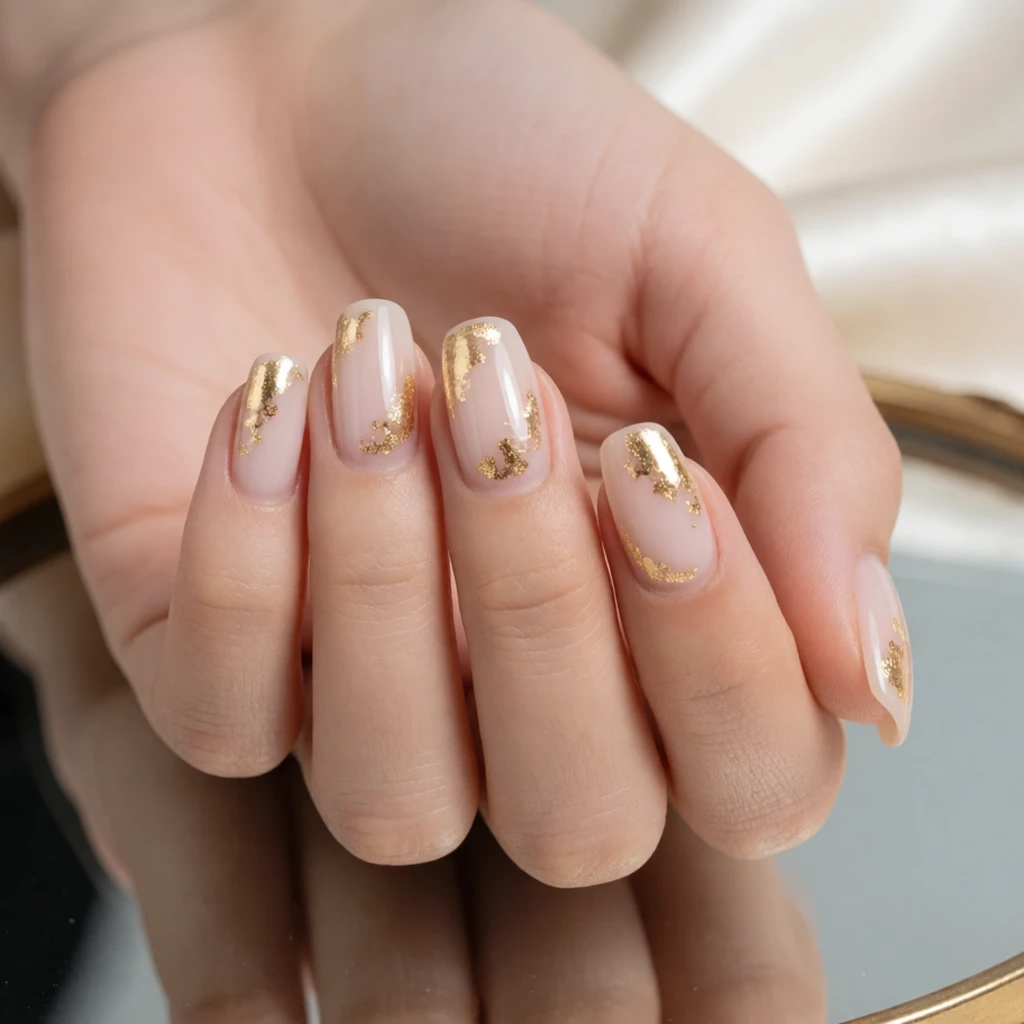 Gold Foil Nail Art
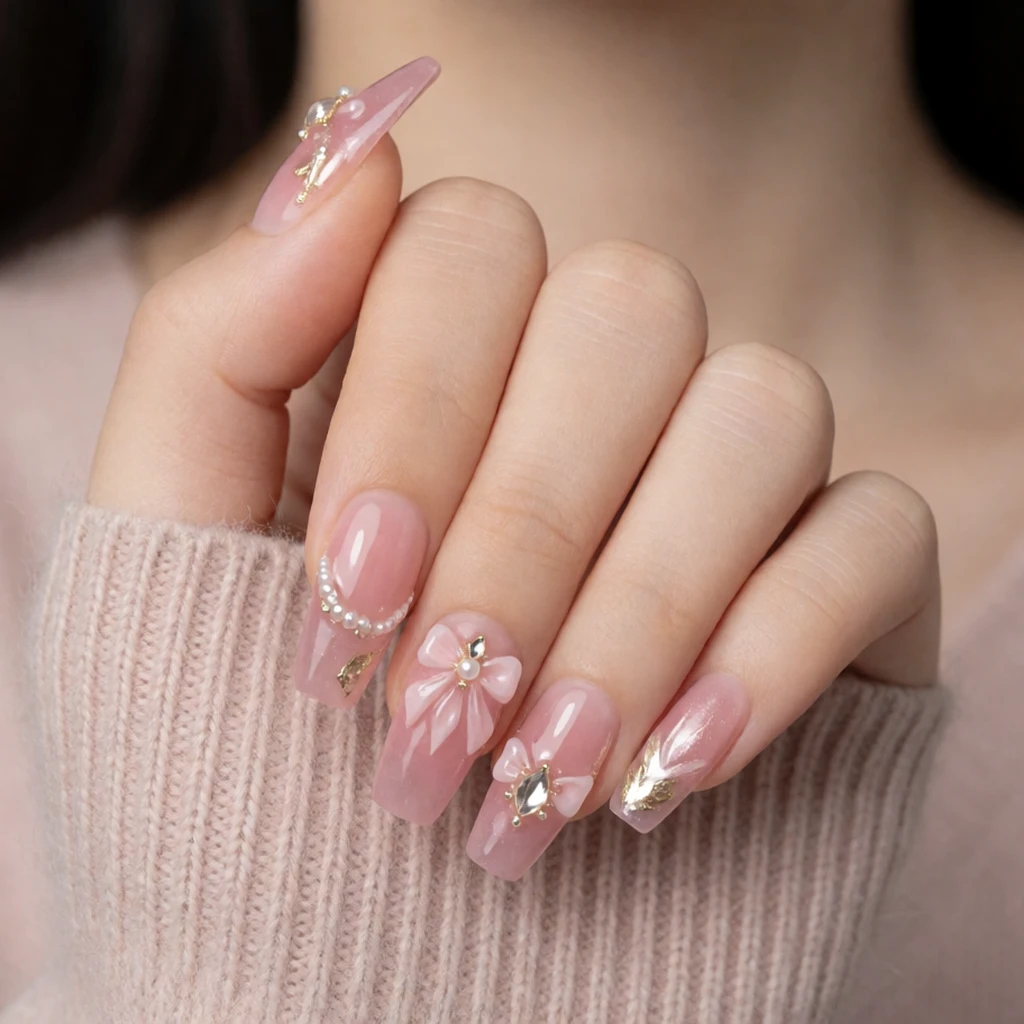 3D Nail Charms
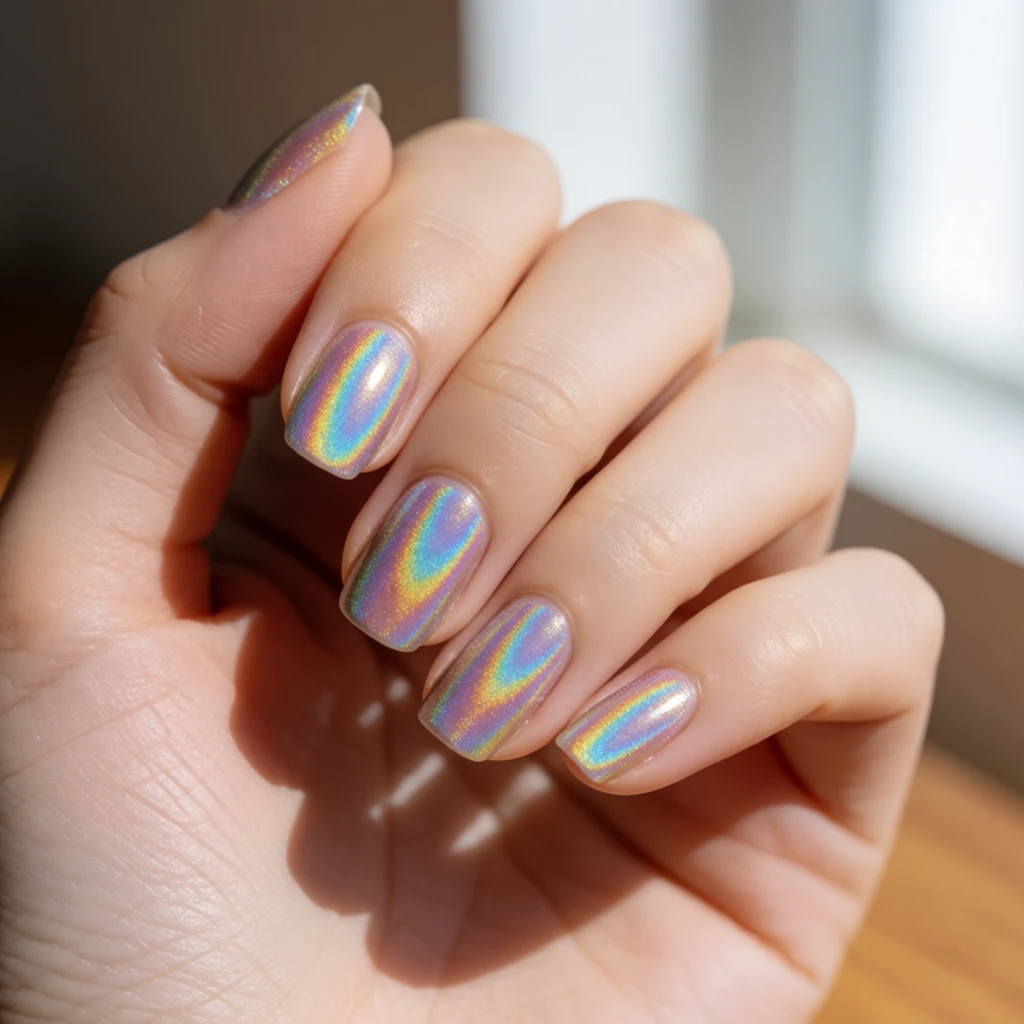 Holographic Nail Polish
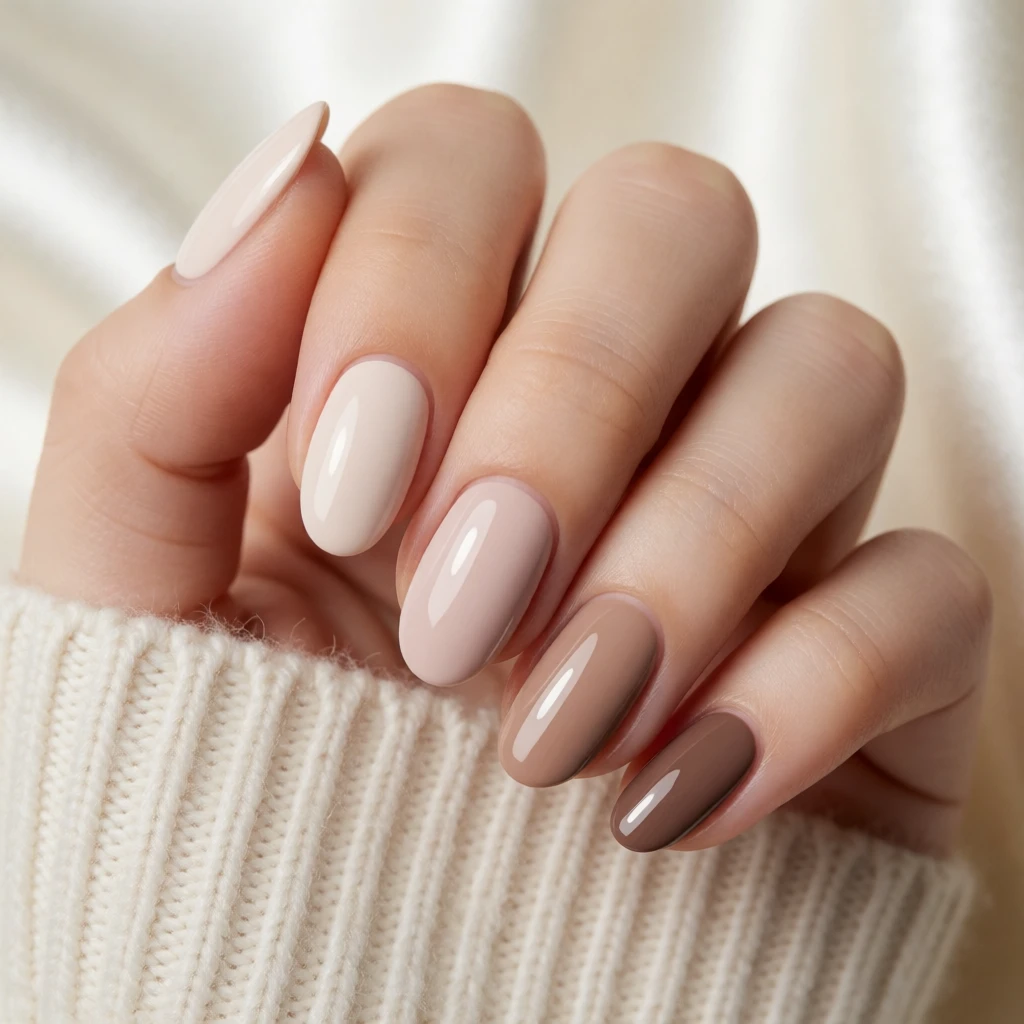 Nude Nail Polish Colors
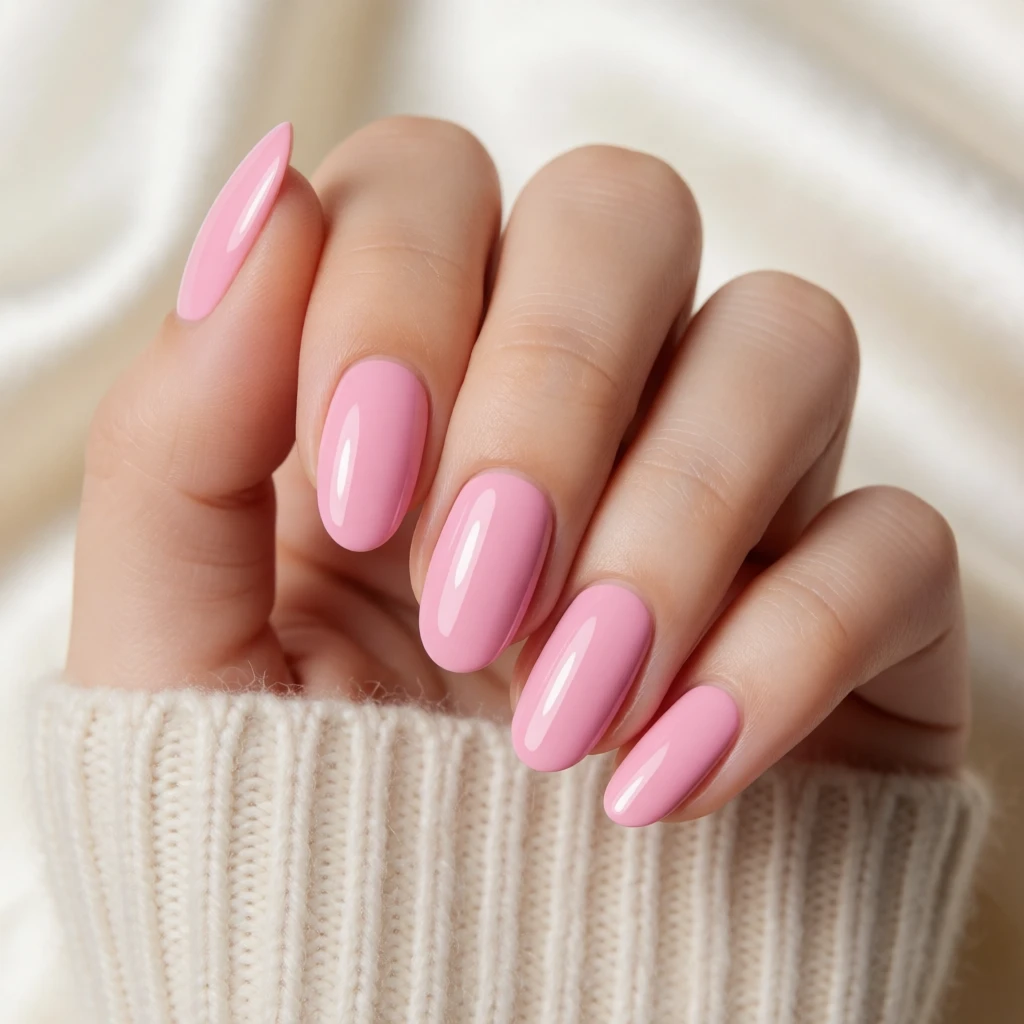 Pink Nail Polish Colors
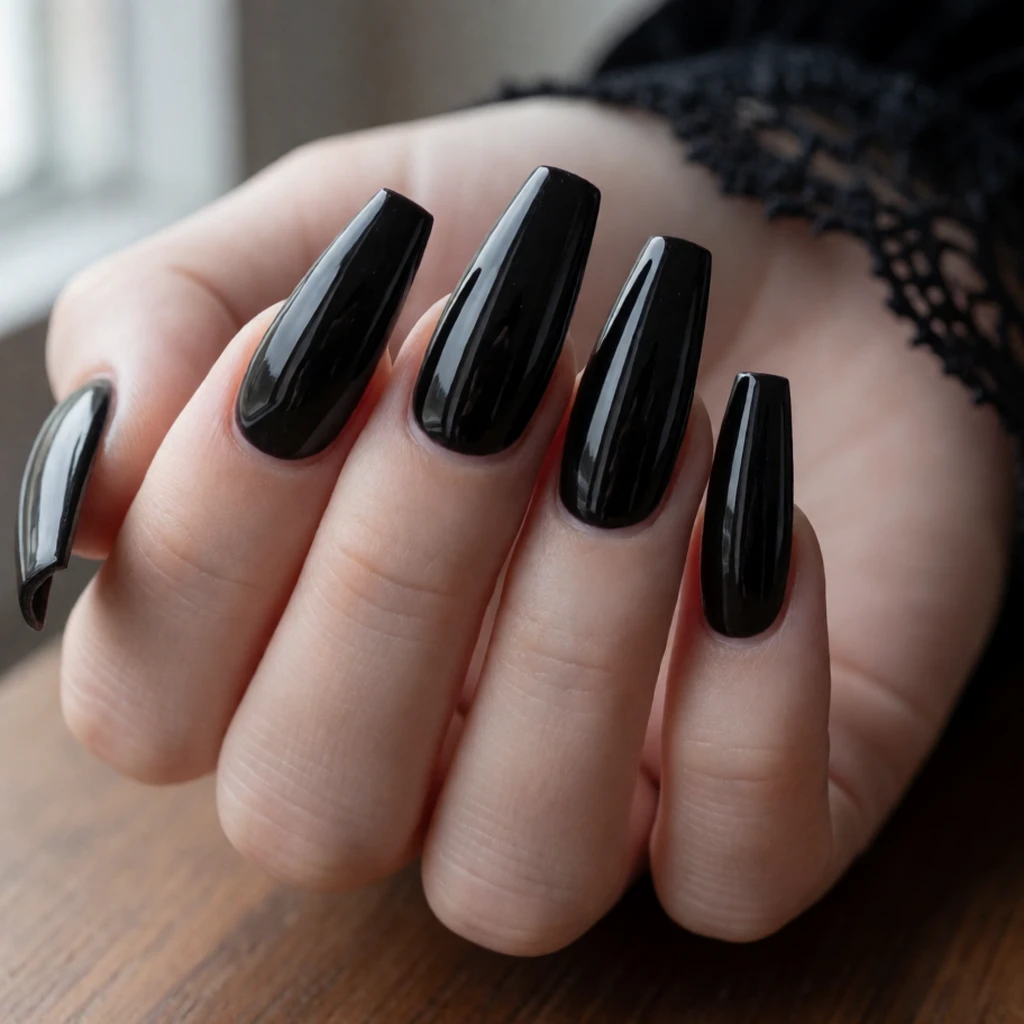 Black Nail Polish
Keep exploring
Related guides
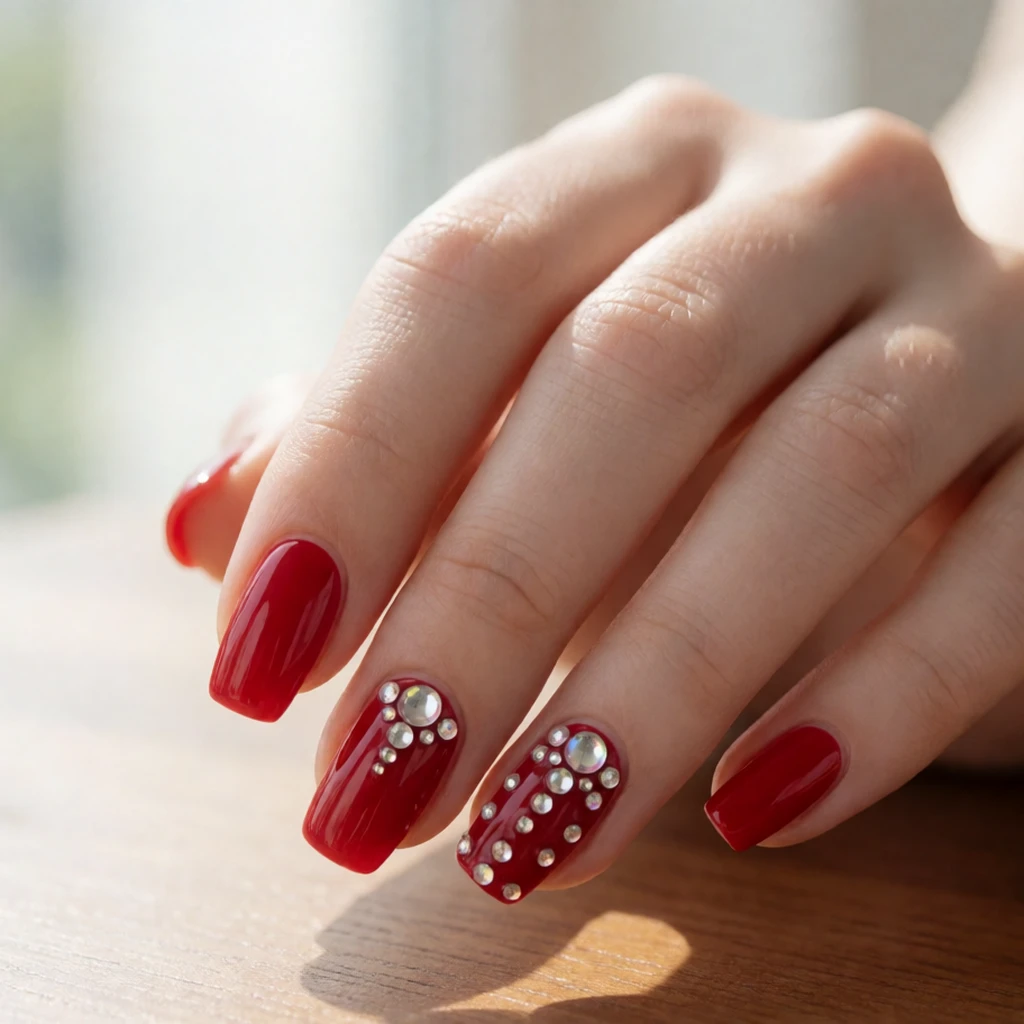 Press-on sets
Press-ons arrive with art already applied and add pre-shaped length; supplies in this group are applied to the natural nail and require you to build the design yourself.
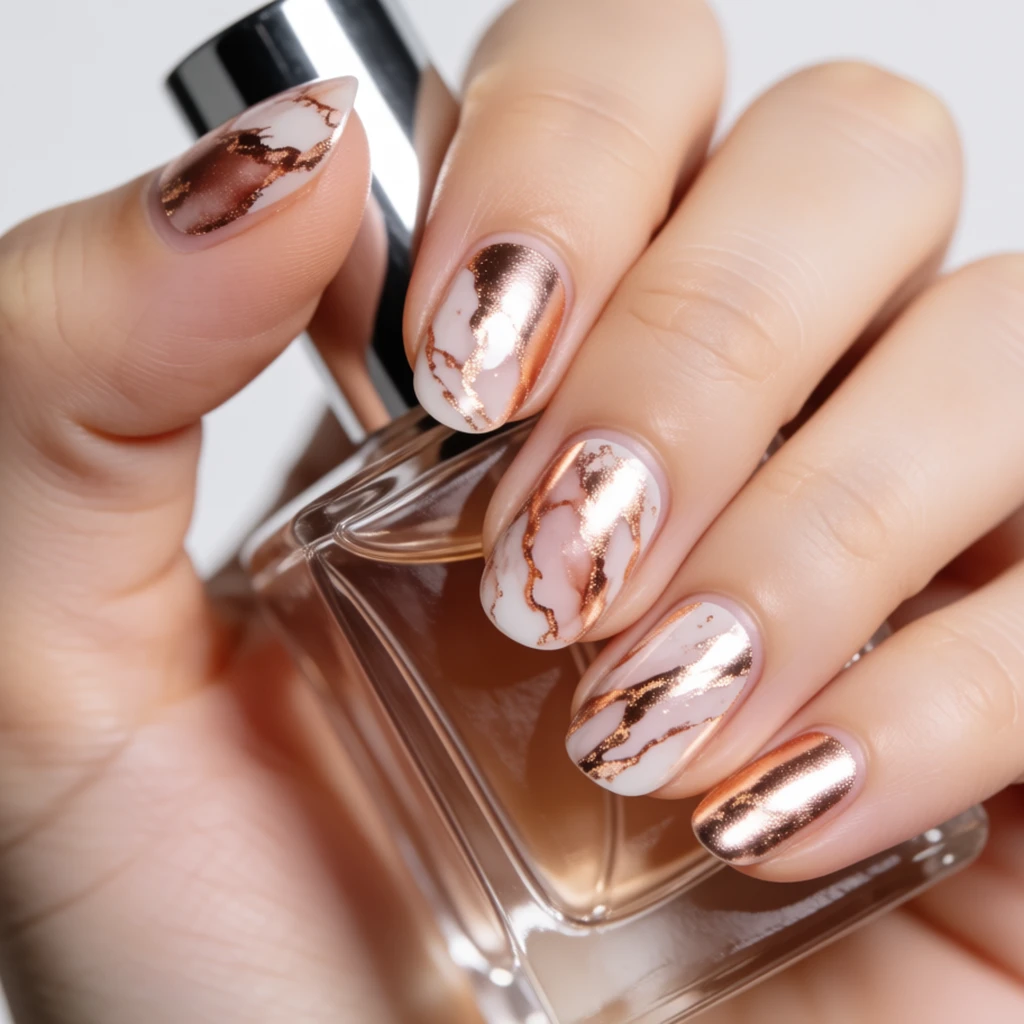 Art & themes
The art group shows specific themed looks made with supplies like these; this group explains the supplies themselves so you know what to buy before choosing a look to recreate.
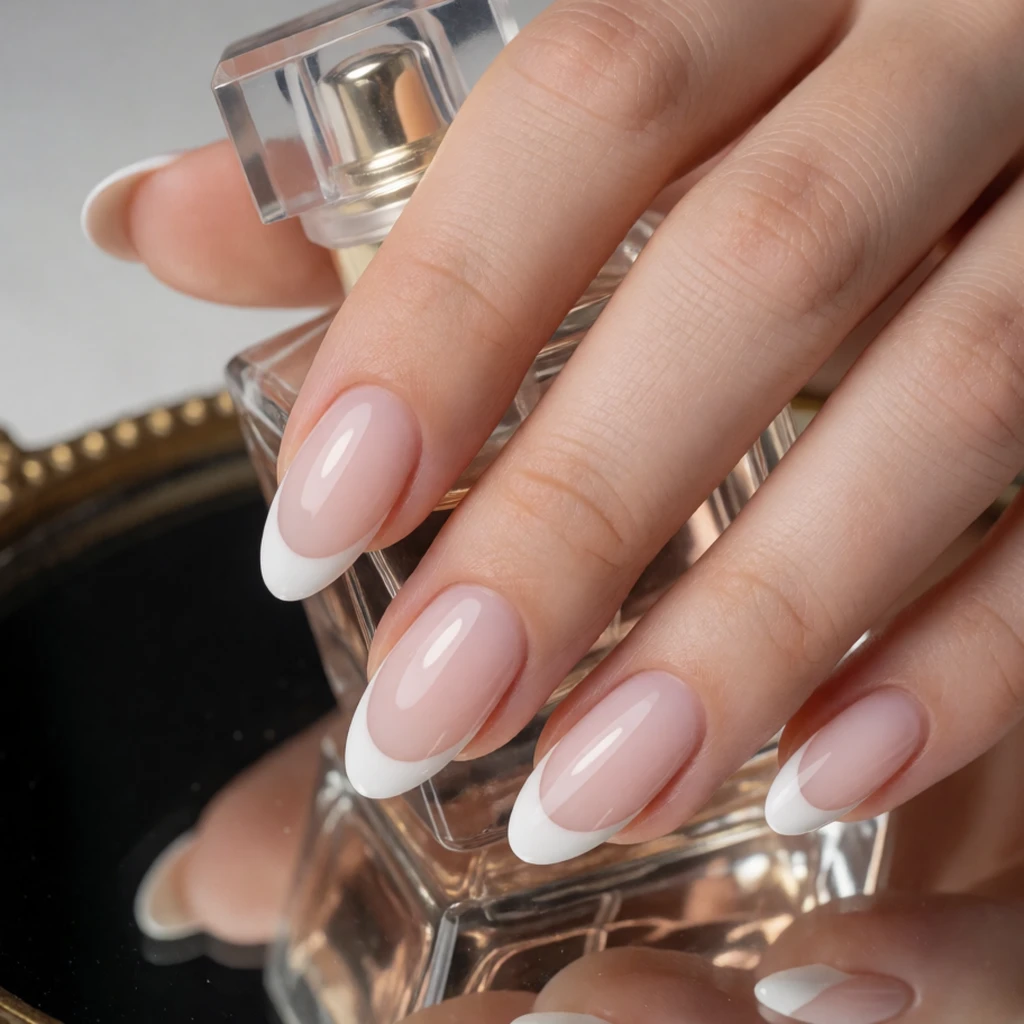 French tips
French manicure looks are one type of outcome achievable with supplies like tip guides and regular lacquer; this group covers the full range of products that produce any nail look.
Questions
What is the difference between nail stickers and nail wraps?
Nail stickers are small decals applied on top of a polish base — they add a motif or detail without covering the whole nail. Nail wraps are full-nail adhesive strips that cover the entire nail surface and act as both colour and design in one. Wraps require no polish underneath; stickers do.
Do I need a gel lamp to use nail art foil flakes?
Not necessarily — foil flakes can be applied over a tacky regular top coat or a dedicated transfer gel that does not require a lamp to cure. Check the instructions on the specific transfer gel you buy, as some formulas are air-activating and some are lamp-curing.
How do I stop rhinestones from falling off?
The most reliable method is to place rhinestones into a freshly applied top coat while it is wet, allow that layer to set, then apply a second top coat over and around the stone to seal the edges. Stones placed on fully dried top coat have less surface contact and are more likely to lift.
How long does regular nail polish last before it goes bad?
Polish formula varies by brand, but most regular lacquers stay usable for a couple of years if kept sealed, upright, and away from heat and light. Signs it has turned: stringy texture that does not smooth out with rolling, separated formula that won't re-mix, or a strong solvent smell stronger than usual. Follow the period-after-opening symbol on the bottle for the manufacturer's guidance.
Generated references, not tested products. How shopping links work.