Nail ideas / Polish, wraps & stickers
Nail wraps: how to choose and apply them
Nail wraps stick to your natural nail as a flat adhesive film, adding instant pattern or color without drying time. Getting them to stay on and look smooth depends on choosing the right size, applying with steady pressure to avoid bubbles, and trimming the excess cleanly.
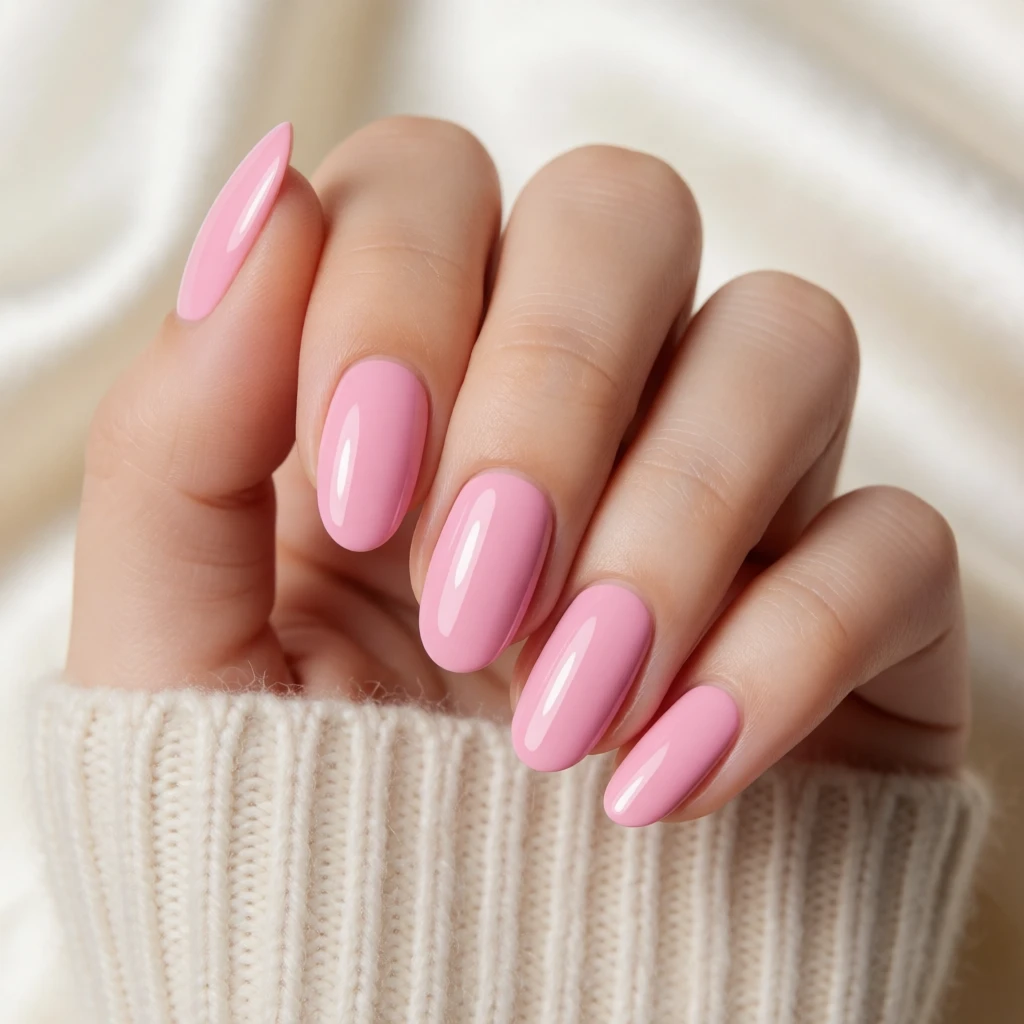
Three rules
Start here.
- Choose a wrap size that is slightly smaller than your nail width rather than larger, because you can stretch a small wrap to fit but you cannot shrink one that is too wide without creating wrinkles.
- Apply the wrap starting at the cuticle and smooth it toward the free edge with firm, even pressure to push out air bubbles as you go, rather than pressing the center first which traps air at the edges.
- File off the excess wrap by pulling the file downward in one smooth motion at a 45-degree angle, not sawing back and forth which can lift the edge or create a jagged finish.
A styling reference, not a product photo.
What defines it
The basics
Nail wraps are thin adhesive films printed or textured with a design that adheres directly to the natural nail surface. They come in sheets with multiple sizes, and you peel each wrap from its backing, press it onto the nail, smooth out any air bubbles, fold the excess over the free edge, and file it off. The result is a finished nail design without polish, drying time, or tools beyond a nail file. Wraps work on natural nails and can also be applied over a gel base coat for longer wear.
A well-applied nail wrap reads as smooth and deliberate because the pattern or color sits flat against the nail with no bubbles, wrinkles, or lifting at the edges. The wrap covers the nail from cuticle to free edge without overlapping the skin, and the excess is filed away cleanly so the wrap ends exactly at the nail tip. Poor application shows as bubbles trapped under the wrap, wrinkles in the film, or jagged edges where the wrap was trimmed unevenly. The pattern should align with the nail's centerline and run straight from base to tip.
Nail wraps differ from press-on nails because they are flat and conform to your natural nail's shape rather than adding length or structure. They differ from nail stickers in that most wraps are semi-cured gel or adhesive film that bonds through pressure and sometimes heat, whereas stickers are typically thinner and rely only on adhesive. The key distinction is that wraps replace polish as the color and design layer but do not change the nail's shape or length.
Repeatable combinations
Formulas to try
- Full manicure with matching wraps
- Apply the same wrap design to all ten nails for a cohesive look that works across casual and dressed-up settings. This formula suits geometric patterns, solid colors, and subtle textures like marble or linen. Size each nail individually and apply in order from thumb to pinkie so the pattern alignment stays consistent if the design has a directional motif.
- Accent nails with wraps on ring fingers
- Paint or apply a solid color to eight nails and use a patterned wrap on both ring fingers as the accent. This combination lets you try a bold wrap design without committing to it across all fingers. The accent wrap should share at least one color with the base nails so the look reads as coordinated rather than mismatched.
- Wraps over short nails
- Short nails work well with wraps because the flat surface makes application easier and there is less excess to fold over the free edge. Choose wraps with small-scale patterns like micro florals, thin stripes, or solid colors rather than large motifs that get cut off at the tip. Apply the wrap, smooth it carefully, and file the excess off in one clean downward motion.
- Wraps over a gel base coat
- Apply a gel base coat, cure it under a lamp, then apply the nail wrap over the cured gel without a sticky layer. Smooth the wrap into place, file off the excess, and seal with a gel top coat and a final cure. This method extends the wear time of the wrap to two weeks or more and works best for events or vacations where you want the design to last without touch-ups.
- Travel-friendly wrap application
- Nail wraps are ideal for travel because they require no polish bottles, no drying time, and only a nail file for application. Pack a sheet of wraps and a small nail file in your carry-on and apply them in a hotel room or on a plane. If one wrap lifts or tears during your trip, peel it off and apply a new one from the sheet. The entire application takes under fifteen minutes.
Your needs, your plans
Before you buy
- Sizing and fit
- Each sheet of nail wraps includes multiple sizes to fit different nail widths. Hold each size up to your nail and choose the one that covers the width from side to side without overlapping the skin. If you are between sizes, pick the smaller one and gently stretch it as you apply it to cover the width. A wrap that is too large will wrinkle at the sides; a wrap that is too small will not cover the full nail width. Measure your nail width before ordering wraps online to ensure the size range in the pack will fit you.
- Pattern scale and nail length
- Large patterns like oversized florals or wide stripes look incomplete on short nails because the free edge cuts off most of the motif. Small-scale patterns like micro dots, thin lines, or abstract textures work better on nails under five millimeters of free edge. If you have short nails and want a bold look, choose a solid color wrap or a pattern with a very small repeat so every nail shows a complete design element.
- Application surface and prep
- Nail wraps adhere best to a clean, dry, slightly rough surface. Push back your cuticles, buff the nail lightly to remove shine, and wipe with alcohol or acetone to remove oil. Avoid applying wraps over lotion or cuticle oil, which prevents the adhesive from bonding. If you are applying over a gel base coat, make sure the gel is fully cured and wipe off the sticky layer before applying the wrap.
- Removal ease and cost per wear
- Nail wraps typically last five to seven days on natural nails and up to two weeks over gel. They remove by peeling from the edge or soaking in acetone depending on the type. Because each sheet includes enough wraps for multiple applications, the cost per wear is lower than a salon manicure but higher than a bottle of polish you will use many times. Factor in how often you want to change your nail design when deciding whether wraps fit your budget.
From what you own
Build it and repeat it
Start by prepping your nails: push back cuticles with a wooden stick, buff the nail surface lightly with a buffer to remove shine, and wipe each nail with an alcohol pad or acetone-soaked cotton to remove oil. Let your nails dry completely. Open the wrap sheet and select the size that best fits each nail, laying them out in order so you know which wrap goes on which finger. Peel the first wrap from its backing and hold it by the edges to avoid getting fingerprints on the adhesive side. Align the wrap with your cuticle line, leaving a tiny gap so it does not overlap the skin, then press the wrap onto the nail starting at the cuticle. Smooth the wrap toward the free edge with your finger or a rubber tool, applying firm pressure to push out air bubbles as you go.
Once the wrap is fully adhered, press down the sides and ensure there are no wrinkles or lifted edges. The excess wrap will extend past your free edge; fold it over the tip of your nail so it wraps under slightly. Take a nail file and position it at a 45-degree angle to the underside of your nail, then pull the file downward in one smooth motion to shear off the excess wrap. Do not saw back and forth, which can lift the edge or leave a jagged finish. Repeat this process for all ten nails. After application, press down on each wrap with your thumb to ensure it is fully sealed, especially at the cuticle and free edge where lifting is most likely. If you want extra durability, apply a clear top coat over the wraps once they are all in place, though this is optional.
Shop the pieces
16 polish, wraps & stickers pieces
Links open similar items, not the pictured ones.
-
Nail art liner brushes
What to check
A real product chosen to look like the picture. The picture is a styling reference, not this exact product.
-
Nude pink nail polish set
What to check
A real product chosen to look like the picture. The picture is a styling reference, not this exact product.
-
Stickers
What to check
A real product chosen to look like the picture. The picture is a styling reference, not this exact product.
-
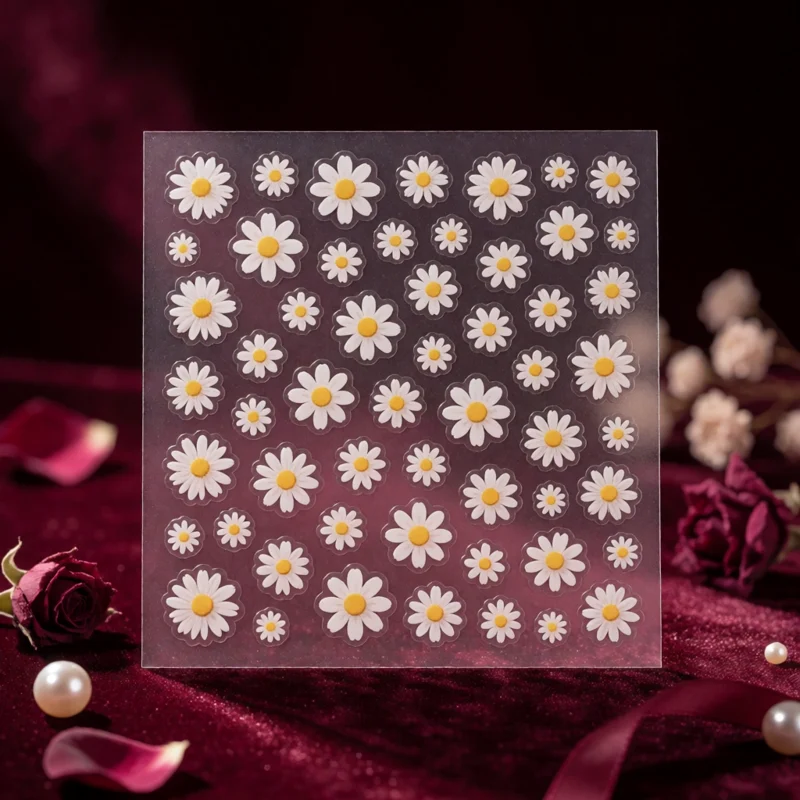
Floral nail stickers
What to check
A real product chosen to look like the picture. The picture is a styling reference, not this exact product.
-
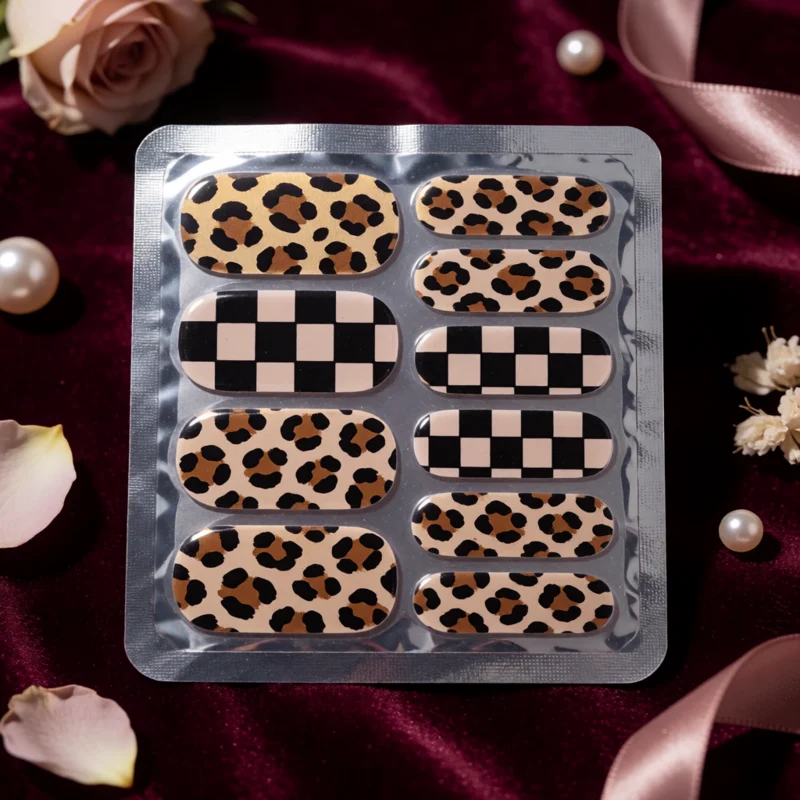
Gel nail wraps
What to check
A real product chosen to look like the picture. The picture is a styling reference, not this exact product.
-
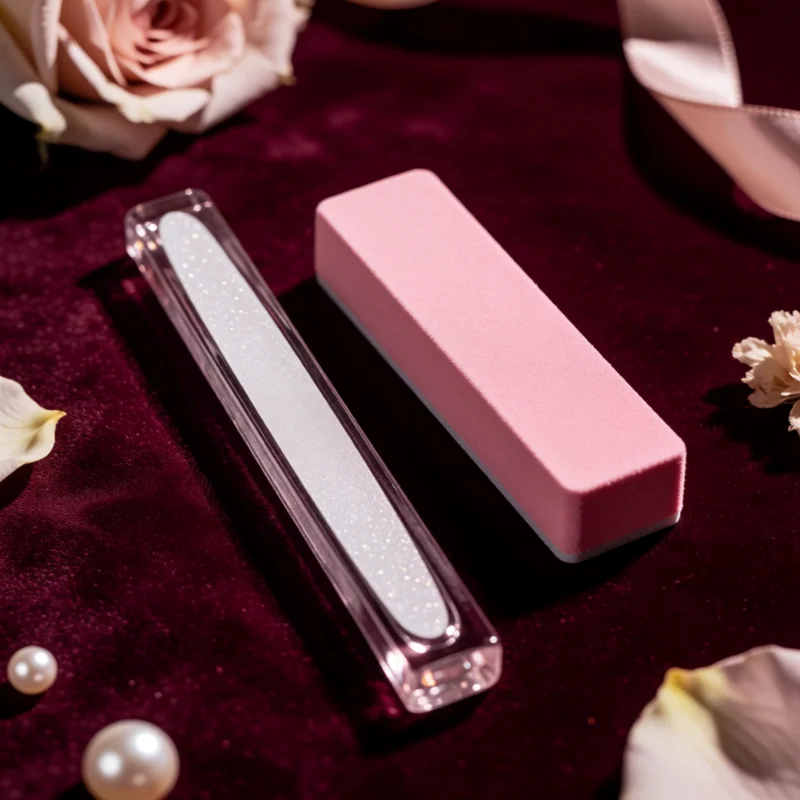
Glass nail file and buffer
What to check
A real product chosen to look like the picture. The picture is a styling reference, not this exact product.
-
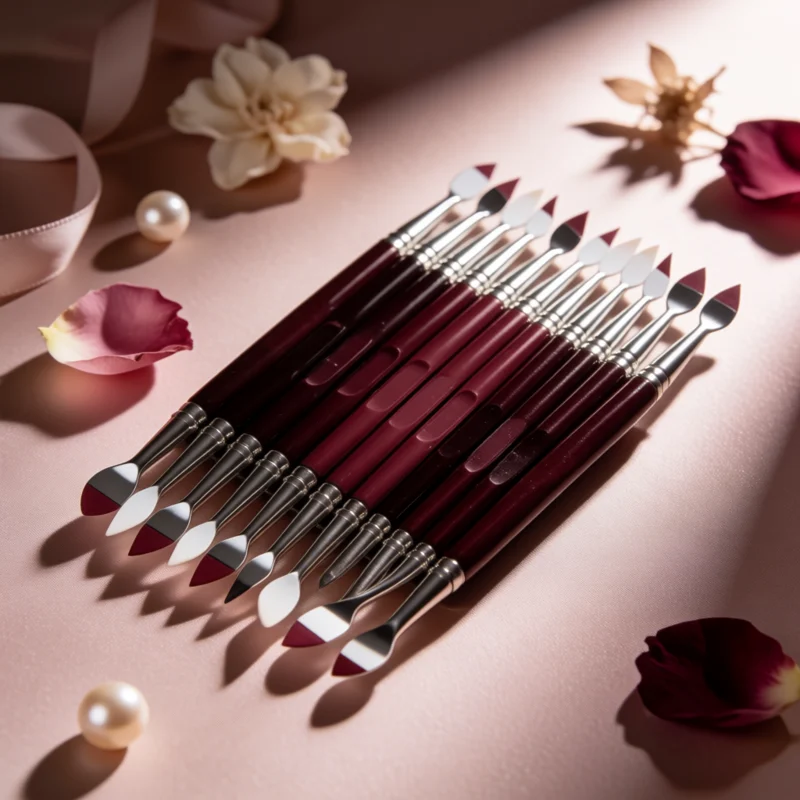
Nail art dotting tools
What to check
A real product chosen to look like the picture. The picture is a styling reference, not this exact product.
-
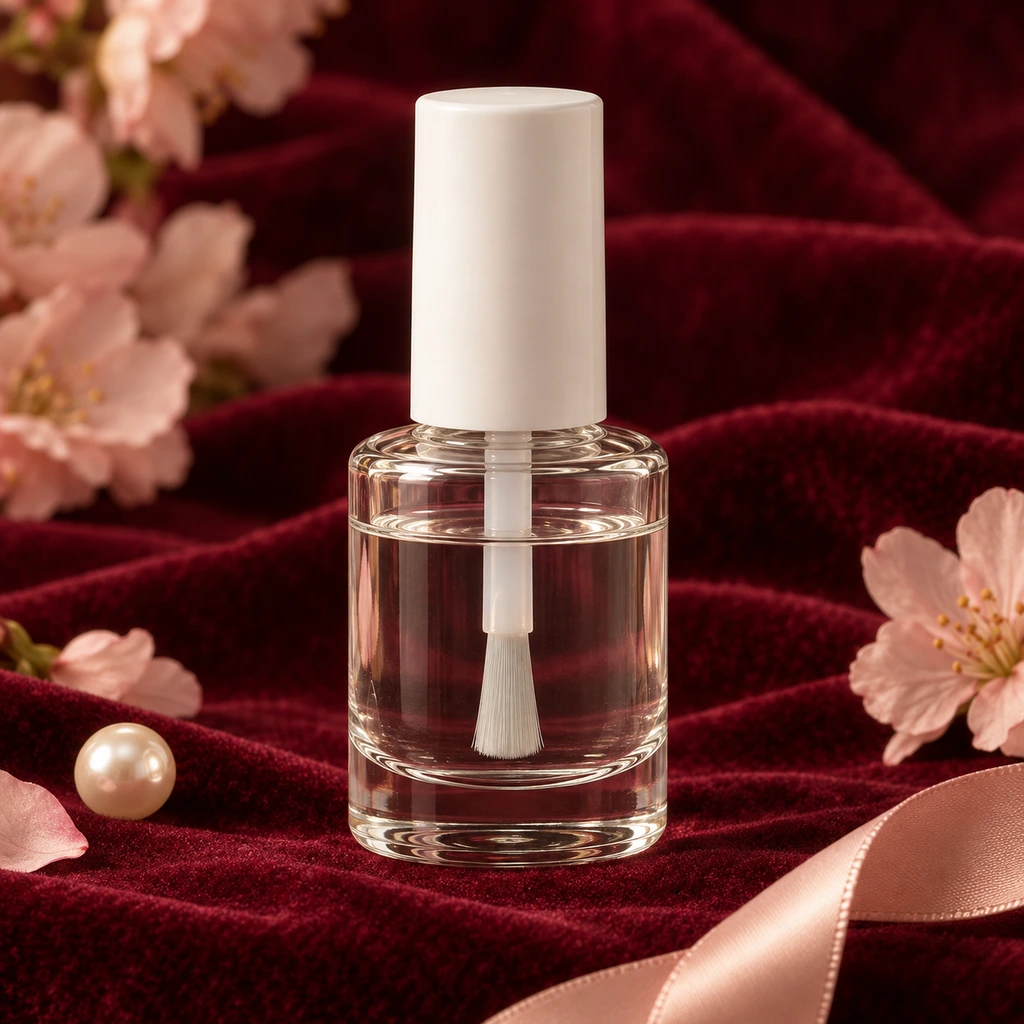
Base coat
What to check
A real product chosen to look like the picture. The picture is a styling reference, not this exact product.
Show all 16 pieces
-
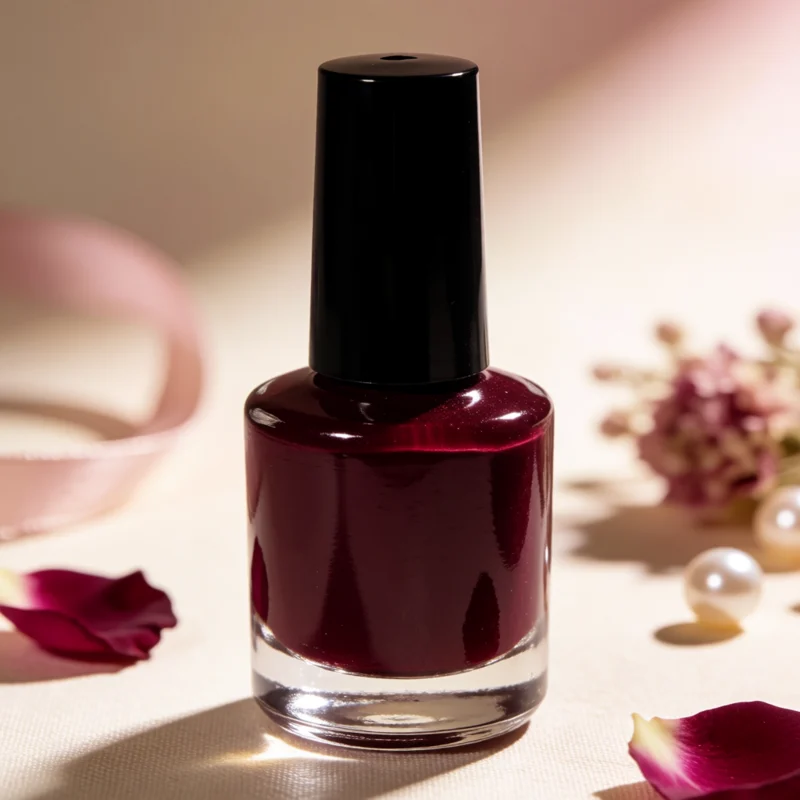
Burgundy nail polish
What to check
A real product chosen to look like the picture. The picture is a styling reference, not this exact product.
-
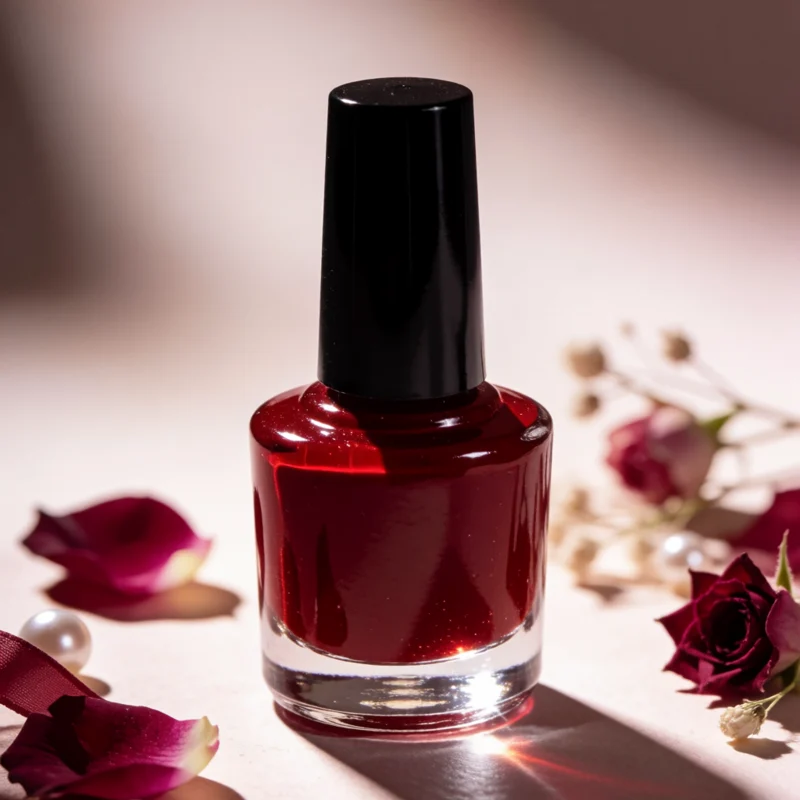
Cherry red nail polish
What to check
A real product chosen to look like the picture. The picture is a styling reference, not this exact product.
-
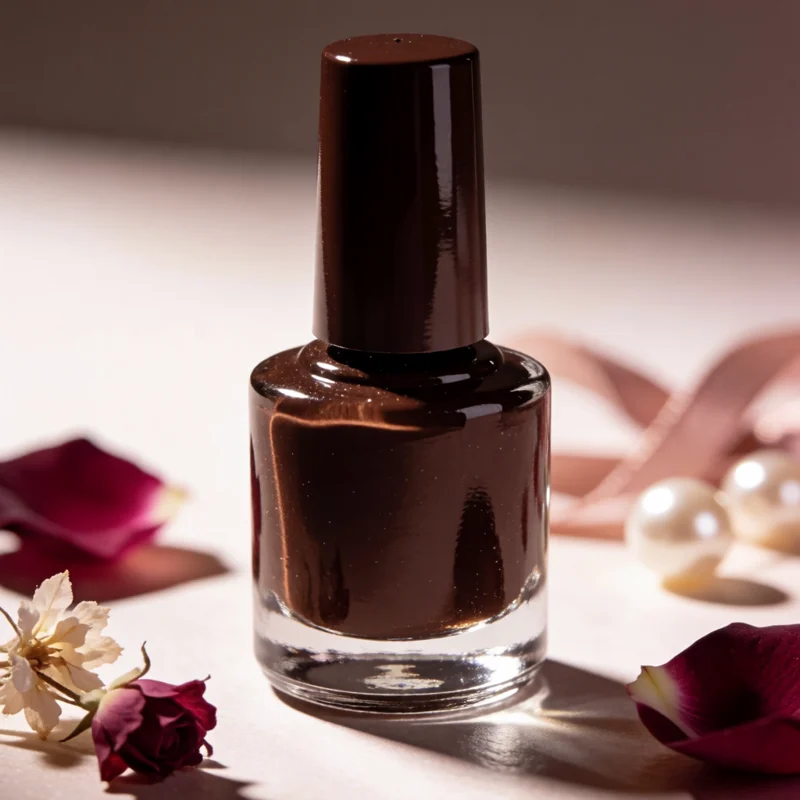
Chocolate brown nail polish
What to check
A real product chosen to look like the picture. The picture is a styling reference, not this exact product.
-
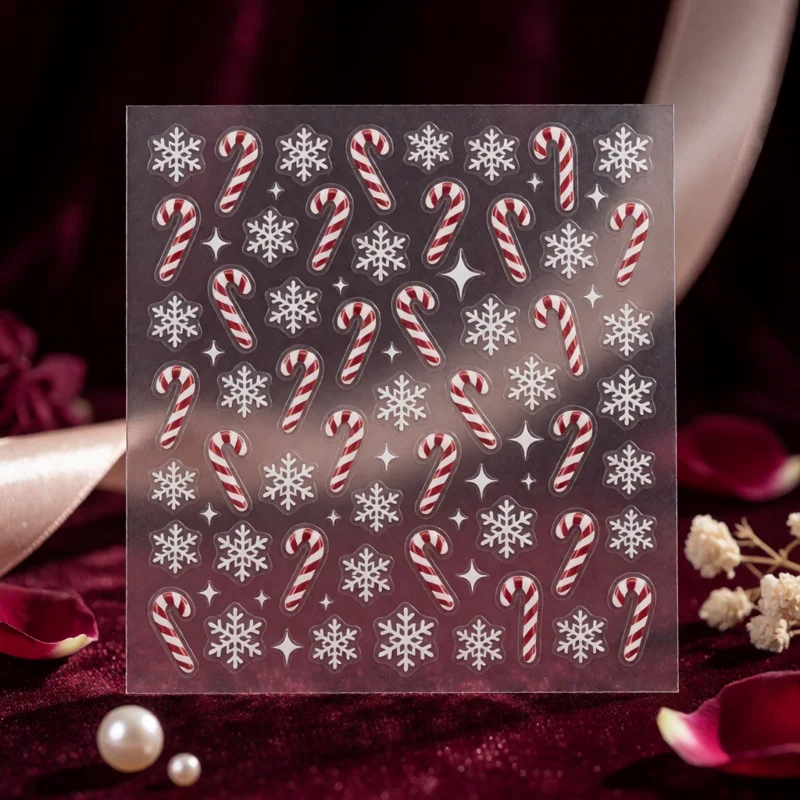
Christmas nail stickers
What to check
A real product chosen to look like the picture. The picture is a styling reference, not this exact product.
-
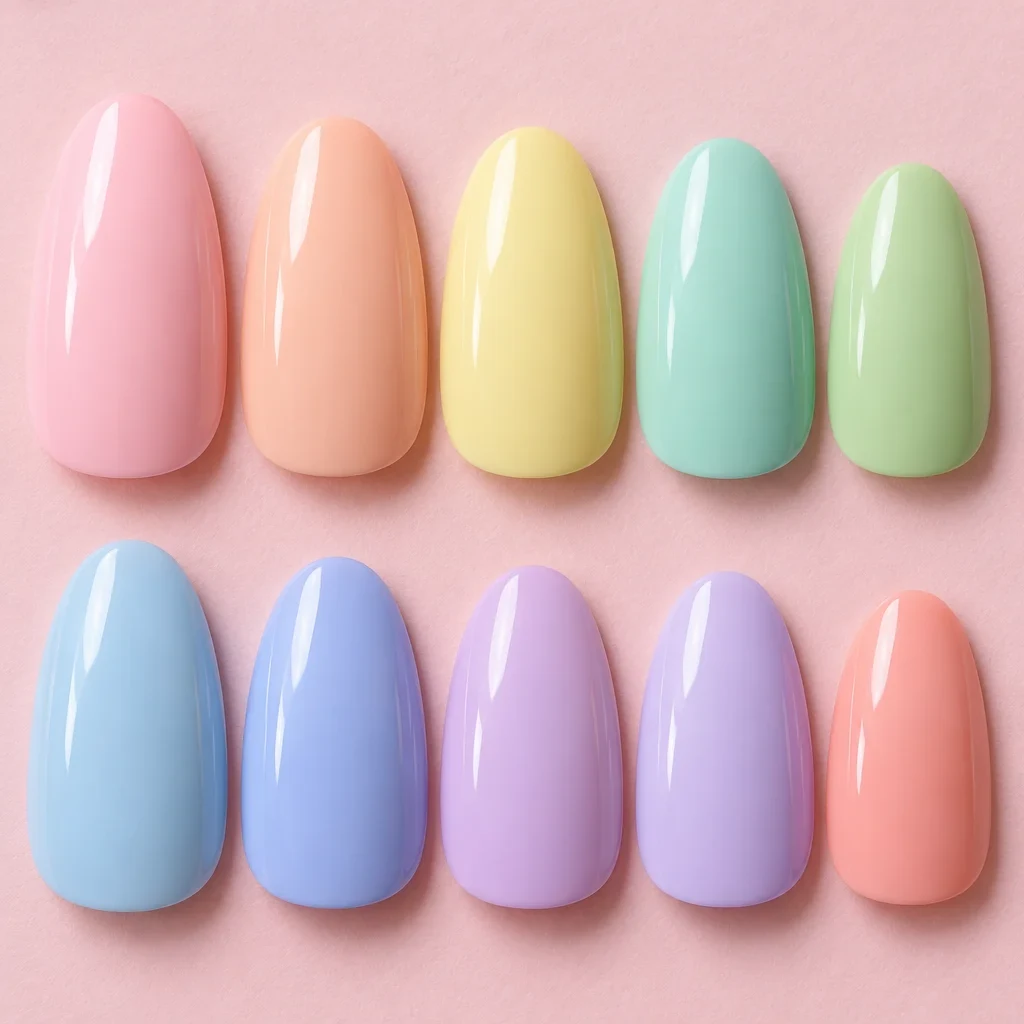
Cute Nail Polish Colors
What to check
A real product chosen to look like the picture. The picture is a styling reference, not this exact product.
-
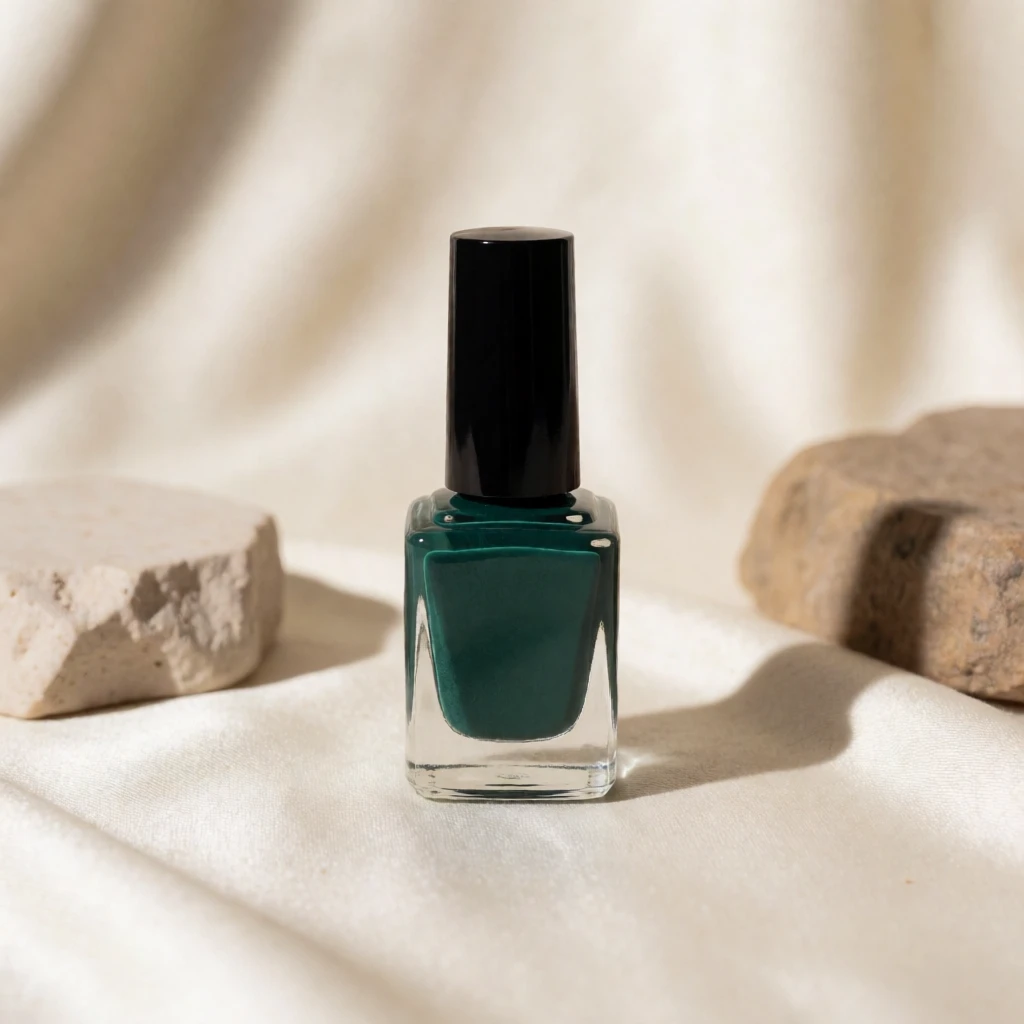
Forest green nail polish
What to check
A real product chosen to look like the picture. The picture is a styling reference, not this exact product.
-
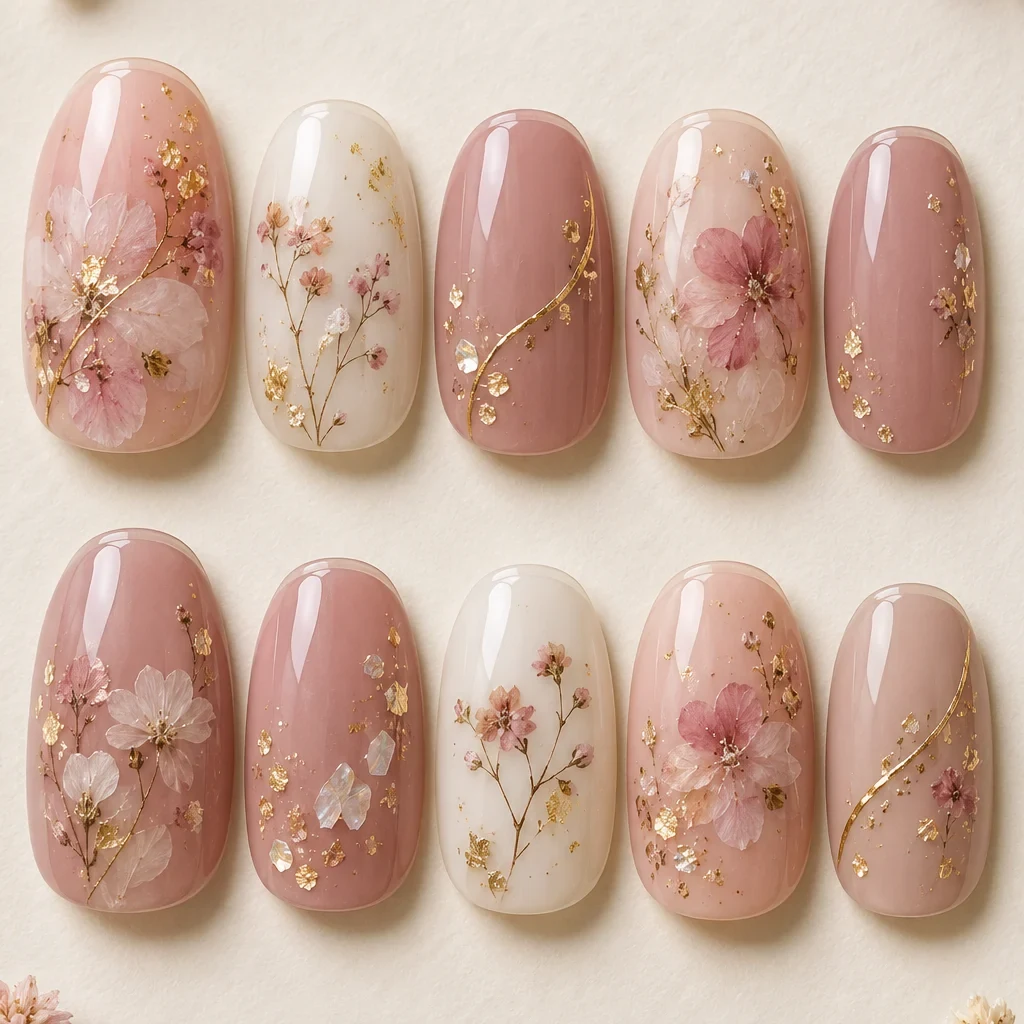
Gel Nail Stickers
What to check
A real product chosen to look like the picture. The picture is a styling reference, not this exact product.
-
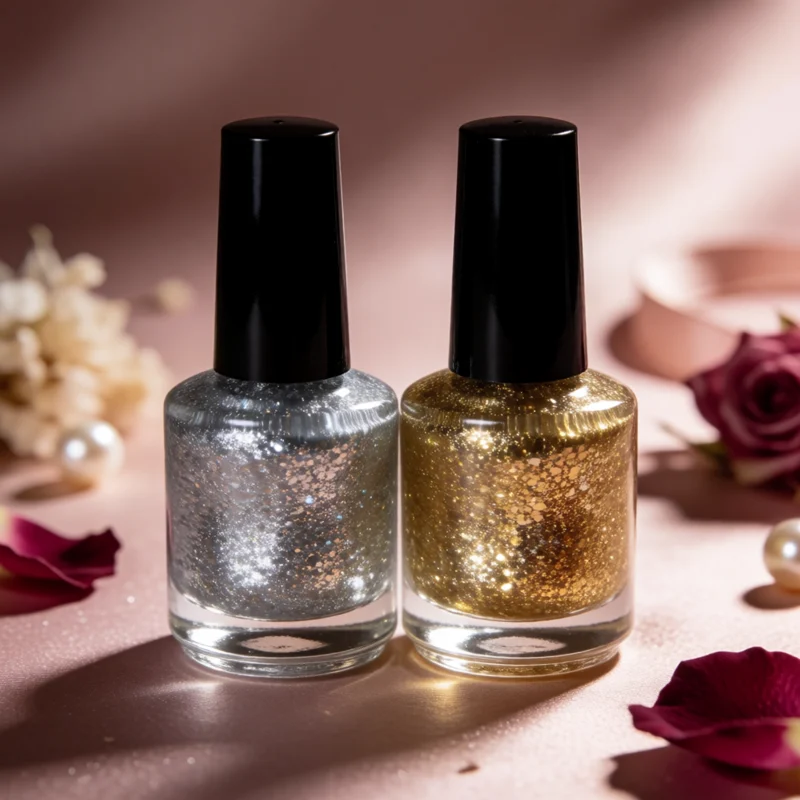
Glitter nail polish
What to check
A real product chosen to look like the picture. The picture is a styling reference, not this exact product.
The gallery
20 polish, wraps & stickers looks
Open a look to see its pieces.
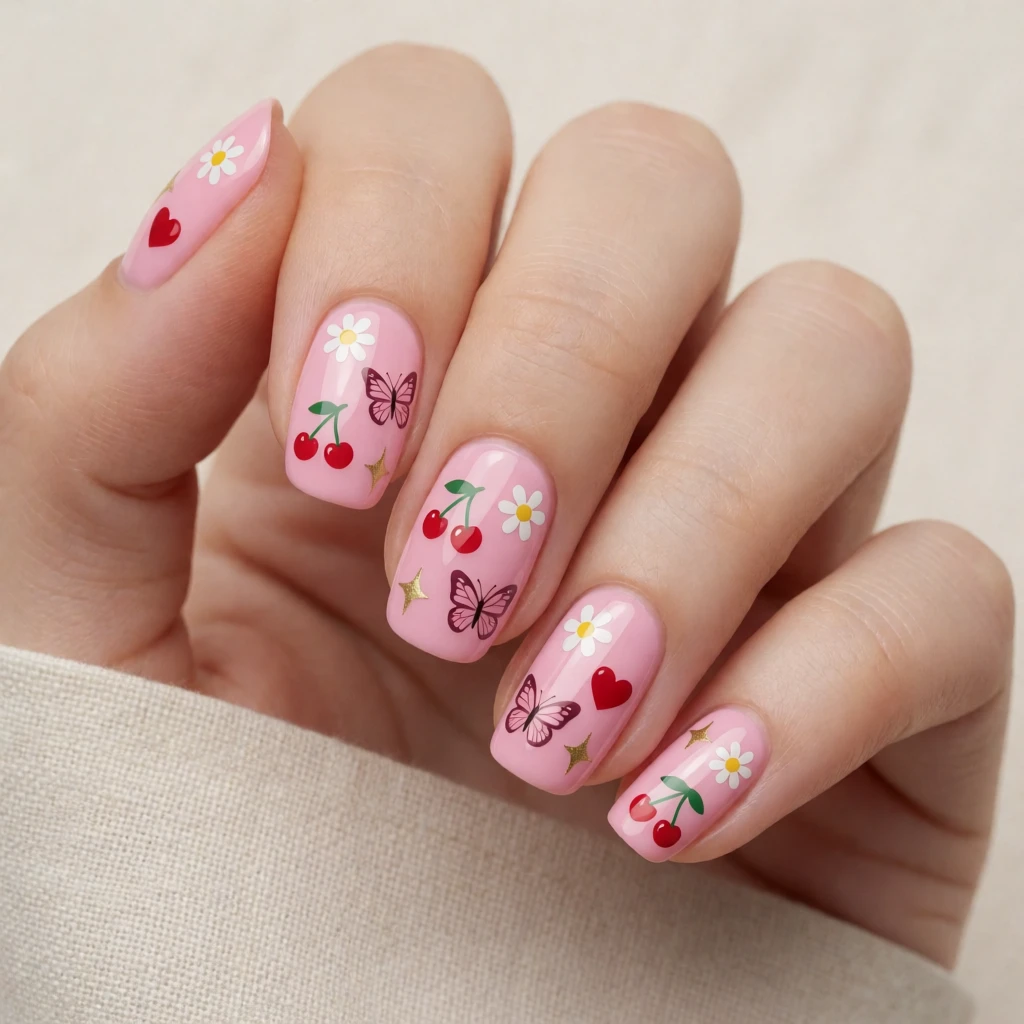 Nail Stickers
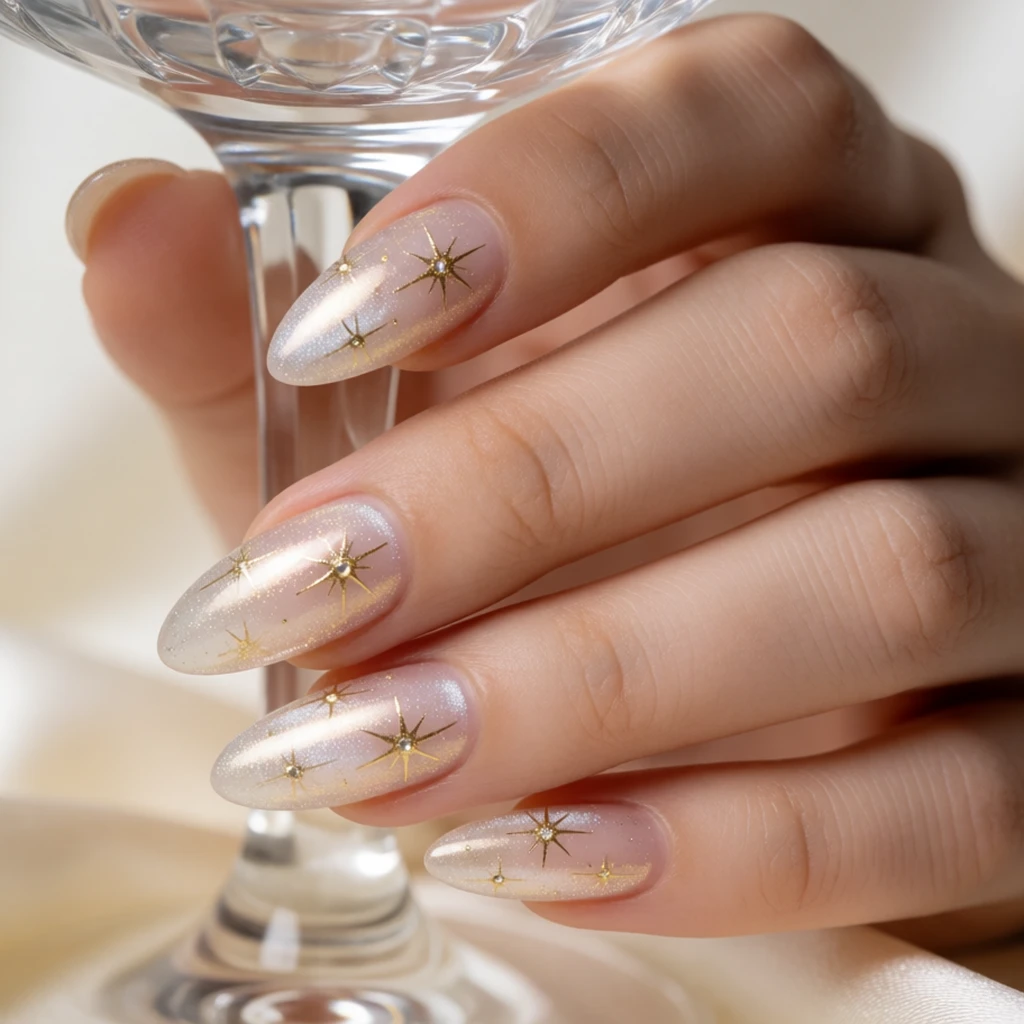 Nail Art Stickers
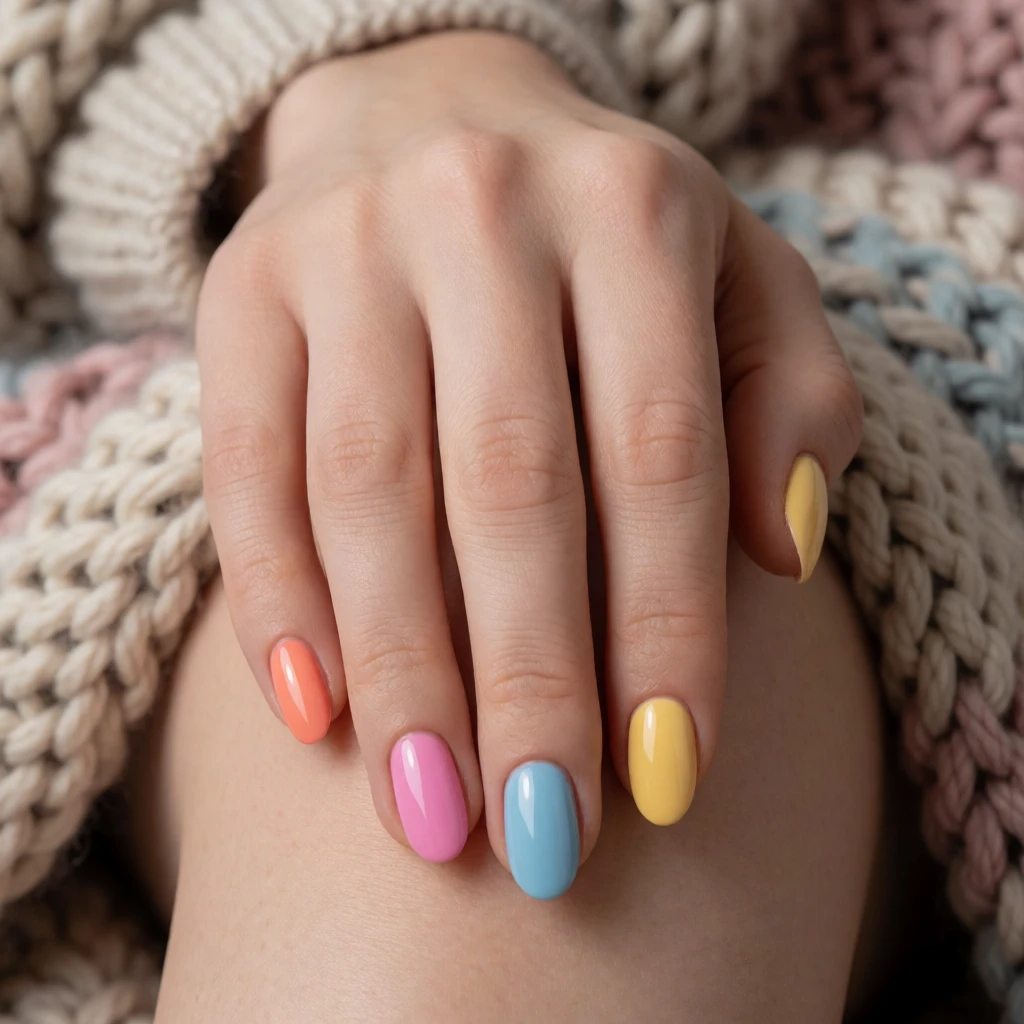 Summer Nail Polish Colors
 Red Nail Polish Colors
 Nail Polish Colors Fall
 Nail Wraps
 Winter Nail Polish Colors
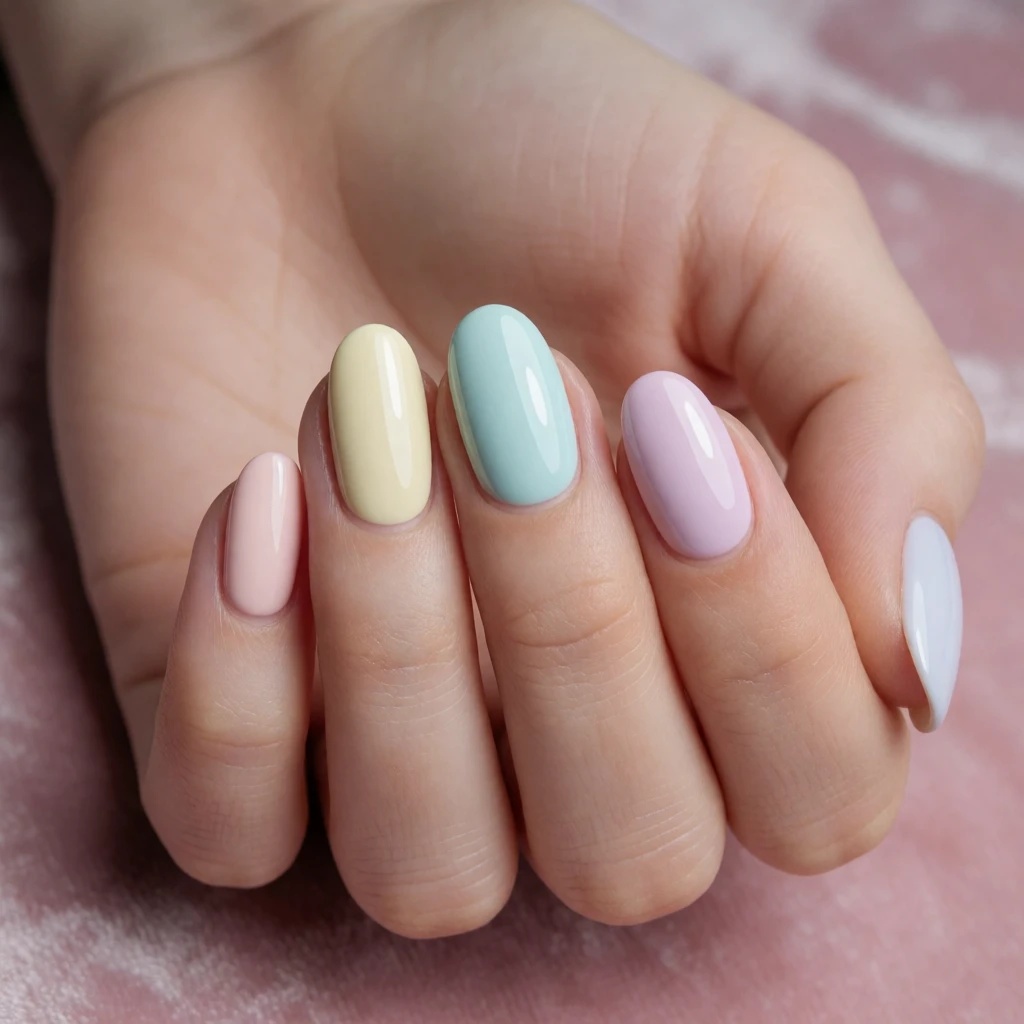 Cute Nail Polish Colors
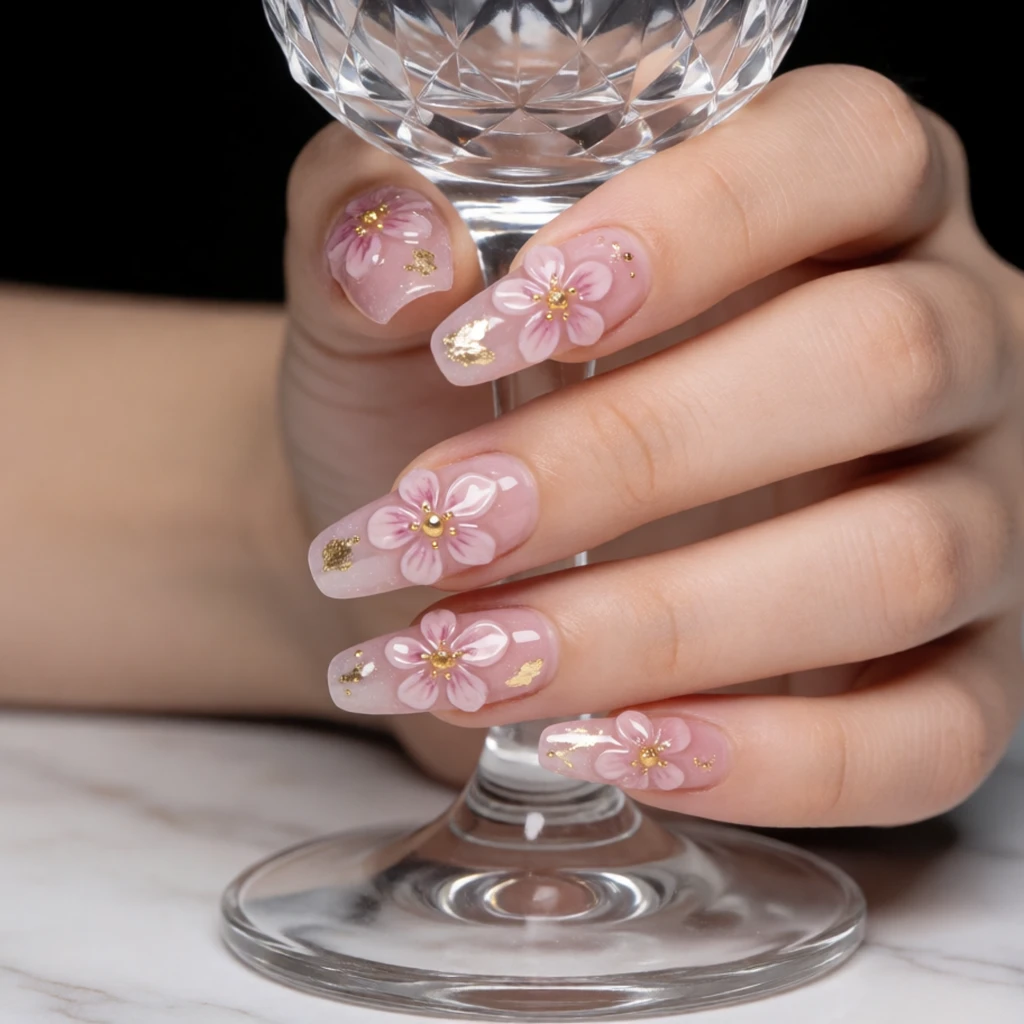 Gel Nail Stickers
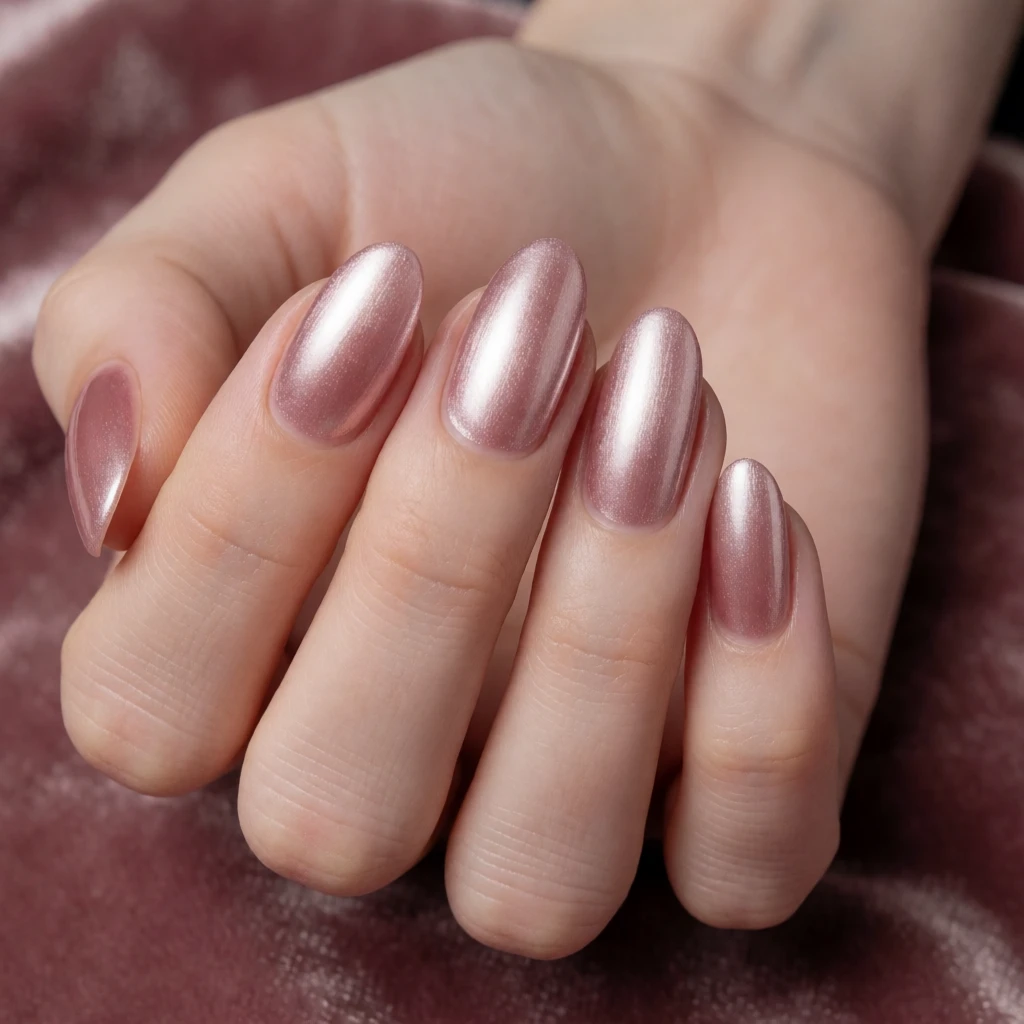 Chrome Nail Powder
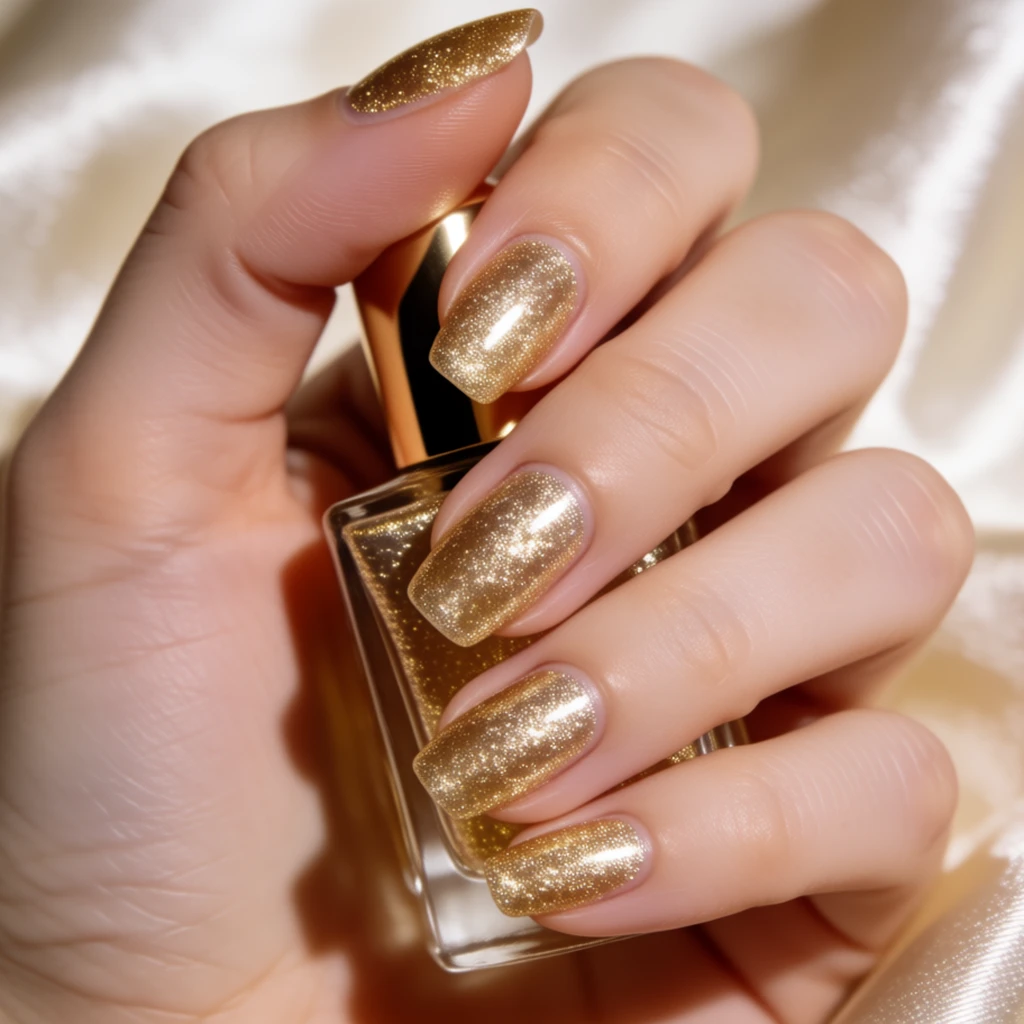 Glitter Nail Polish
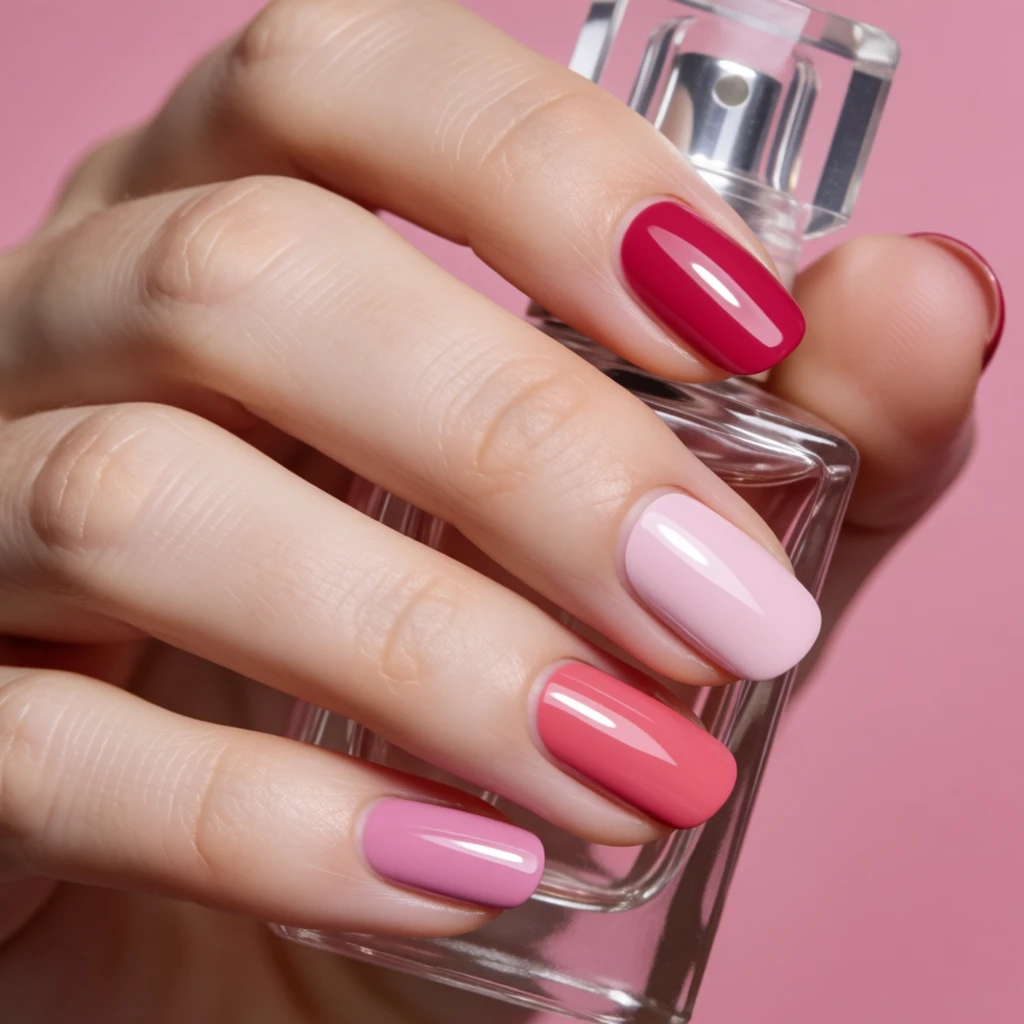 Jelly Nail Polish
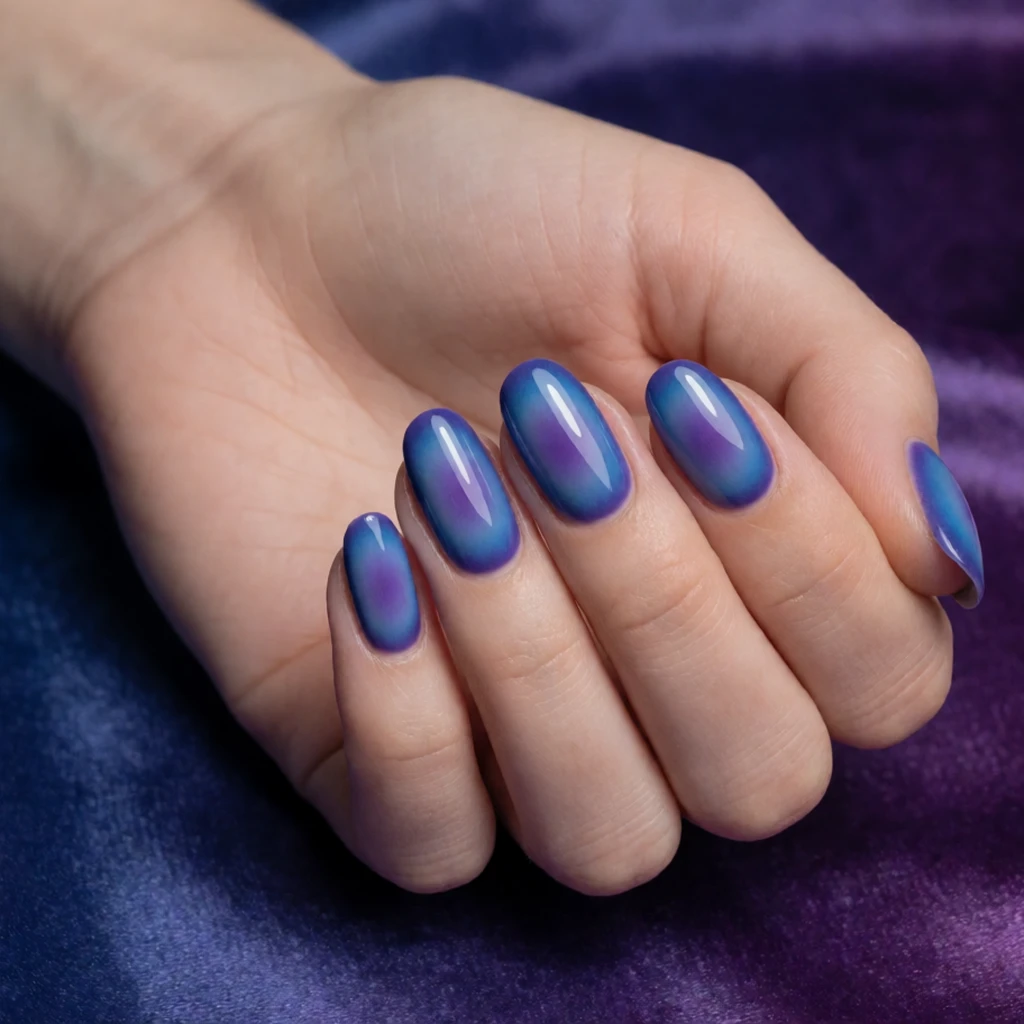 Cat Eye Nail Polish
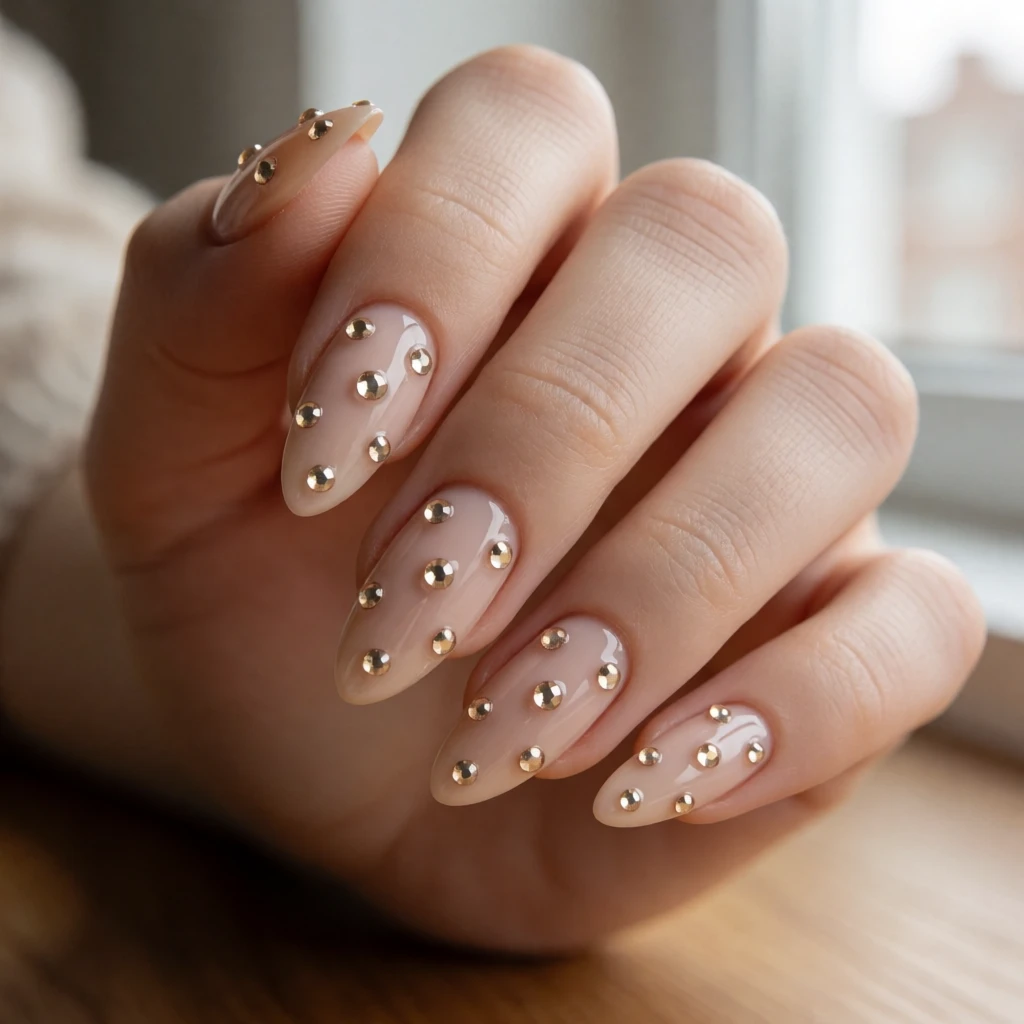 Nail Rhinestones
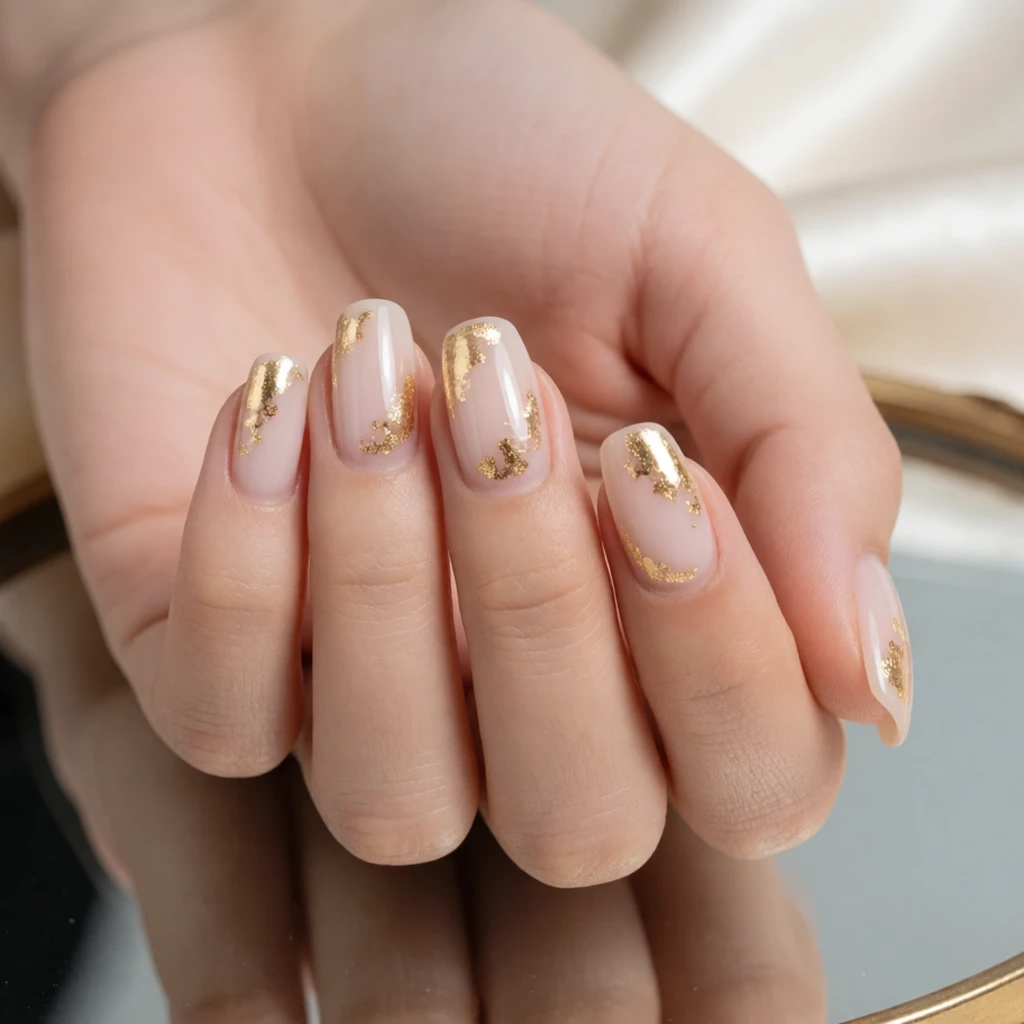 Gold Foil Nail Art
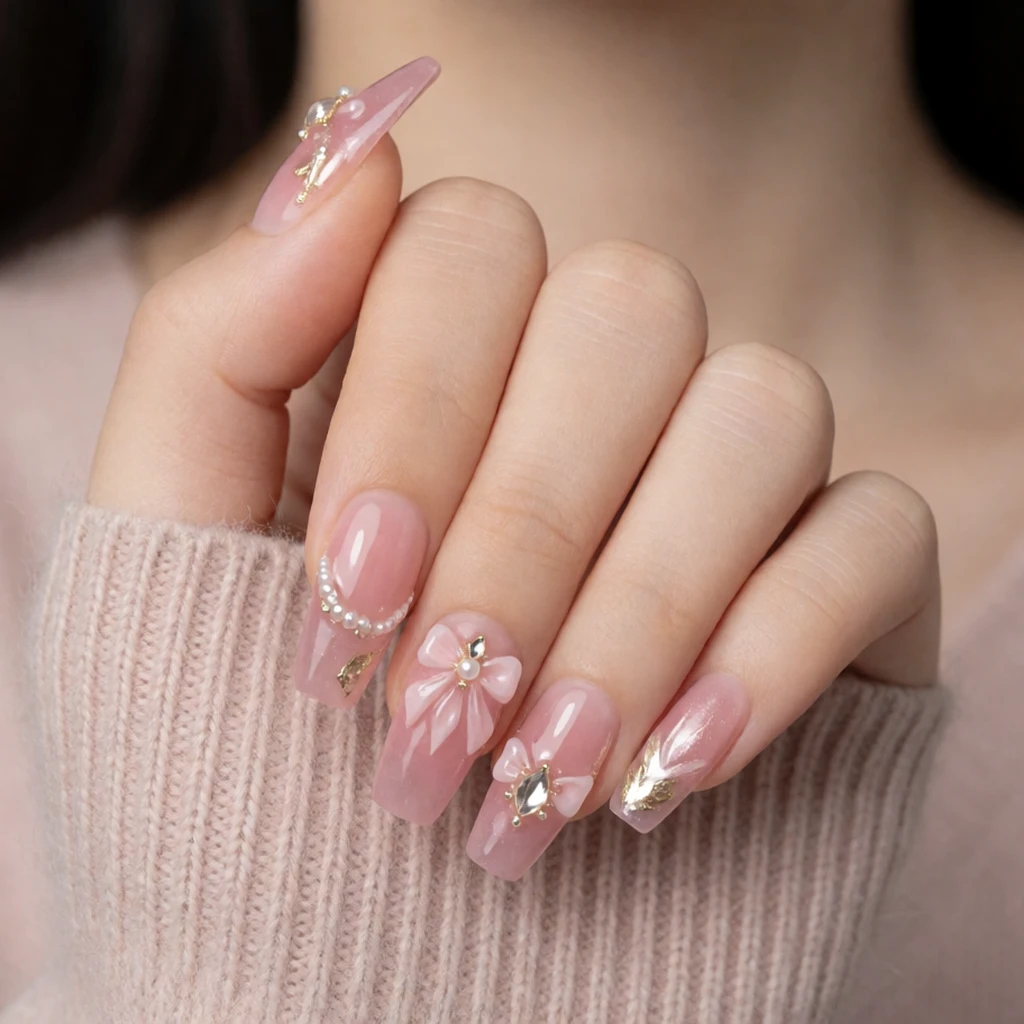 3D Nail Charms
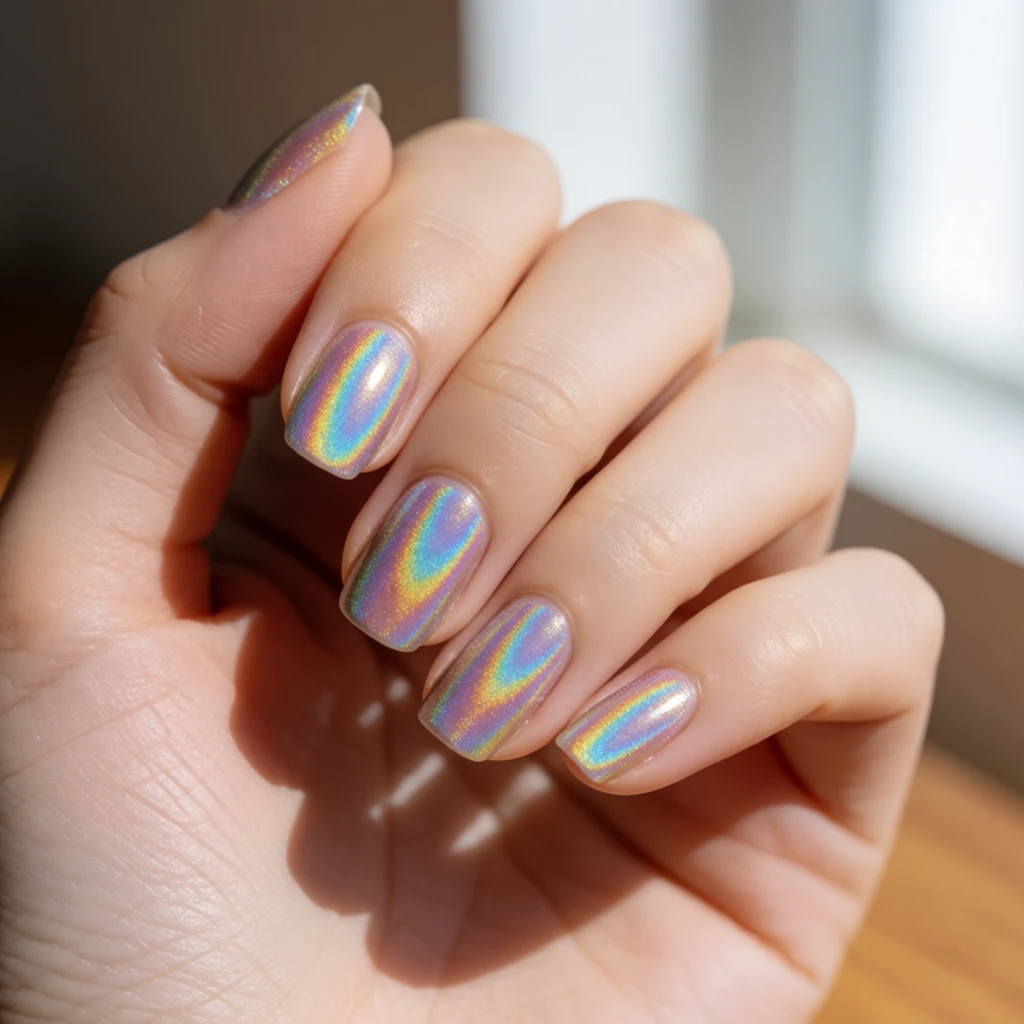 Holographic Nail Polish
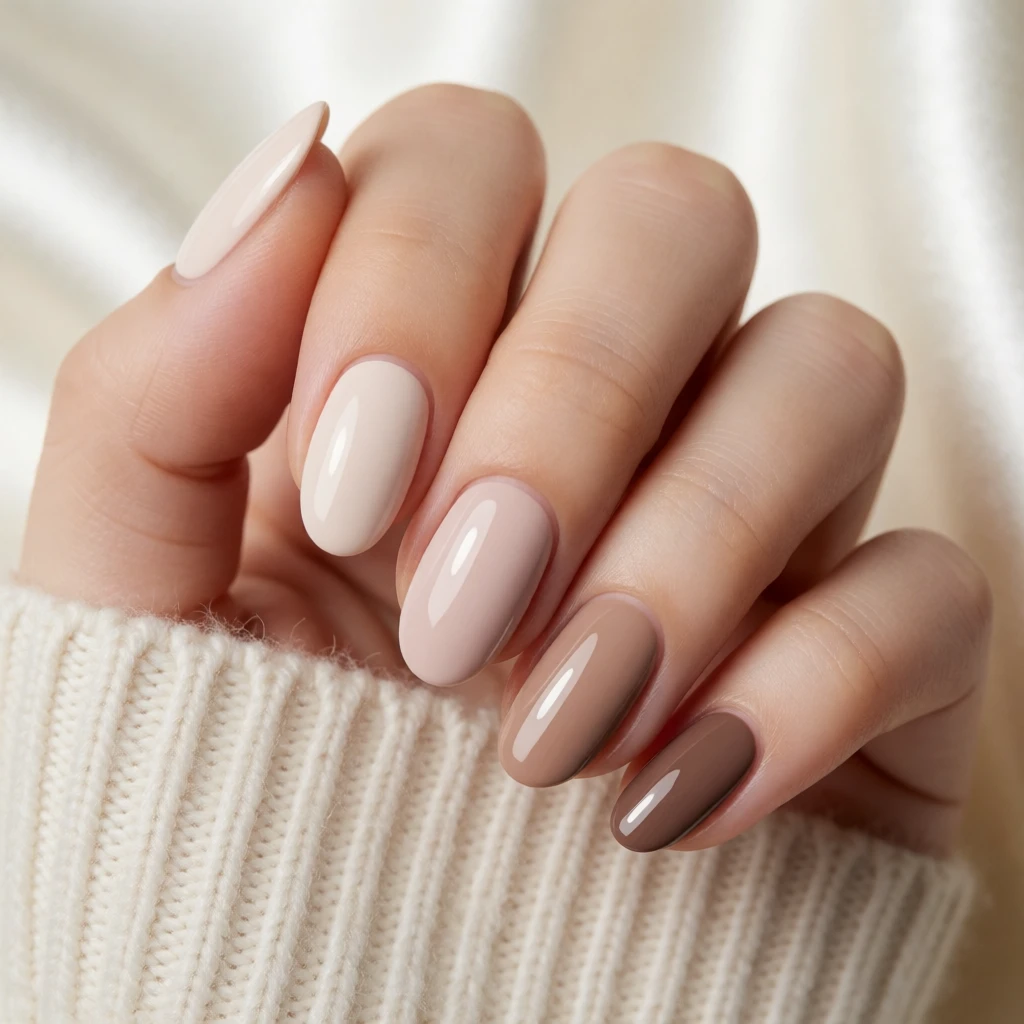 Nude Nail Polish Colors
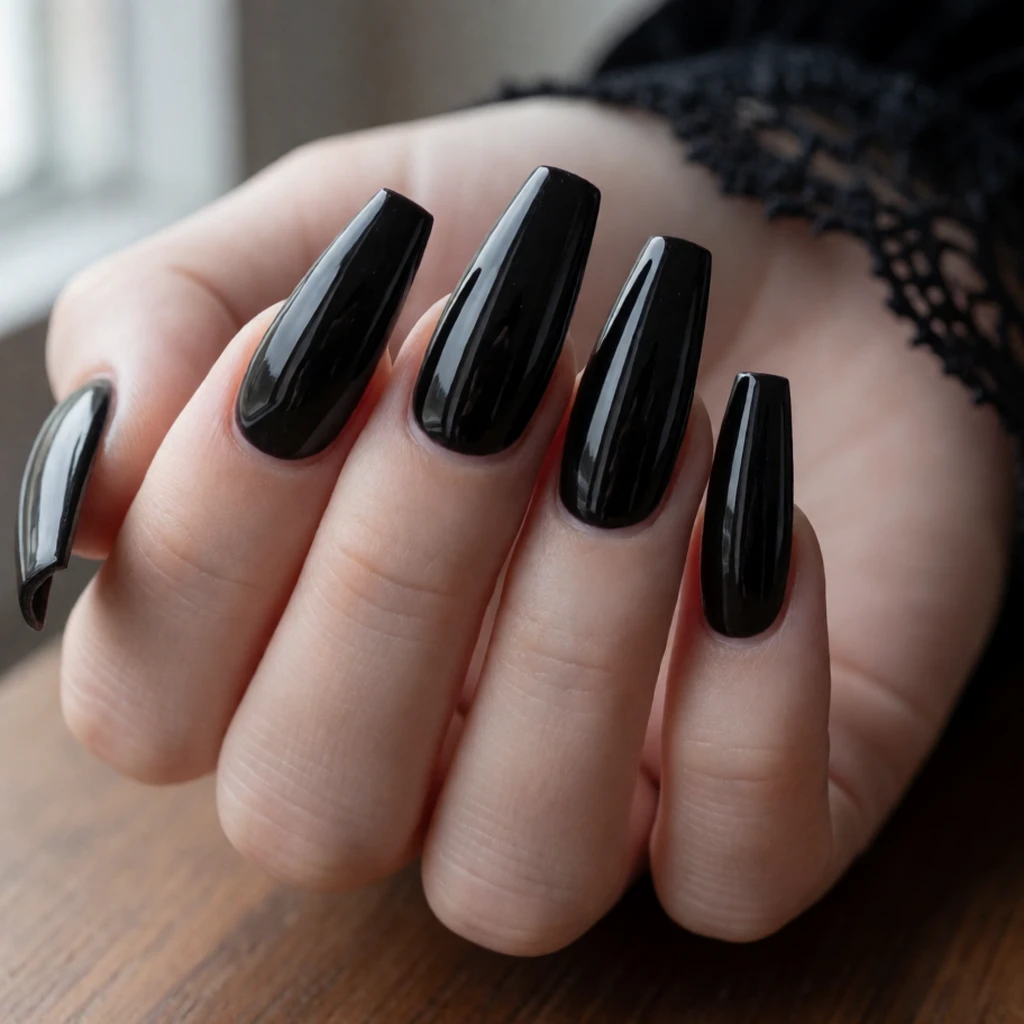 Black Nail Polish
Keep exploring
Related guides
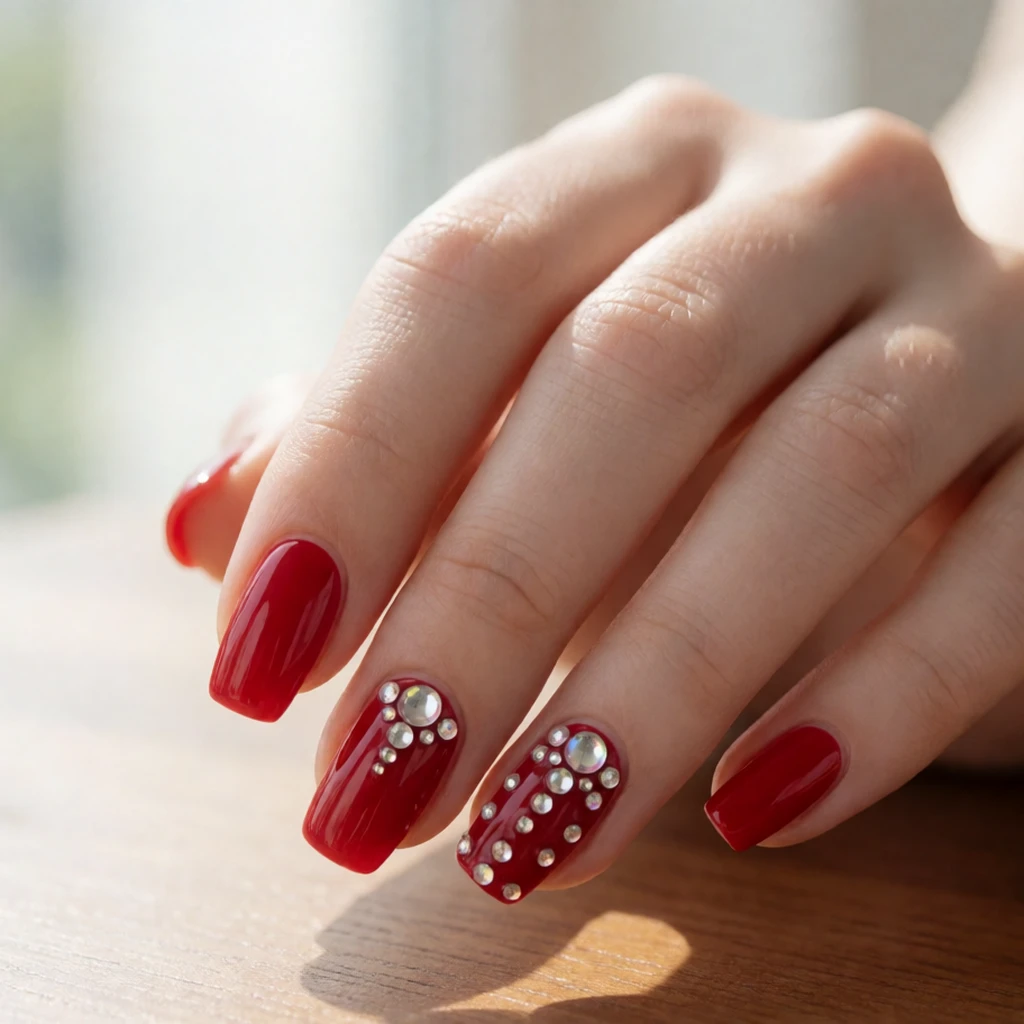 Press-on sets
Press-on nails are three-dimensional covers that add length and structure, while nail wraps are flat adhesive films that conform to your natural nail's existing shape without adding length.
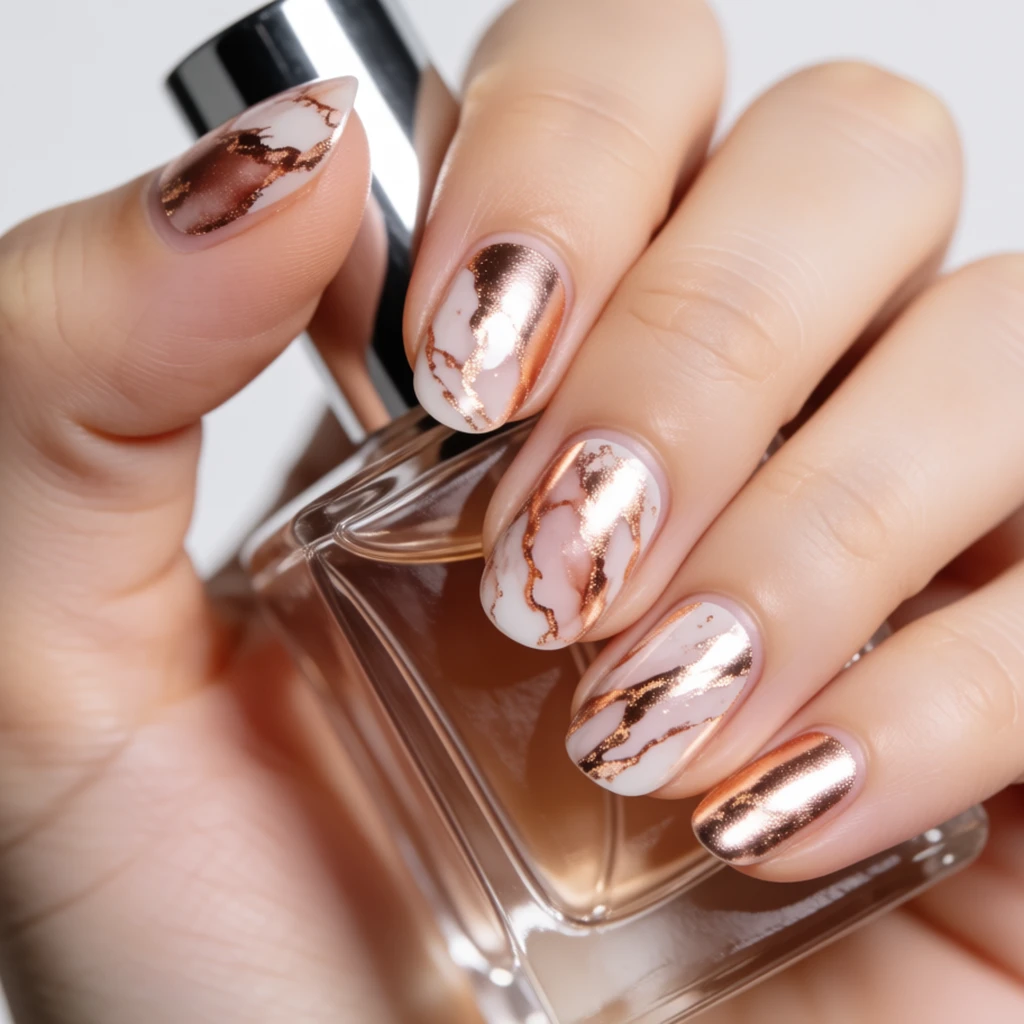 Art & themes
Nail art is painted or applied using polish and tools, while nail wraps are pre-printed or textured films that adhere in one step without polish, brushes, or drying time.
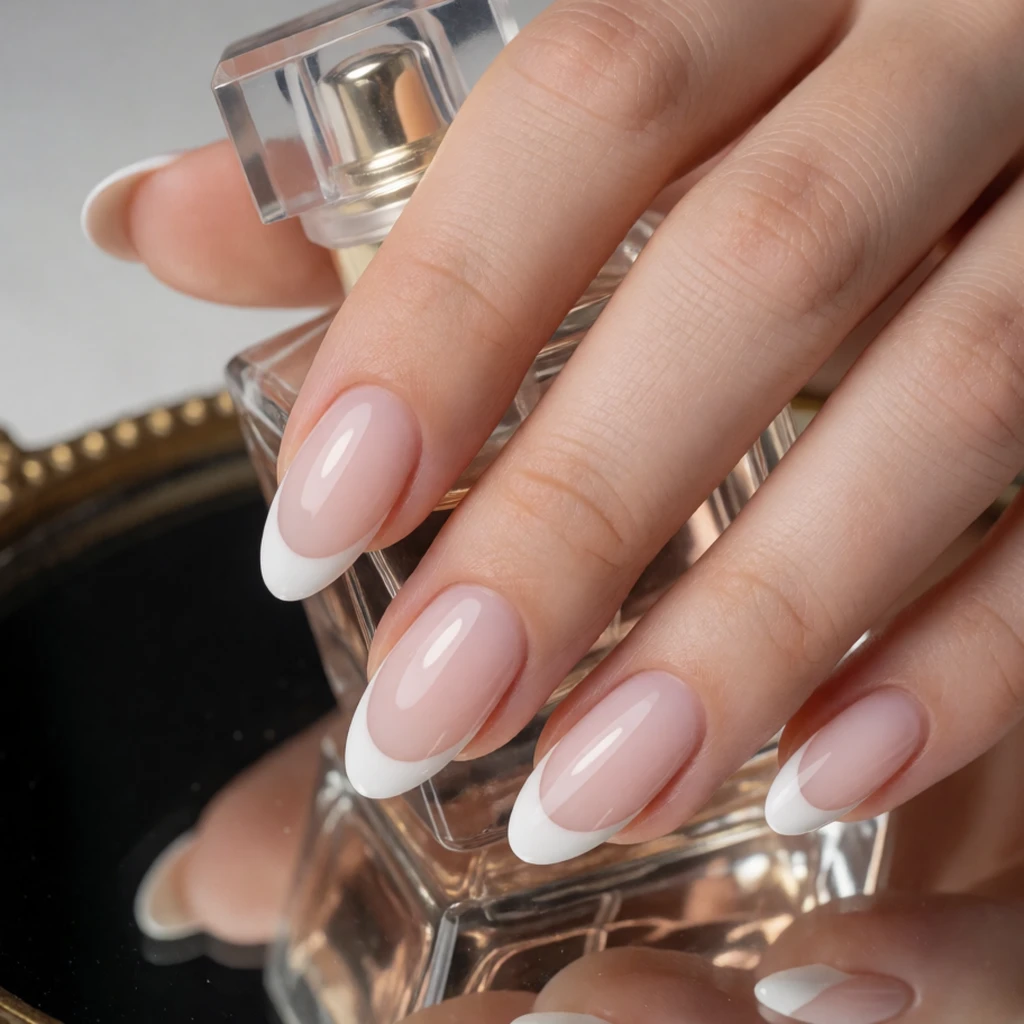 French tips
 can be created with polish, wraps designed specifically for French manicures, or press-ons. This guide focuses on applying adhesive film wraps, which can include French tip designs among other patterns.
Questions
How long do nail wraps last?
Nail wraps on natural nails last five to seven days with normal wear. Applied over a gel base coat and sealed with a gel top coat, they can last up to two weeks. Longevity depends on how much you use your hands, how well you prepped the nail surface, and whether you applied a top coat.
Can you apply nail wraps over gel polish?
Yes. Cure the gel base coat, wipe off the sticky layer with alcohol, then apply the wrap over the cured gel. Smooth the wrap into place, file off the excess, and seal with a gel top coat and a final cure. This method extends wear time significantly.
Do you need a top coat over nail wraps?
A top coat is optional but recommended for longer wear. It seals the edges of the wrap and adds a glossy or matte finish depending on the top coat you choose. Apply it after all wraps are in place and let it dry completely before using your hands.
How do you remove nail wraps?
Peel the wrap from the edge starting at the cuticle, working slowly to avoid pulling on the natural nail. If the wrap resists peeling, soak a cotton pad in acetone, place it on the nail, wrap with foil, and wait five minutes before trying again. After removal, wash your hands and apply cuticle oil.
Generated references, not tested products. How shopping links work.