Nail ideas / Art & themes
Simple nail art ideas using dots, stripes and accents
You don't need a full brush kit or a salon appointment to wear nail art that looks intentional. Dots, stripes, and one carefully placed accent are genuinely achievable with supplies you probably already own.
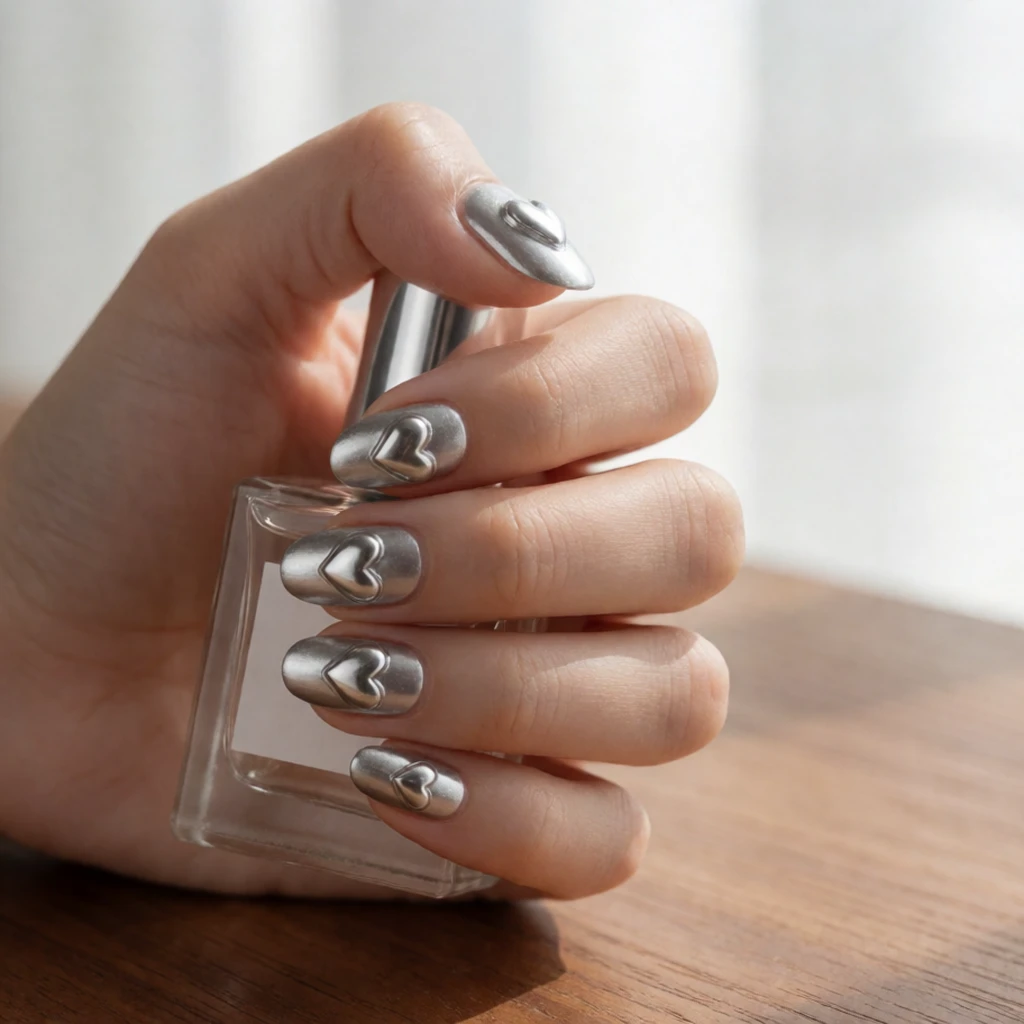
Three rules
Start here.
- Let each layer dry fully before adding the next design element—wet polish drags and smears the second a tool touches it.
- Limit each nail to two colors maximum when you're starting out; a clean two-tone dot looks far more deliberate than a muddy three-color attempt.
- Seal every design with a top coat that goes over the entire nail, not just the painted area, to lock edges and prevent chipping at the tips.
A styling reference, not a product photo.
What defines it
The basics
Simple nail art sits in the sweet spot between a plain coat of polish and the intricate scenes you see on editorial mood boards. It usually means one or two design elements per nail, worked in colors that already complement each other, using tools that fit in a pencil case. The appeal is speed: most looks take under fifteen minutes once your base is dry.
The category covers a wide range of styles. A single thin stripe running down the center of a nude nail reads as minimalist and put-together. A cluster of three dots near the cuticle on one accent nail feels playful without being overwhelming. A diagonal half-moon in a contrasting color adds geometry. None of these require freehand drawing skill—just patience and the right applicator for each shape.
What separates tidy simple nail art from a smudged attempt is prep and layering order. You still need a base coat, dry polish between steps, and a sealing top coat. Rushing the dry time is the most common reason designs bleed into each other. Give each layer at least two minutes before you add the next element, and you'll find that even a dotting tool wobble disappears under a glossy top coat.
Repeatable combinations
Formulas to try
- Bobby-pin dots
- Dip the rounded end of a bobby pin into undiluted polish and press it straight down onto a dry base color. Lift cleanly. Repeat for evenly spaced dots. The pin gives you a consistent circle about two millimeters wide, which is ideal for polka-dot grids or cuticle clusters on an accent nail.
- Tape stripe
- Press a strip of regular transparent tape or thin striping tape across a dry nail, paint over it with a contrasting color, then peel the tape away while the stripe polish is still slightly wet. Work one nail at a time so the stripe polish doesn't cure before you pull. Clean edges reveal without tearing the base underneath.
- Toothpick swirl
- Drop two small dots of different-colored polish close together on your nail, then drag a toothpick through both while they're still wet to create a figure-eight or teardrop swirl. Move quickly and keep the toothpick nearly parallel to the nail surface. This works best on the nail's center where there's enough flat space to pull through.
- Half-moon accent
- Place a paper hole-reinforcement ring near the base of a dry nail, paint the exposed tip area a contrasting color, and peel the sticker before it dries. The sticker acts as a shield for the base color beneath and gives you a smooth curved line at the lunula that's nearly impossible to paint freehand with a regular brush.
- Single gradient tip
- Sponge a second color onto just the top third of a dry nail using a small cosmetic wedge sponge. Dab, don't drag, and layer two or three thin passes for depth. Clean the skin around the nail with a cotton swab dipped in polish remover before the top coat goes on. The result is a soft fade that takes two minutes per nail.
Your needs, your plans
Before you buy
- Your base color
- Neutral bases—sheer pink, warm beige, soft white—let dots and stripes read clearly because there's enough contrast with almost any accent color. A dark base is equally valid but requires opaque, lighter polishes for your design elements, or the details will disappear into the background after one coat.
- Nail length
- Short nails have a smaller canvas, so one well-placed dot or a single diagonal stripe looks balanced. On longer nails you have room to repeat a motif across the nail or stack two stripes side by side. Scaling your design to your actual length keeps the finished look proportional rather than crowded.
- Accent placement
- An accent nail works best when it mirrors the base color of the surrounding nails but adds one extra element—a stripe, a dot cluster, a foil shard. Choosing the ring finger as the accent is common, but the middle finger or even the thumb creates a different visual balance worth experimenting with depending on how you hold your hands.
- Tool cleanup
- Wipe your dotting tool or toothpick on a folded paper towel between colors to avoid muddying your palette. For tape, press it against the back of your hand a few times first to reduce tackiness—tape that's too sticky can lift a cured base coat when you peel, ruining a clean stripe before you've had a chance to top coat it.
From what you own
Build it and repeat it
Start with clean, filed nails and one coat of base coat. Once that's dry, apply two thin coats of your chosen base color, letting each coat dry before the next. Keep a toothpick nearby to fix any floods onto the skin before the polish dries. A well-prepared base is what makes the design elements on top look sharp rather than sitting on a lumpy, uneven surface.
Add your design element—dot, stripe, or accent color—using the tool that suits the shape. Work on one nail at a time so you're never rushing to complete a design before the wet polish below shifts. Once all design elements are dry to a gentle touch, apply a layer of clear top coat over the entire nail, edge to edge, and let it cure undisturbed for several minutes before doing anything with your hands.
Shop the pieces
16 art & themes pieces
Links open similar items, not the pictured ones.
-
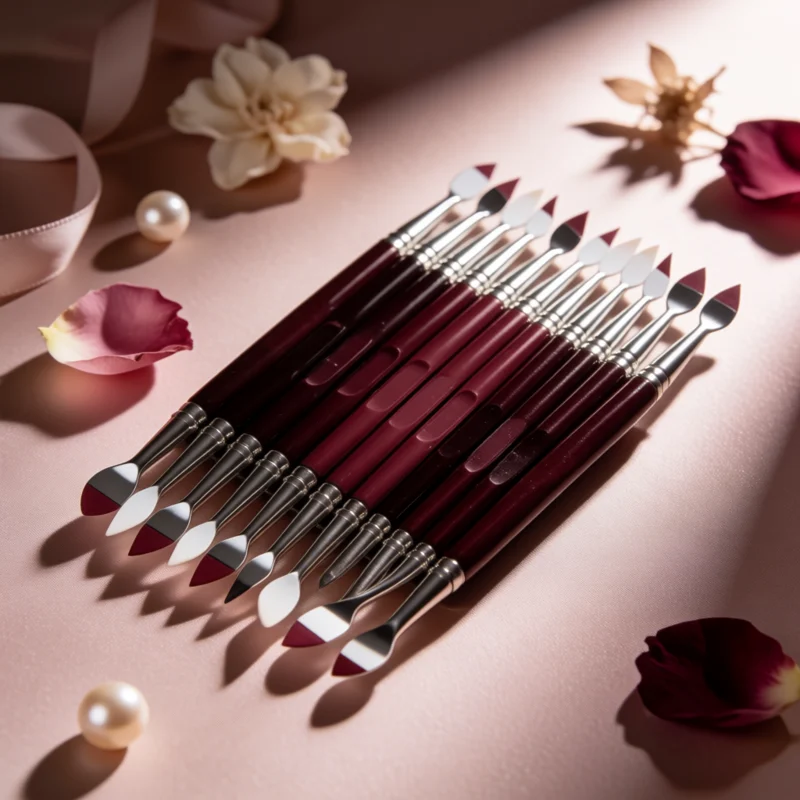
Nail art dotting tools
What to check
A real product chosen to look like the picture. The picture is a styling reference, not this exact product.
-
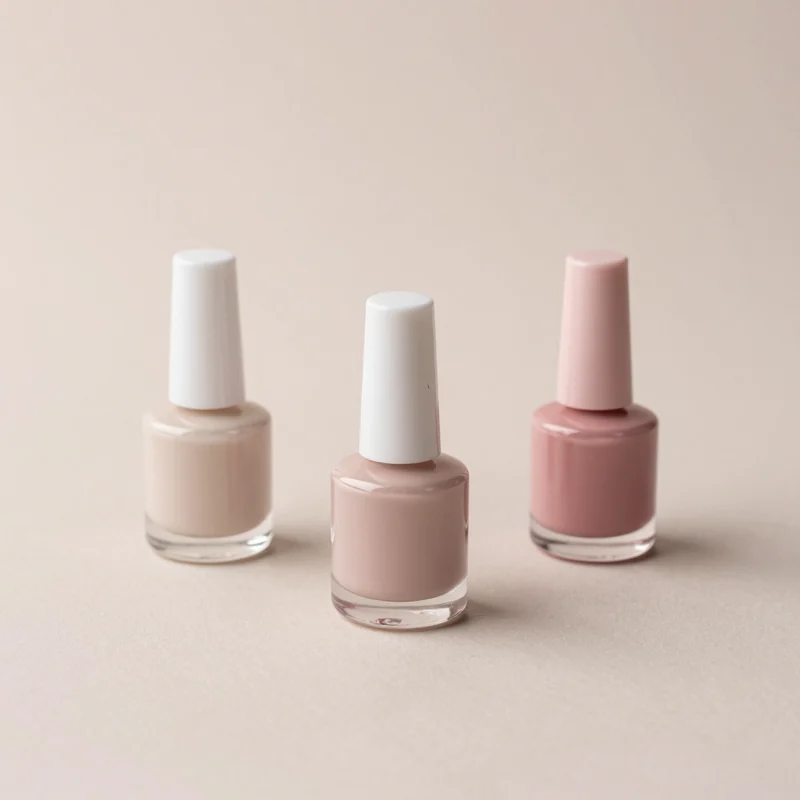
Nude pink nail polish set
What to check
A real product chosen to look like the picture. The picture is a styling reference, not this exact product.
-
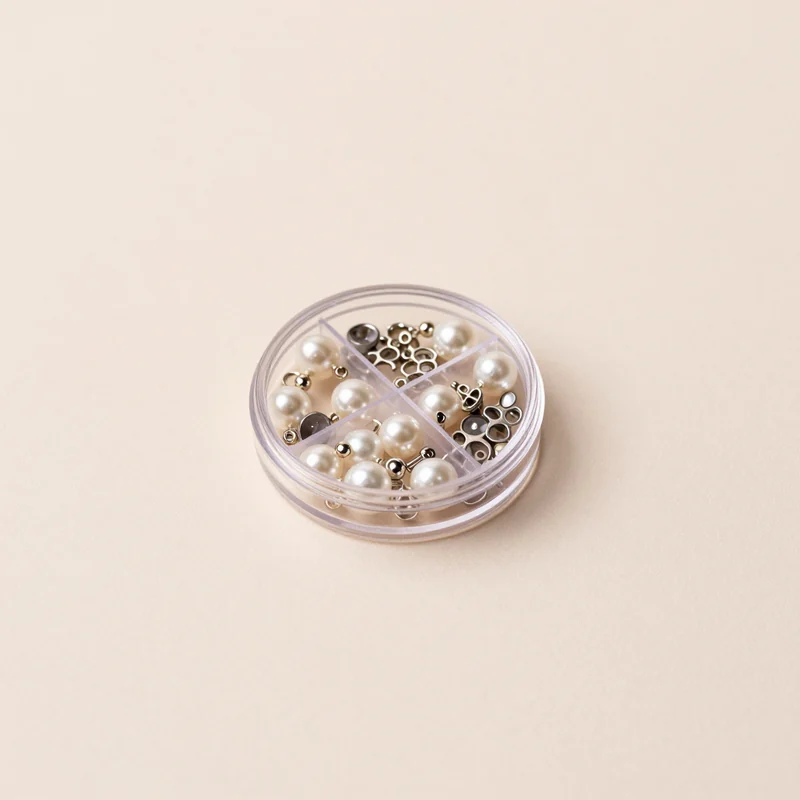
Charms
What to check
A real product chosen to look like the picture. The picture is a styling reference, not this exact product.
-
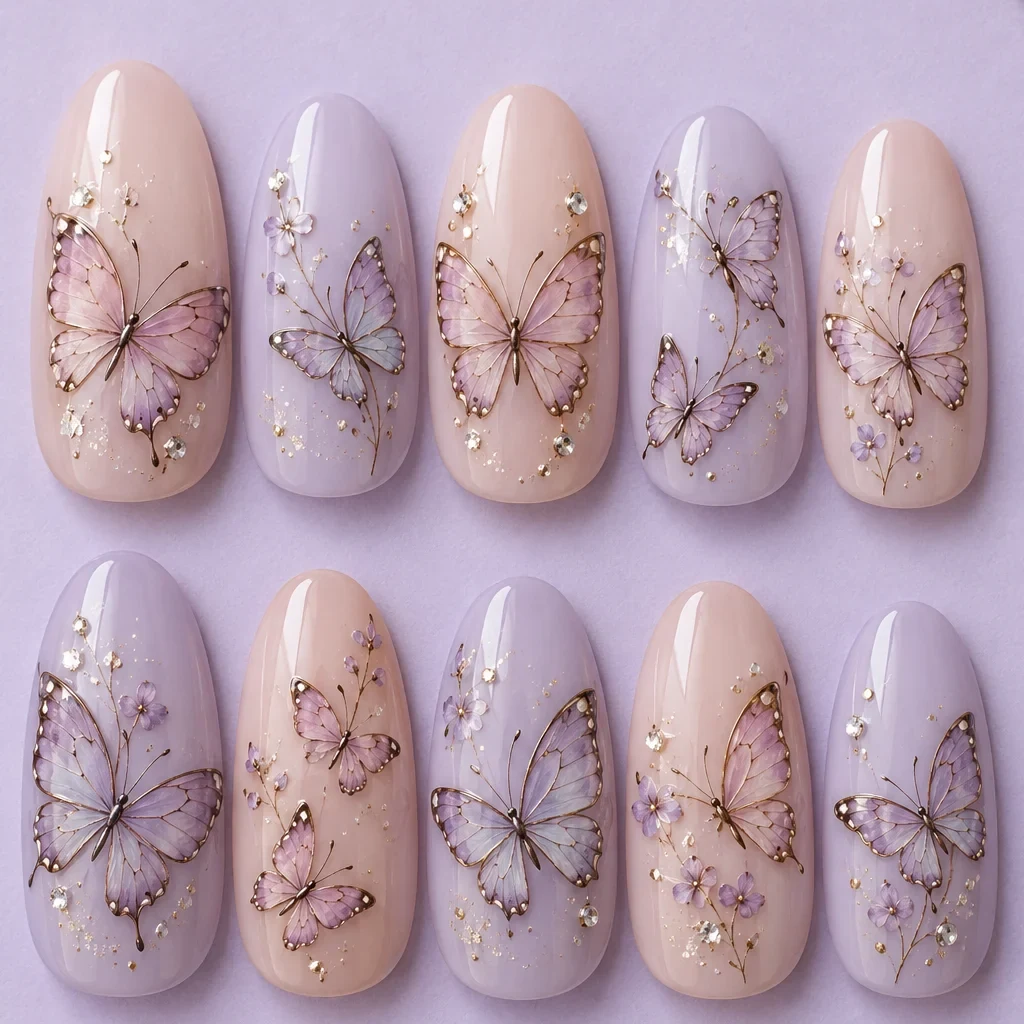
Butterfly Nail Art
What to check
A real product chosen to look like the picture. The picture is a styling reference, not this exact product.
-
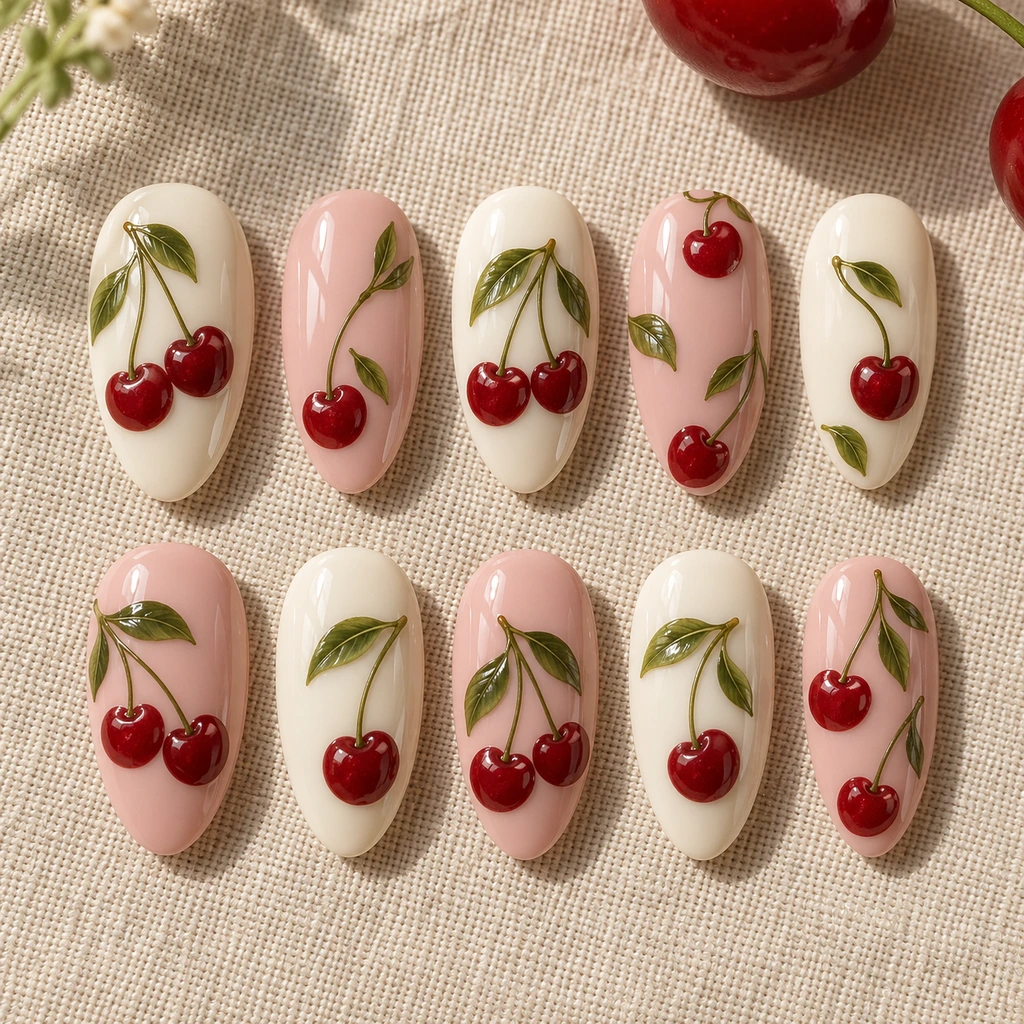
Cherry Nail Art
What to check
A real product chosen to look like the picture. The picture is a styling reference, not this exact product.
-
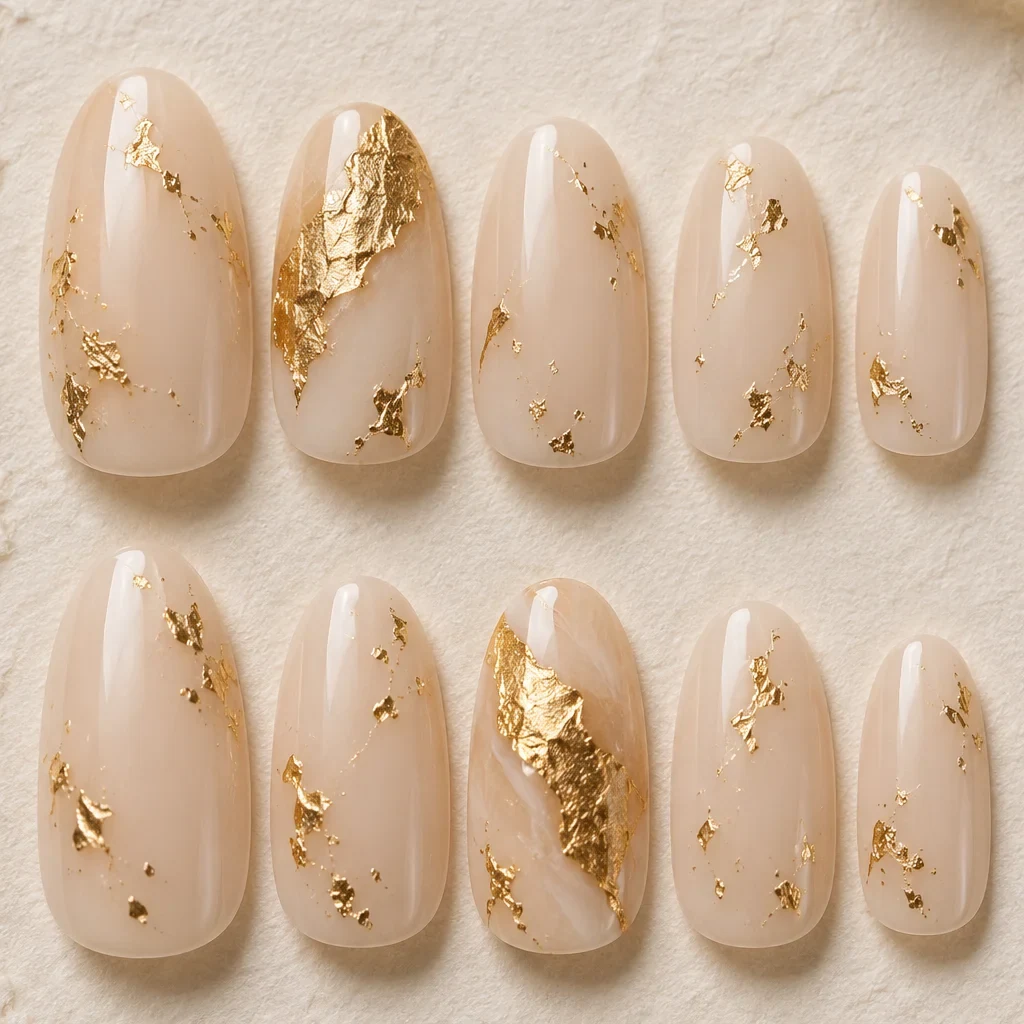
Gold Foil Nail Art
What to check
A real product chosen to look like the picture. The picture is a styling reference, not this exact product.
-
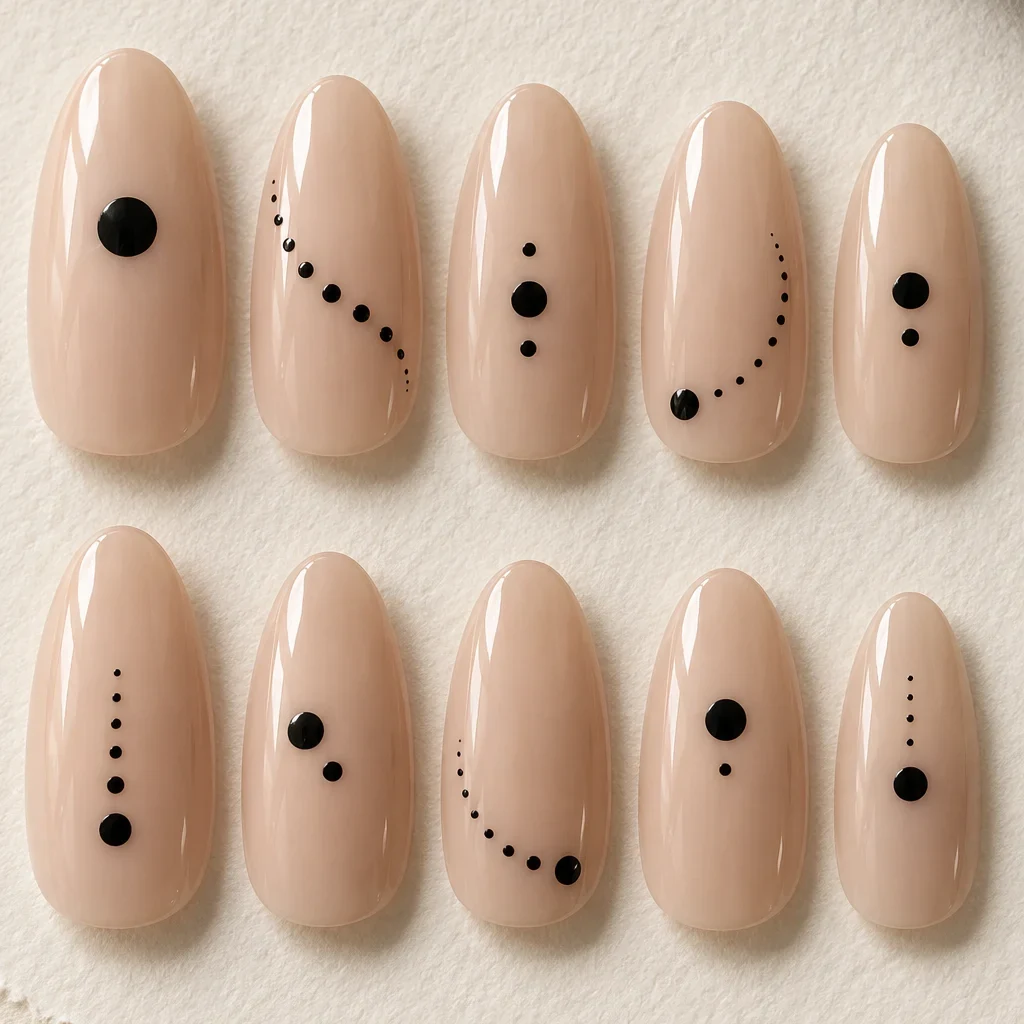
Ink Dot Nude
What to check
A real product chosen to look like the picture. The picture is a styling reference, not this exact product.
-
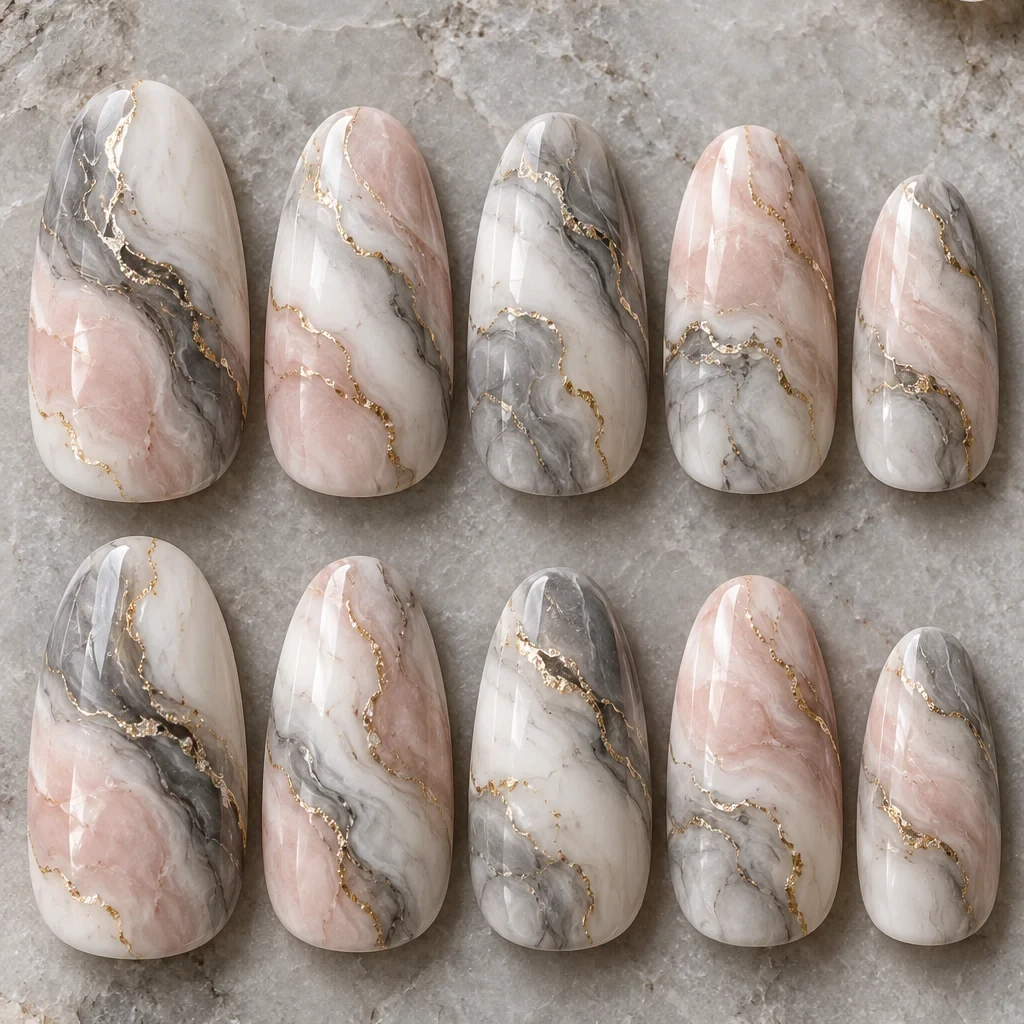
Marble Nail Art
What to check
A real product chosen to look like the picture. The picture is a styling reference, not this exact product.
Show all 16 pieces
-
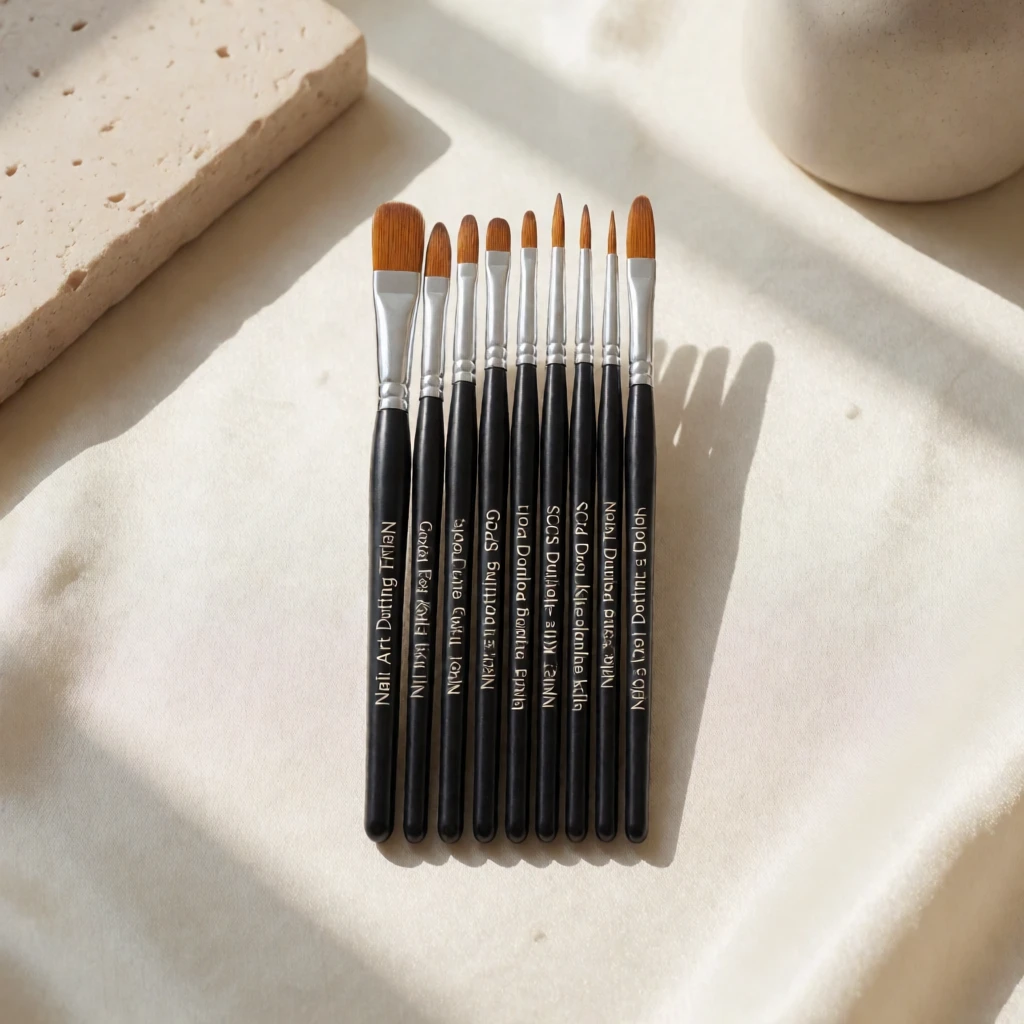
Nail art liner brushes
What to check
A real product chosen to look like the picture. The picture is a styling reference, not this exact product.
-
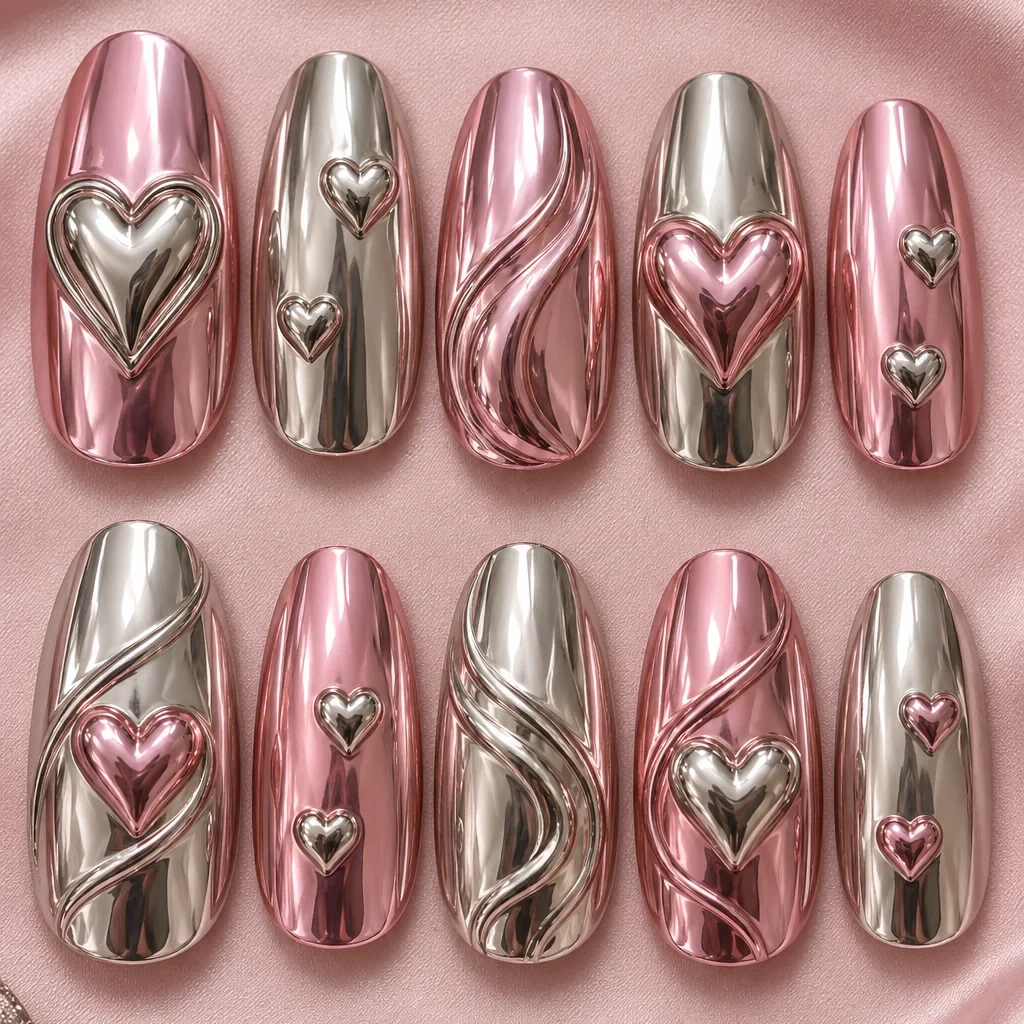
3D Heart Chrome Nails
What to check
A real product chosen to look like the picture. The picture is a styling reference, not this exact product.
-
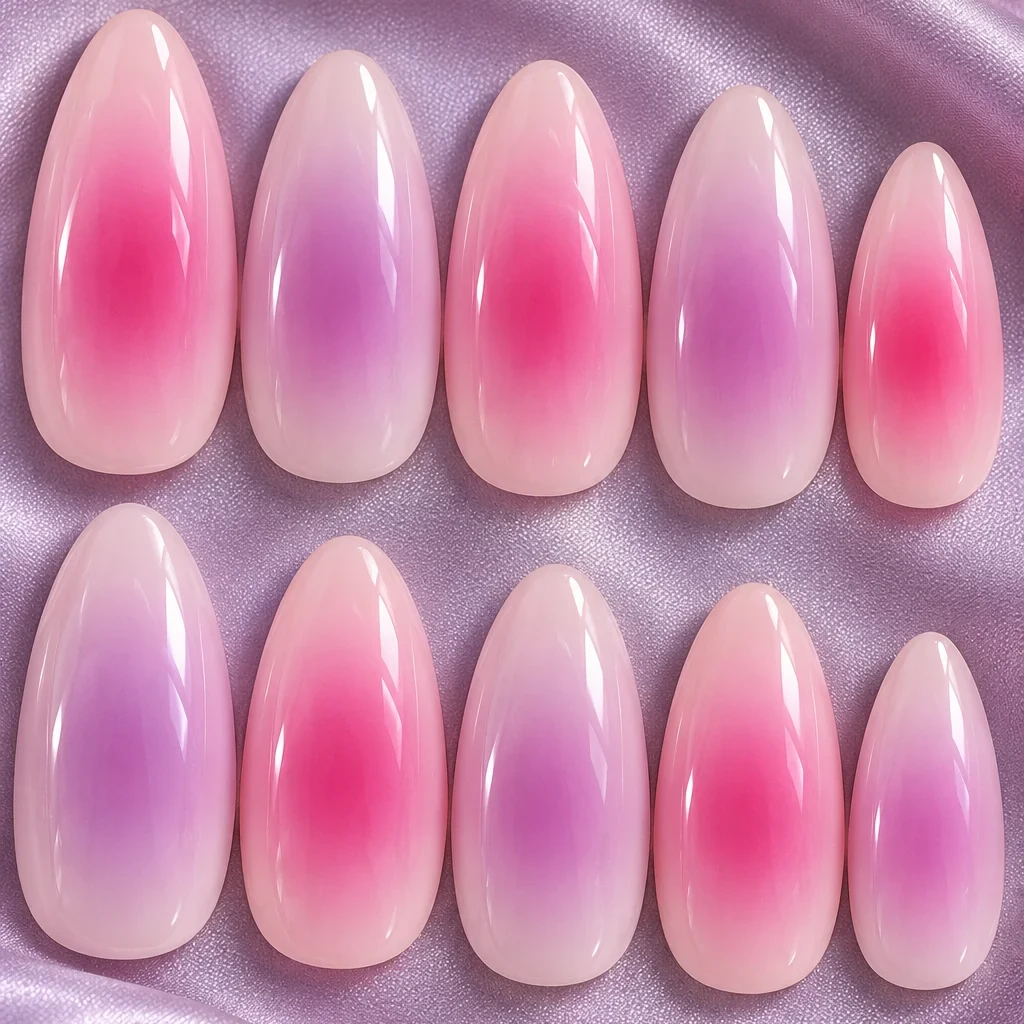
Aura Nails
What to check
A real product chosen to look like the picture. The picture is a styling reference, not this exact product.
-
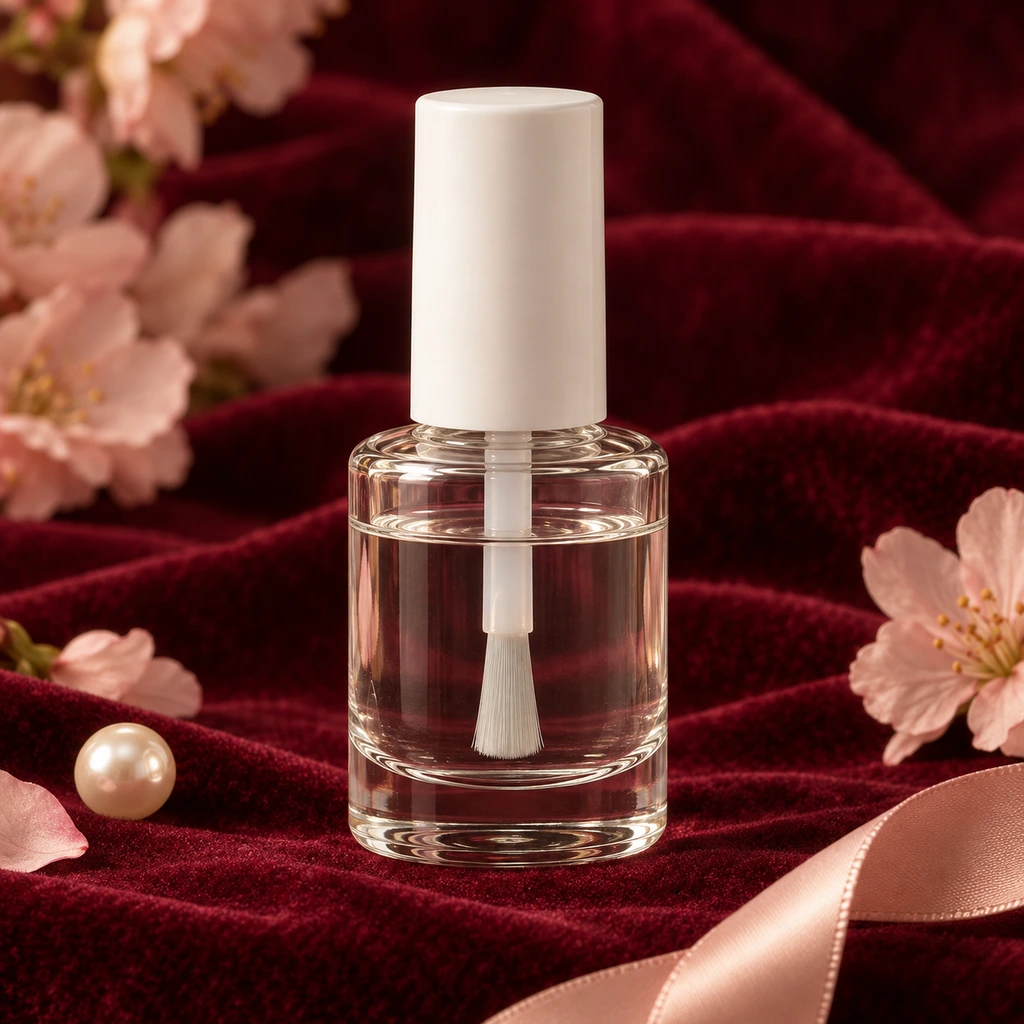
Base coat
What to check
A real product chosen to look like the picture. The picture is a styling reference, not this exact product.
-
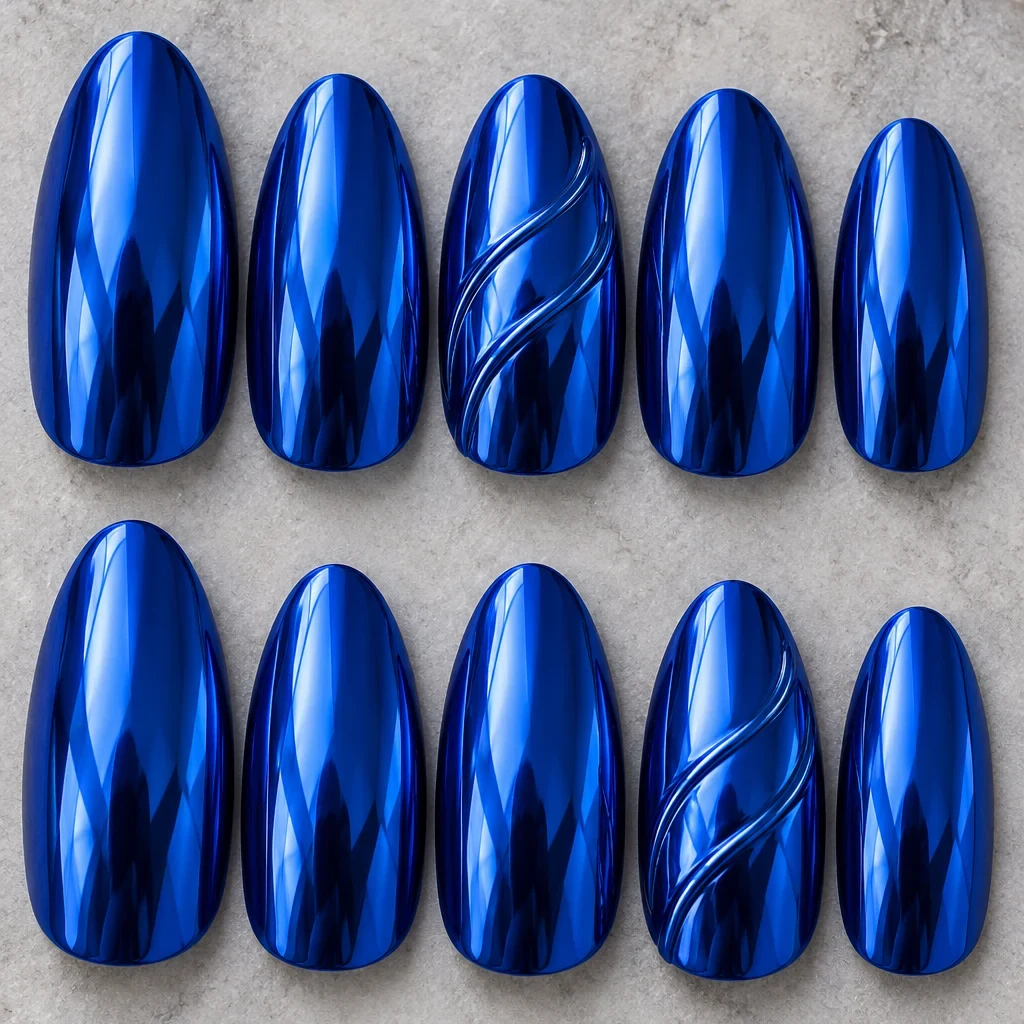
Blue Chrome Nails
What to check
A real product chosen to look like the picture. The picture is a styling reference, not this exact product.
-
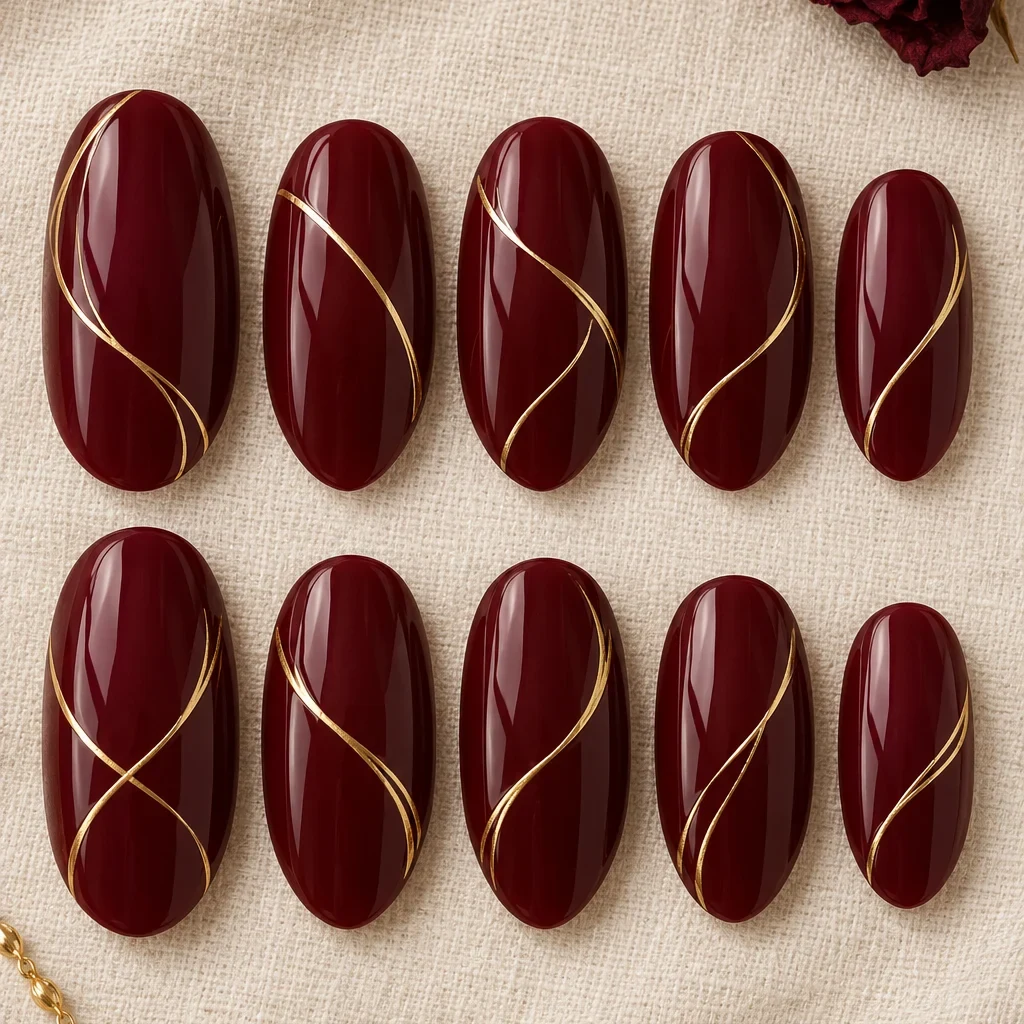
Burgundy Gold Line Nails
What to check
A real product chosen to look like the picture. The picture is a styling reference, not this exact product.
-
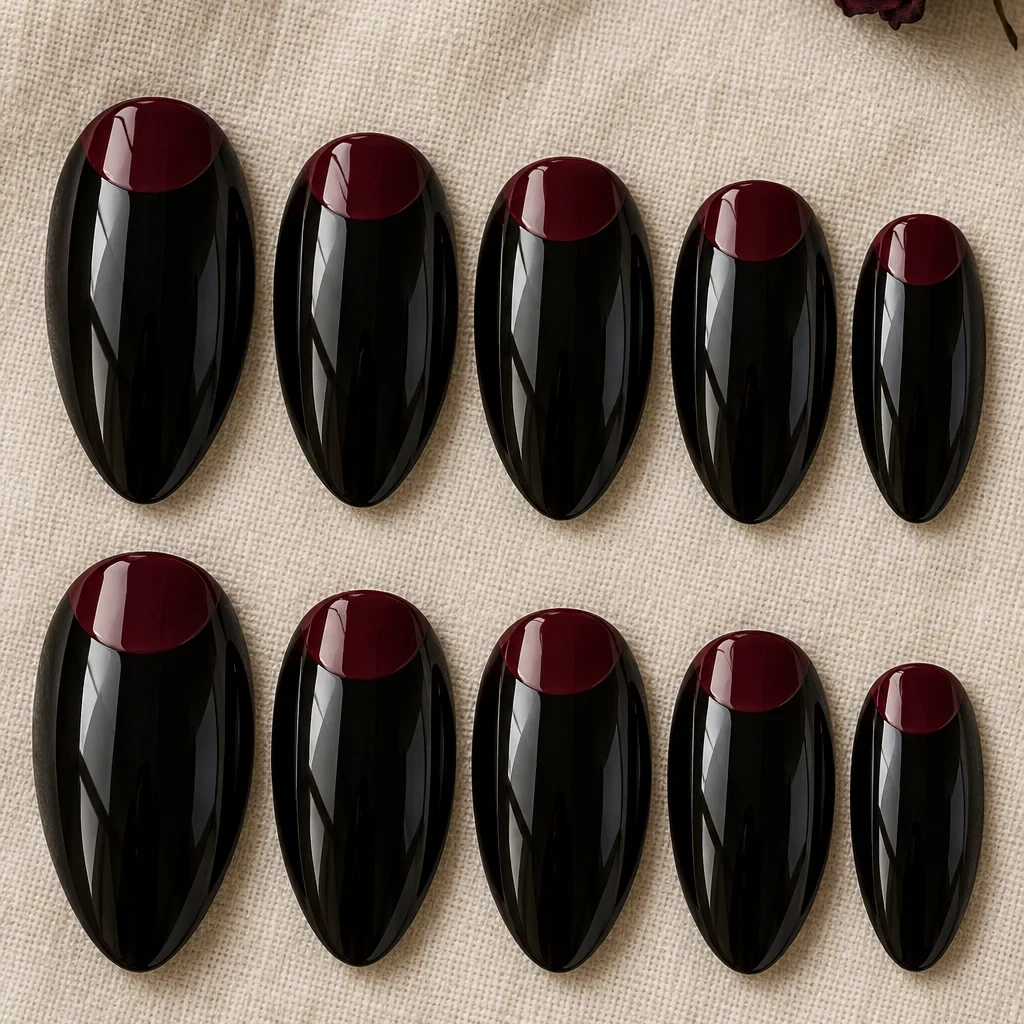
Burgundy half-moons
What to check
A real product chosen to look like the picture. The picture is a styling reference, not this exact product.
-
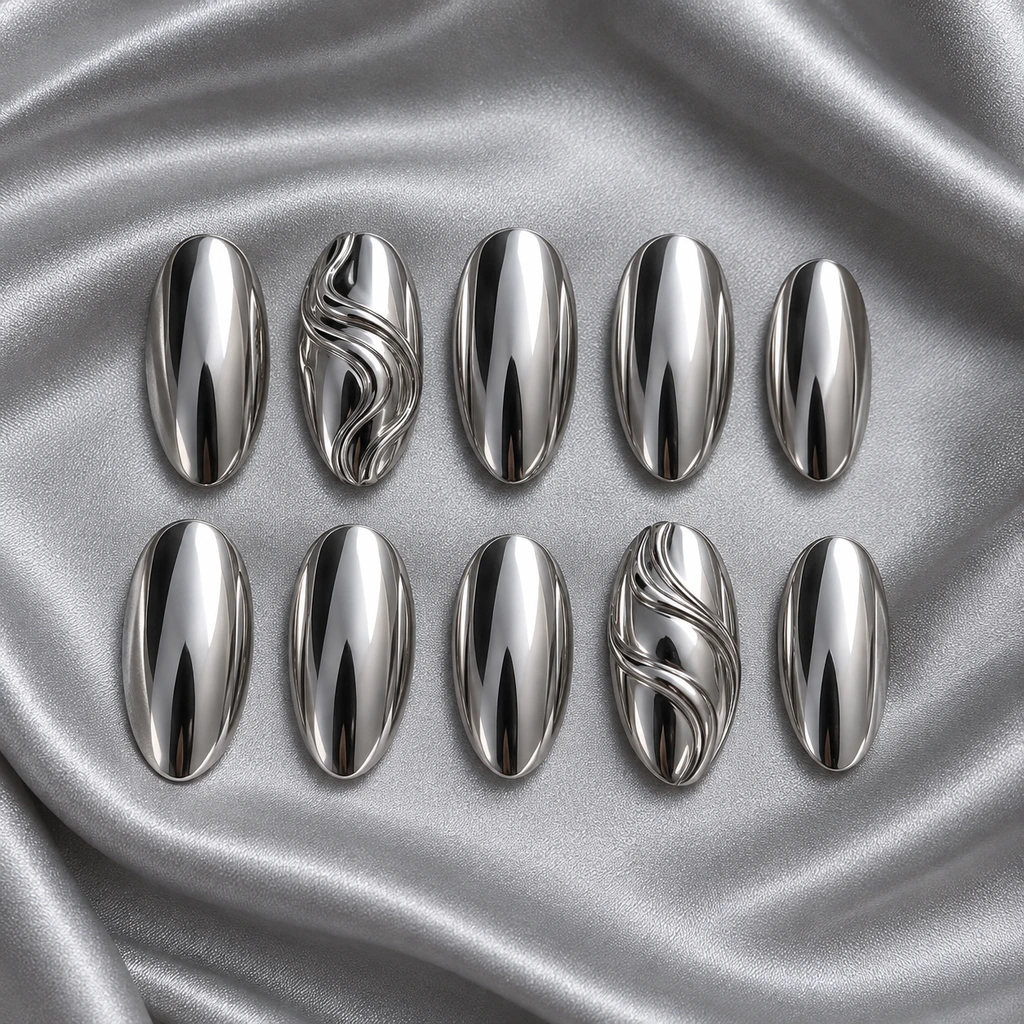
Chrome Nails
What to check
A real product chosen to look like the picture. The picture is a styling reference, not this exact product.
The gallery
20 art & themes looks
Open a look to see its pieces.
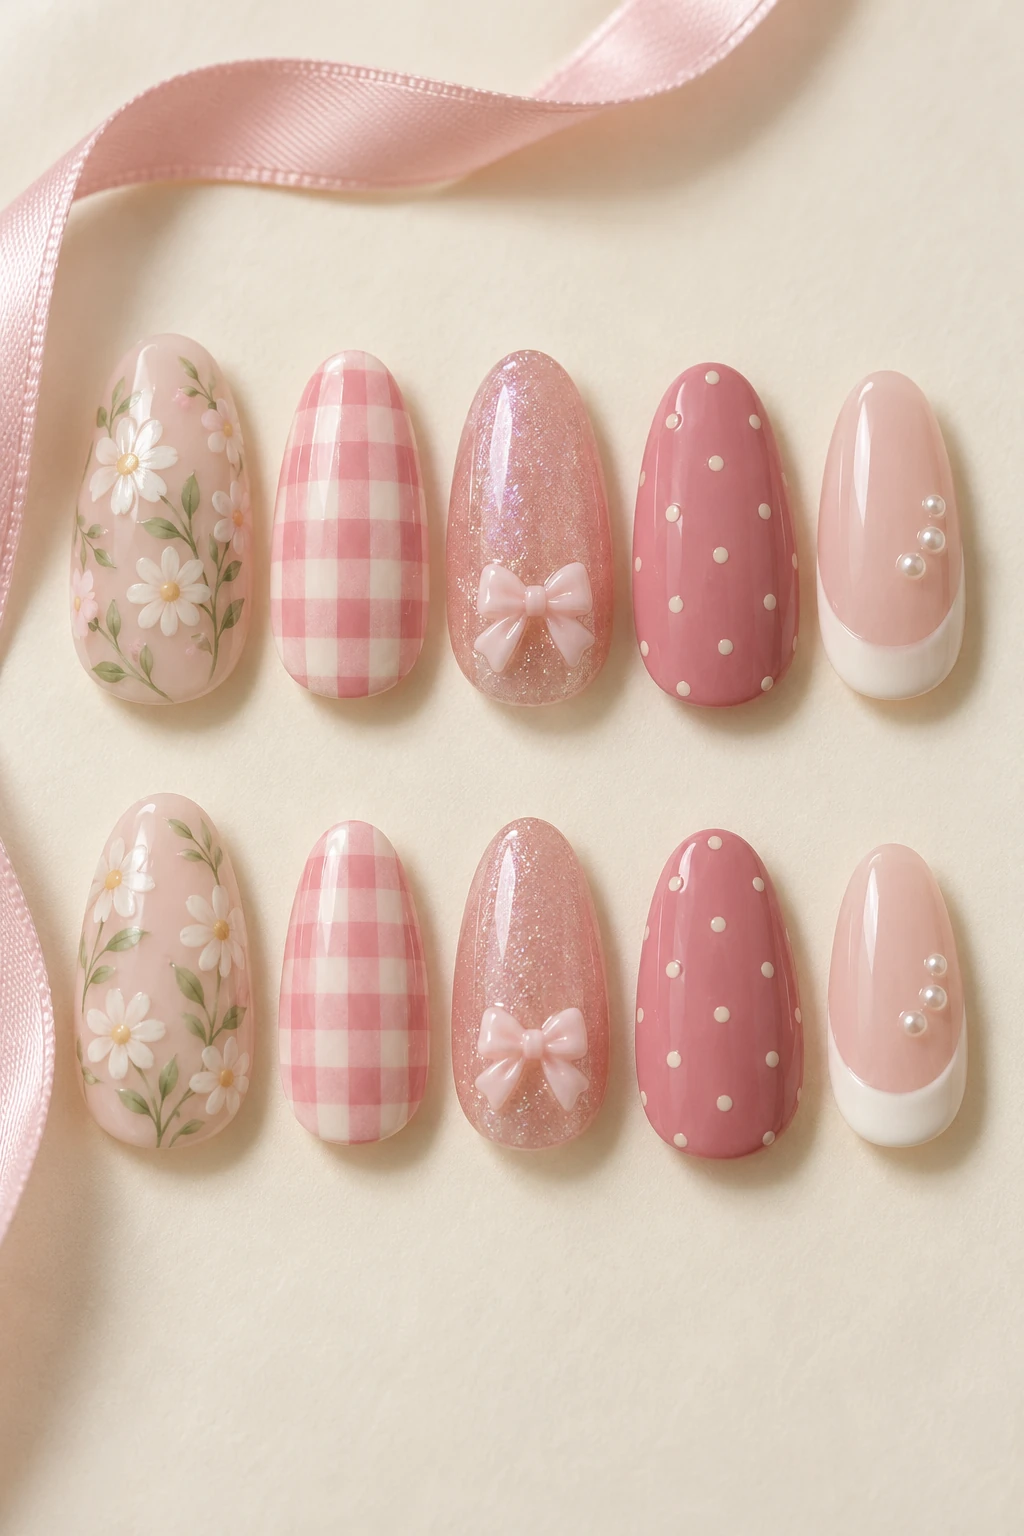 Pink bows, gingham & daisies
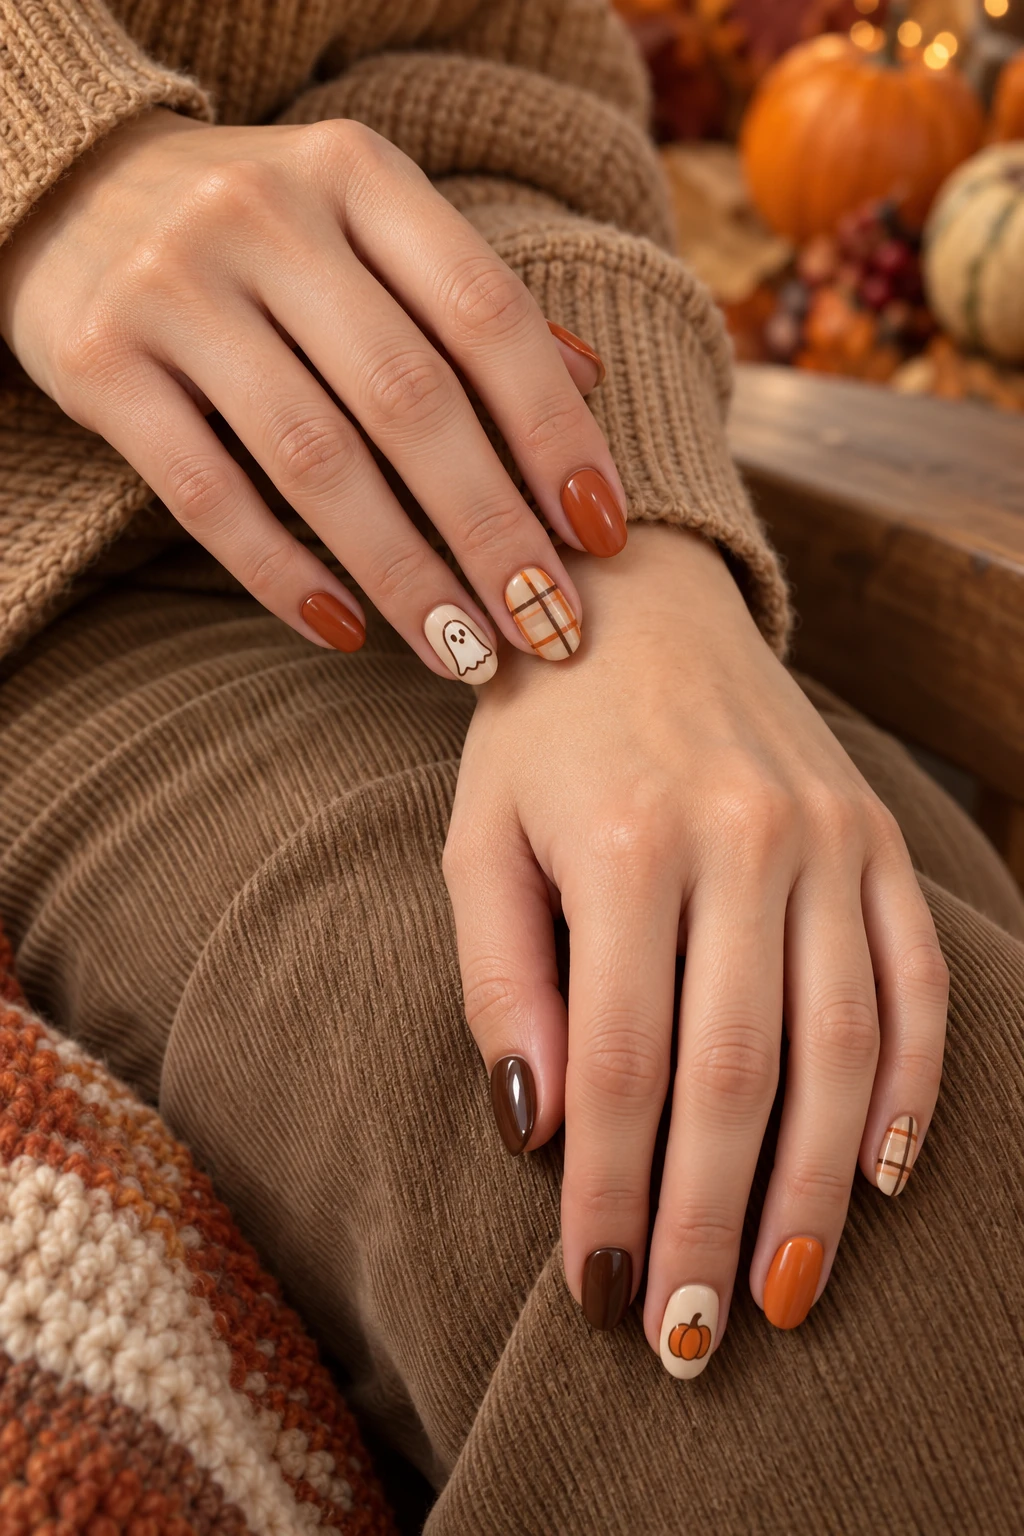 Halloween: plaid, pumpkin & ghost
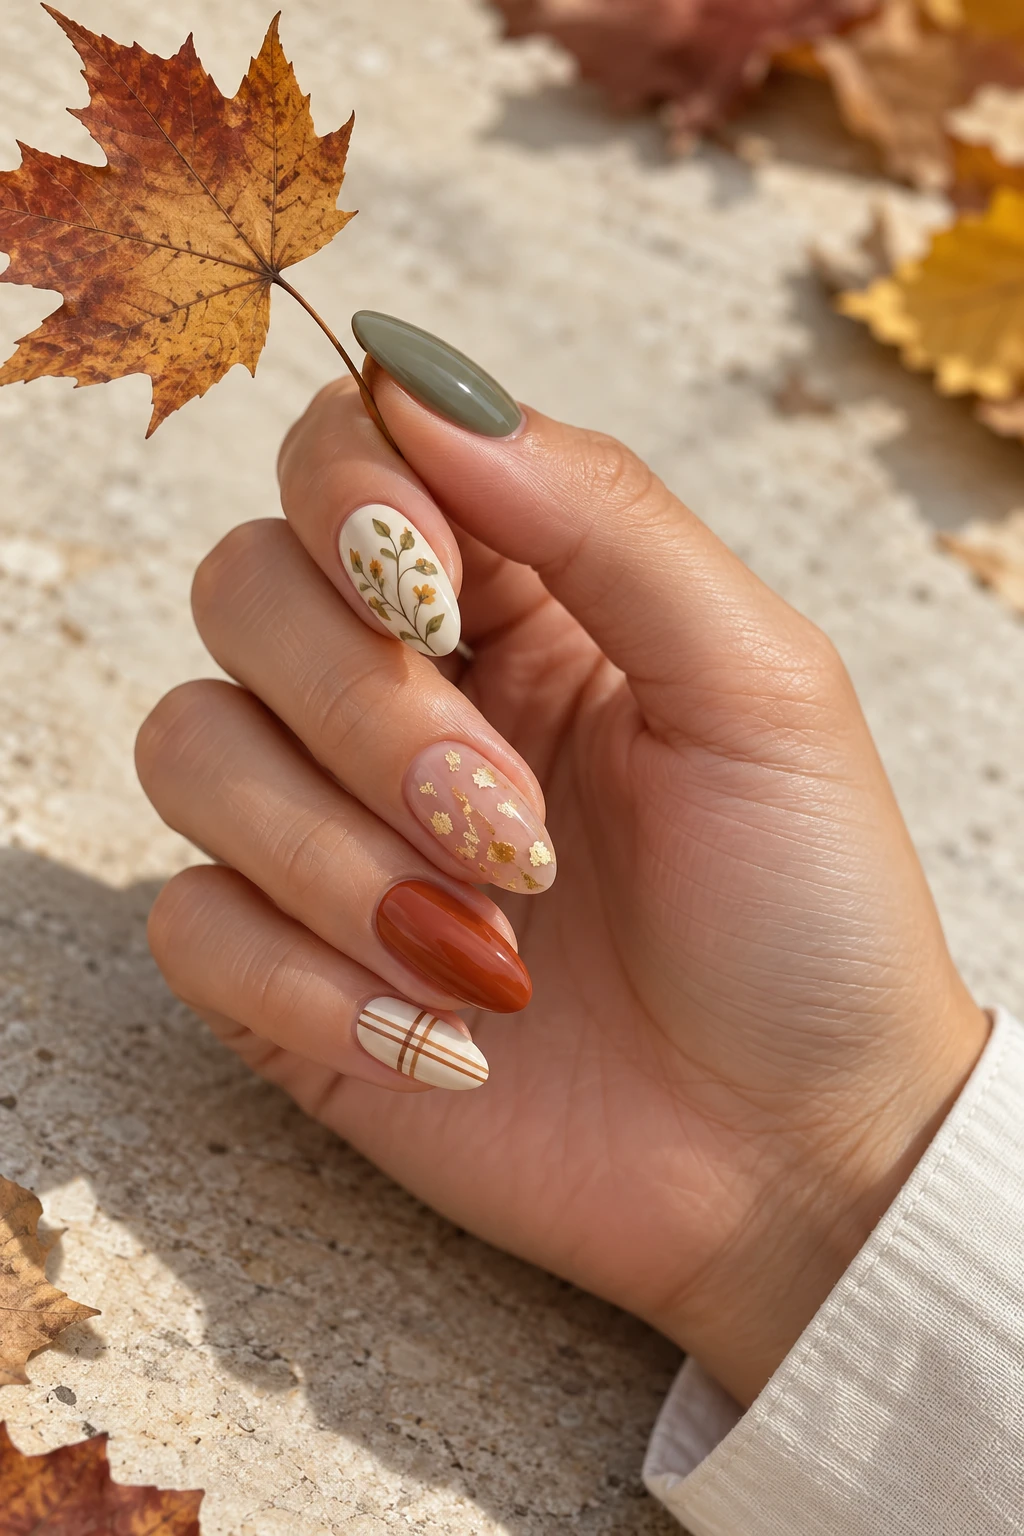 Autumn botanicals, foil & plaid
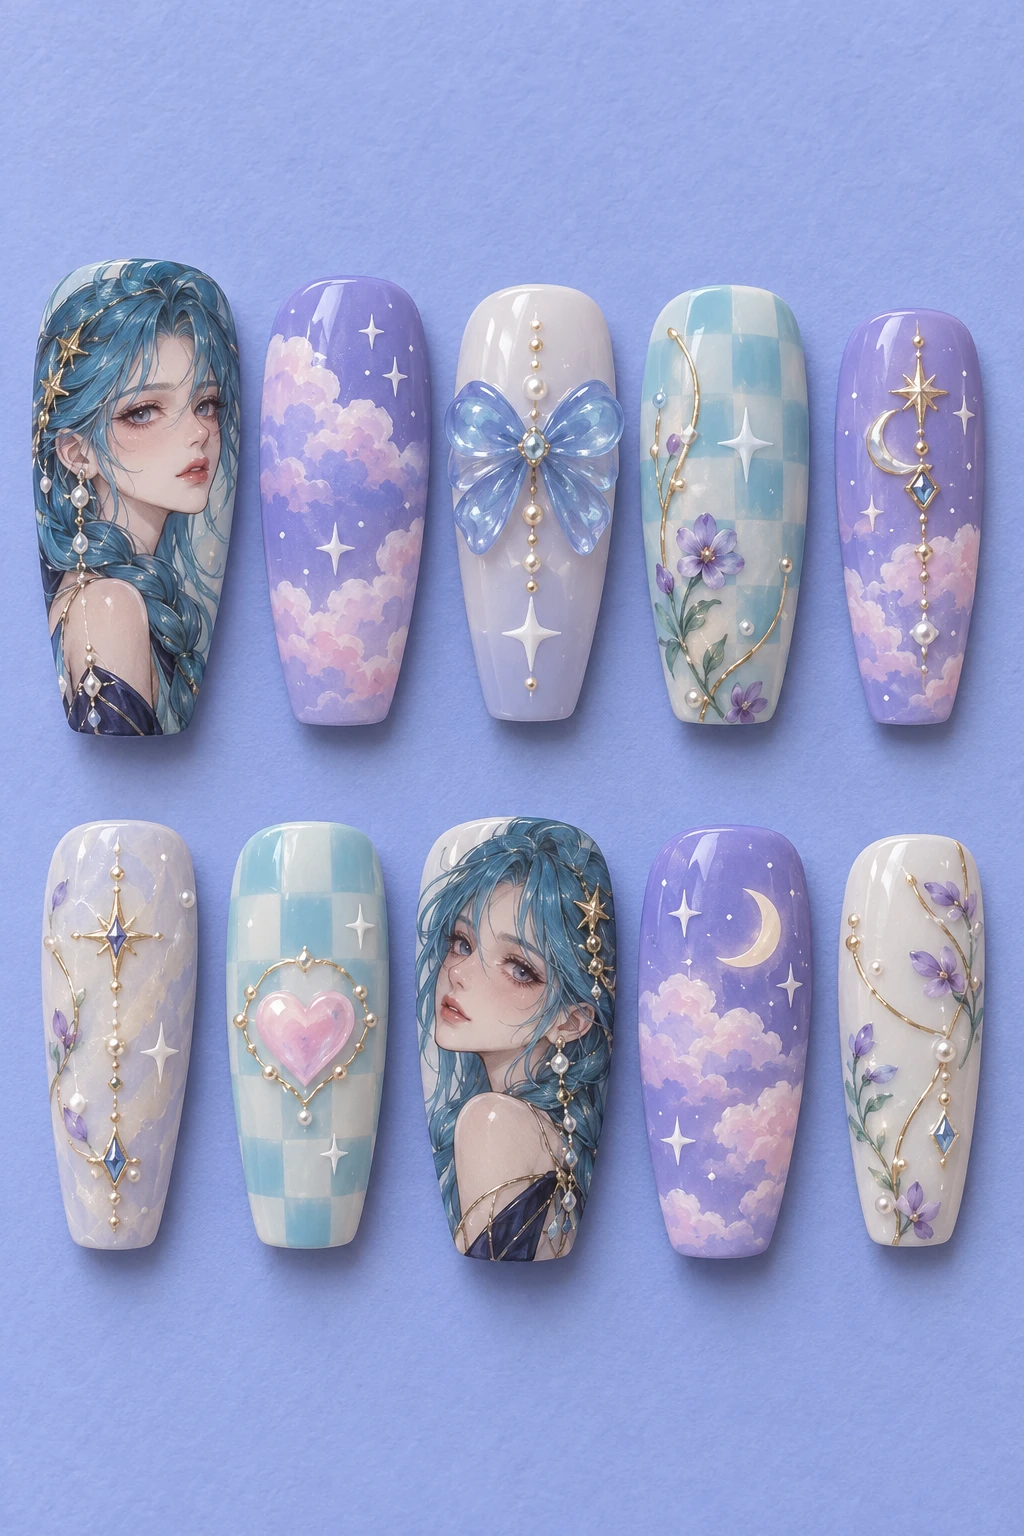 Anime-inspired cloud heroine
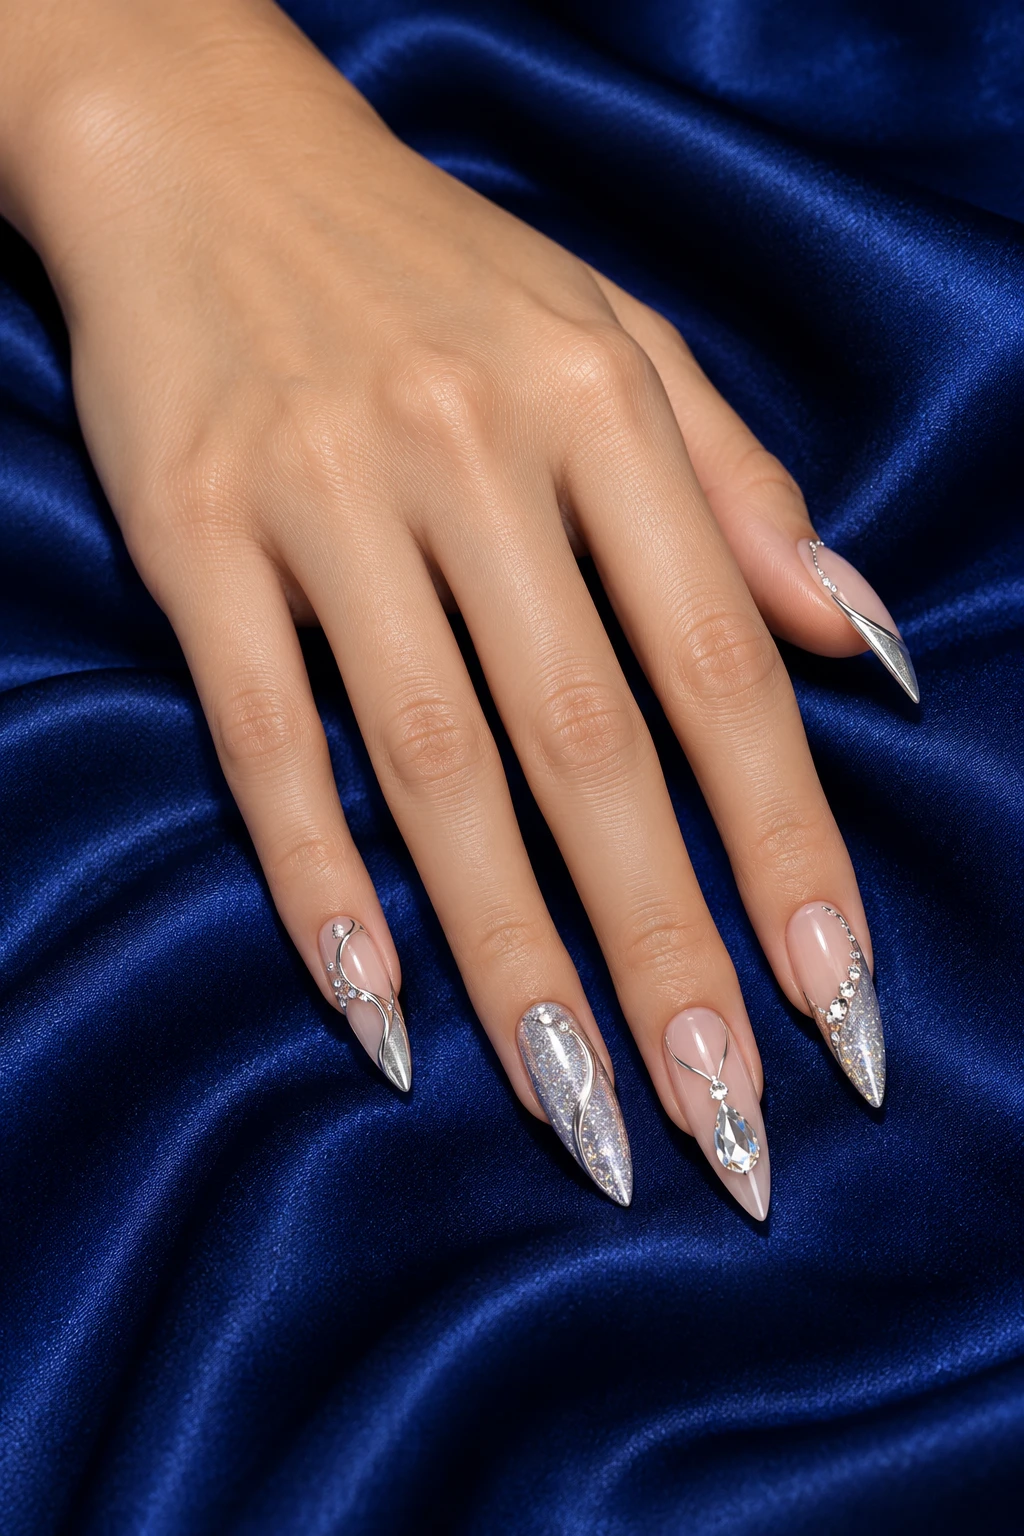 Silver glamour stiletto
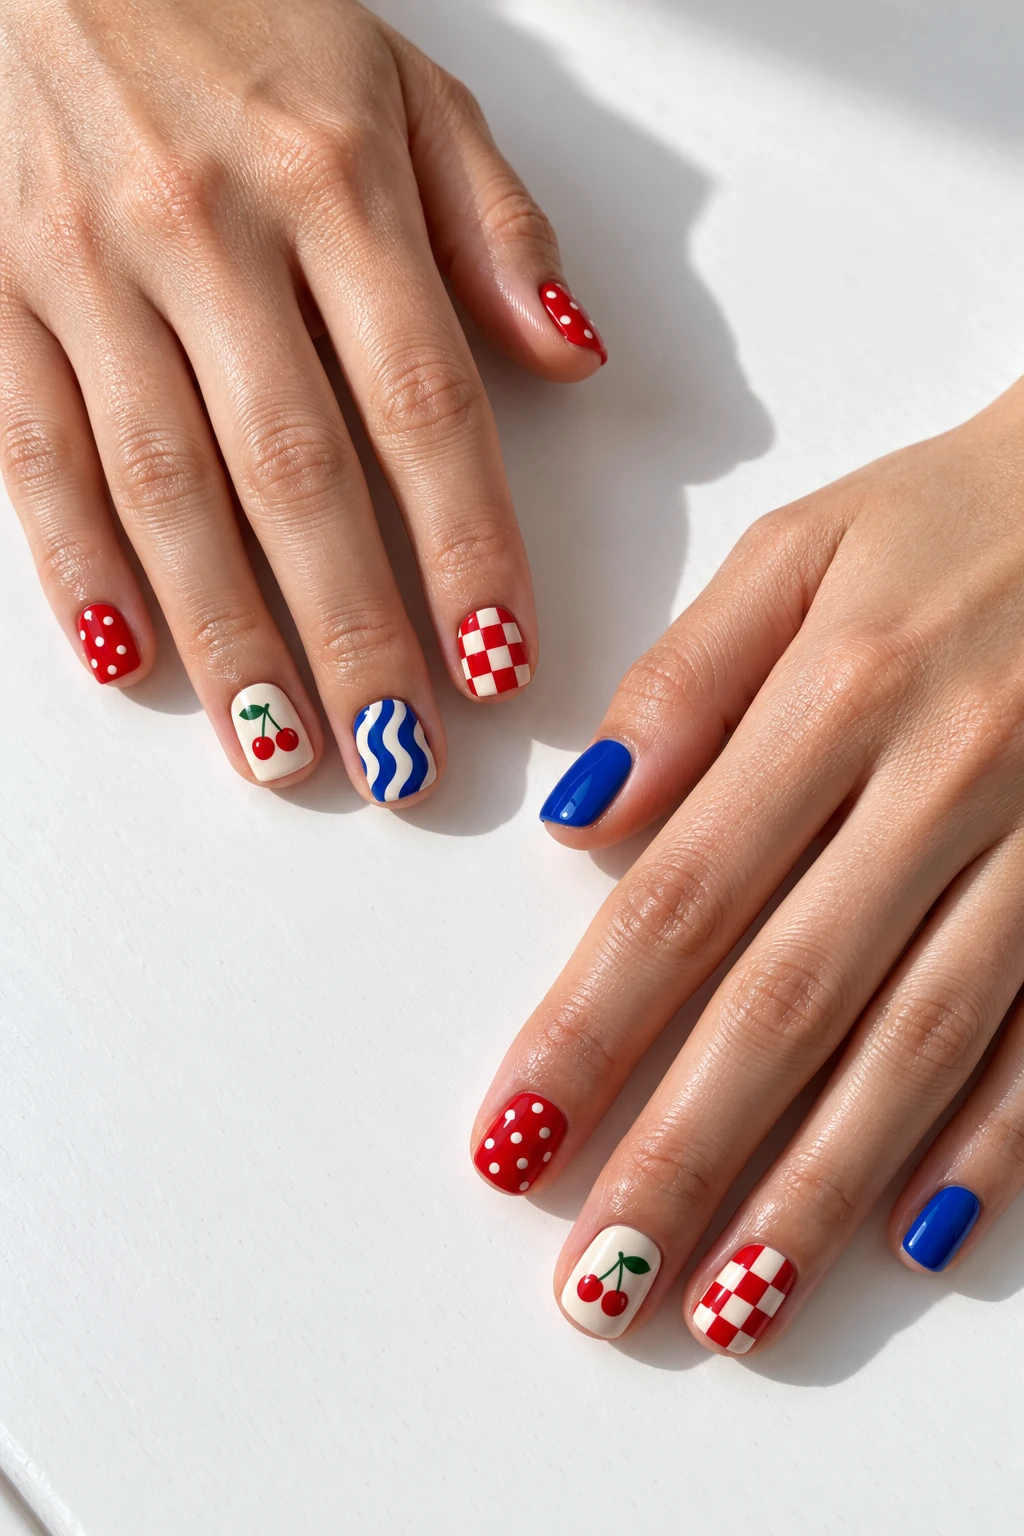 Cherry, checker & polka-dot pop
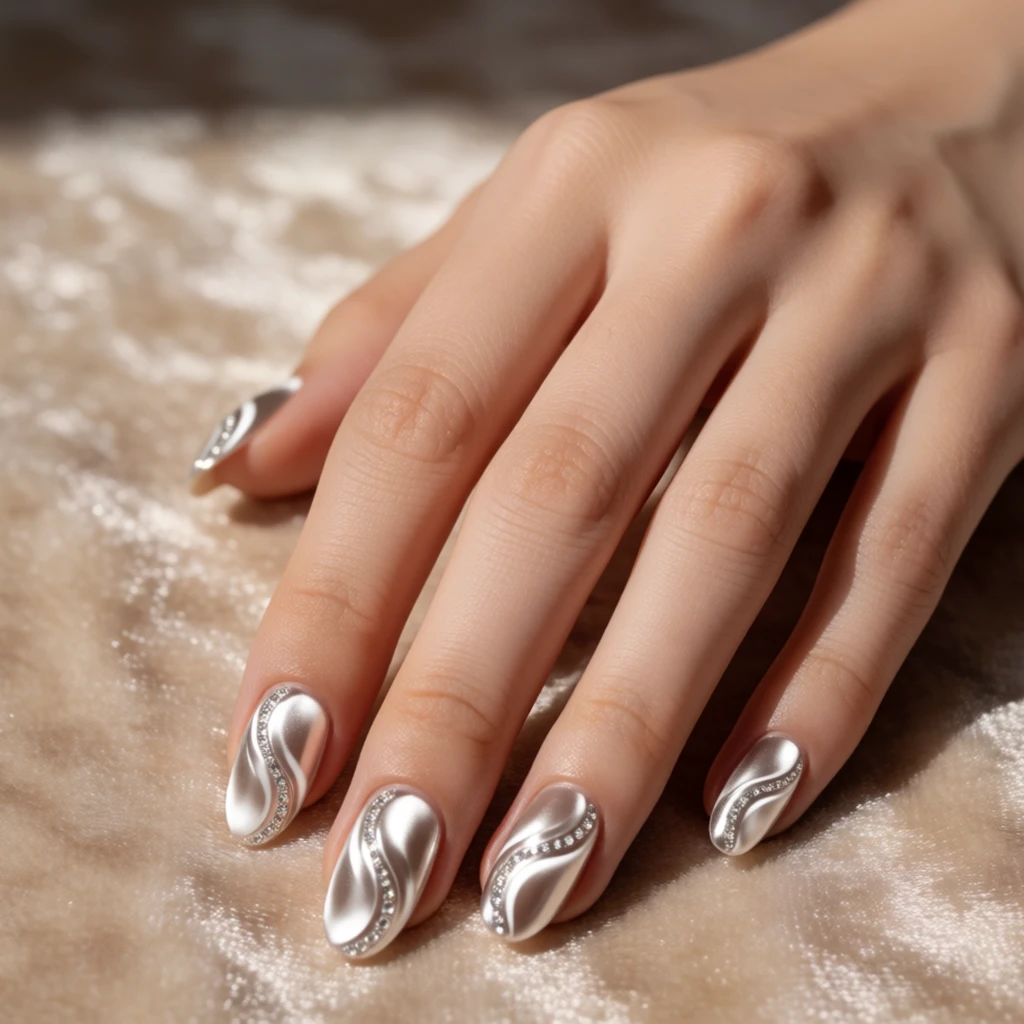 Chrome Nails
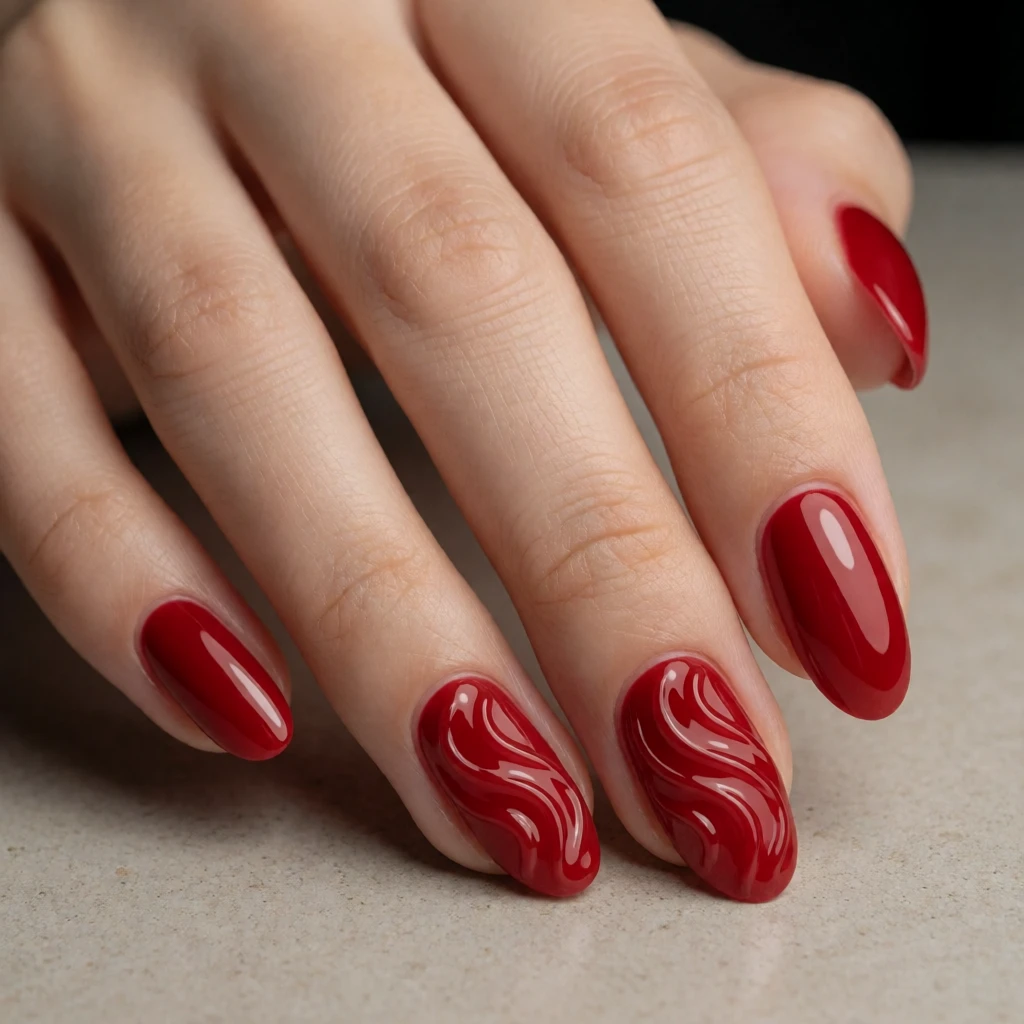 Red Chrome Nails
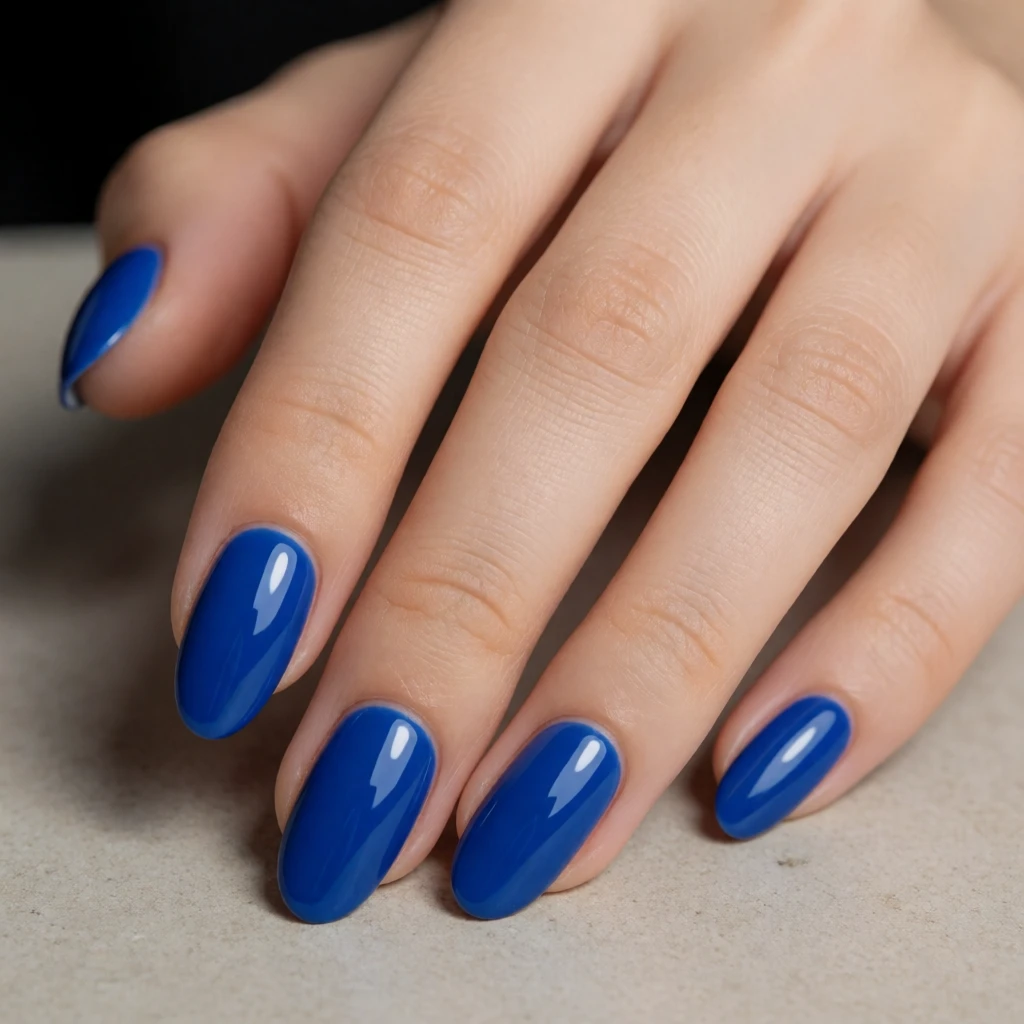 Blue Chrome Nails
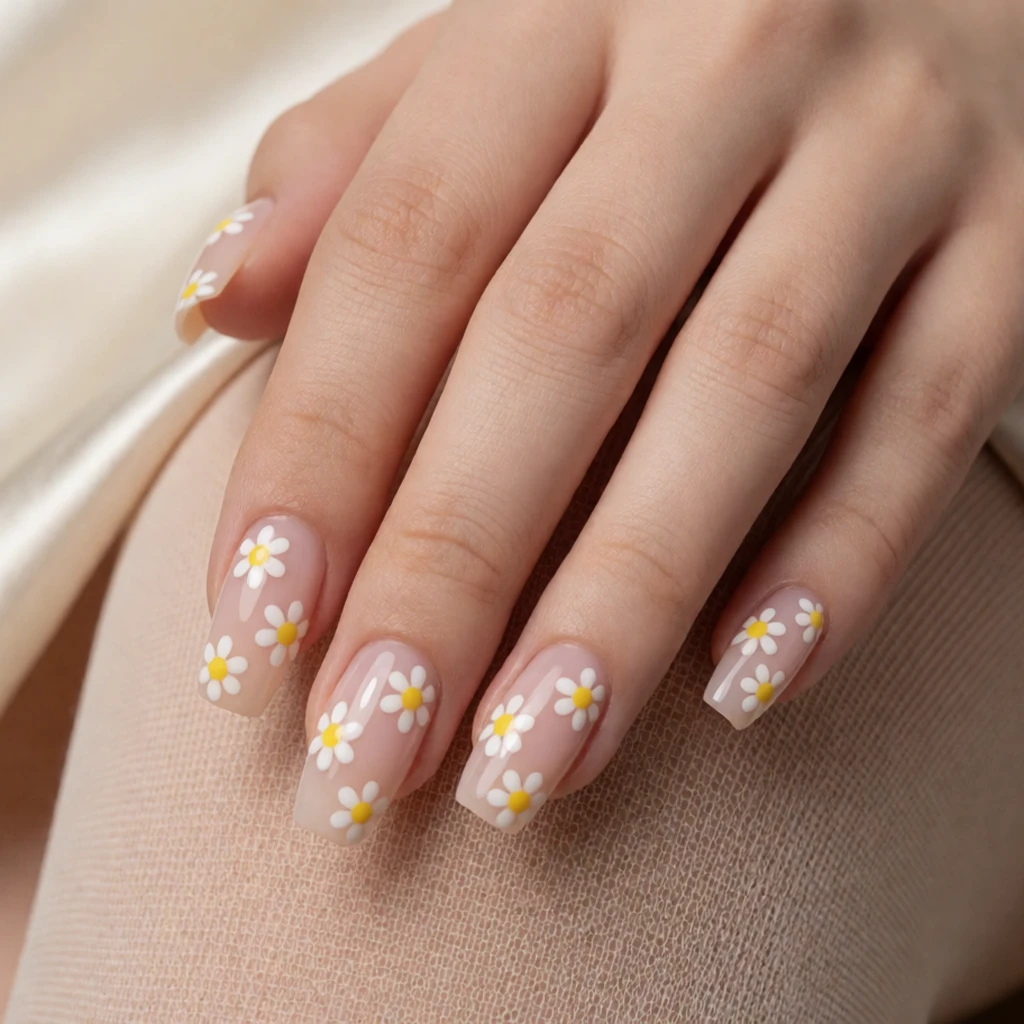 Rose Jelly Daisies
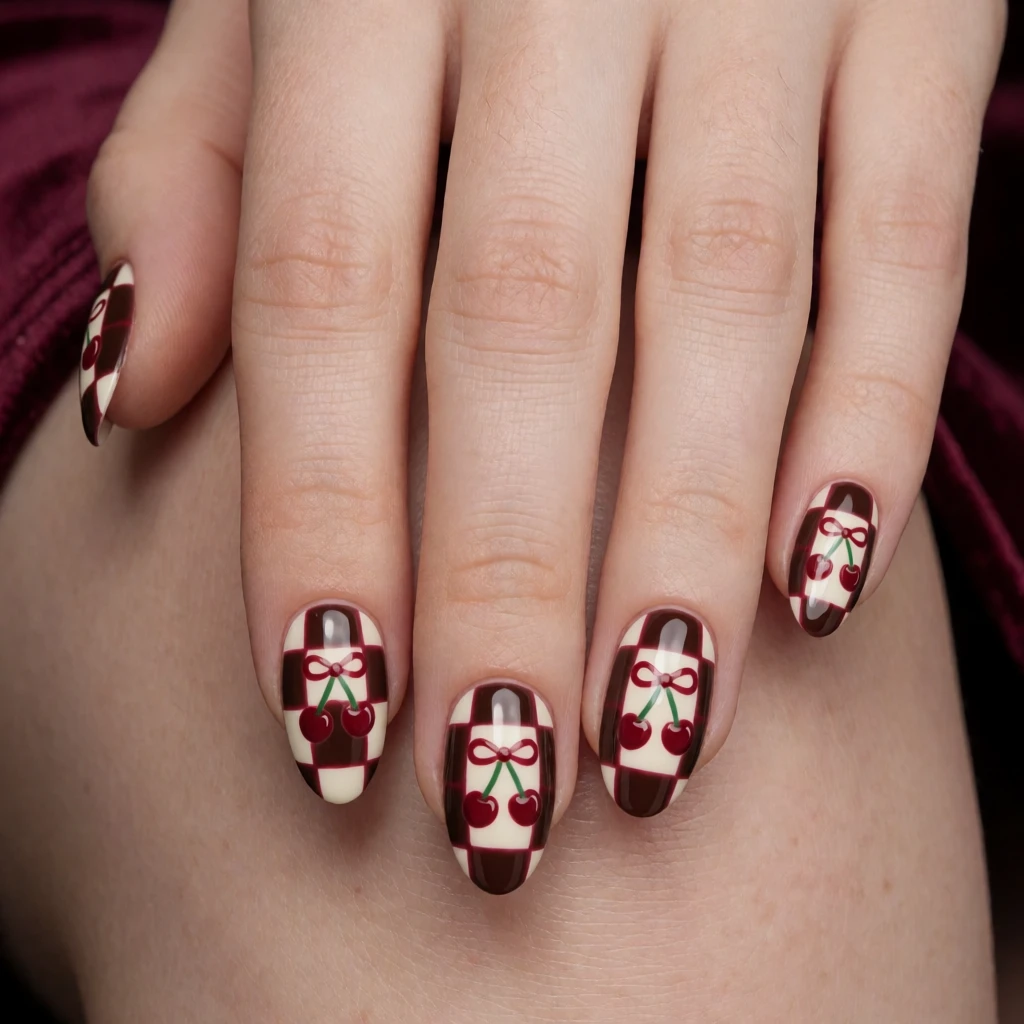 Cherry Chocolate Checker
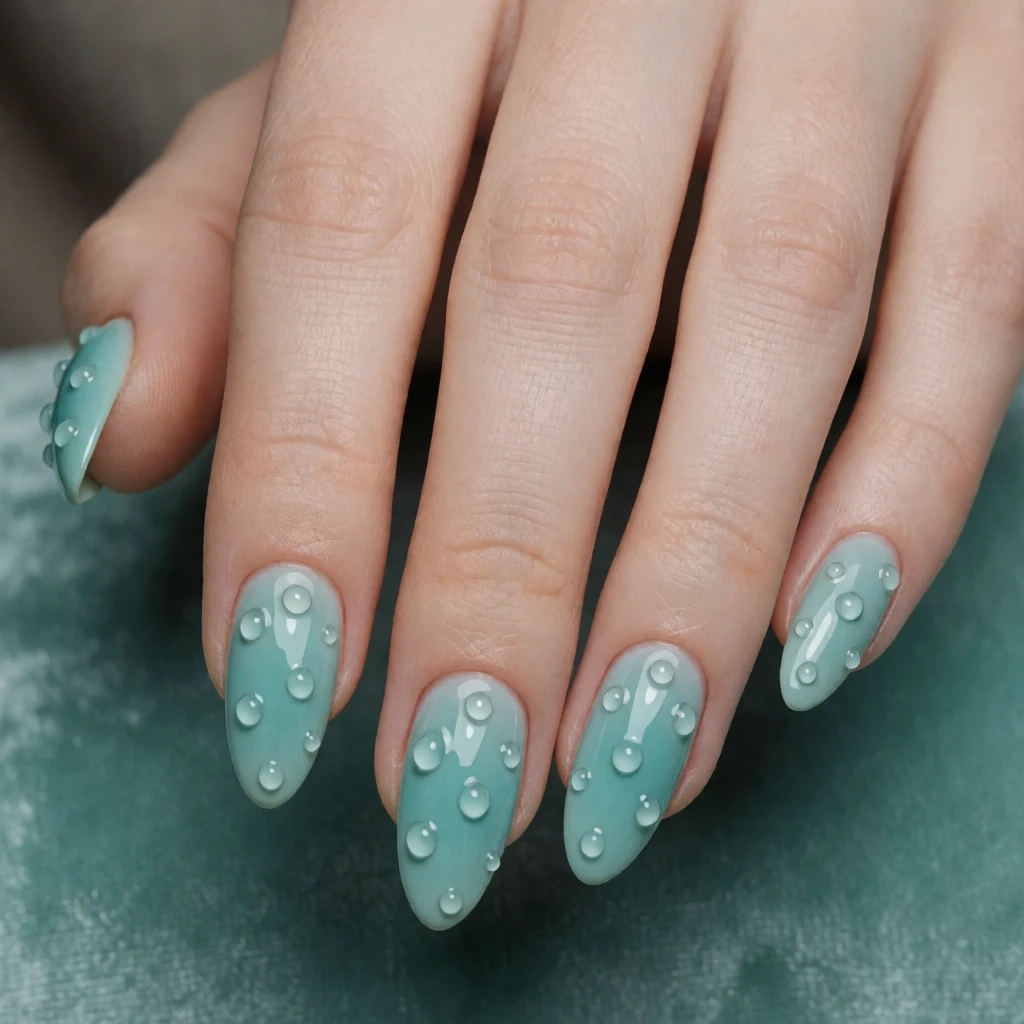 Sea Glass Droplets
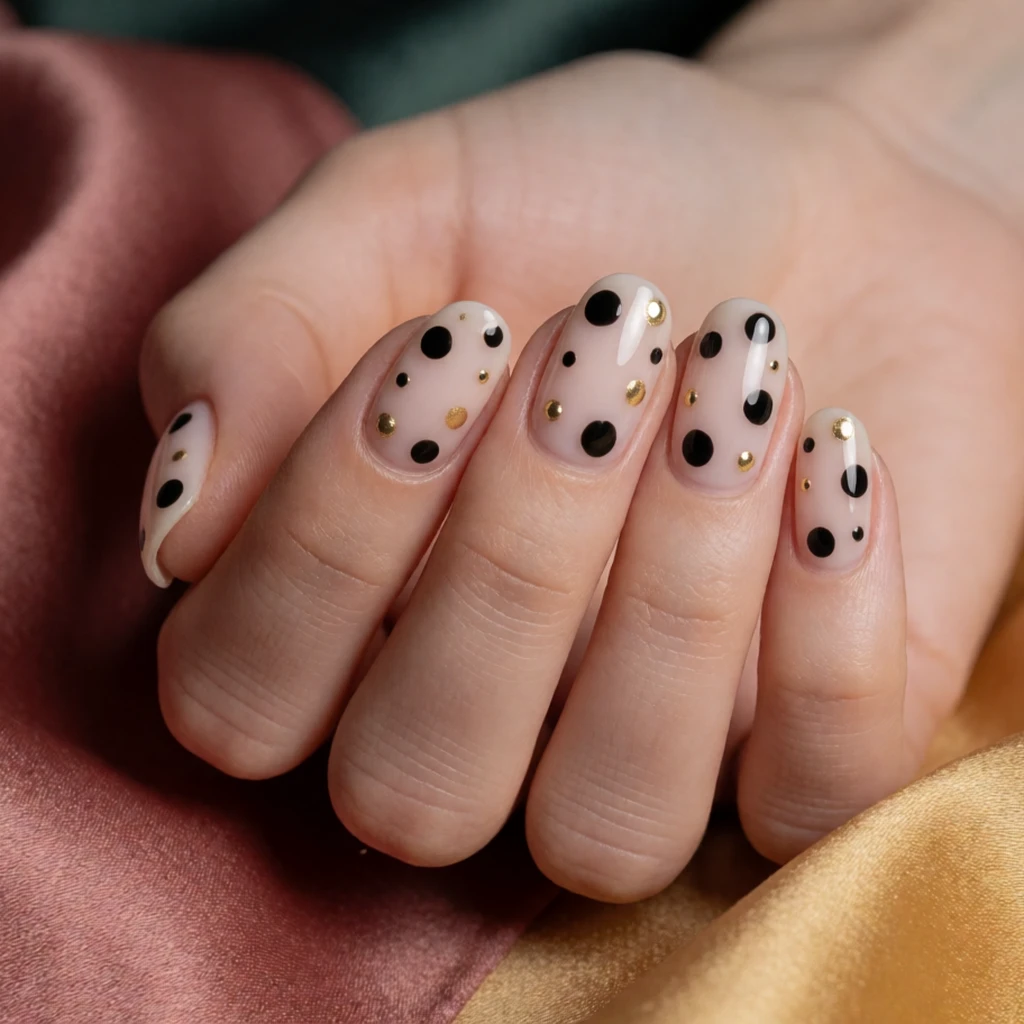 Ink Dot Nude
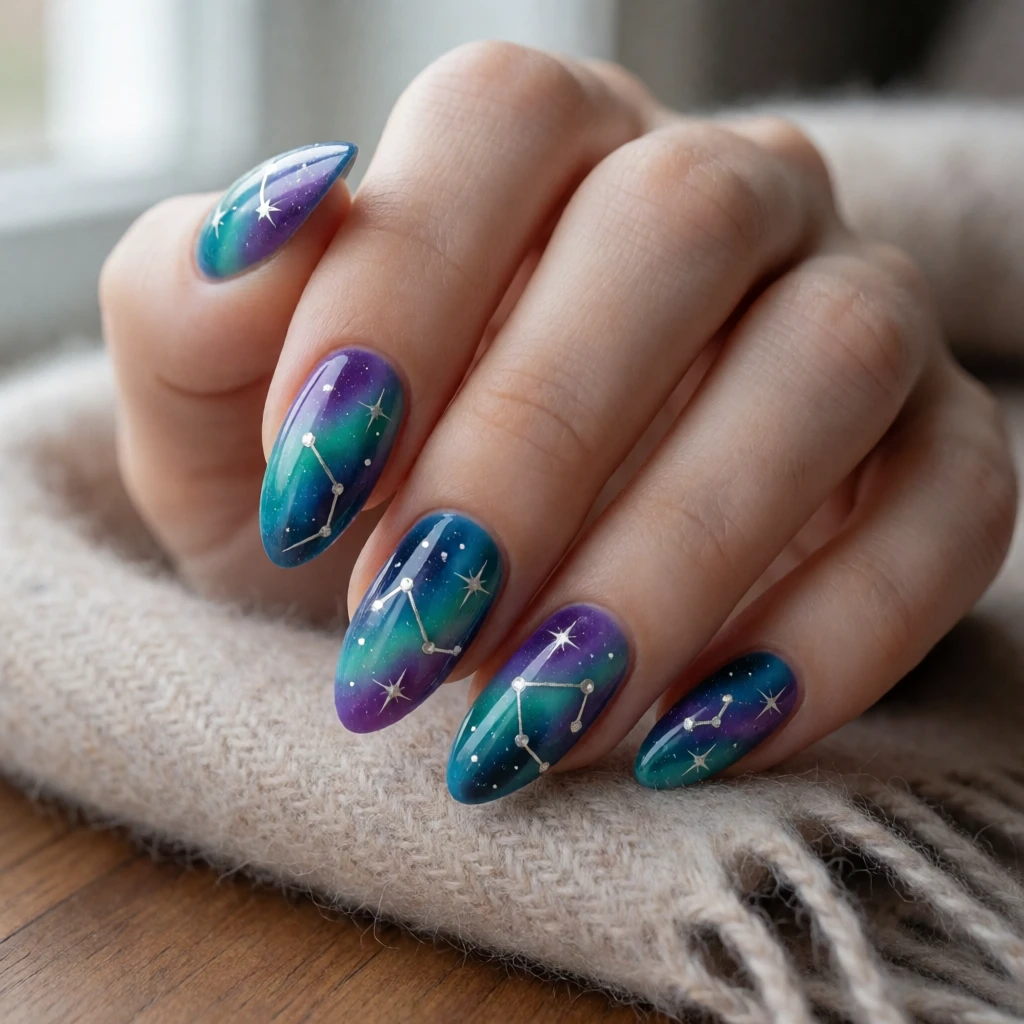 Aurora Constellation
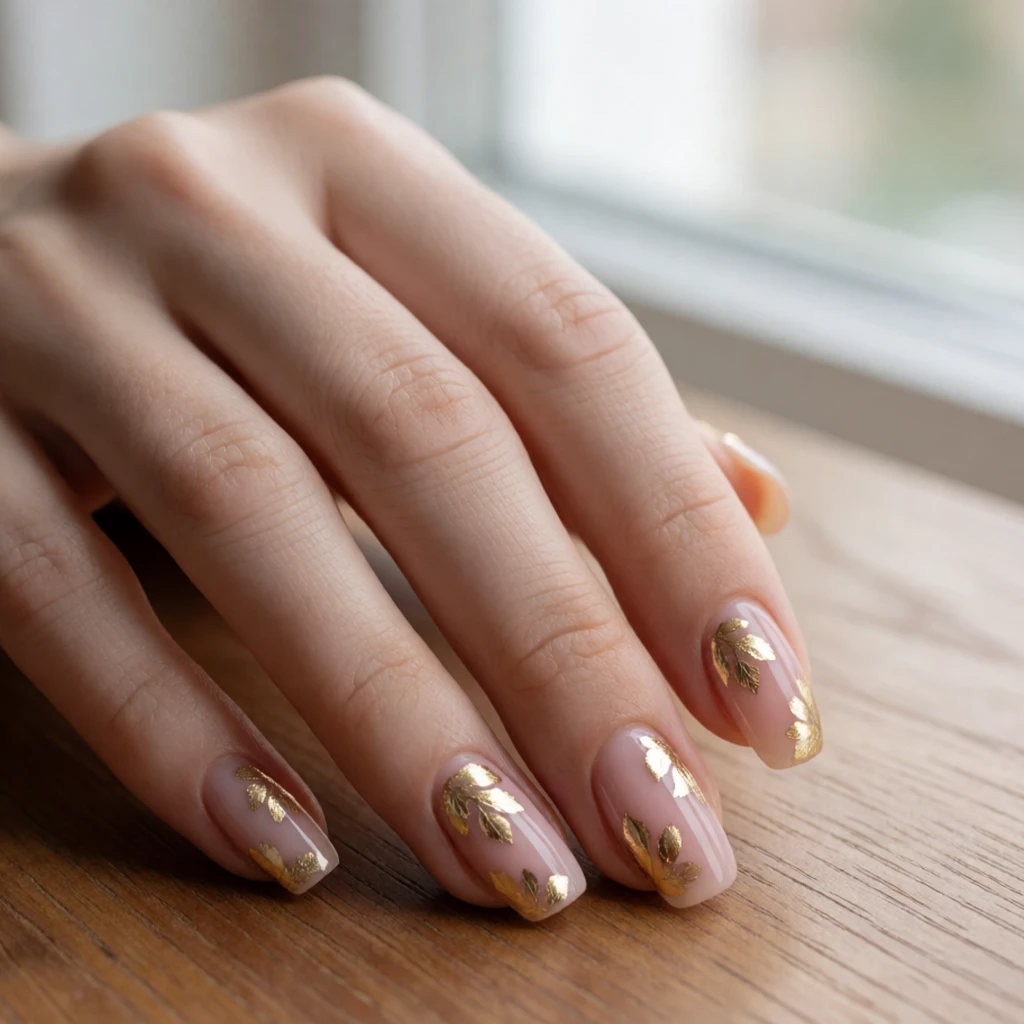 Gold Leaf Nails
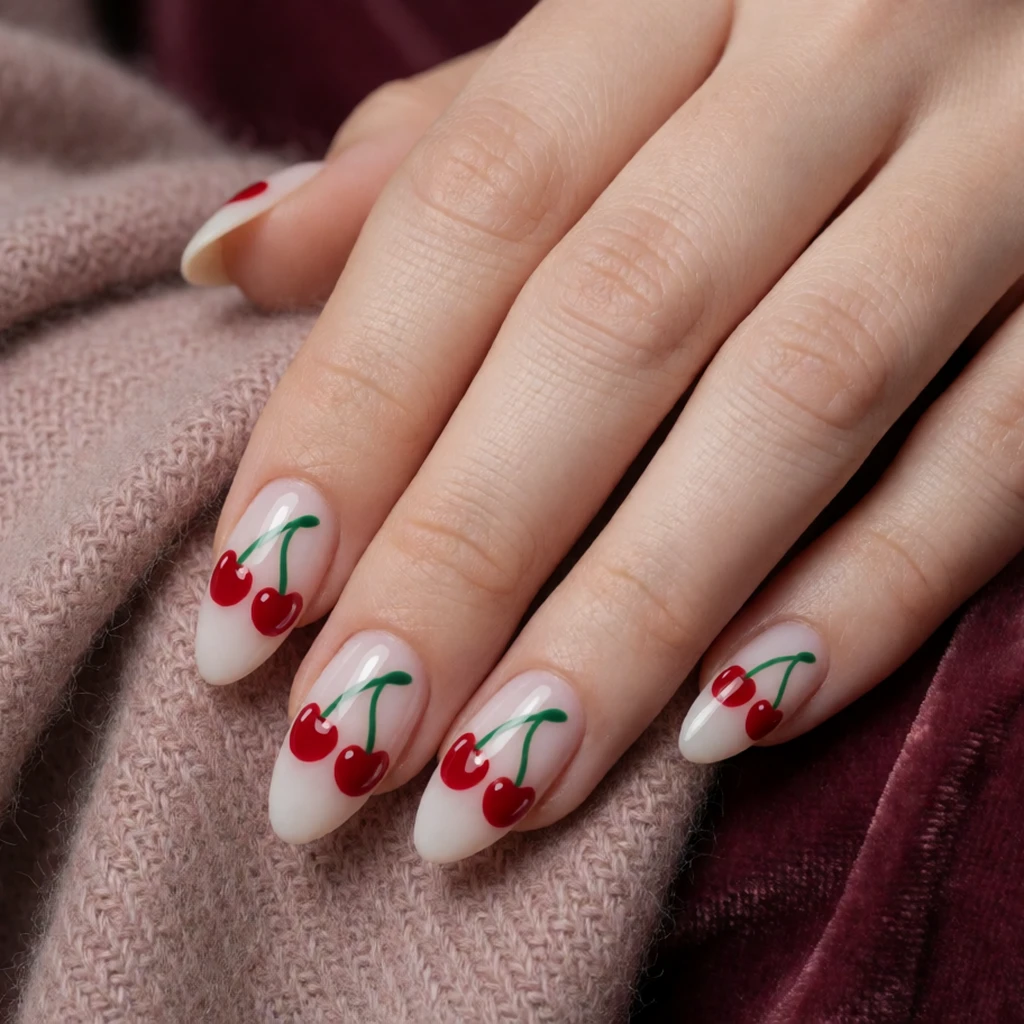 Cherry Nail Art
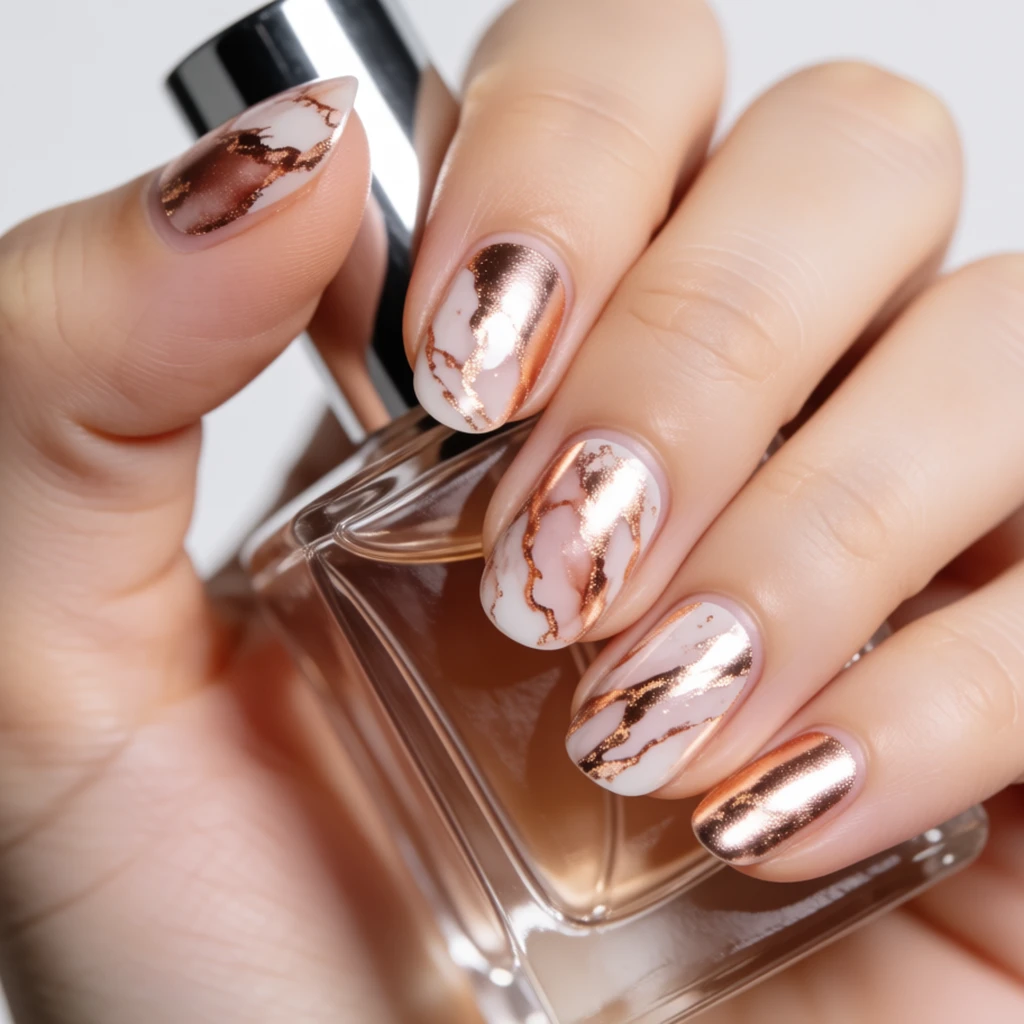 Marble Nail Art
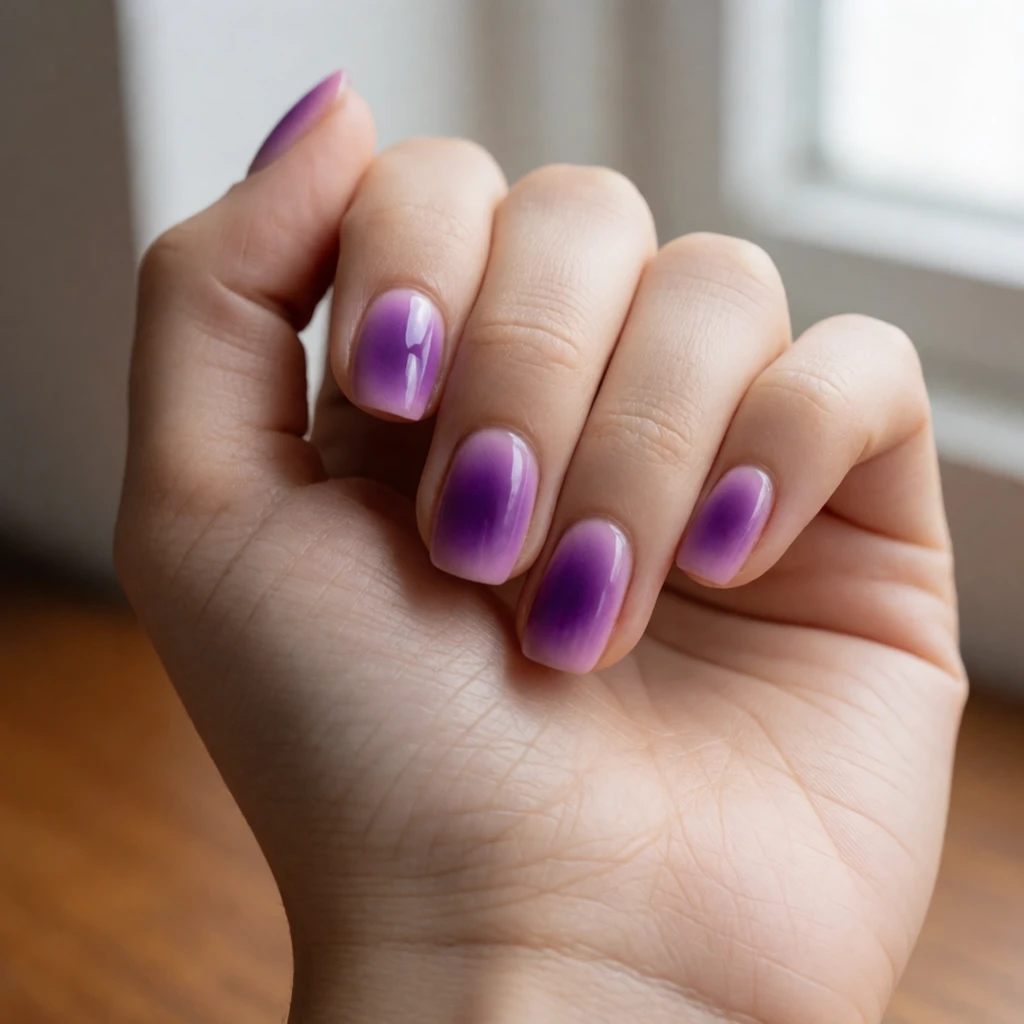 Aura Nails
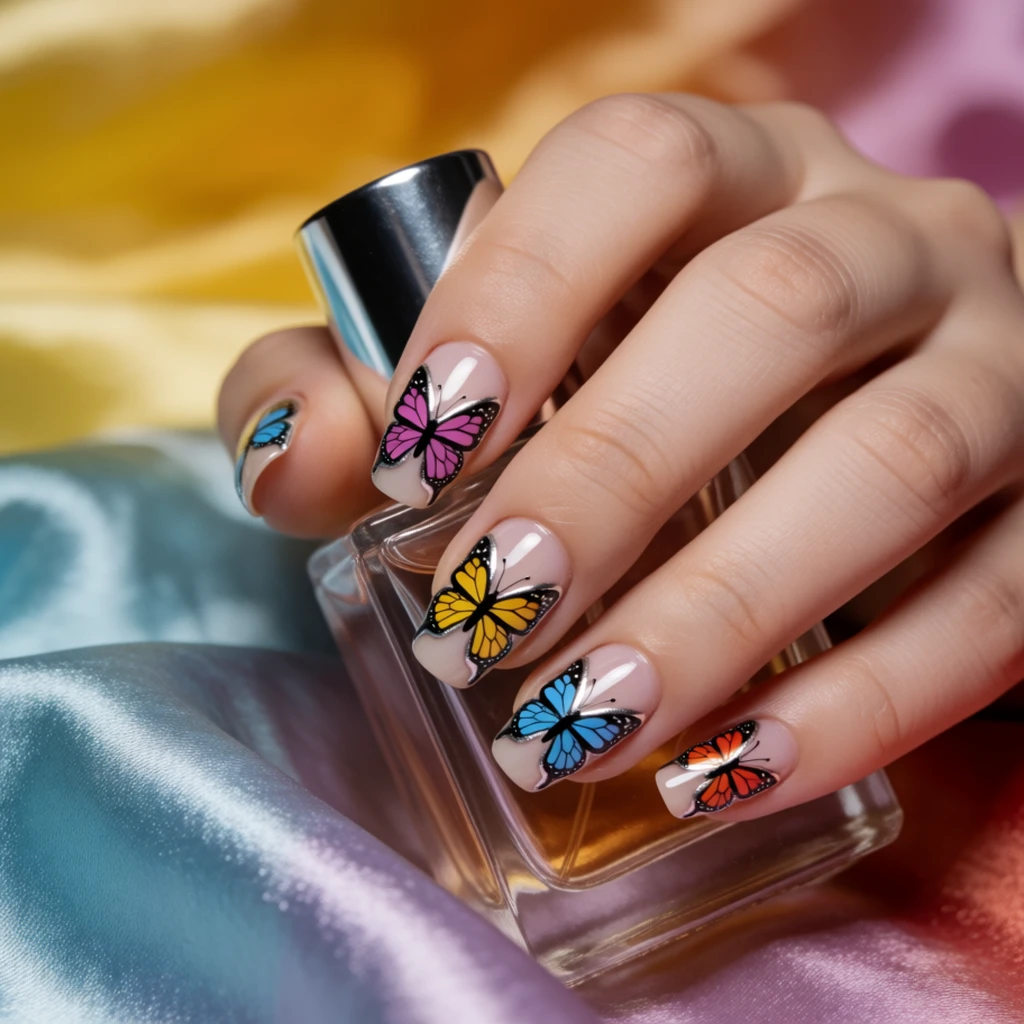 Butterfly Nail Art
Keep exploring
Related guides
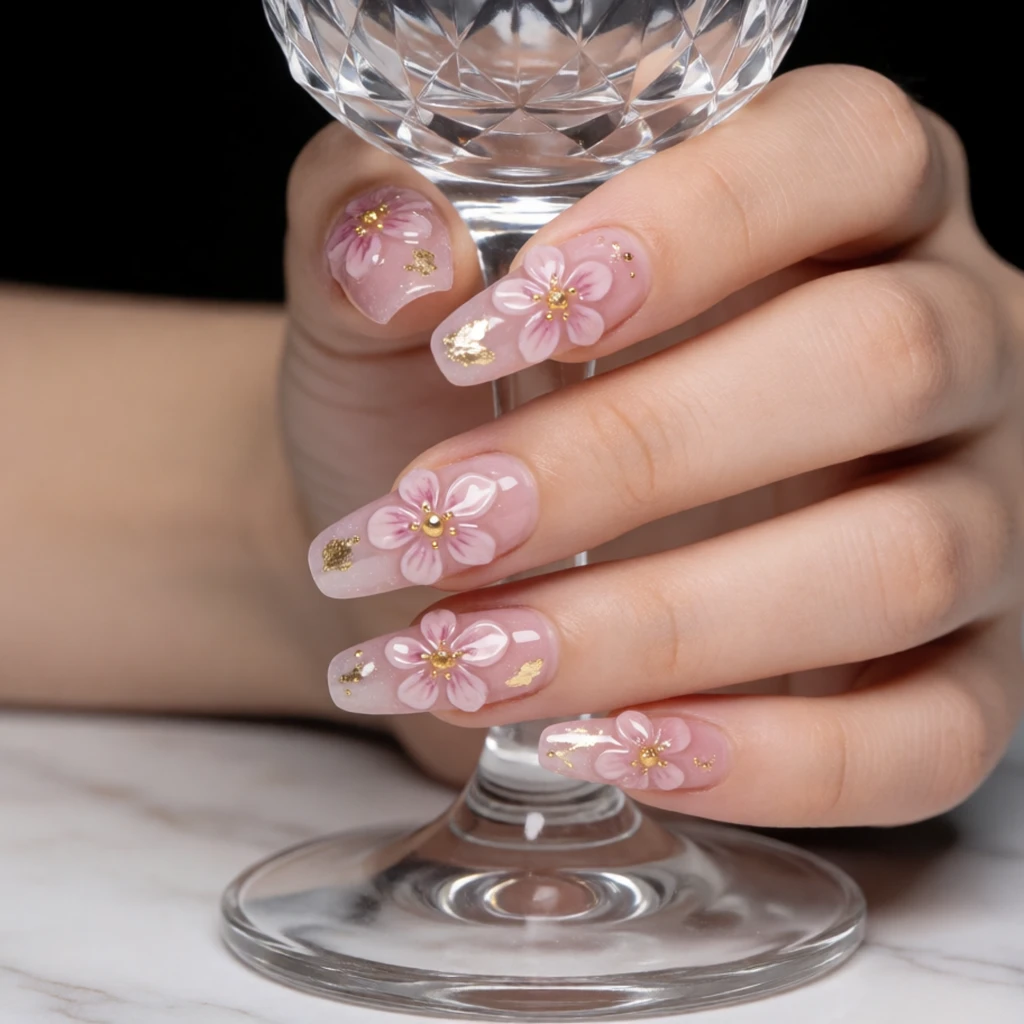 Polish, wraps & stickers
That group covers the specific polishes, striping brushes and nail stickers used to create these designs, while this article focuses on the techniques themselves.
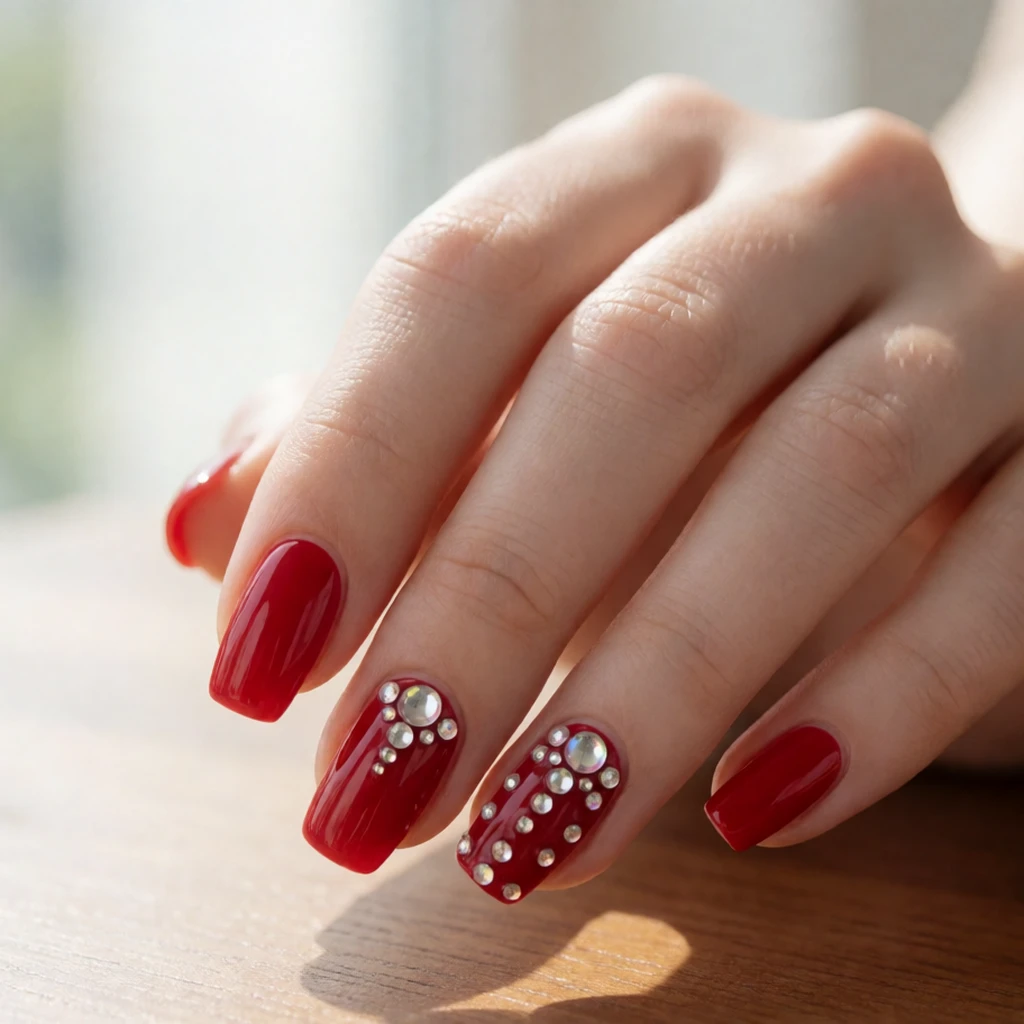 Press-on sets
 offer pre-made art with no drying time, making them a useful alternative when you want a designed look without the hands-on painting process.
Questions
Can I do nail art with regular polish instead of gel?
Yes. Regular polish works well for dots and stripes. Just allow full dry time between layers, and finish with a regular top coat to seal everything in place.
What's the easiest nail art for absolute beginners?
A single dot placed near the cuticle of one accent nail requires no drawing skill, just a bobby pin or dotting tool and a steady press-and-lift motion.
How do I keep tape from pulling up my base coat?
Press the tape onto your hand first to reduce stickiness, use it only on fully dry polish, and peel at a low angle slowly while the stripe layer is still slightly wet.
How long does simple nail art usually take?
Budget about thirty minutes including dry time for a dot or stripe design. The design itself takes five minutes; the rest is waiting for layers to cure properly.
Generated references, not tested products. How shopping links work.