Nail ideas / French tips
Black french tip nails: line weight, contrast, and design ideas
A black French tip swaps the classic white line for something sharper and more graphic, and the choices you make about base color and line thickness change the entire personality of the look. Understanding those few variables helps you land the exact result you are picturing before a single brush stroke falls.
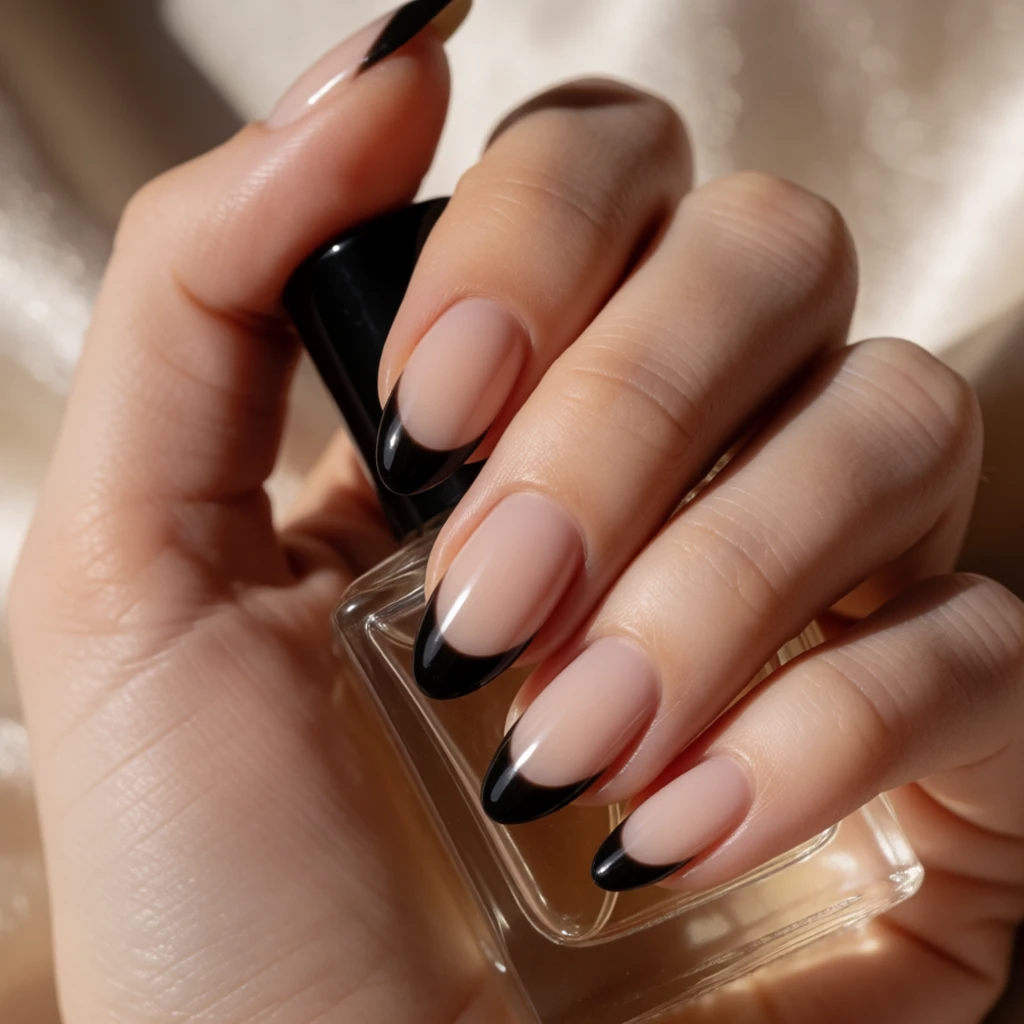
Three rules
Start here.
- Use a striping brush or nail tape rather than a standard polish brush for the black line so the edge stays crisp and the width stays consistent across all fingers.
- Seal the black tip with topcoat the moment it is touch-dry so the pigment does not smear when the topcoat brush passes over it on the second stroke.
- Match line thickness to free edge length: a hairline stripe suits nails with very little free edge, while a broader band of around two to three millimeters suits nails that extend past the fingertip.
A styling reference, not a product photo.
What defines it
The basics
Black French tip nails follow the same basic structure as a traditional French manicure: a solid or sheer base covers the nail bed, and a contrasting stripe runs across the free edge at the smile line. What shifts with the black version is the visual weight. A white tip reads as bright and soft, while a black tip introduces contrast that can feel graphic and deliberate. The base color you choose underneath that black line does enormous work in steering the mood of the final look.
The smile line in a French tip can be straight across, curved upward in a classic arc, or even reversed into a chevron pointing toward the cuticle. Each shape changes how the black tip reads on the nail. A straight line looks modern and architectural. A traditional curved smile line keeps the black tip feeling polished rather than harsh. A reverse French with black at the base rather than the tip is a related variation that shifts the graphic weight toward the cuticle area instead.
Nail length genuinely affects how you should approach the line. On a short nail with minimal free edge, a very thin black line sits almost entirely on the bed, so it reads as a detail rather than a tip band. On a medium or longer nail, you have room to go thicker without the band eating into the visible bed. Matching your line weight to your nail length keeps the proportions balanced and the look intentional rather than accidental or crowded.
Repeatable combinations
Formulas to try
- Sheer nude base, fine black line
- Apply a sheer or translucent nude so the natural nail shows slightly through the base, then add a crisp one-millimeter black line at the tip. The combination reads clean and contemporary. The translucent base keeps the look from feeling heavy despite the dark tip color, which suits shorter nails particularly well.
- Cream white base, bold black band
- A bright opaque white base paired with a thick black tip creates the strongest contrast available in this look. Keep the black band at around two to three millimeters and ensure the smile line is symmetrical. This version has a graphic, high-contrast quality that suits longer coffin or square shapes well.
- Soft grey base, gradient black tip
- Apply a light grey base coat, then use a small sponge piece to dab black gel or polish at the tip, building density gradually toward the edge. This softens the smile line into a fade rather than a hard stripe, which reads as more diffused and moody and works on oval or almond shapes especially.
- Nude base, reverse black French
- Place the black line at the cuticle rather than the tip by masking a thin crescent with tape, painting black, then removing the tape before the polish sets. Finish with a sheer nude over the rest of the nail. The reversed placement looks unexpected and keeps the black concentrated near the base rather than the edge.
- Matte black tip, glossy base
- Paint the full nail in a neutral shade with a glossy topcoat, then seal only the tip area with a matte topcoat over the black line. The contrast between matte black and glossy base creates a textural difference that reads as a detail even in low light, without adding any additional art elements.
Your needs, your plans
Before you buy
- Polish versus gel for the black line
- Regular polish black lines can be corrected with a small cleanup brush and remover while still wet, which gives you more room to fix wobbly edges. Gel black tips cure immediately under lamp light, so errors must be wiped before curing. Plan your correction approach before starting based on your product type.
- Tape as a placement guide
- Curl a piece of nail tape or thin striping tape along the smile line placement before applying black, then paint the tip above the tape. Remove the tape before the paint sets fully for a clean edge. This technique reduces freehand pressure and is especially useful when both hands need to match.
- Base coat under dark tips
- Apply a dedicated base coat before any base color so the black pigment does not stain the nail plate over time with repeated applications. Some very pigmented black polishes can leave a faint shadow on the nail even after removal, and a base coat layer reduces that effect.
- Black tips on press-on sets
- Many press-on sets come pre-painted with French tip designs, including black variations. Check that the smile line on the press-on matches your natural smile line before applying, since a mismatch will look odd at the tip. Trim the free edge of the press-on with nail scissors rather than a file to keep the black tip clean.
From what you own
Build it and repeat it
Begin with a clean, oil-free nail plate and apply a thin base coat to every nail. Once dry, apply your chosen base color in two thin coats, letting each coat become touch-dry before the next. When the second base coat is just barely dry to the touch, position your tape guide or pick up your striping brush loaded with black. Work from one sidewall to the other in a single slow, smooth stroke if freehand, or use tape to define the upper edge of the black line before flooding the tip area with color.
After the black line is laid, give it sixty seconds before touching anything near it. Then apply a thin, even topcoat starting from the base and moving toward the tip with minimal brush pressure over the black area. A heavy topcoat stroke can drag pigment and blur the line. Thin is better on this step. Let the full nail cure or dry completely before doing the next hand. Cleaning up any black that bled onto the skin around the nail with a small brush dipped in remover is the last step and often the one that makes the biggest difference in the final appearance.
Shop the pieces
16 french tips pieces
Links open similar items, not the pictured ones.
-
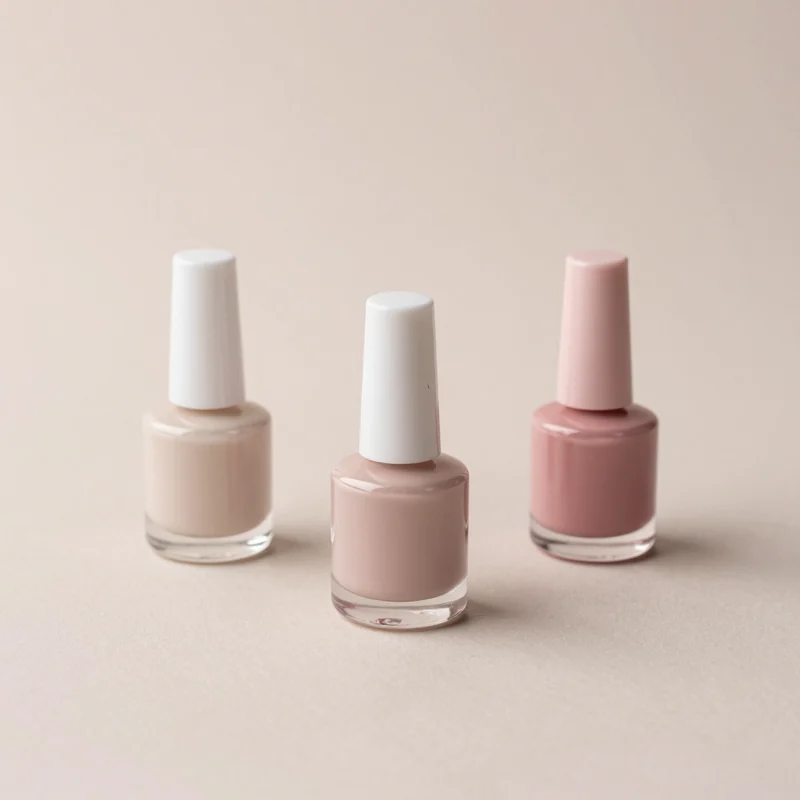
Nude pink nail polish set
What to check
A real product chosen to look like the picture. The picture is a styling reference, not this exact product.
-
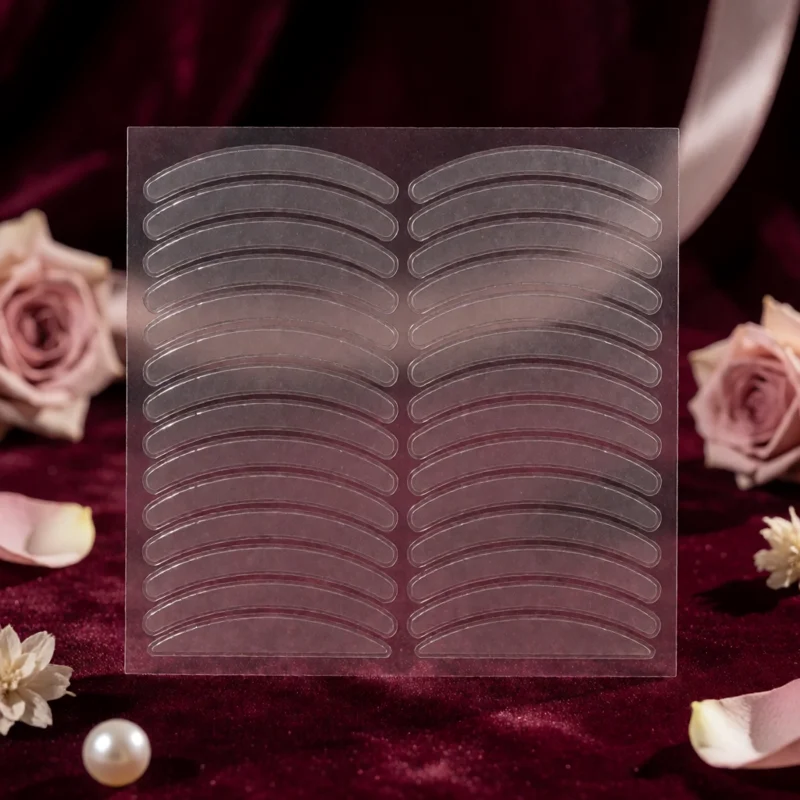
French tip guides
What to check
A real product chosen to look like the picture. The picture is a styling reference, not this exact product.
-
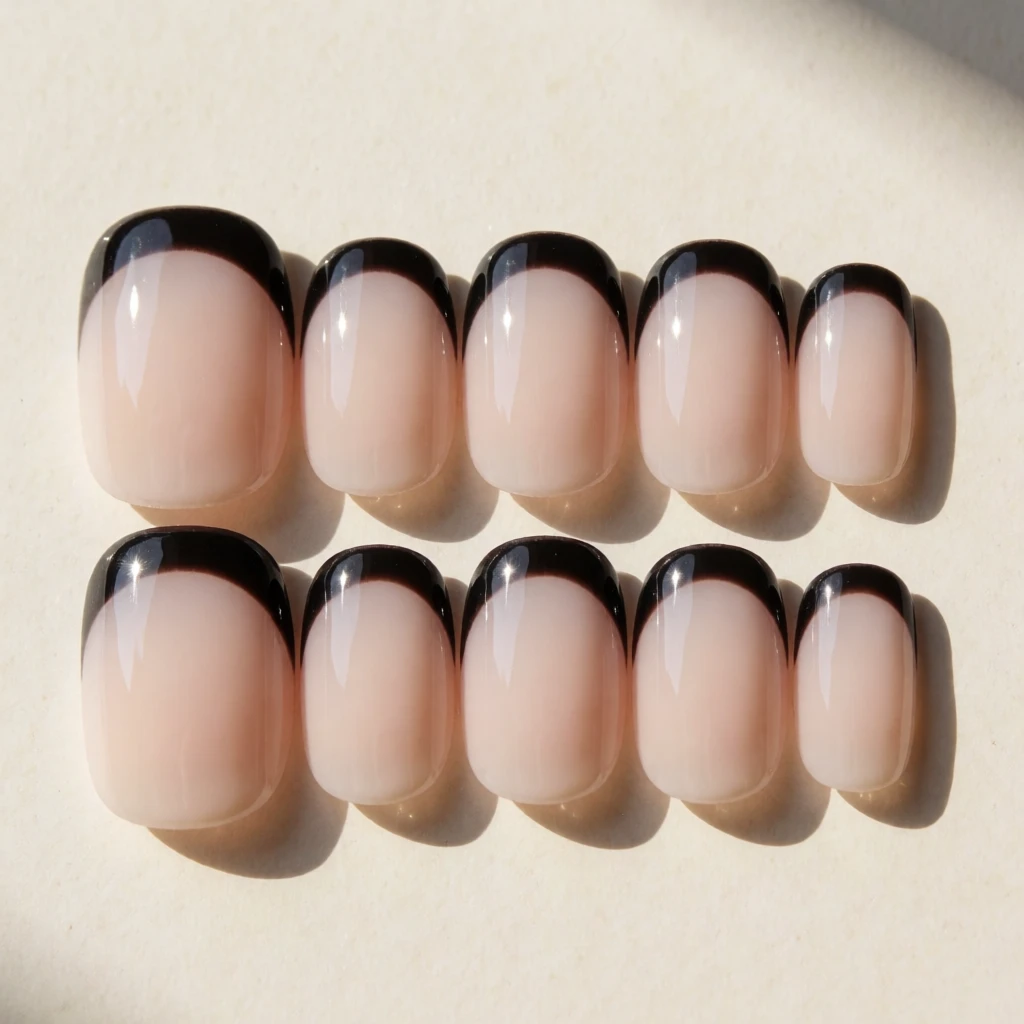
Black French Tip Nails
What to check
A real product chosen to look like the picture. The picture is a styling reference, not this exact product.
-
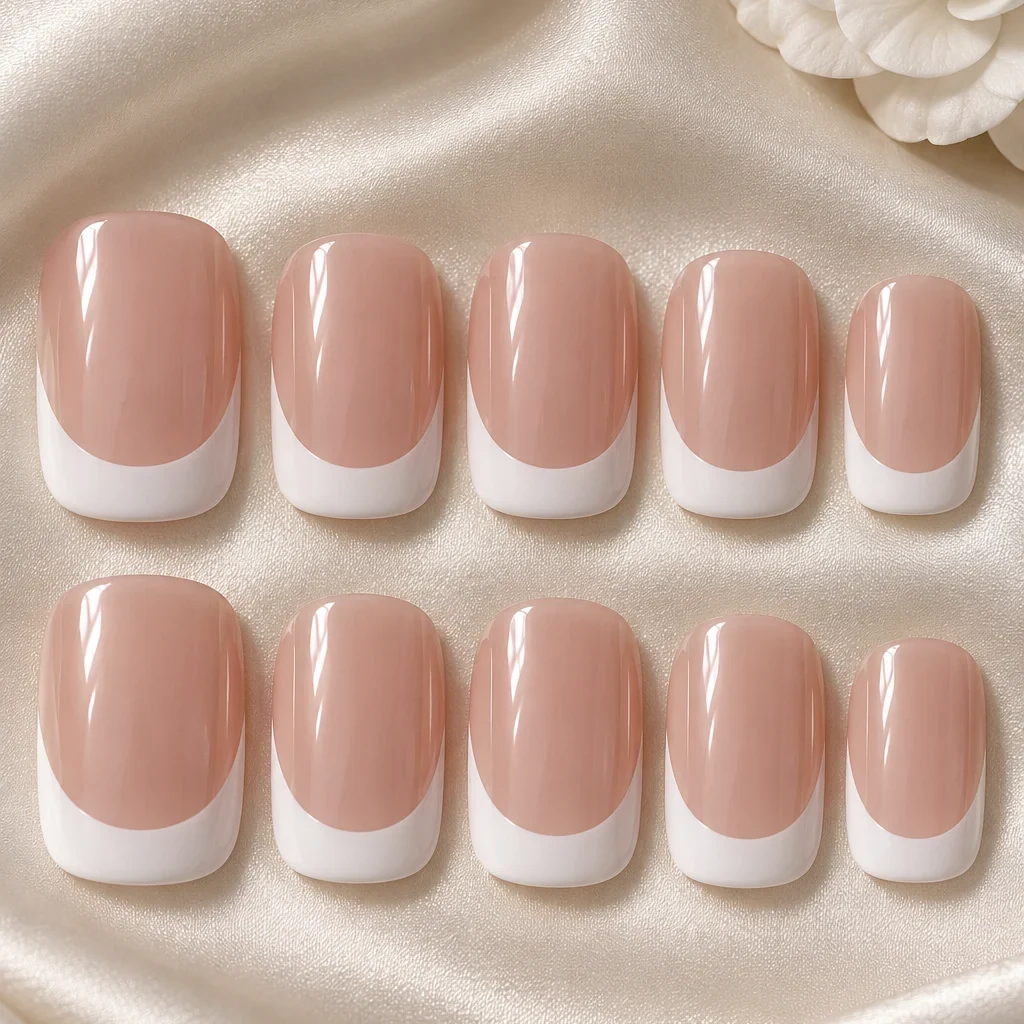
Classic white curved tips
What to check
A real product chosen to look like the picture. The picture is a styling reference, not this exact product.
-
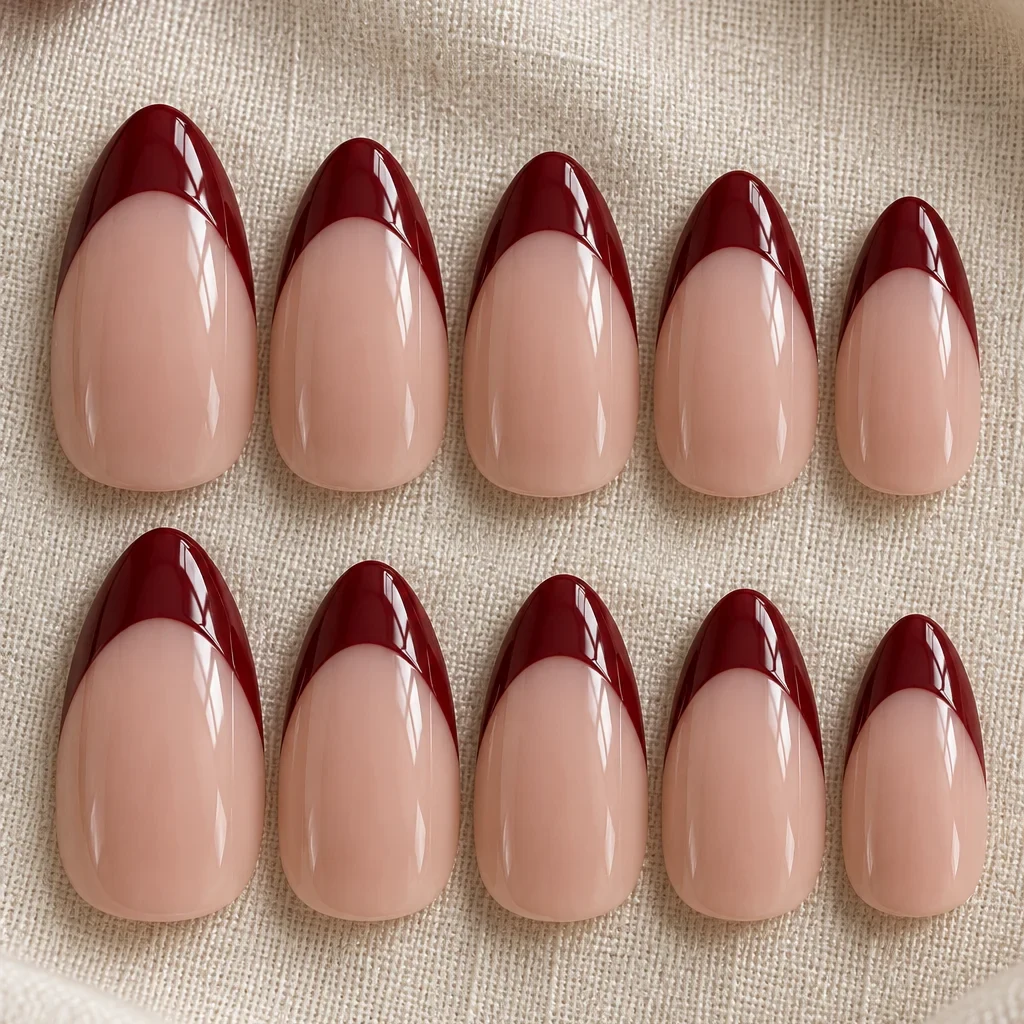
Dark Red French Tip Nails
What to check
A real product chosen to look like the picture. The picture is a styling reference, not this exact product.
-
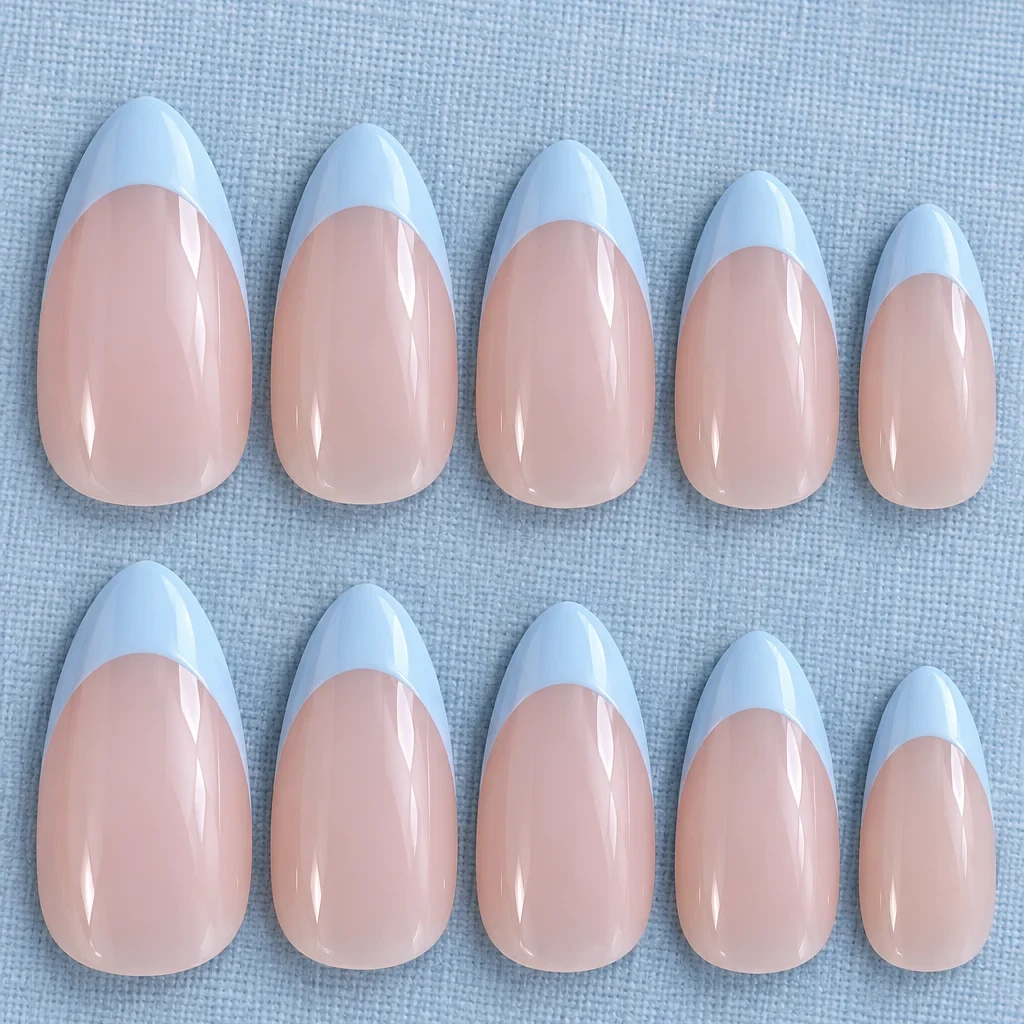
Light Blue French Tip Nails
What to check
A real product chosen to look like the picture. The picture is a styling reference, not this exact product.
-
Short almond press-on nails
What to check
A real product chosen to look like the picture. The picture is a styling reference, not this exact product.
-
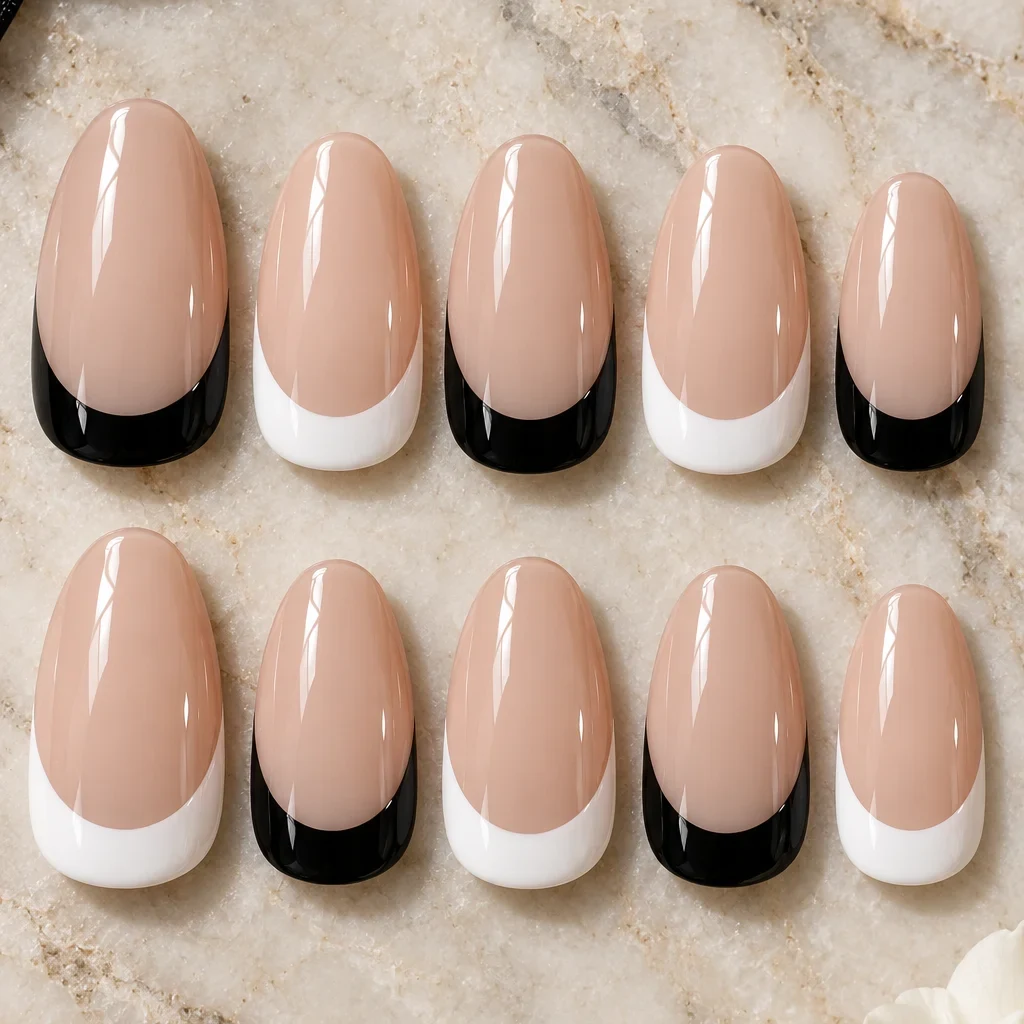
Alternating black and white tips
What to check
A real product chosen to look like the picture. The picture is a styling reference, not this exact product.
Show all 16 pieces
-
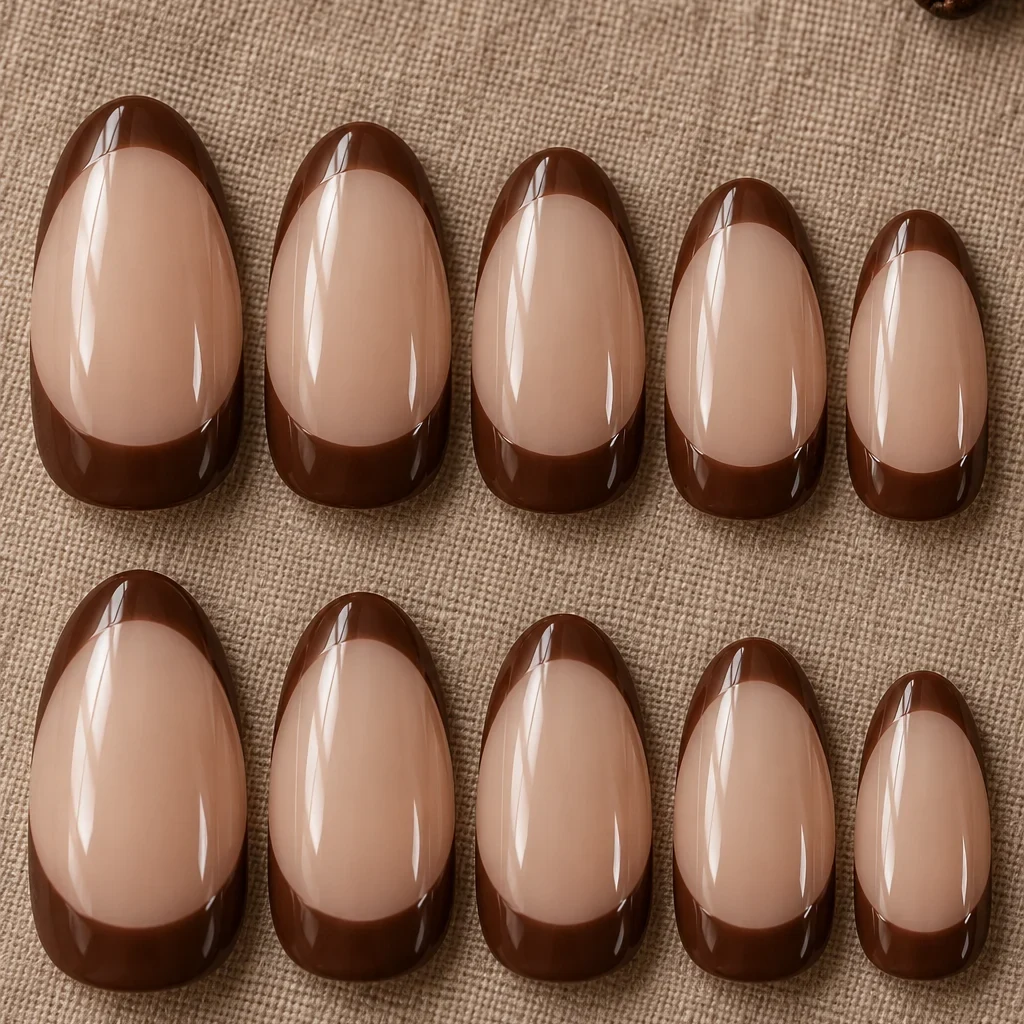
Brown French Tip Nails
What to check
A real product chosen to look like the picture. The picture is a styling reference, not this exact product.
-
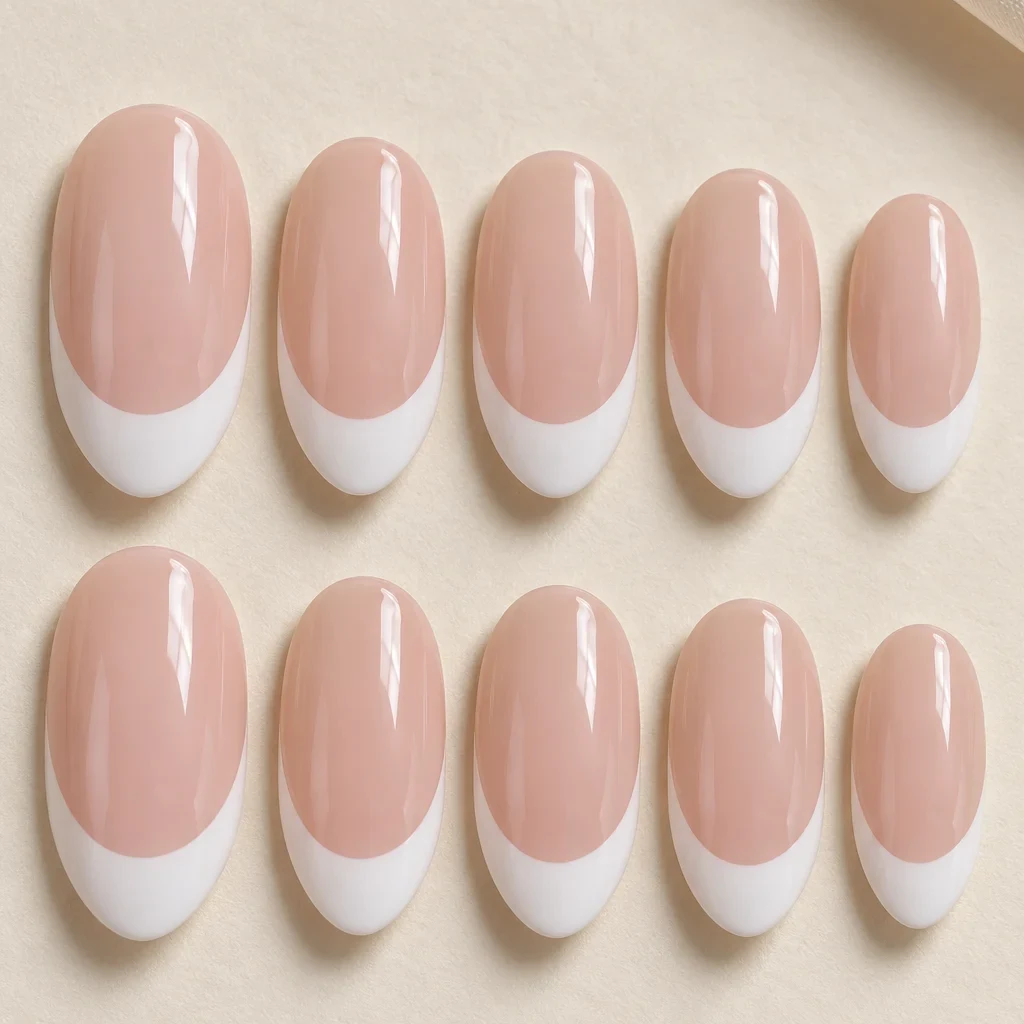
Classic Almond French
What to check
A real product chosen to look like the picture. The picture is a styling reference, not this exact product.
-
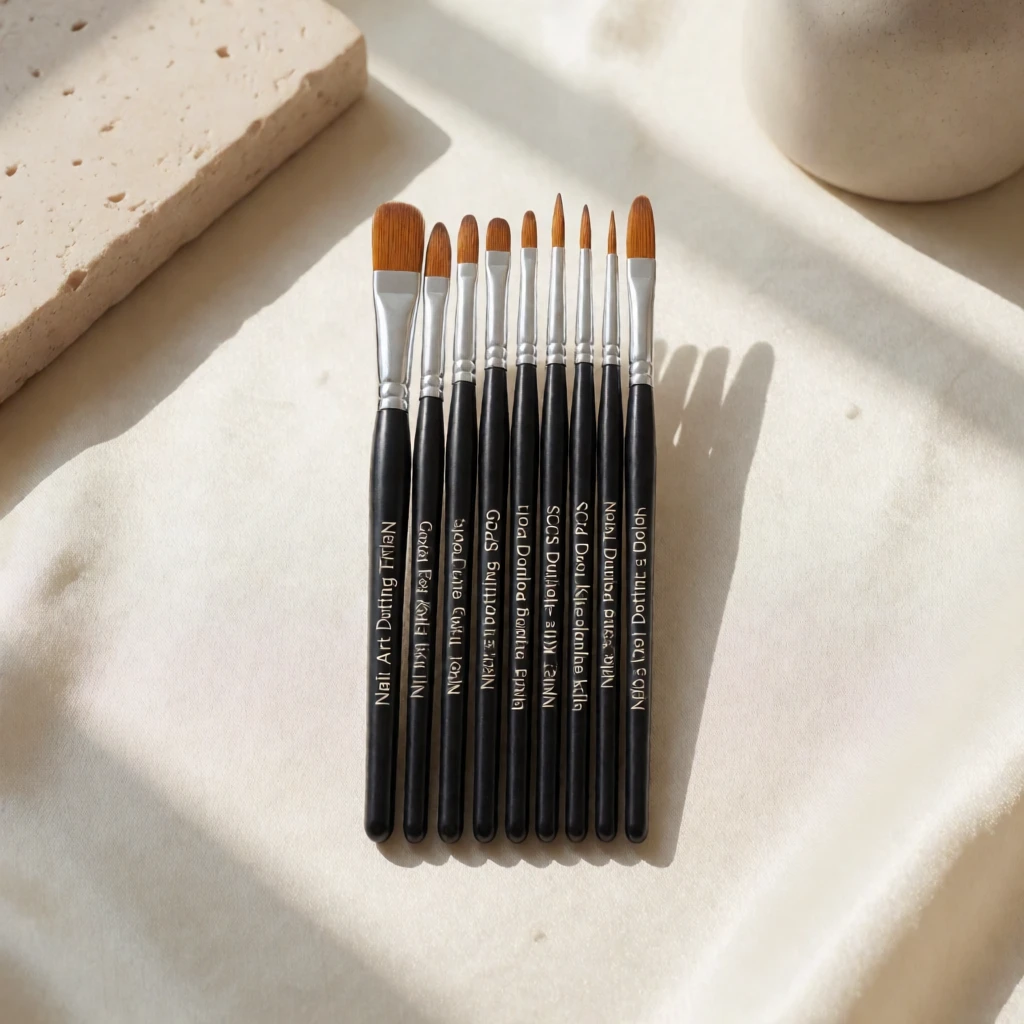
Nail art liner brushes
What to check
A real product chosen to look like the picture. The picture is a styling reference, not this exact product.
-
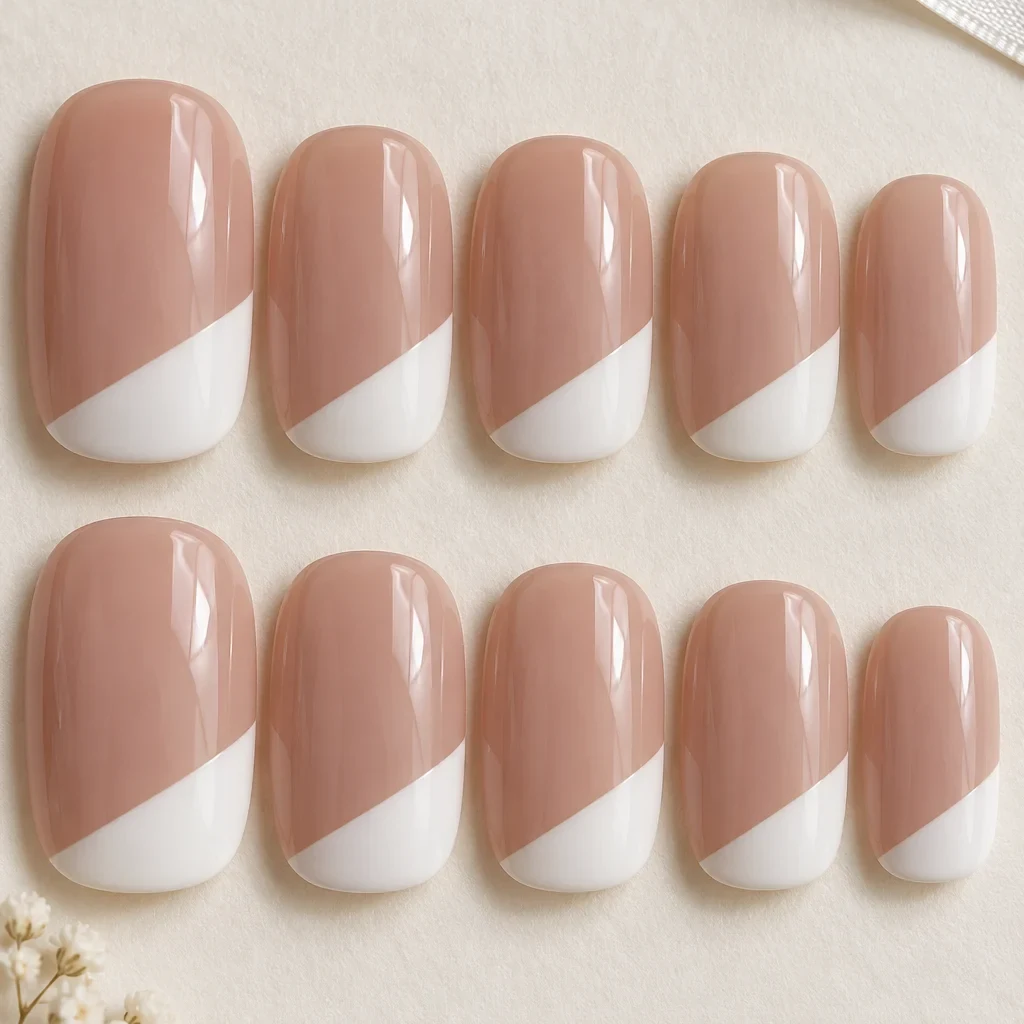
Angled white tips
What to check
A real product chosen to look like the picture. The picture is a styling reference, not this exact product.
-
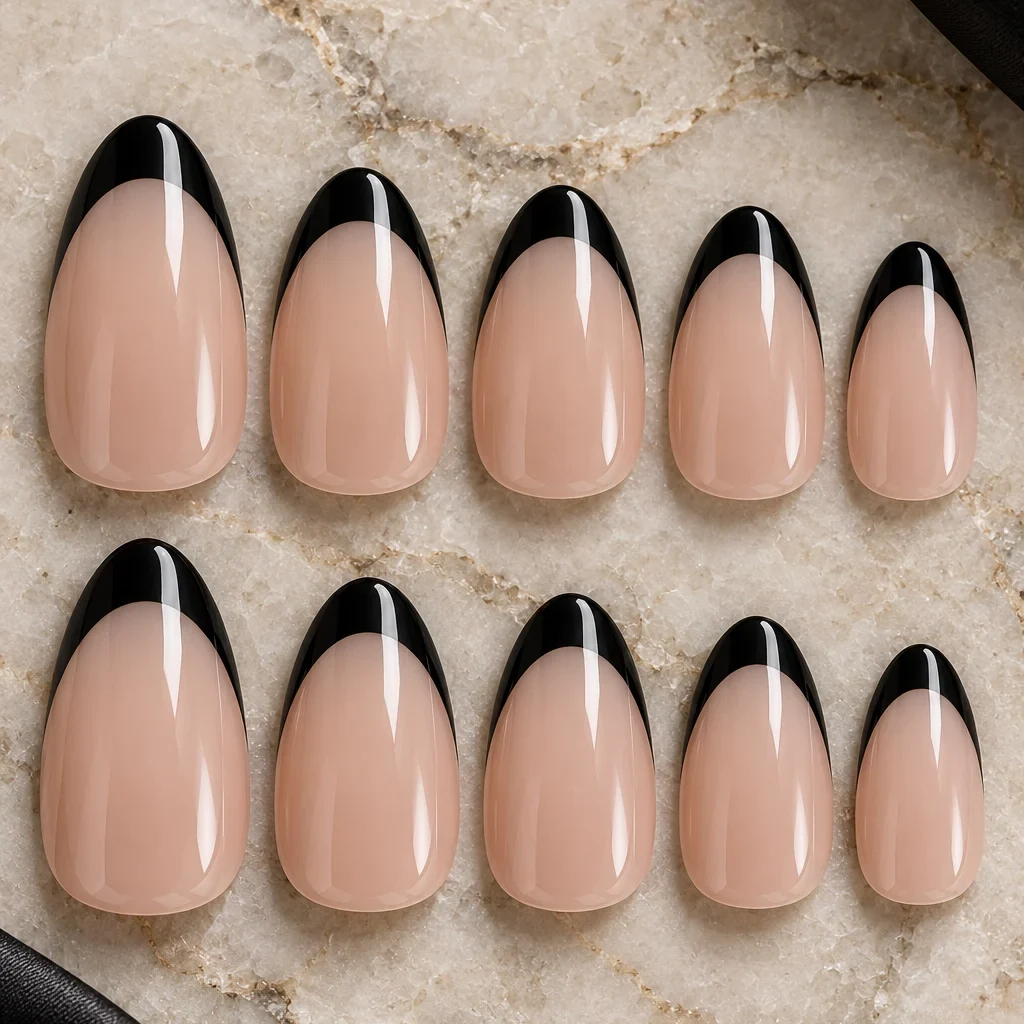
Black French edges
What to check
A real product chosen to look like the picture. The picture is a styling reference, not this exact product.
-
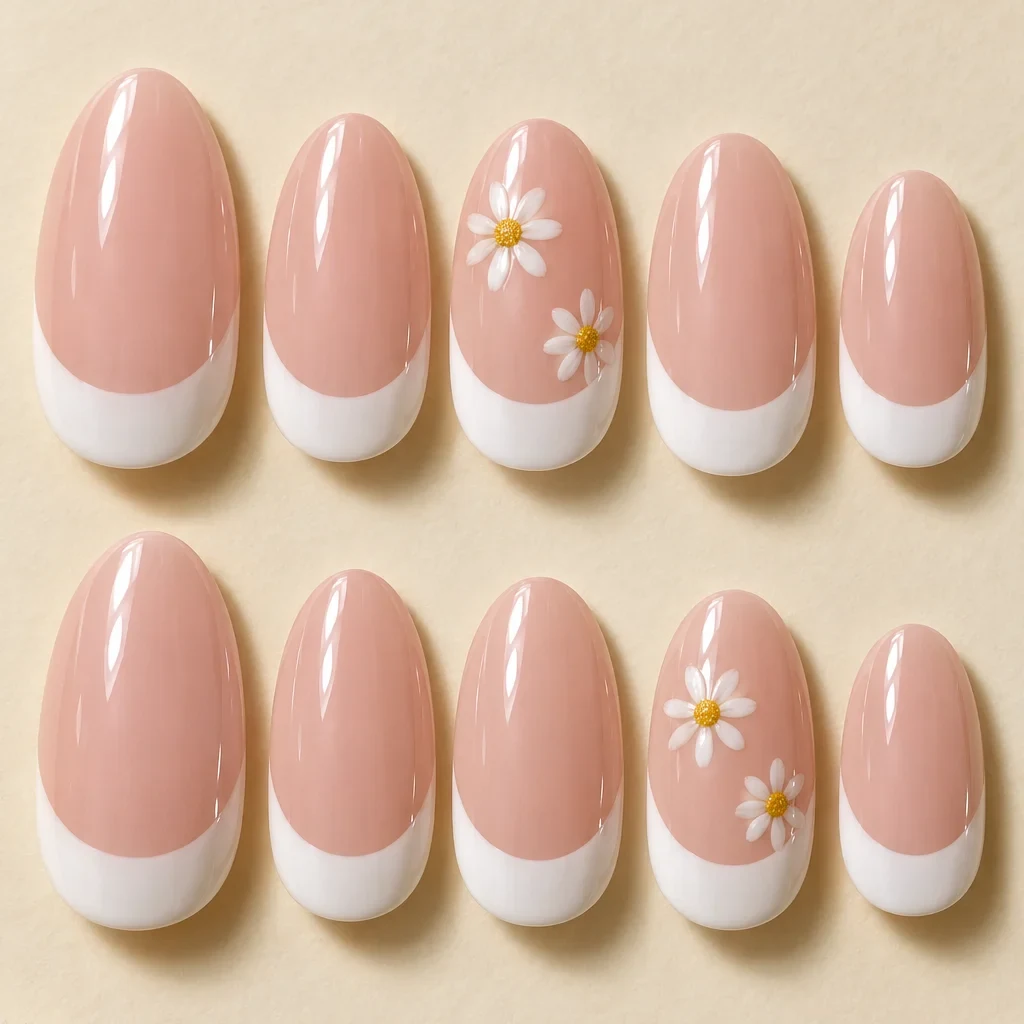
Daisy accent French
What to check
A real product chosen to look like the picture. The picture is a styling reference, not this exact product.
-
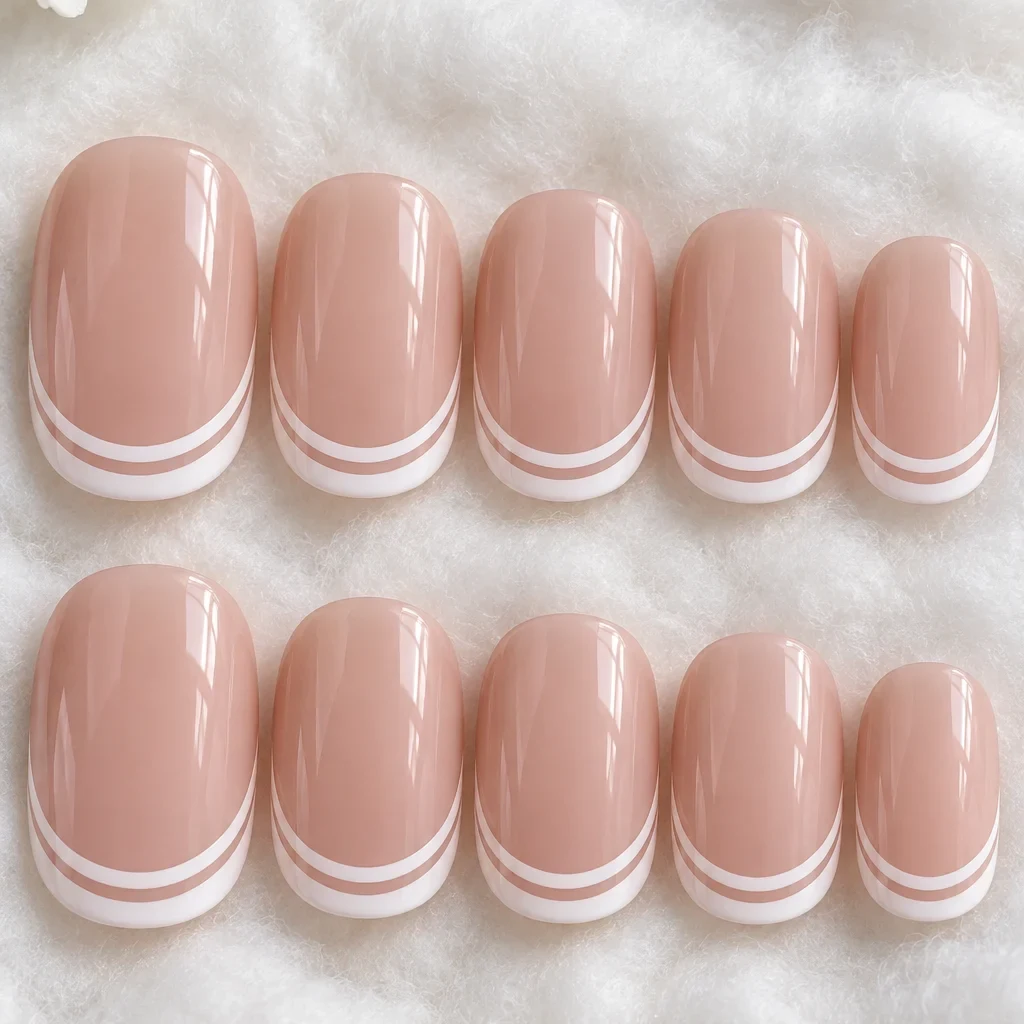
Double white lines
What to check
A real product chosen to look like the picture. The picture is a styling reference, not this exact product.
-
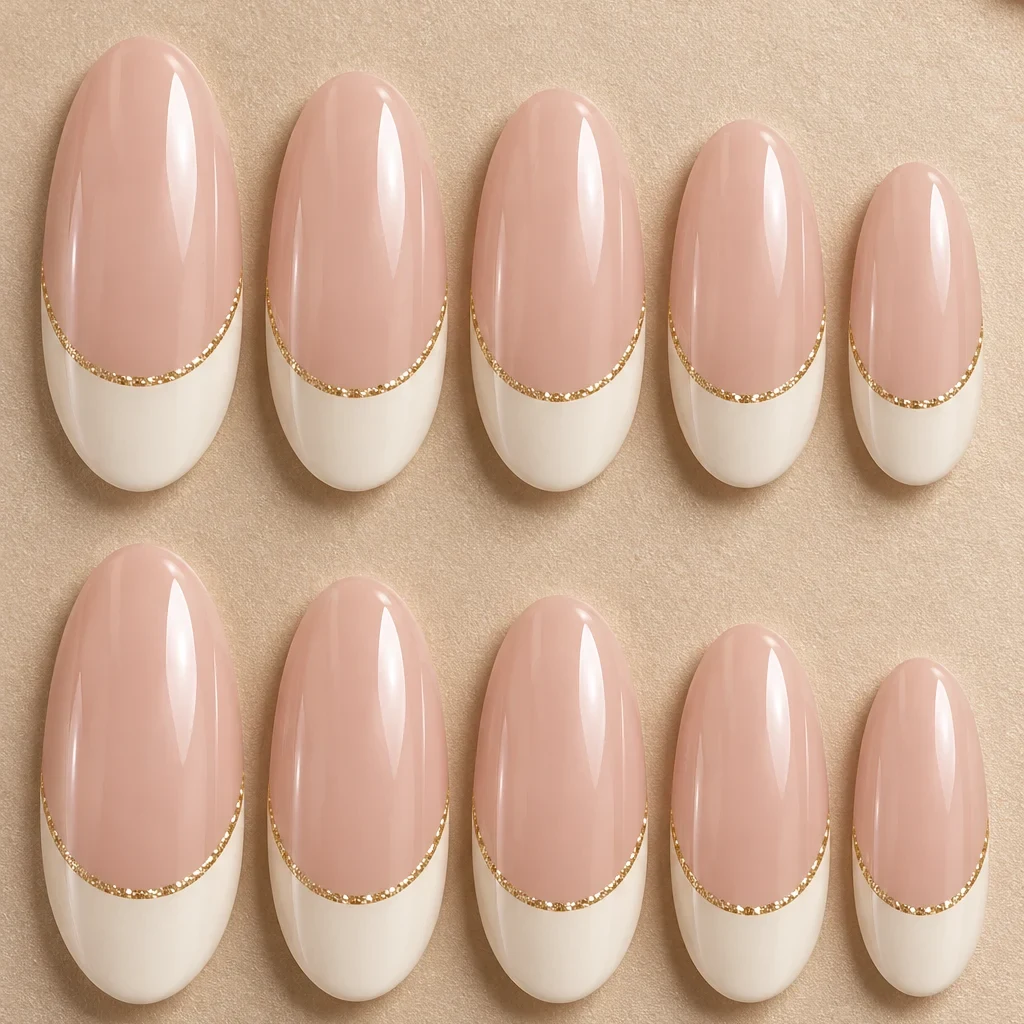
Gold Glitter Line French
What to check
A real product chosen to look like the picture. The picture is a styling reference, not this exact product.
The gallery
34 french tips looks
Open a look to see its pieces.
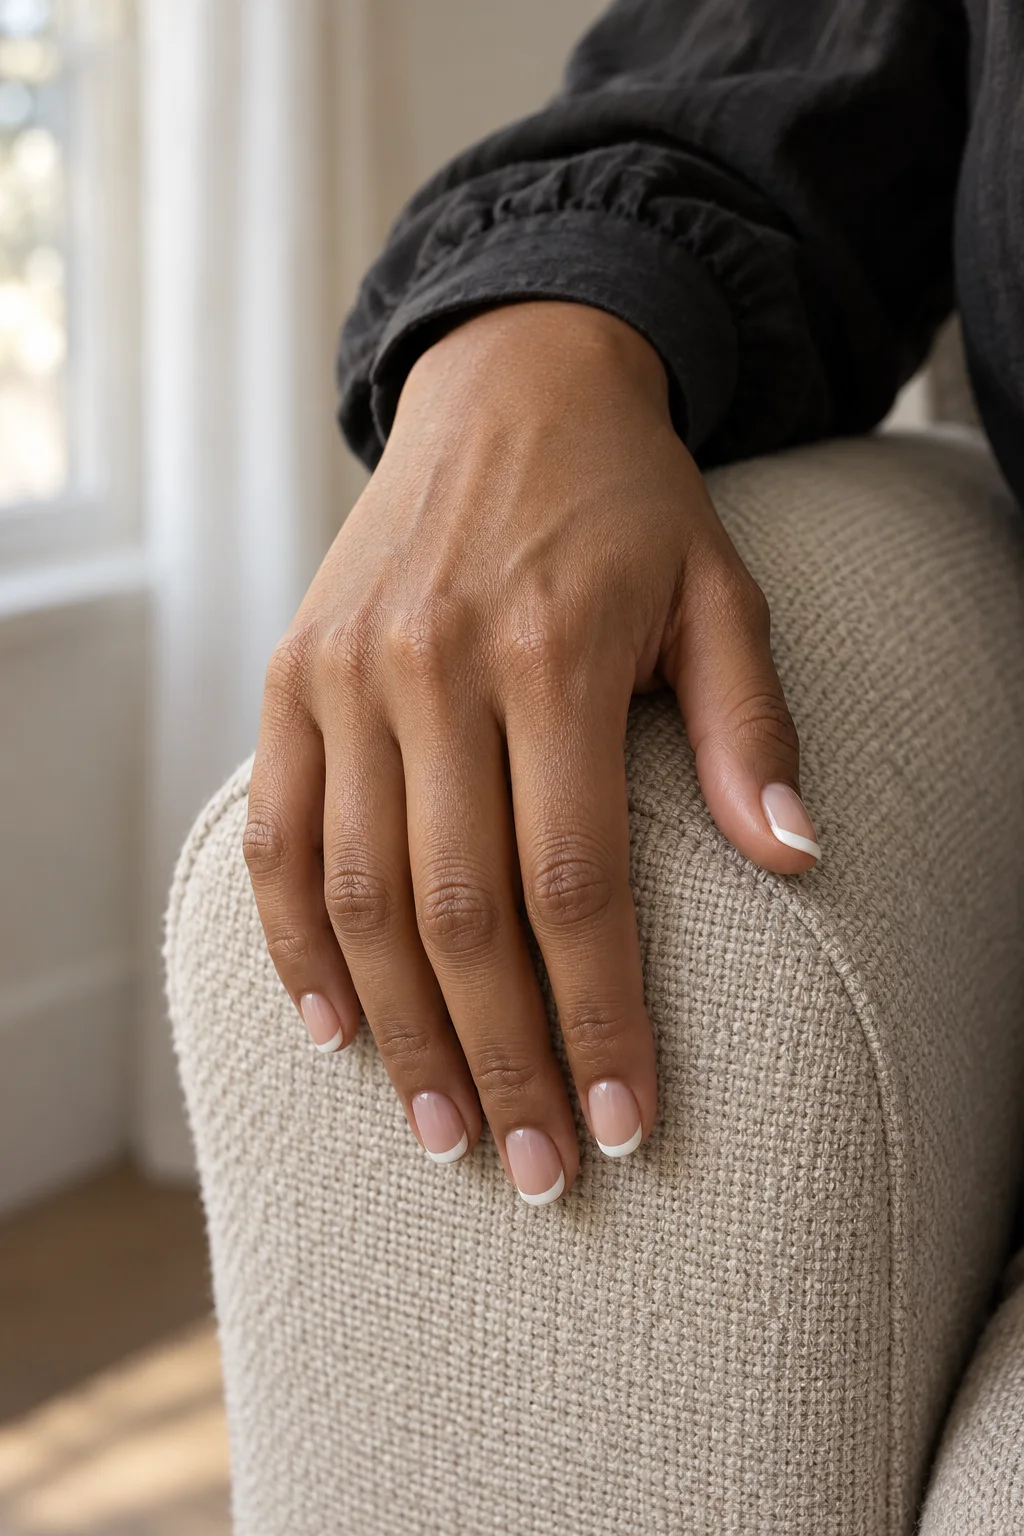 Classic white curved tips
 Vanilla cream round
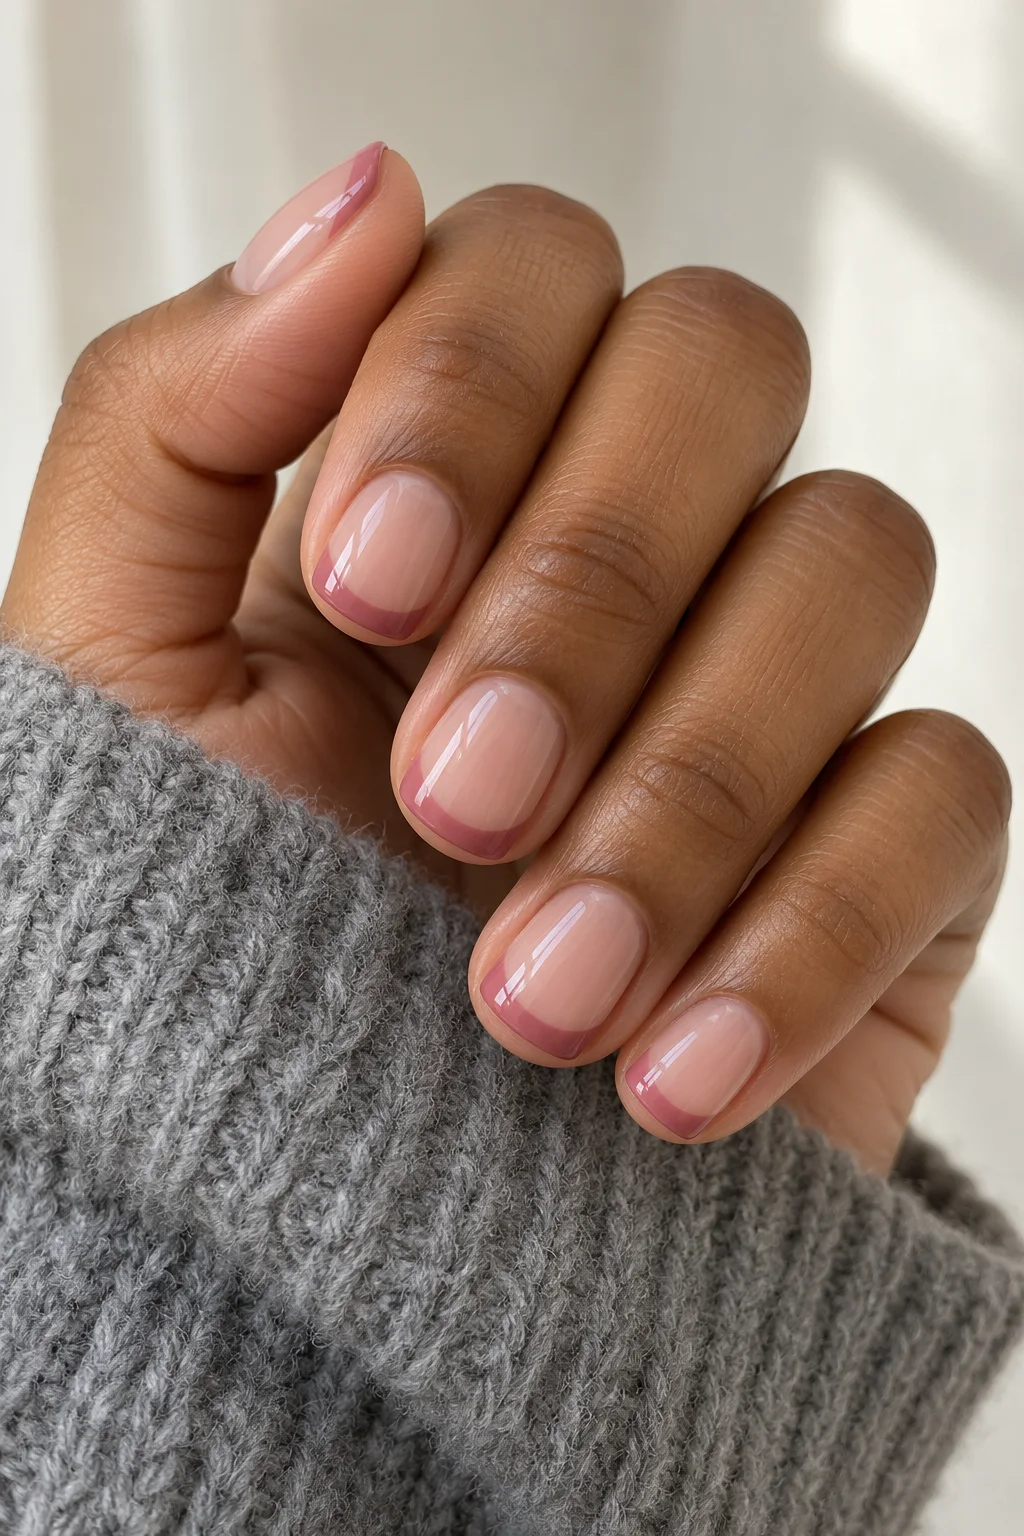 Rose-pink tips
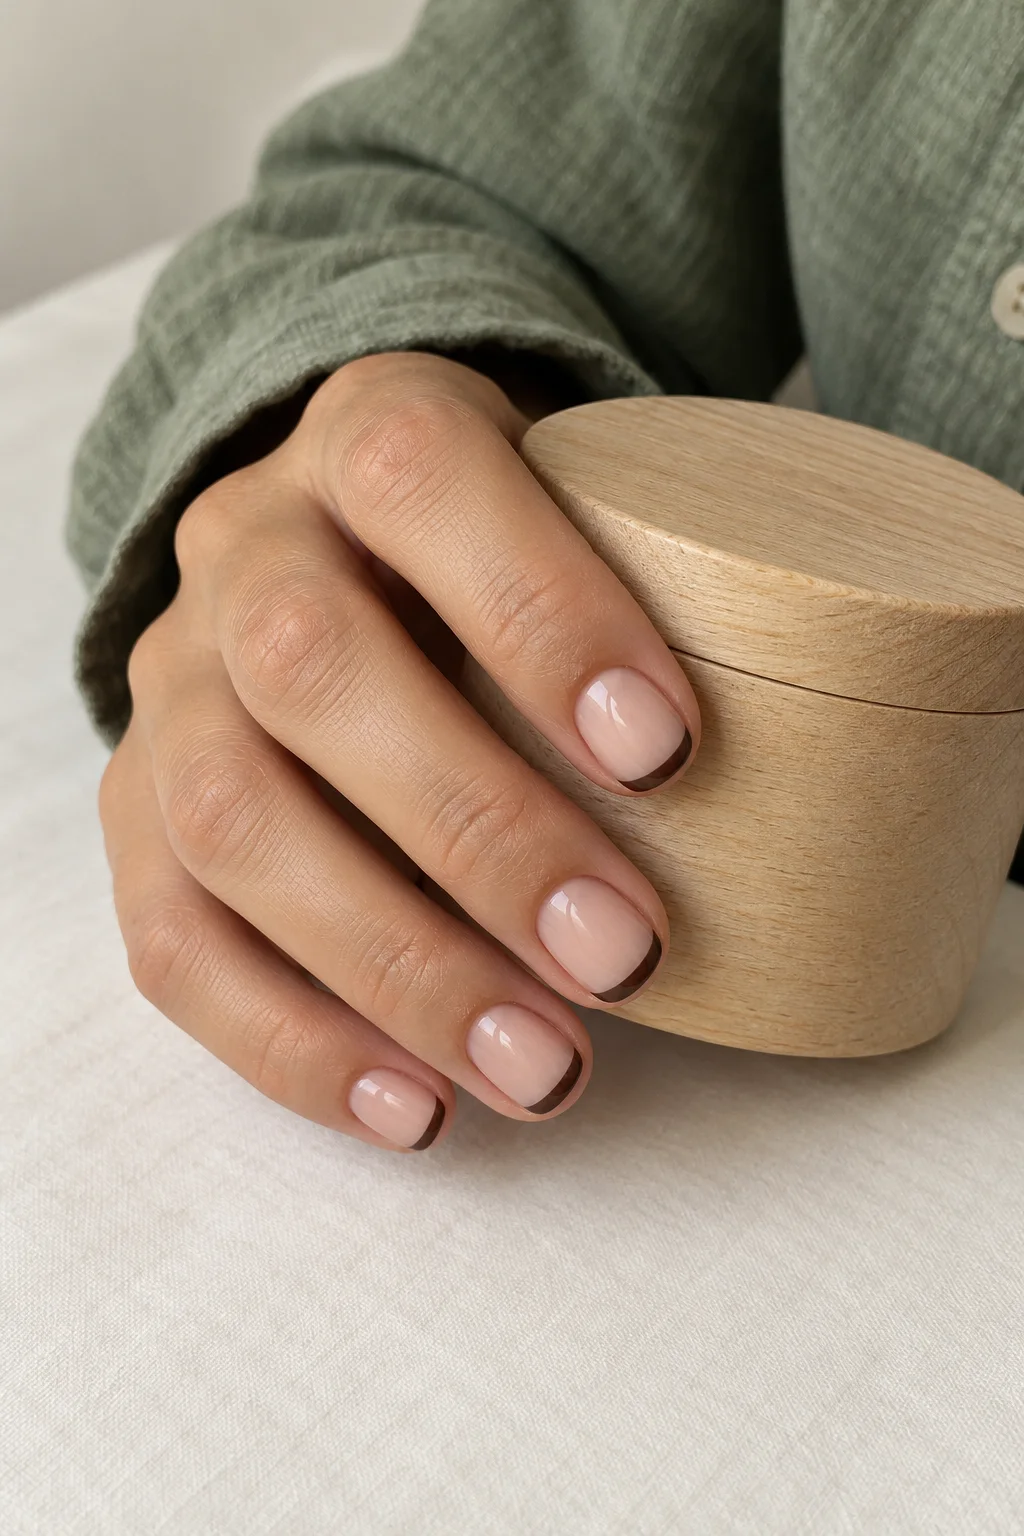 Espresso tips
 Cherry-red tips
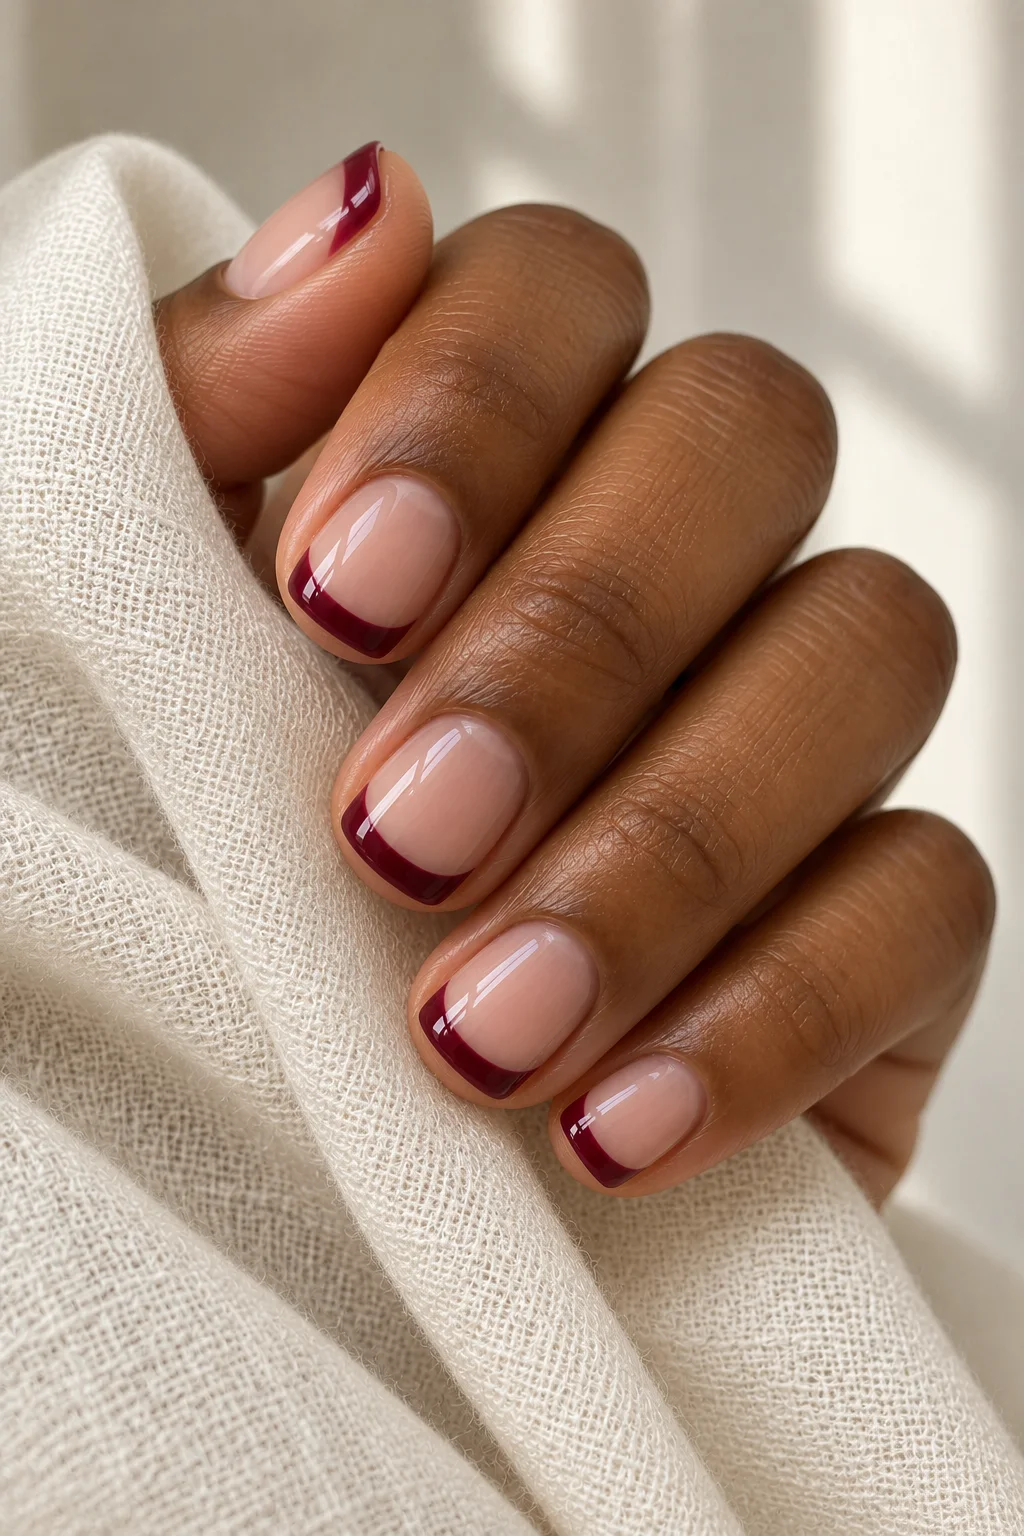 Burgundy squoval tips
 Navy oval tips
 Olive-green tips
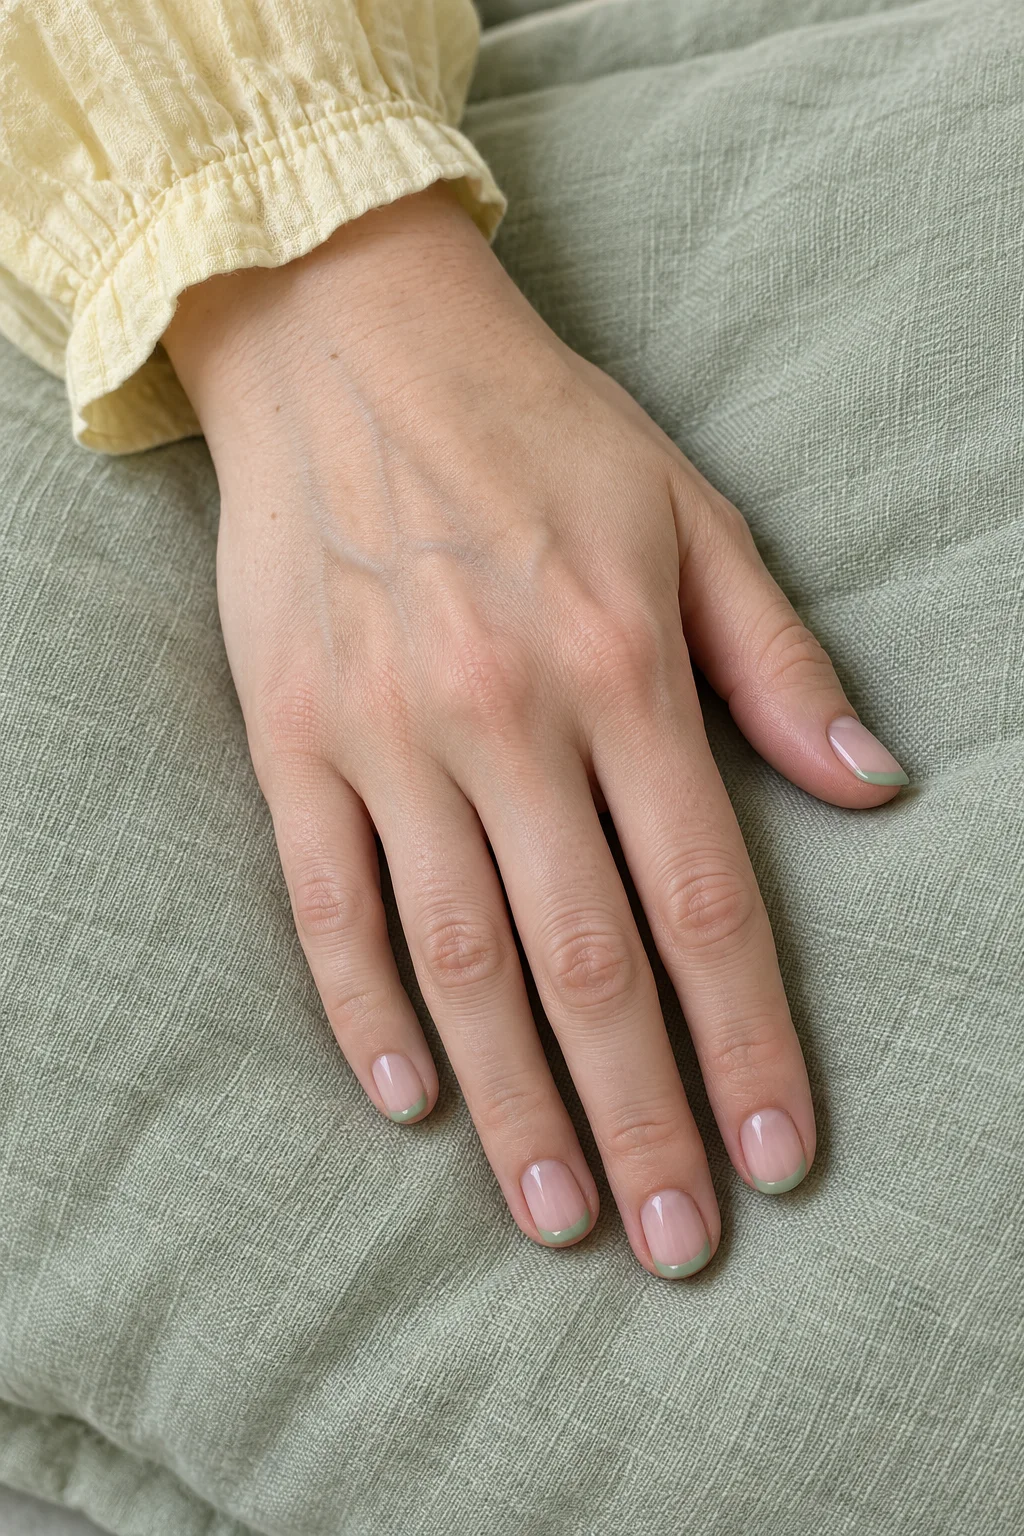 Sage-green tips
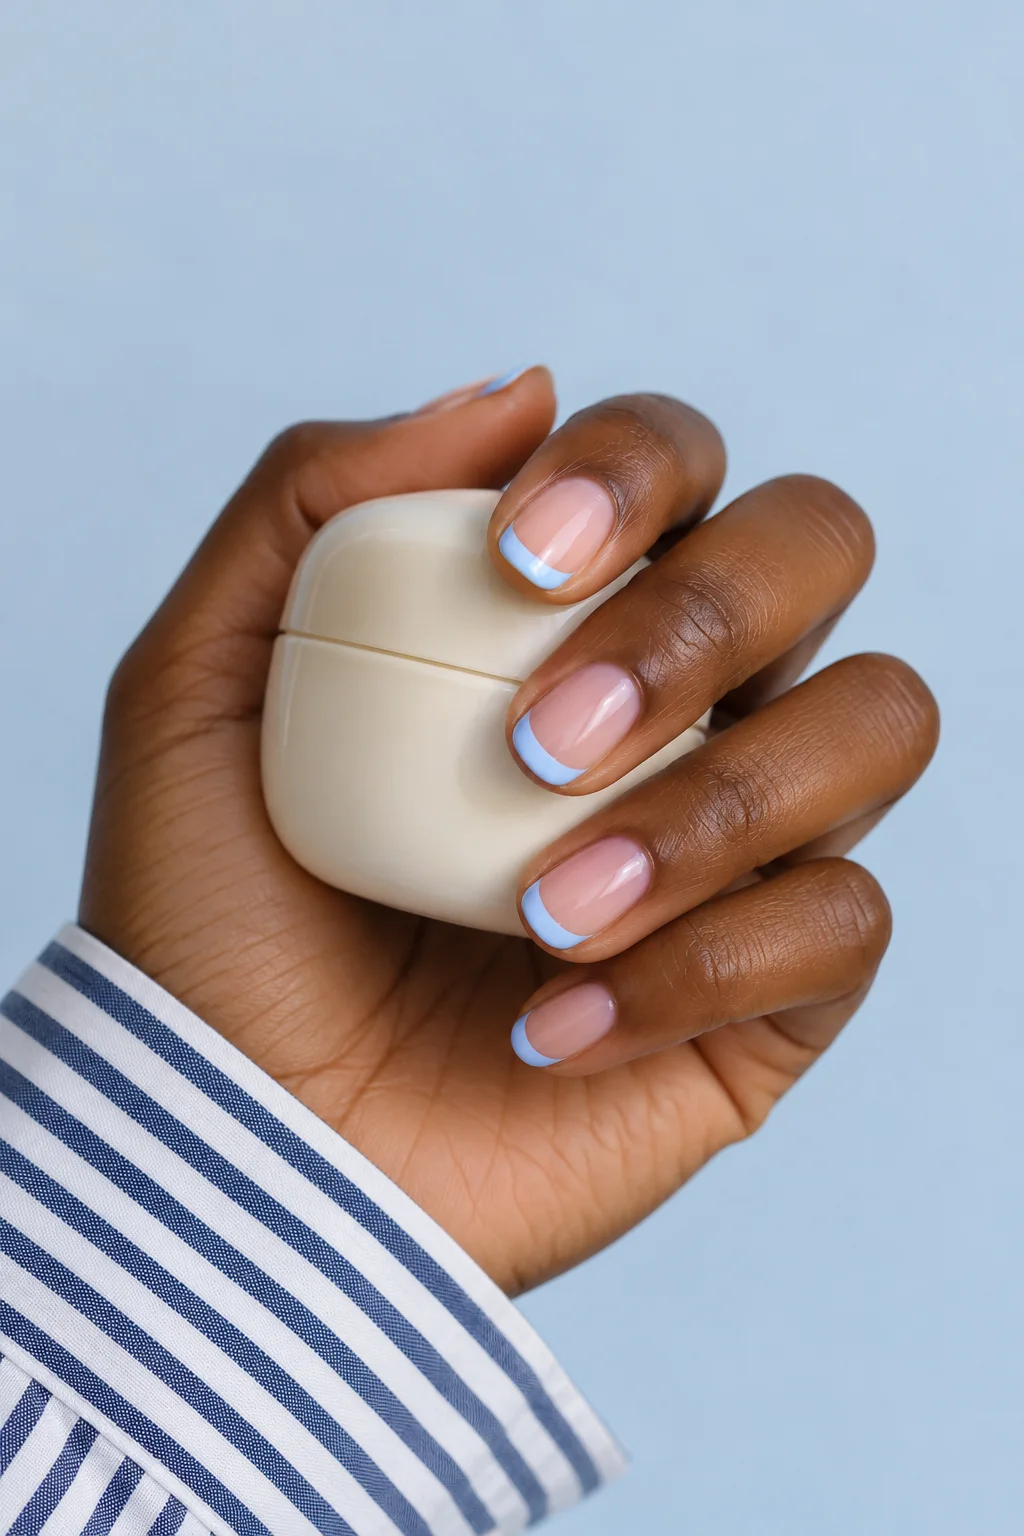 Powder-blue tips
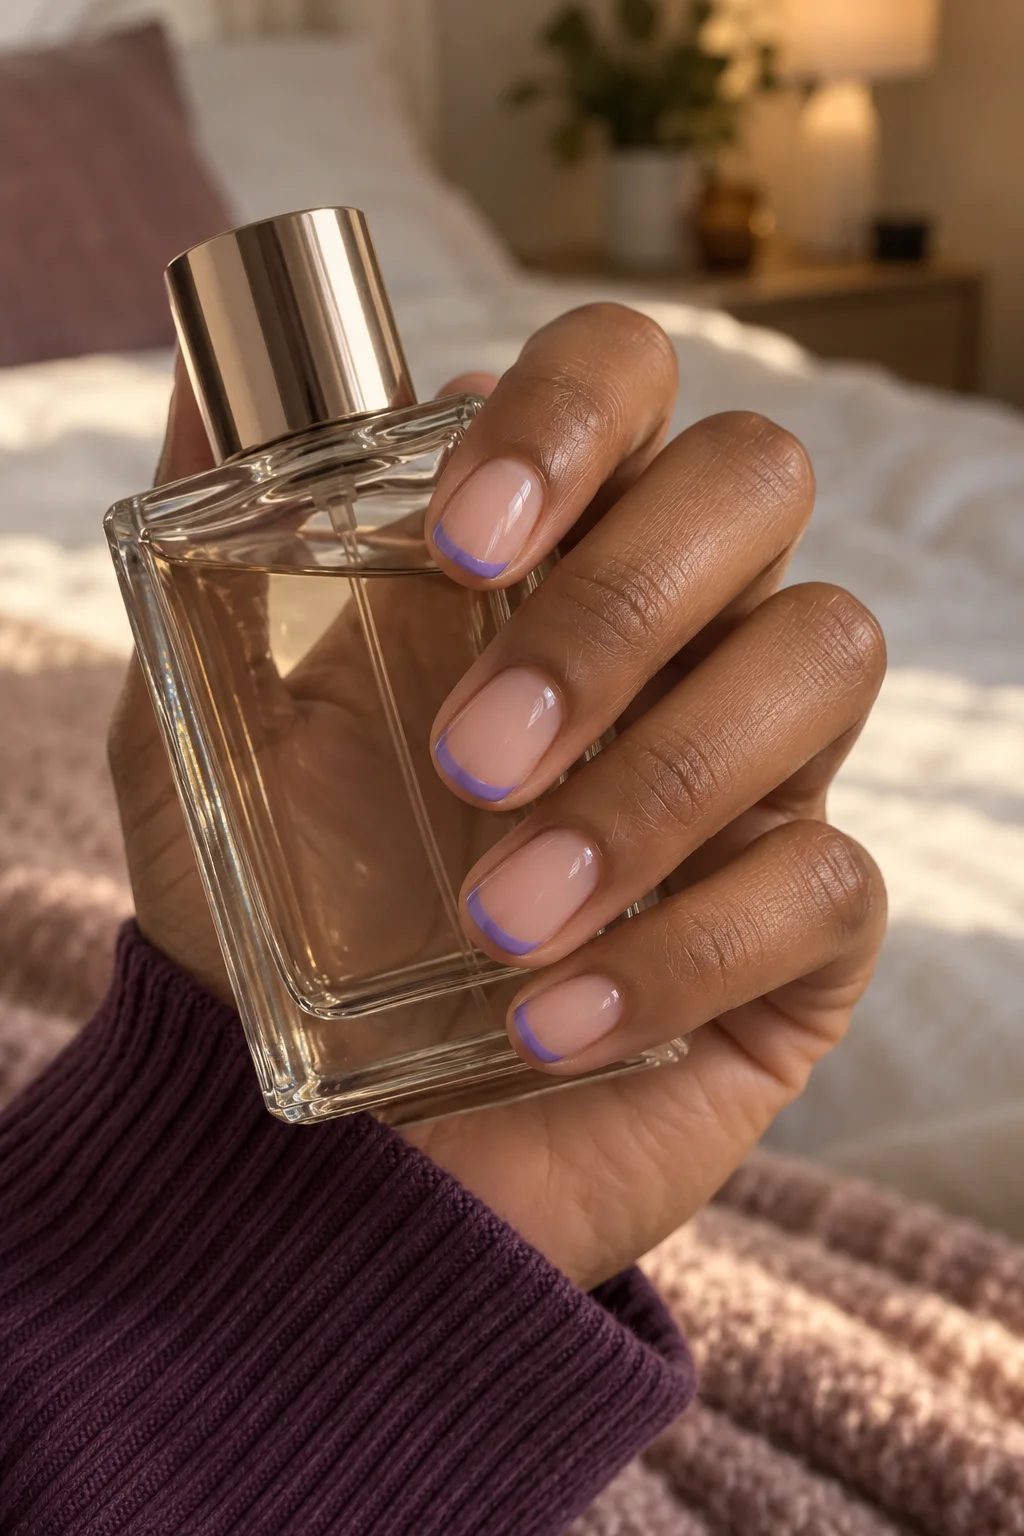 Lavender tips
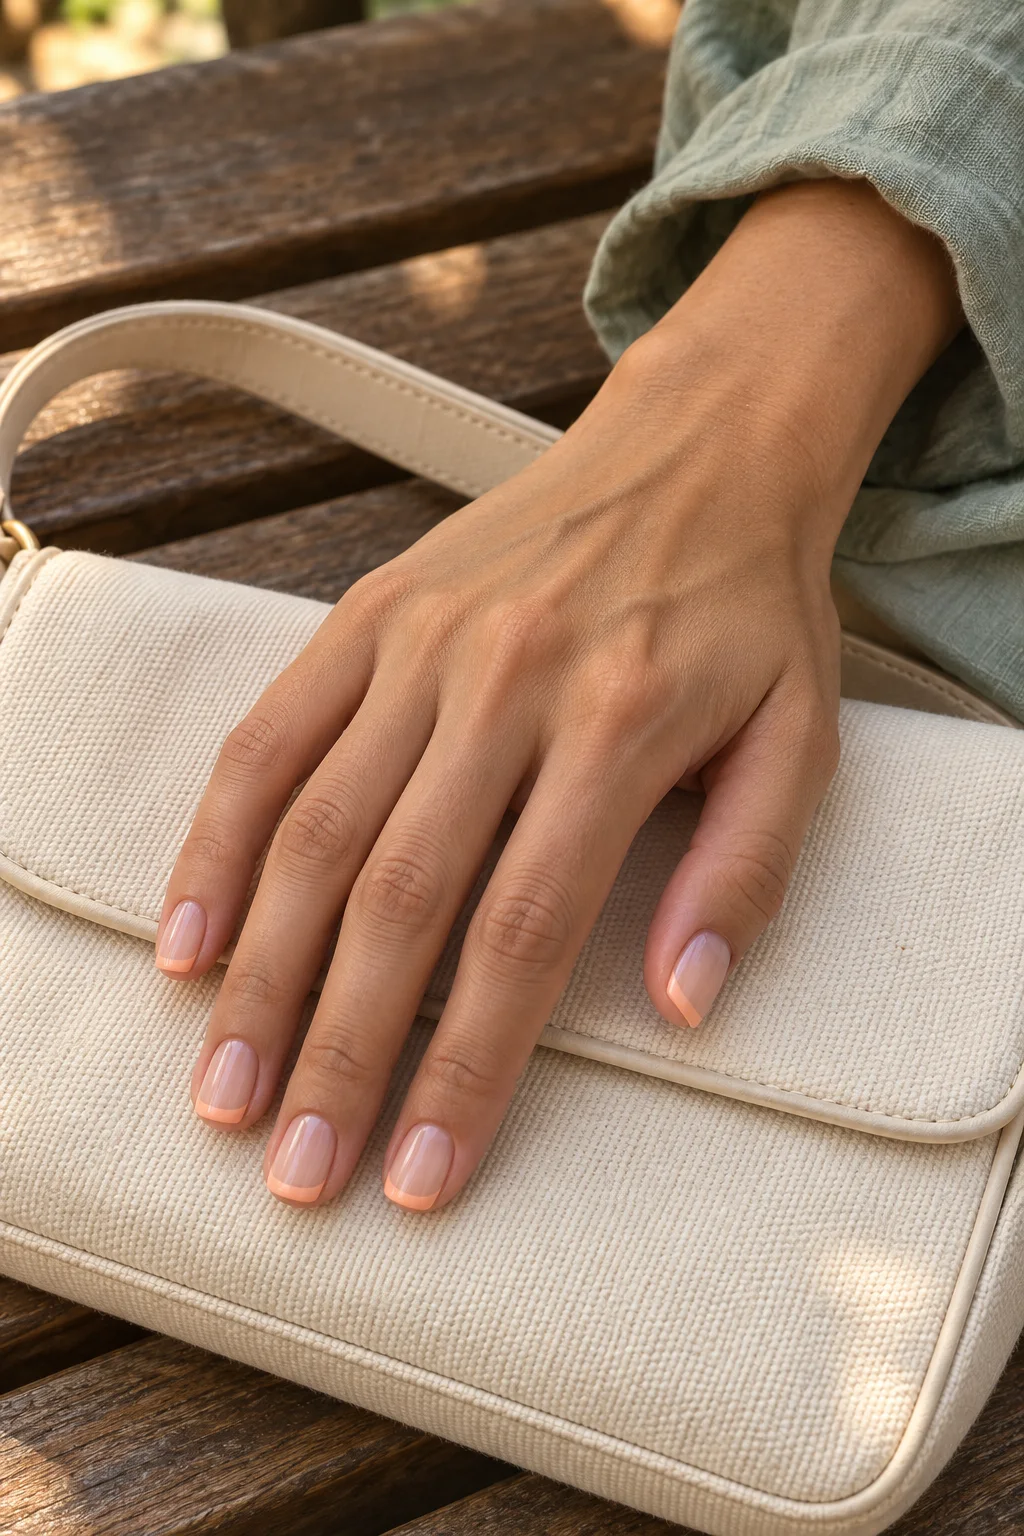 Peach tips
 Silver edges
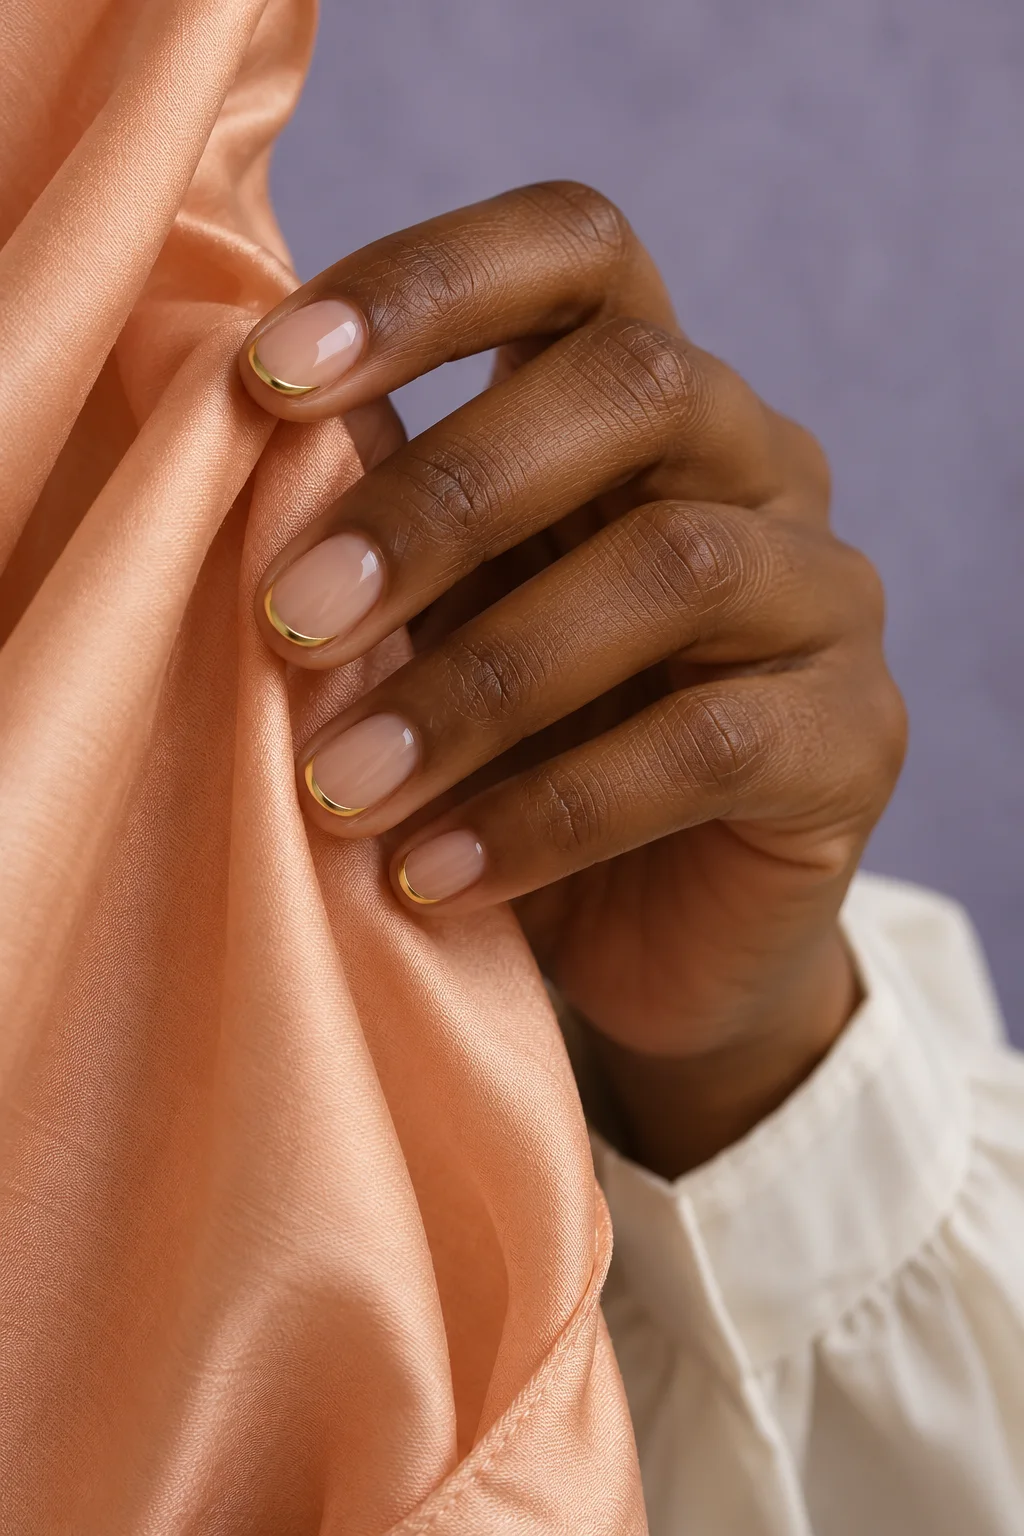 Gold edges
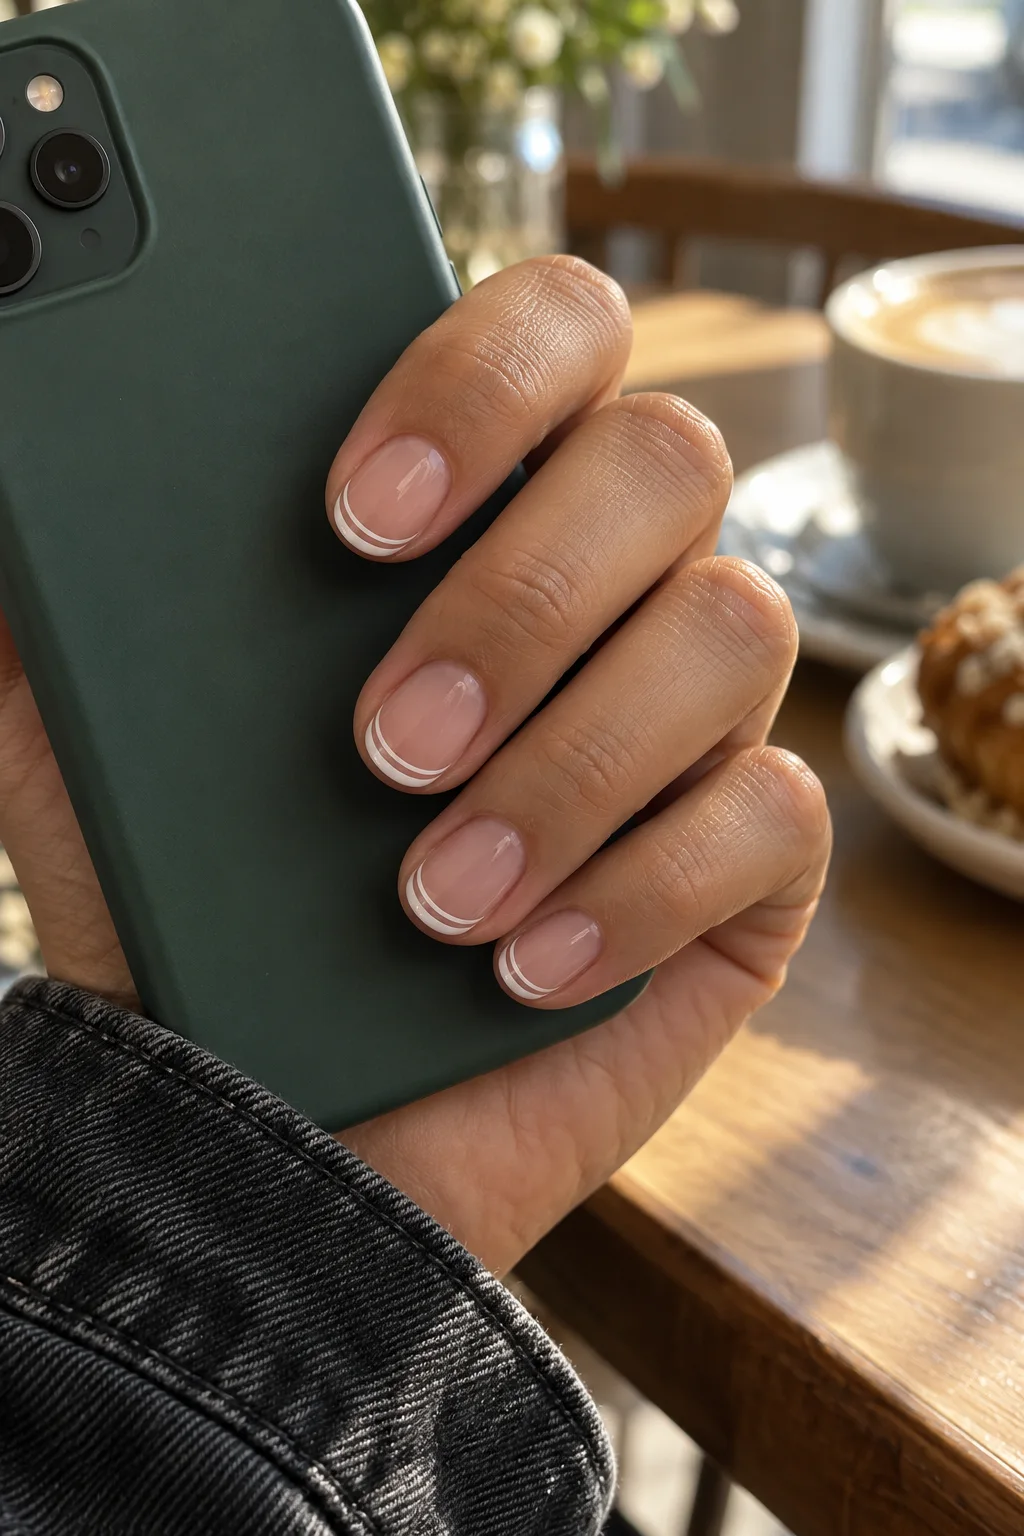 Double white lines
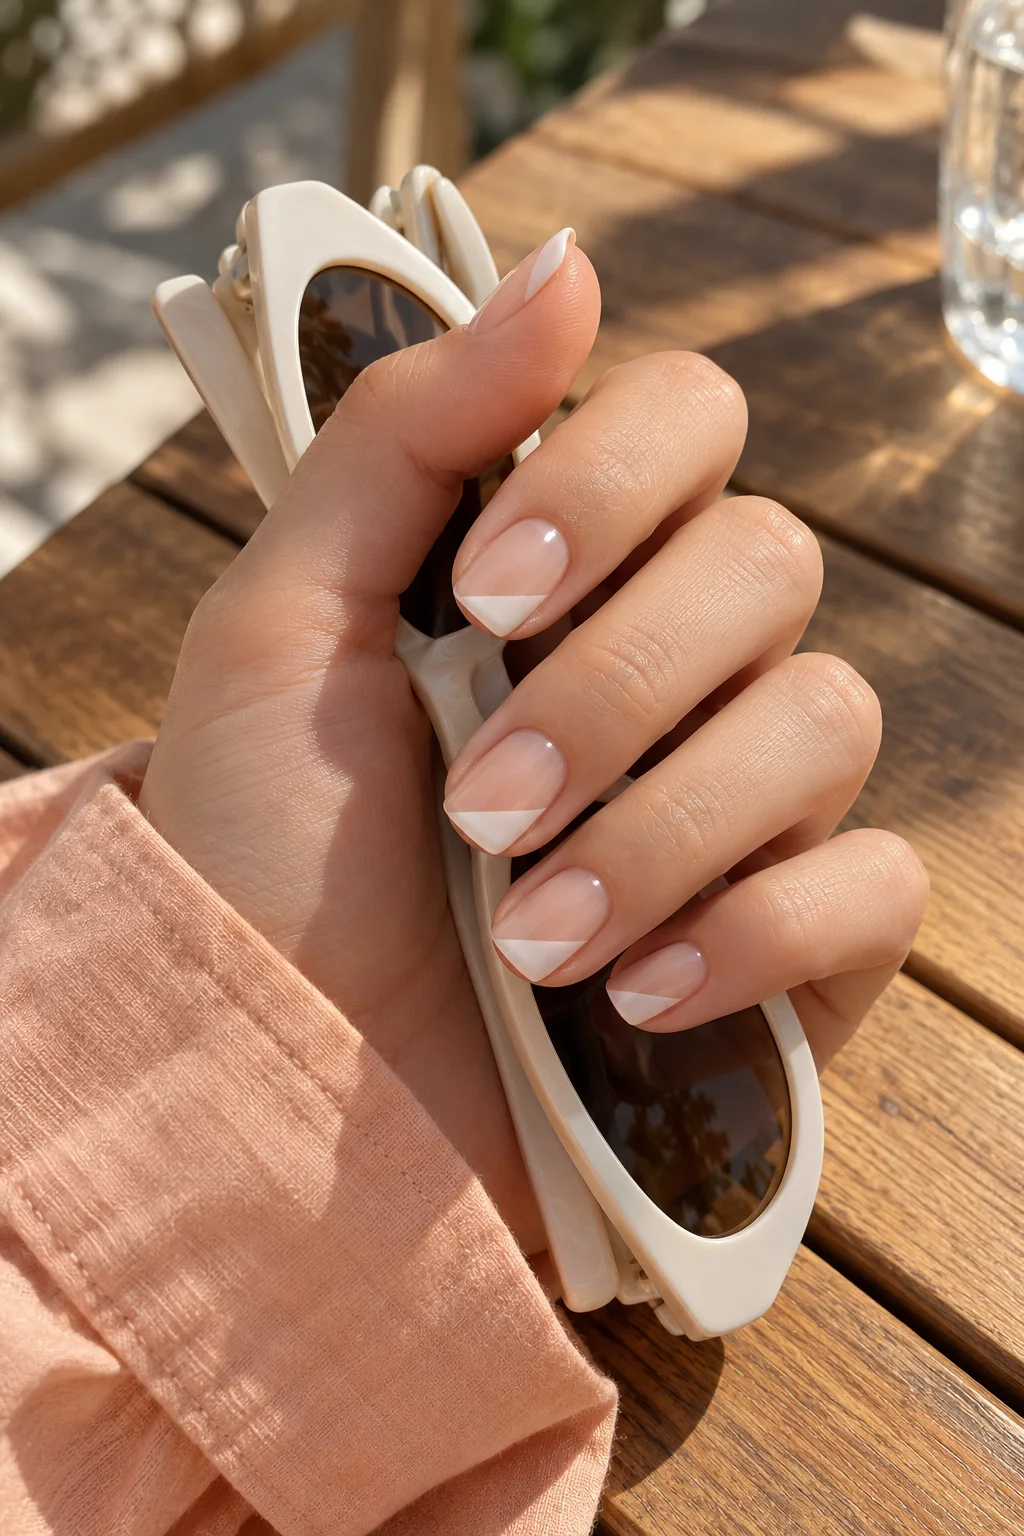 Angled white tips
 Side-sweep pink tips
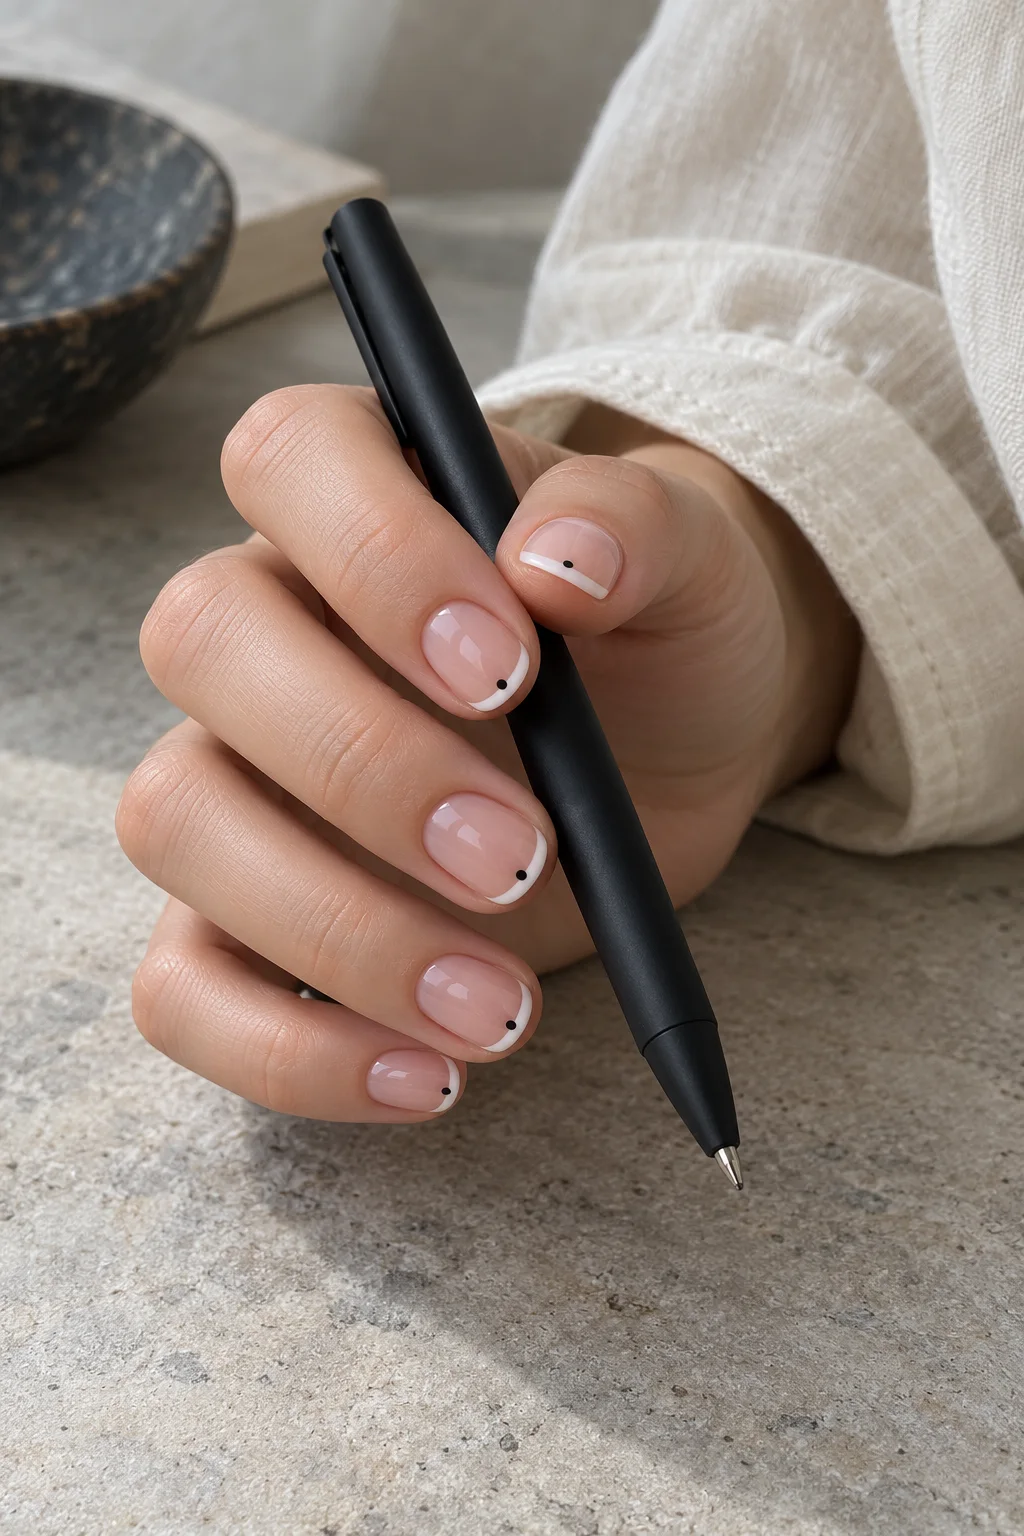 White tips with tiny dots
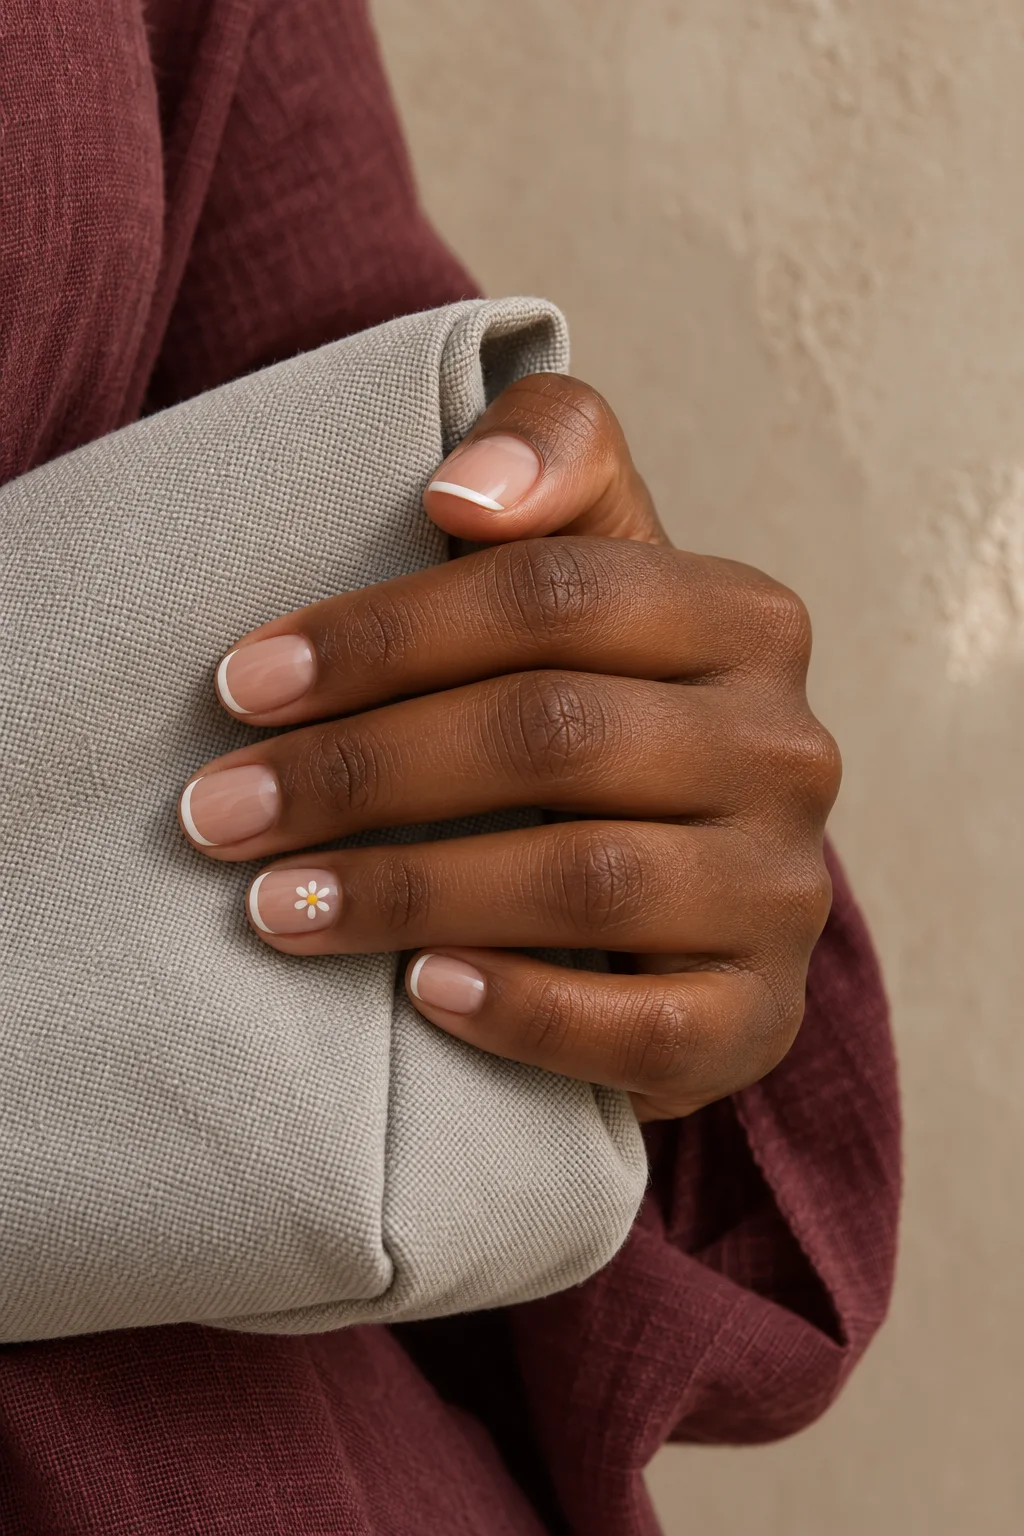 Daisy accent French
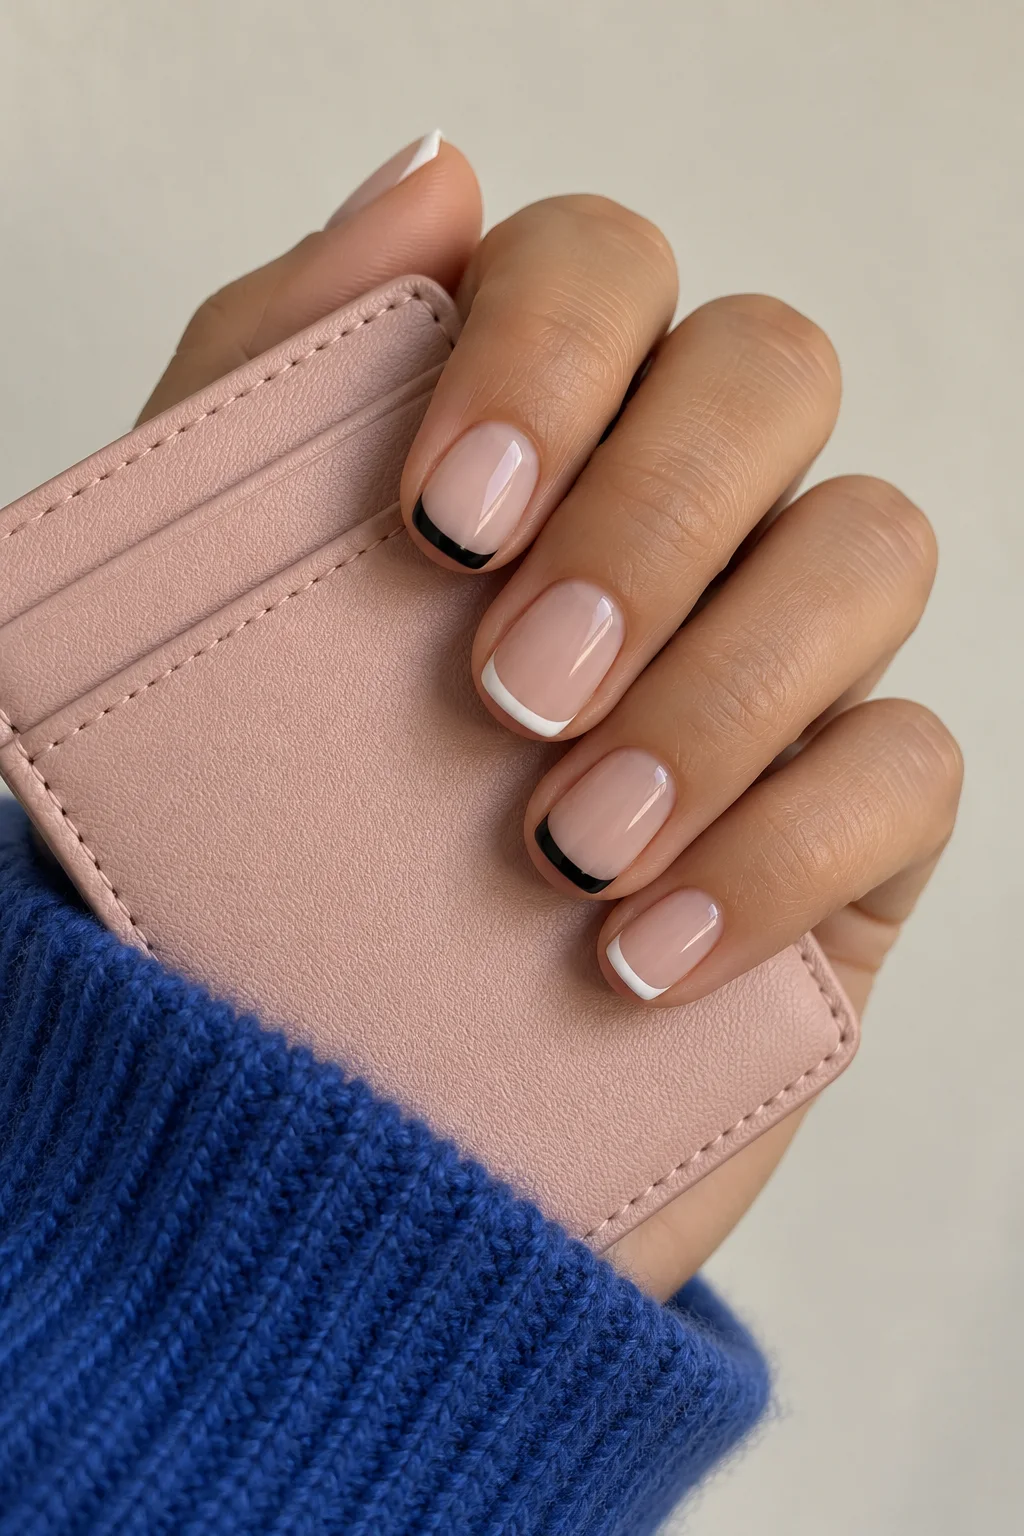 Alternating black and white tips
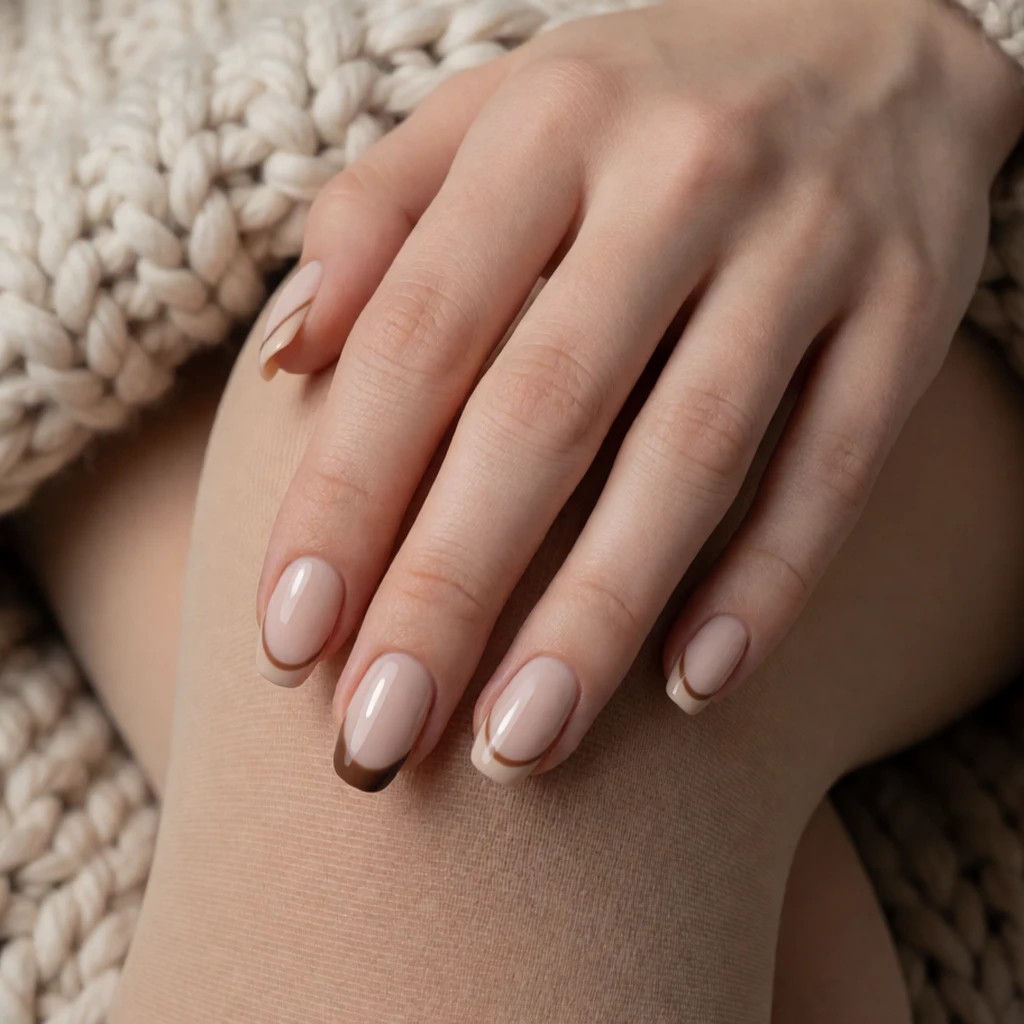 Brown French Tip Nails
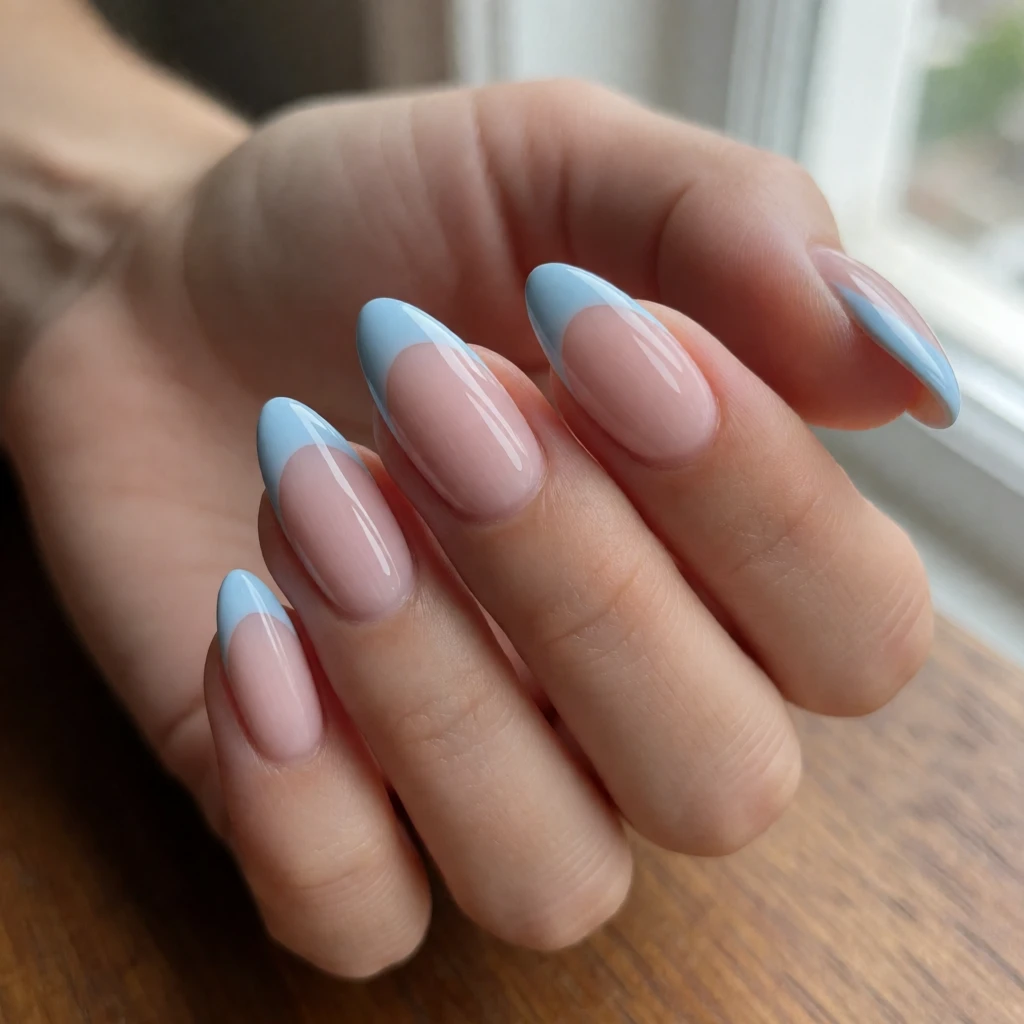 Light Blue French Tip Nails
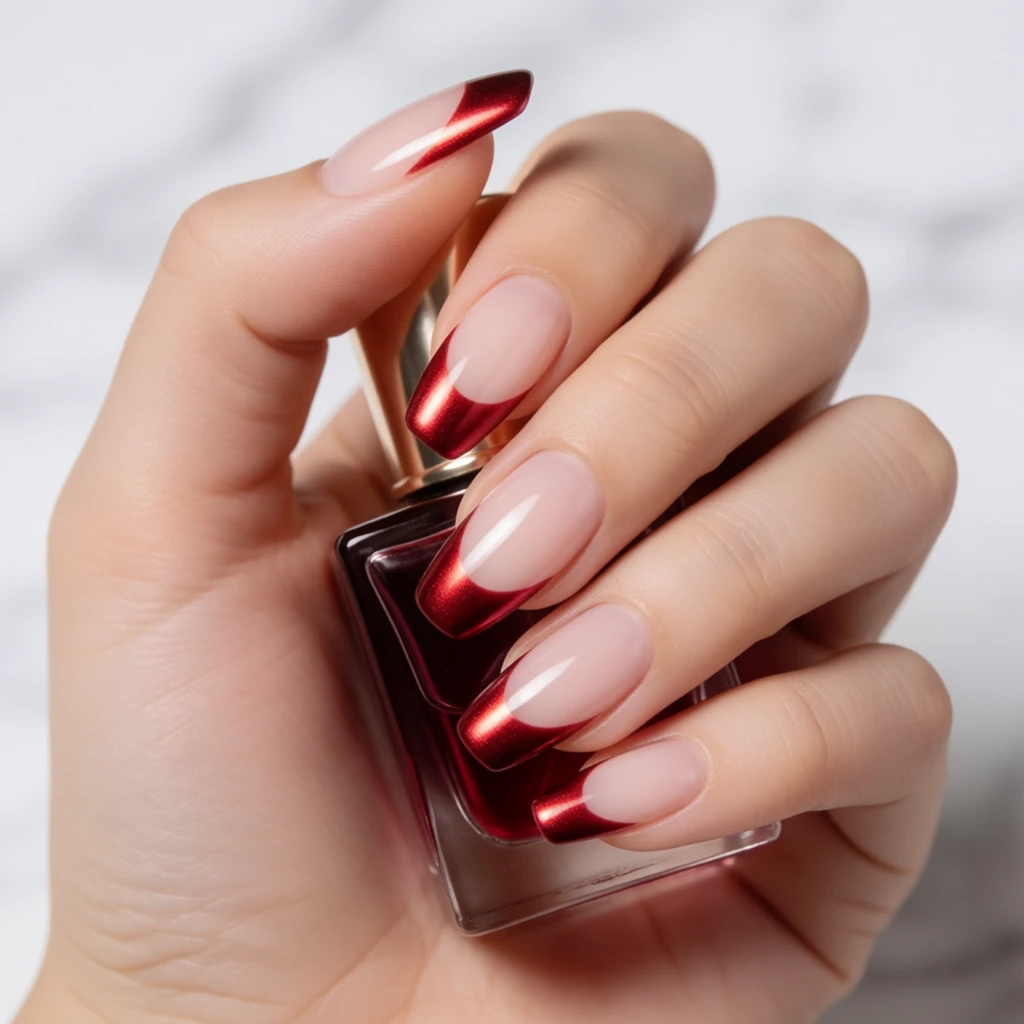 Dark Red French Tip Nails
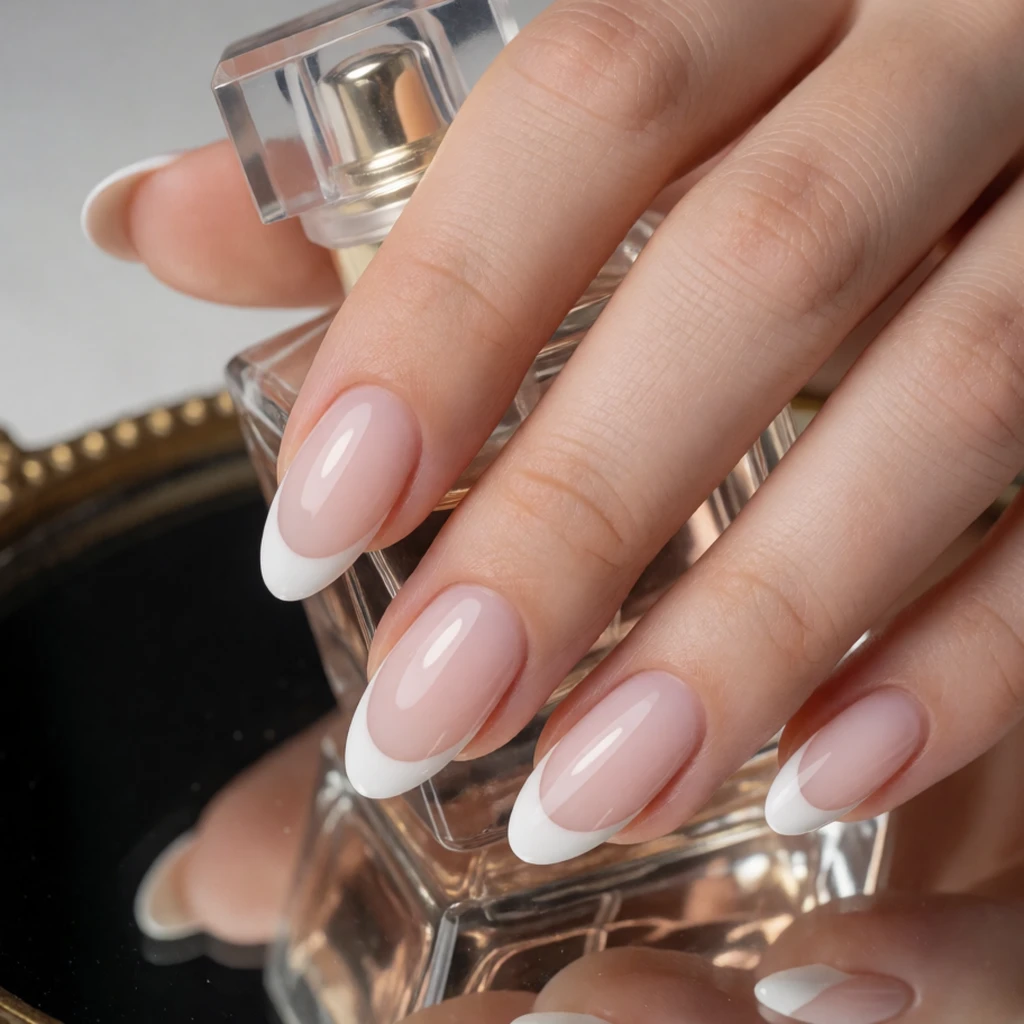 Classic Almond French
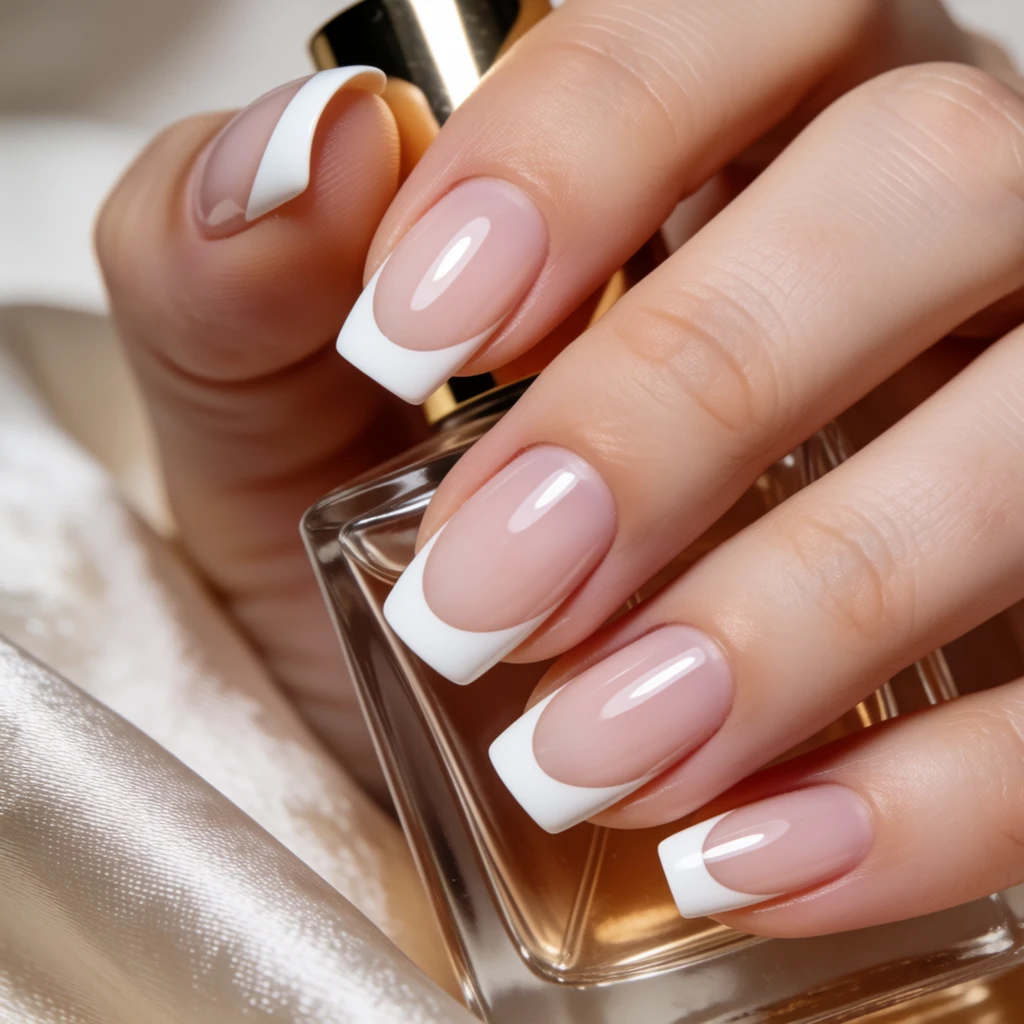 Micro Square French
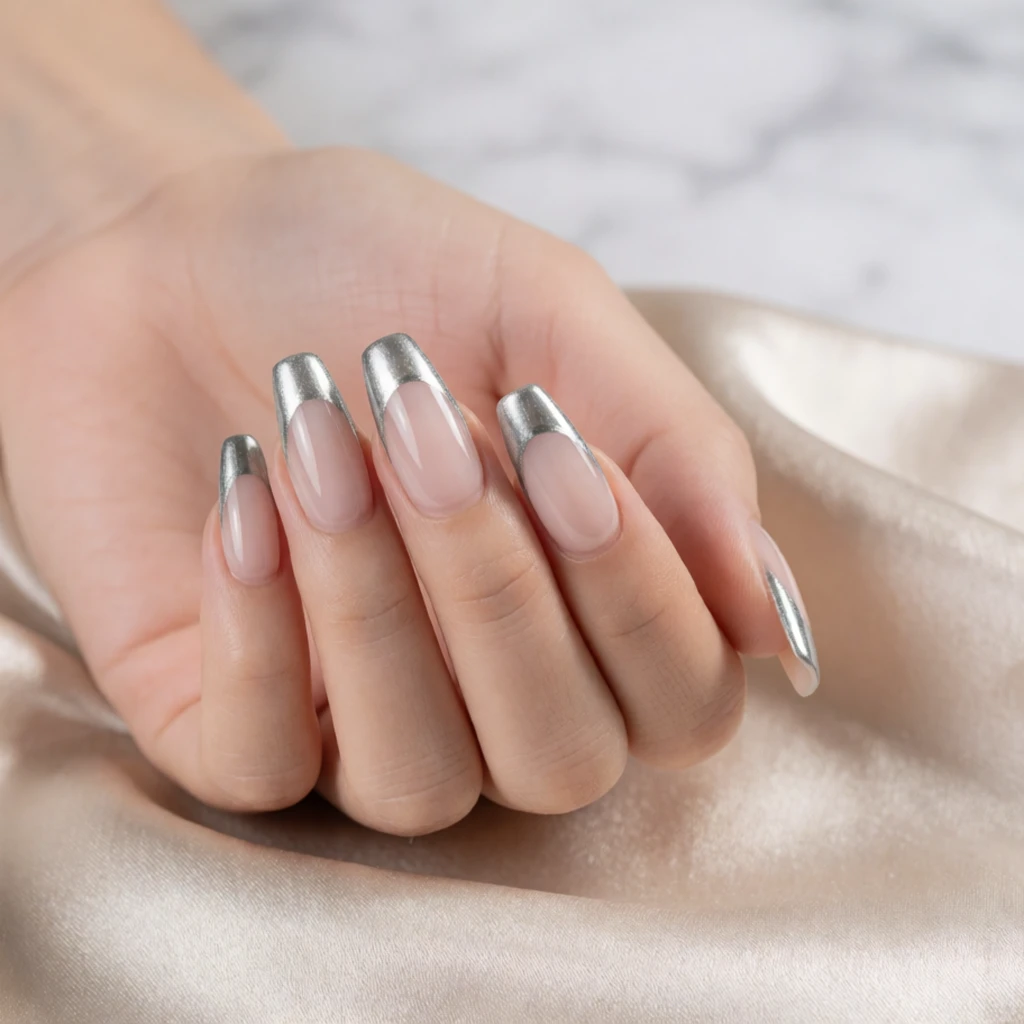 Silver Chrome French
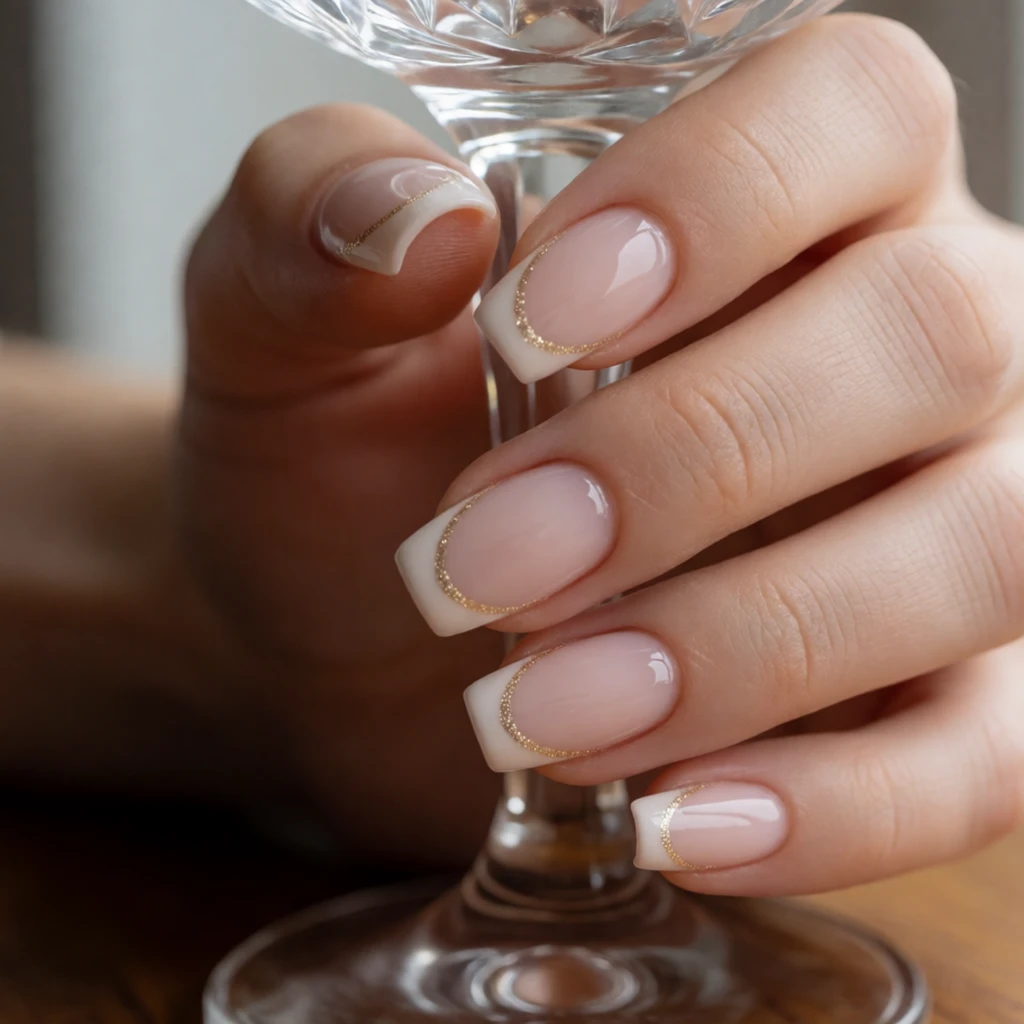 Gold Glitter Line French
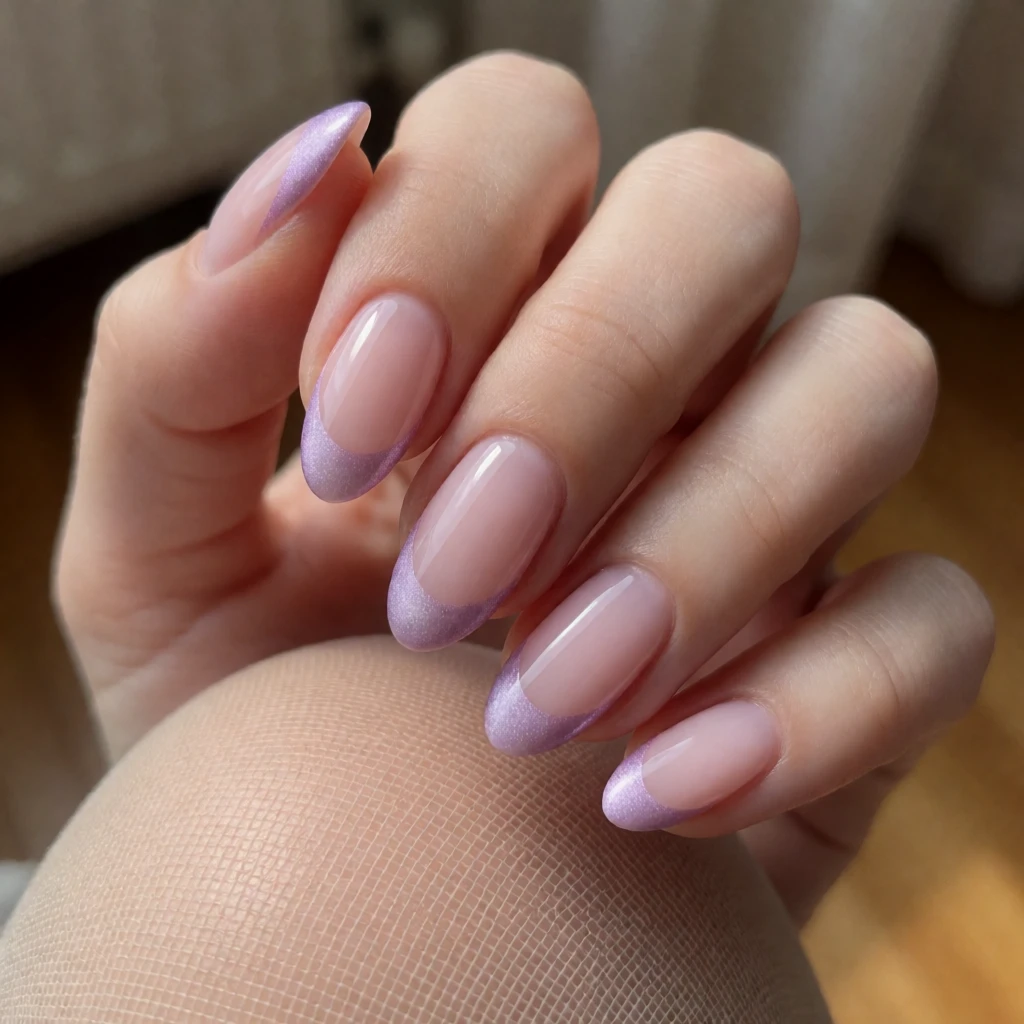 Lilac Velvet French
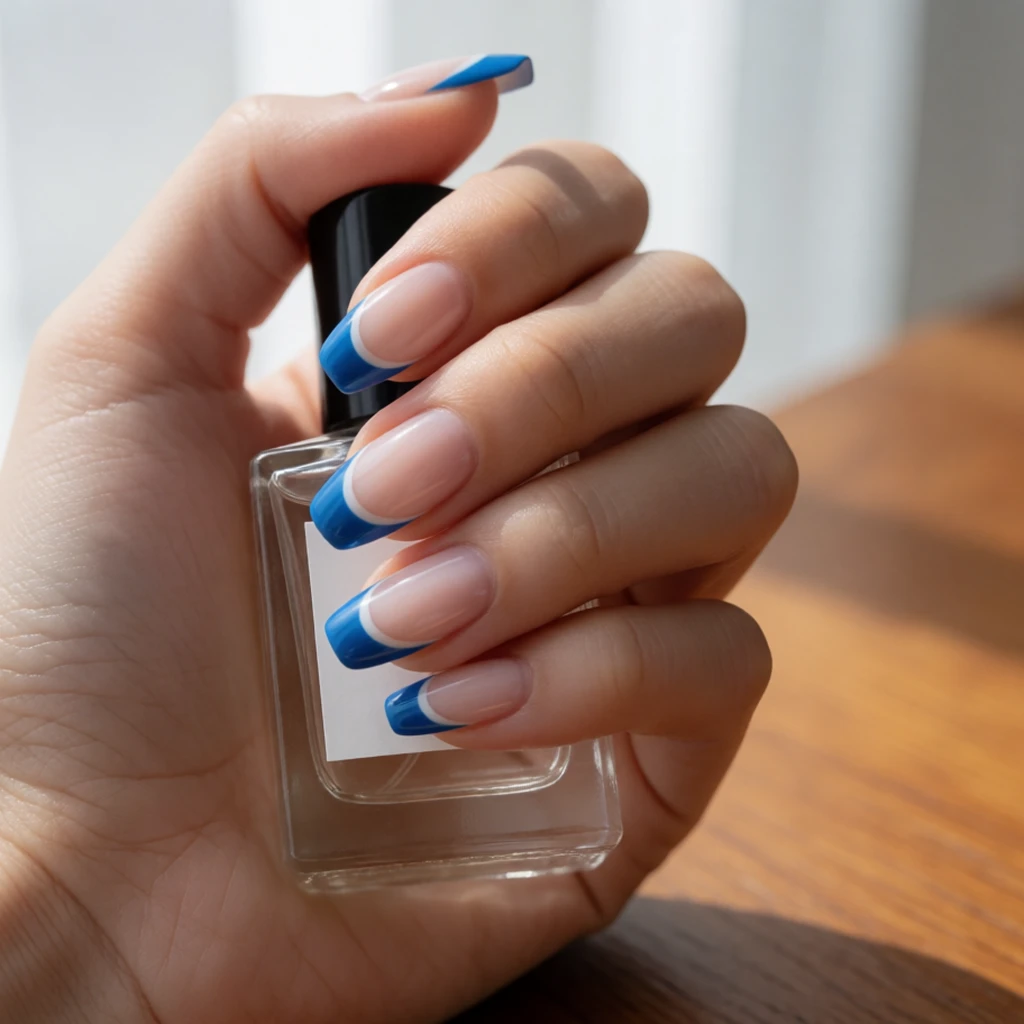 Double Blue French
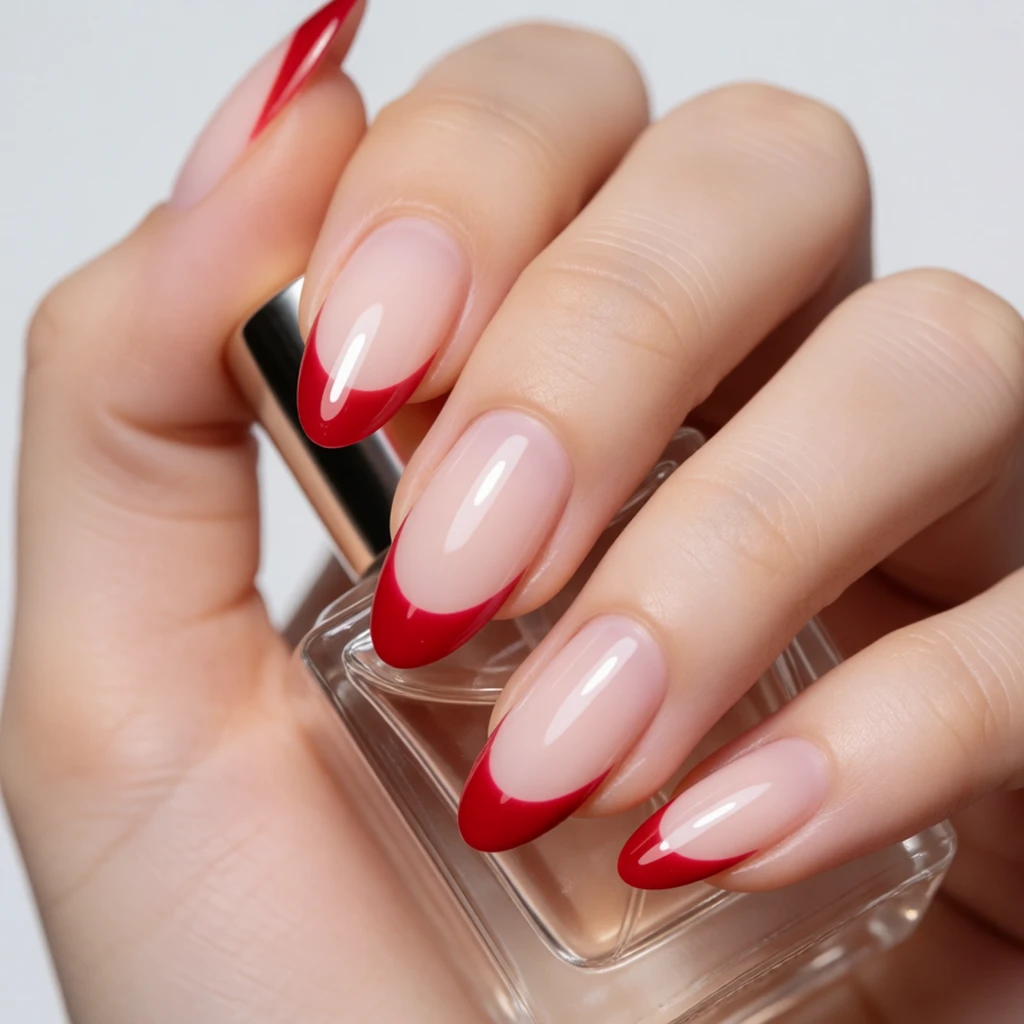 Cherry Red French
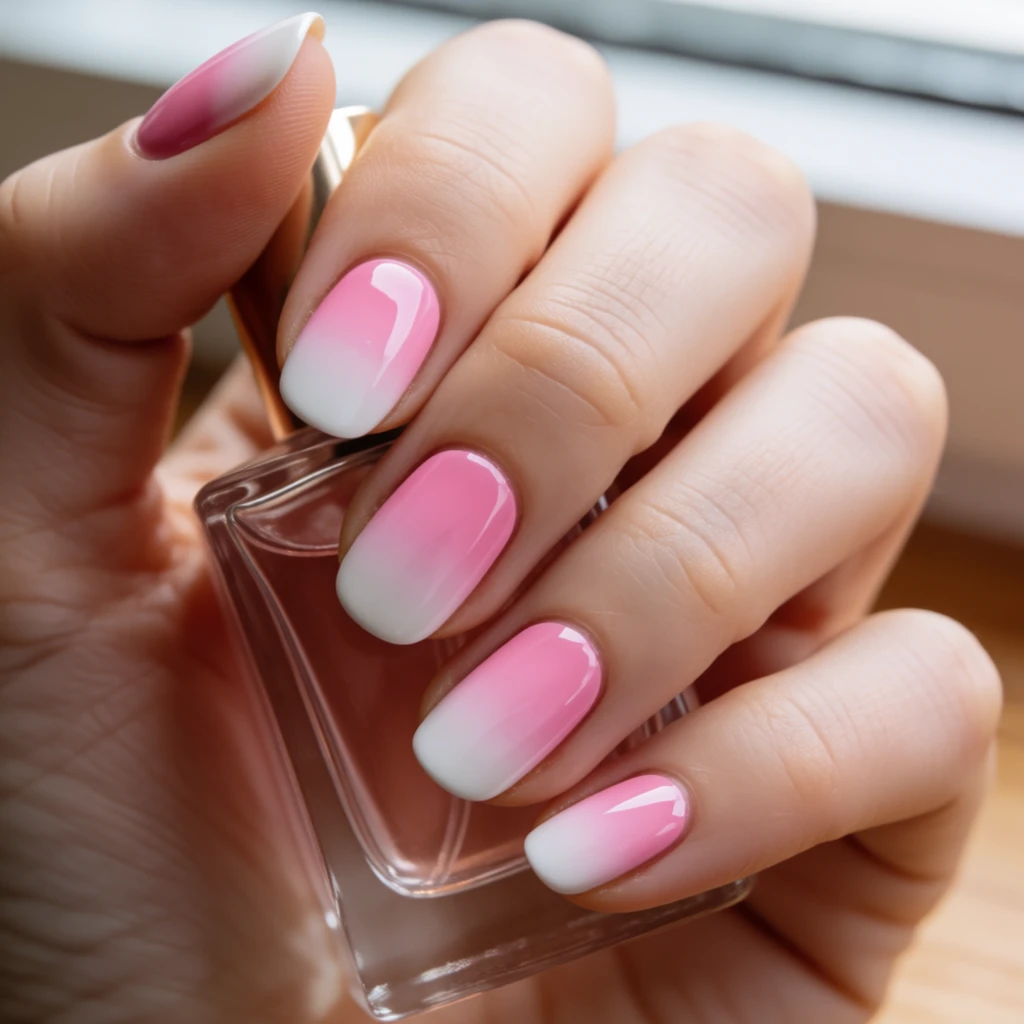 Baby Boomer Ombre
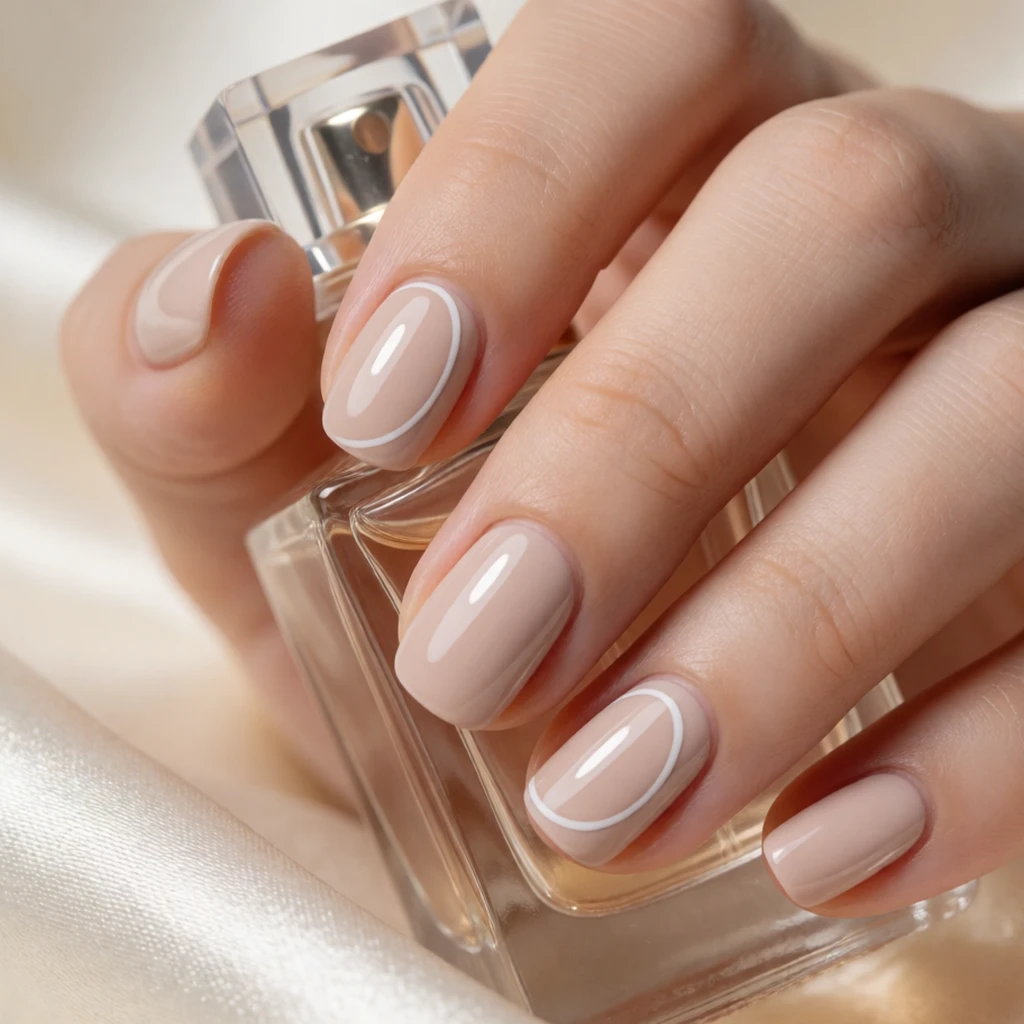 Negative Space Outline French
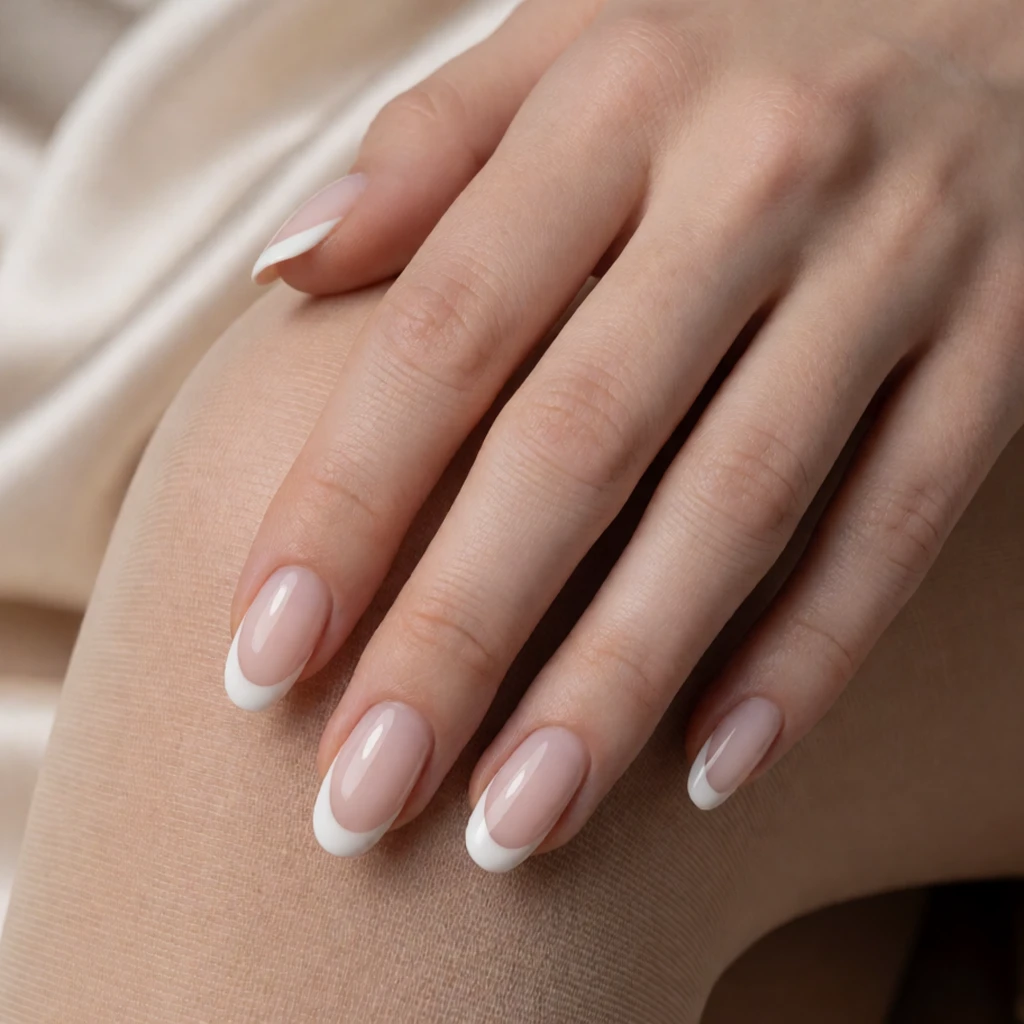 Micro French Round
Keep exploring
Related guides
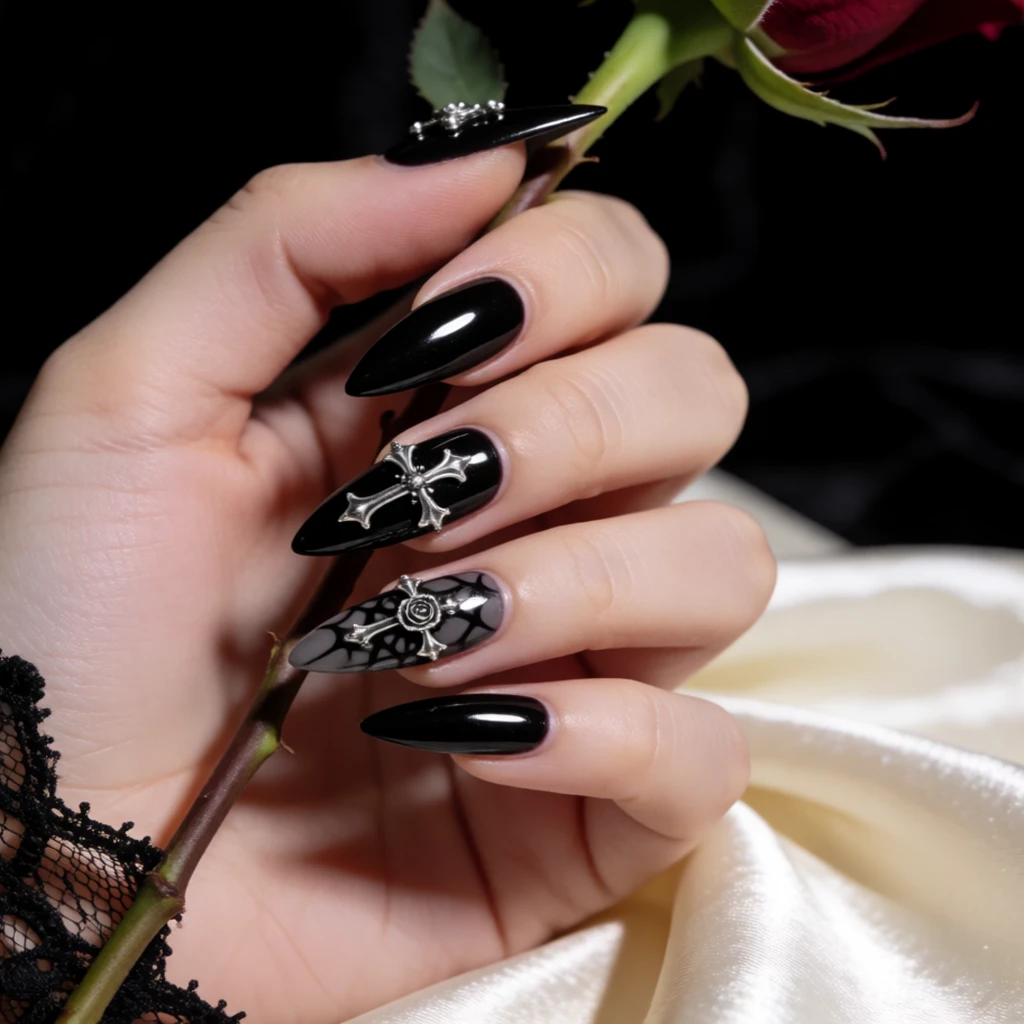 Goth & dark
Goth nail ideas often use full black coverage or dark art across the whole nail, while black French tips focus specifically on the tip line and base contrast as the design element.
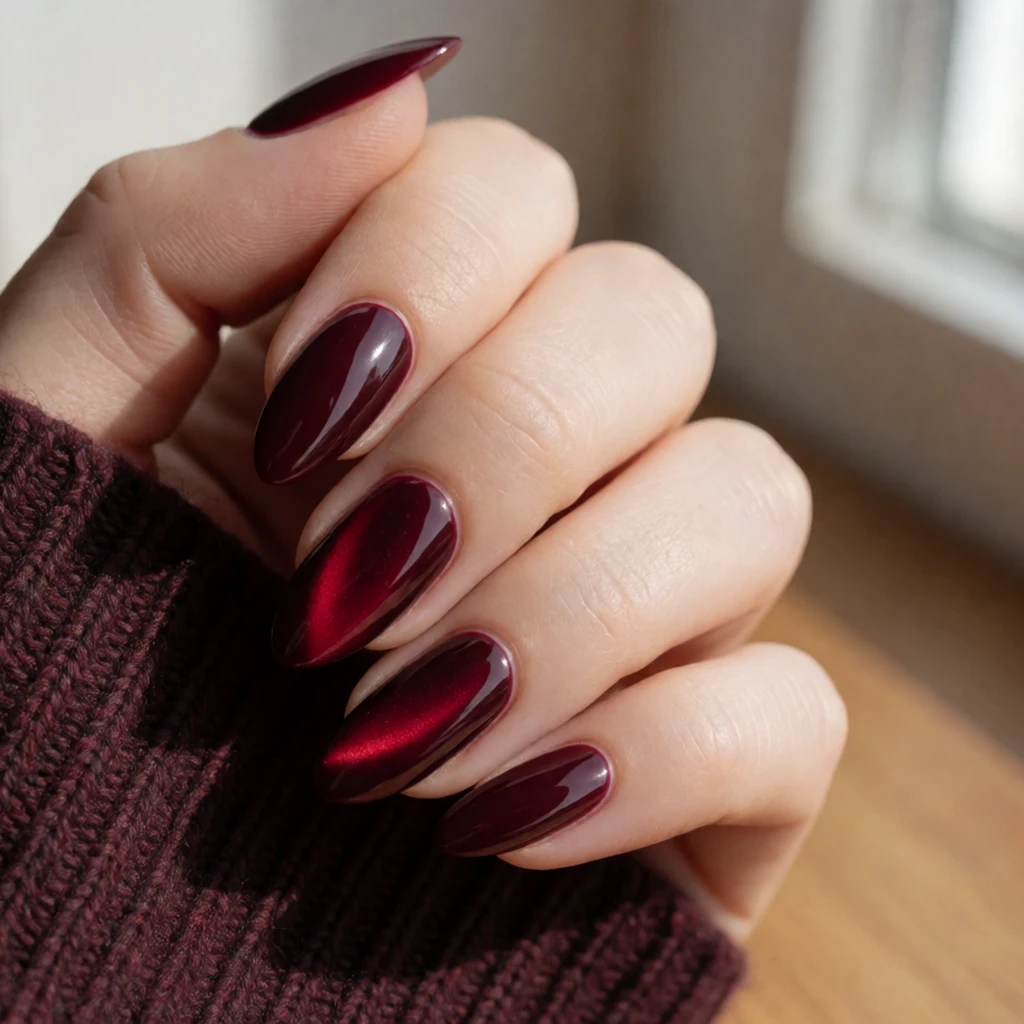 Dark accents
Dark accent nails use one or two nails in a deeper color against lighter nails, whereas black French tips apply the dark element as a consistent tip stripe across the full set.
Questions
How thin should the black line be on short nails?
Aim for about one millimeter or less on short nails. A thicker band on a short nail leaves very little visible base color and tends to look heavy and unbalanced.
Can I do a black French tip without a striping brush?
Yes. Use thin nail tape to mask the smile line, paint above it with black, and remove the tape before it dries fully. The edge will be crisp without a striping brush.
Will a black tip polish stain my natural nail?
Very pigmented black polish can leave a faint shadow with repeated use. A dedicated base coat underneath the base color creates a barrier that reduces staining over time.
Does the base color matter for a black French tip to work?
Yes. Lighter bases like nude, white, or pale grey make the black line pop clearly. Darker bases reduce contrast and the tip can blend into the overall nail color.
Generated references, not tested products. How shopping links work.