Nail ideas / Press-on sets
How to apply press-on nails that stay on
Press-on nails stay on when you size each nail individually, clean the nail surface thoroughly, and press from the center outward. Getting the fit right before applying adhesive makes the difference between a manicure that lasts and one that falls off by evening.
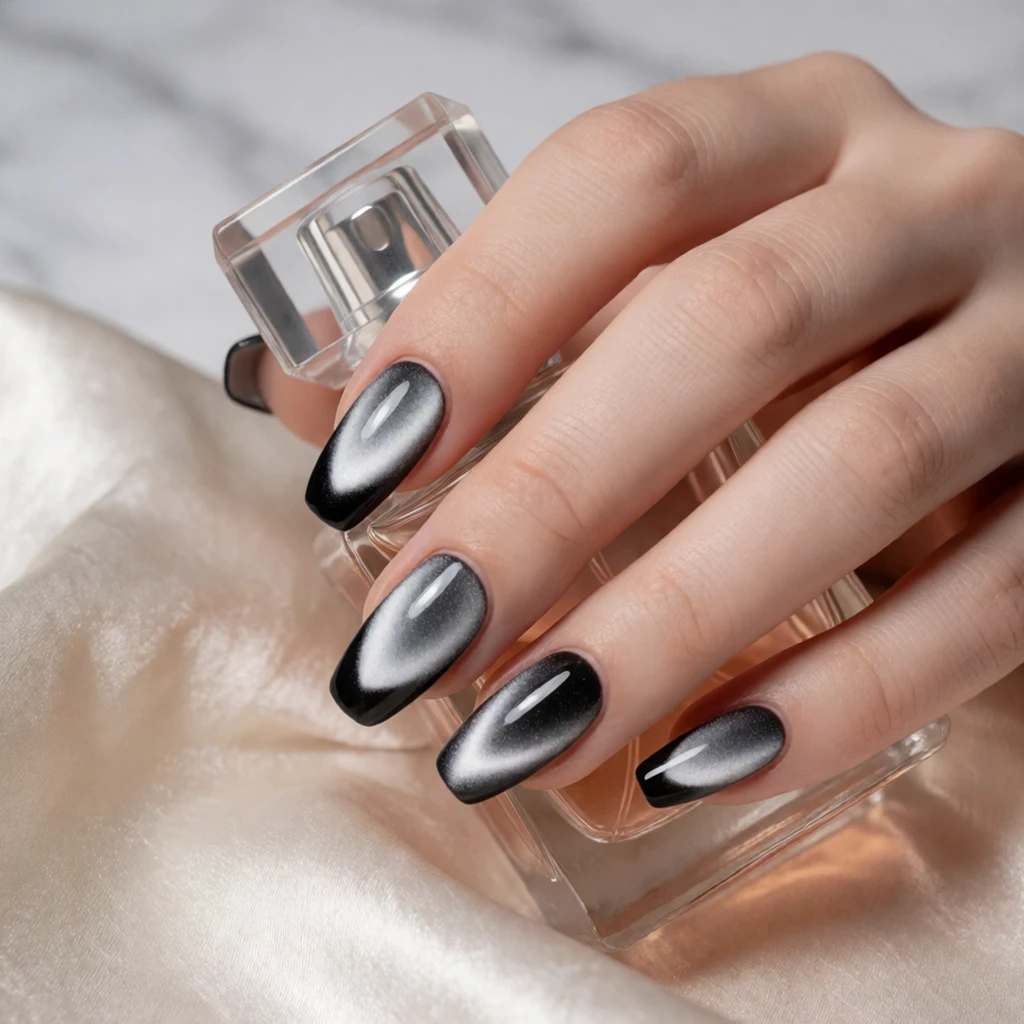
Three rules
Start here.
- Size each nail individually before applying any adhesive by laying the full set across your fingers and swapping sizes where the fit is wrong, because index and ring fingers are often different widths.
- Clean the natural nail surface thoroughly by pushing back cuticles, buffing lightly, and wiping with alcohol or the included prep pad to remove all oil, because adhesion fails on oily surfaces.
- Press from the center of the nail outward toward the sides and hold for at least 30 seconds to ensure full contact and prevent air bubbles from forming under the press-on.
A styling reference, not a product photo.
What defines it
The basics
Applying press-on nails correctly means working through a sequence of fit, prep, adhesive choice, and pressing technique in that order. You start by matching each press-on to the width and shape of your natural nail, then clean and prep the nail surface to remove oil and push back cuticles, choose between adhesive tabs or glue based on how long you want the manicure to last, and finally press each nail into place using a technique that avoids air bubbles and ensures full contact.
A well-applied press-on set reads as professional because the fit is precise — each nail covers the nail plate fully without overlapping the skin at the cuticle or sides, the press-on sits flat against the natural nail with no lifting at the edges, and all ten nails are applied at the same angle so they look uniform when the hand is at rest. The adhesive is invisible, the free edges are even, and the finish is consistent across all nails. Poor application shows as gaps at the cuticle, visible adhesive squeezing out at the sides, or press-ons that sit at different angles.
Applying press-ons differs from painting with polish because you are attaching a pre-shaped cover rather than building layers of liquid color. It differs from gel extensions in that no lamp is required and removal follows the adhesive's specific instructions rather than professional filing. The key is treating sizing and prep as non-negotiable steps rather than rushing straight to the adhesive.
Repeatable combinations
Formulas to try
- Adhesive tabs for one-time events
- Use the adhesive tabs included in most press-on kits when you need the nails for a single event and plan to remove them the next day. Tabs peel off easily with warm water and gentle pressure, making them ideal for weddings, parties, or photo shoots. Apply the tab to the natural nail, peel off the backing, then press the cover on from cuticle to tip.
- Nail glue for a full work week
- Apply a thin layer of nail glue to both the natural nail and the inside of the press-on when you need the manicure to last five to seven days. Glue creates a stronger bond than tabs but requires acetone or remover for safe removal. Let the glue sit for a few seconds to become tacky before pressing the nail into place, which prevents sliding.
- Layering over weak or damaged nails
- Press-ons applied with glue can protect weak or peeling natural nails while they grow out. File the natural nail surface very gently to avoid further damage, apply a thin coat of glue, and press the cover on. The press-on acts as a shield against further breakage, though you should still follow removal instructions carefully to avoid lifting layers when you take them off.
- Quick application for style changes
- When you want to switch nail looks frequently, use adhesive tabs and keep several press-on sets on hand. Size all sets in advance and mark which size goes on which finger with a marker on the inside of each nail. This lets you swap out a full manicure in under ten minutes without waiting for polish to dry or removing gel.
- Travel-friendly application
- Pre-size a press-on set at home, pack it with adhesive tabs or a small tube of glue, and include a nail file and alcohol wipes. You can apply a full set in a hotel room without access to your usual supplies. Keep one or two extra nails in the original packaging in case one falls off during your trip.
Your needs, your plans
Before you buy
- Fit and sizing
- Each press-on should cover your nail plate from cuticle to free edge without overlapping the skin on any side. If a nail is too wide, it will press into the skin at the sides and lift at the edges. If it is too narrow, gaps will show and the bond will be weak. Most sets include ten to twelve sizes per hand; try each size on dry before committing. You can file the sides of a press-on to make it narrower, but you cannot widen one that is too small.
- Adhesive choice and wear time
- Adhesive tabs last one to three days and remove easily with warm soapy water. Nail glue lasts five to ten days depending on the formula and requires acetone or nail glue remover to take off safely. If you are trying press-ons for the first time, start with tabs so removal is easier while you learn the technique. Once you know the fit works, switch to glue for longer wear.
- Prep and surface cleanliness
- Oil from your skin, lotion residue, and old polish all prevent adhesive from bonding. Push back cuticles with a wooden stick, buff the nail surface lightly with the buffer included in the kit, and wipe each nail with an alcohol pad or acetone-soaked cotton just before applying the adhesive. Avoid touching the nail surface with your fingers after cleaning, which redeposits oil.
- Budget and reusability
- Press-on sets range from a few dollars to over twenty depending on the design and materials. Sets applied with adhesive tabs can often be reused two or three times if you remove them carefully and clean off the old adhesive. Sets applied with glue are typically single-use unless you are willing to soak and scrape them clean, which can damage the finish. Factor in the cost per wear rather than the upfront price when choosing between a basic set you will replace often and a premium set you might reuse.
From what you own
Build it and repeat it
Start by opening the press-on kit and laying out all the nails in size order. Hold each size up to your natural nail without adhesive and check the width at the cuticle, the sides, and the free edge. Swap sizes between fingers until each nail matches its finger. If you are between sizes, choose the smaller one and file the sides to fit rather than using a nail that is too large, which will lift at the edges. Once sizing is complete, set the nails aside in order and prep your natural nails: push back cuticles with a wooden stick, buff the nail surface lightly to remove shine, and wipe each nail with the included alcohol pad or a cotton ball soaked in acetone. Let the nail dry completely before moving to the adhesive step.
Apply adhesive according to the product's directions. For tabs, peel the backing and press the tab onto the natural nail, then peel off the top layer and press the cover on immediately. For glue, apply a thin layer to both the natural nail and the inside of the press-on, wait a few seconds for it to become tacky, then align the press-on at the cuticle and press it down firmly from center to sides. Hold each nail in place for at least 30 seconds without moving it to ensure full contact. Once all ten nails are applied, avoid water and heavy hand use for at least an hour to let the adhesive cure fully. Check the edges of each nail to make sure there is no lifting; if you see a gap, press it down again or add a tiny drop of glue under the lifted edge.
Shop the pieces
16 press-on sets pieces
Links open similar items, not the pictured ones.
-
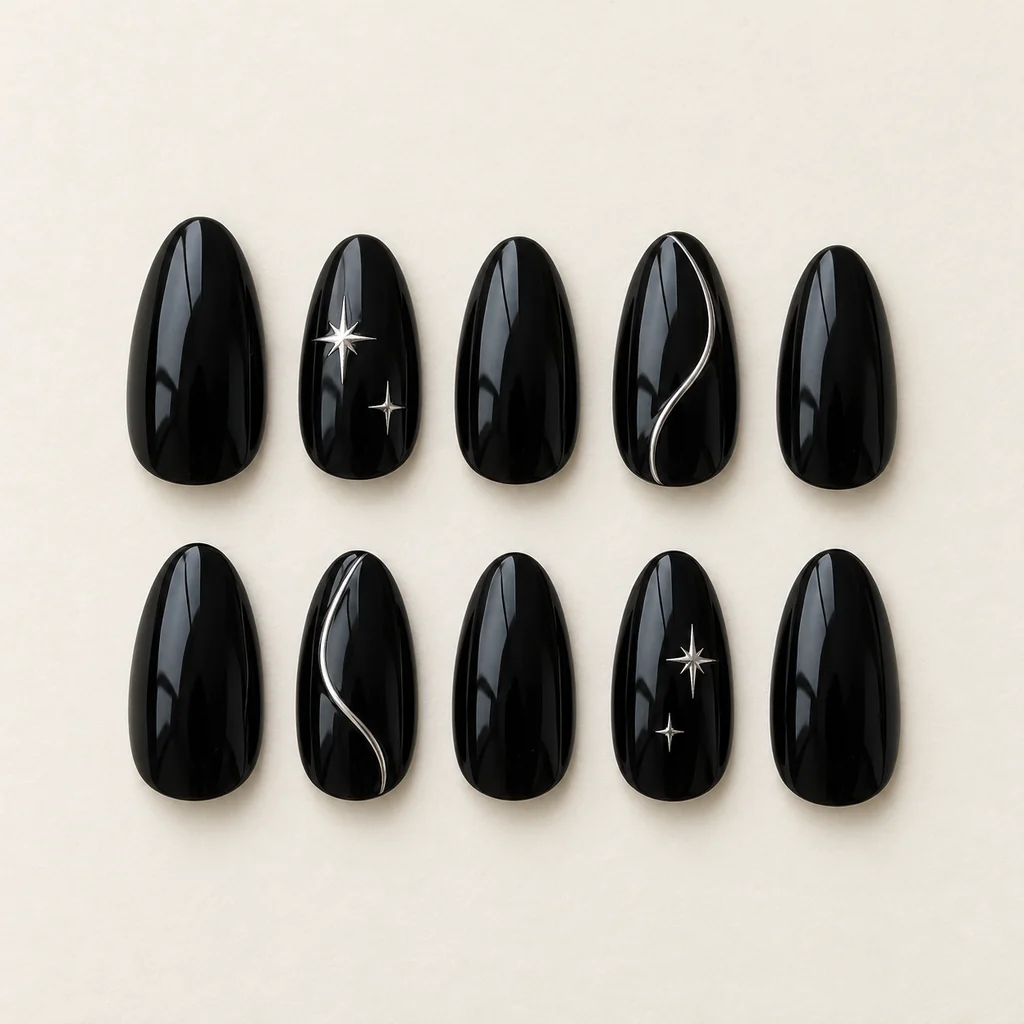
Goth press-on nails
What to check
A real product chosen to look like the picture. The picture is a styling reference, not this exact product.
-
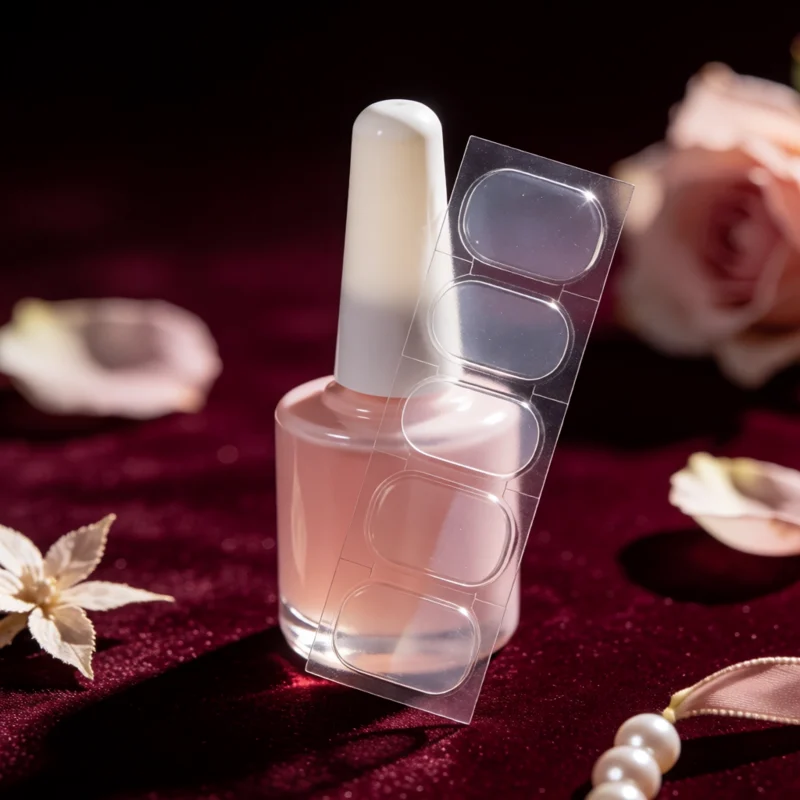
Press-on nail glue and adhesive tabs
What to check
A real product chosen to look like the picture. The picture is a styling reference, not this exact product.
-
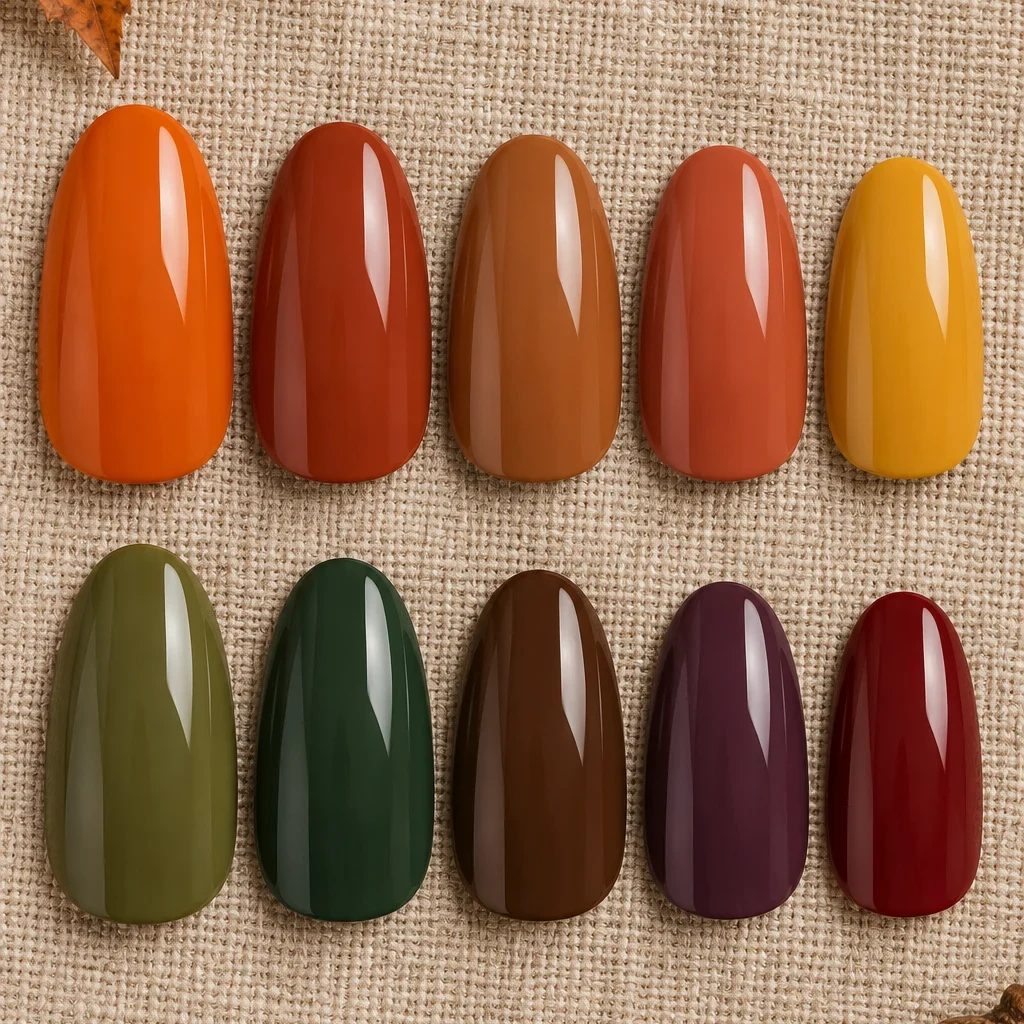
Nail Polish Colors Fall
What to check
A real product chosen to look like the picture. The picture is a styling reference, not this exact product.
-
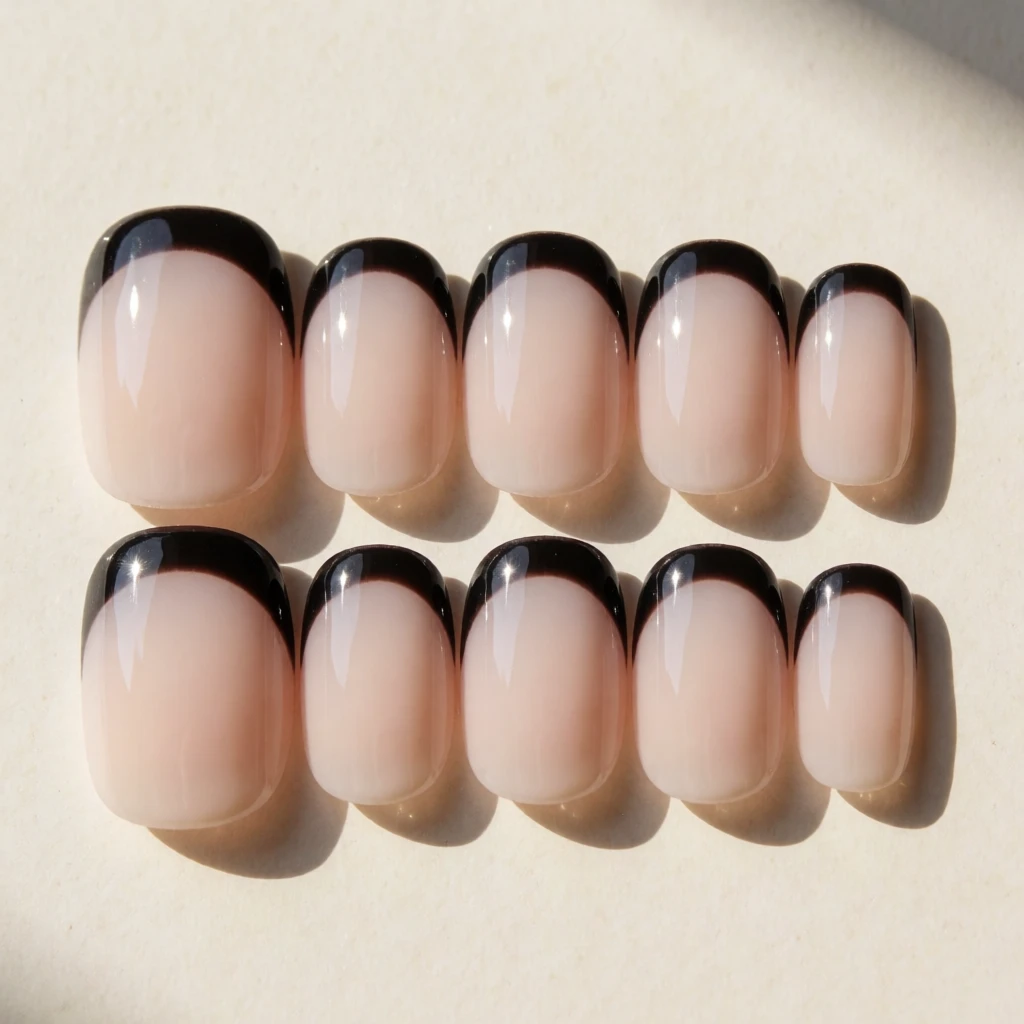
Black French Tip Nails
What to check
A real product chosen to look like the picture. The picture is a styling reference, not this exact product.
-
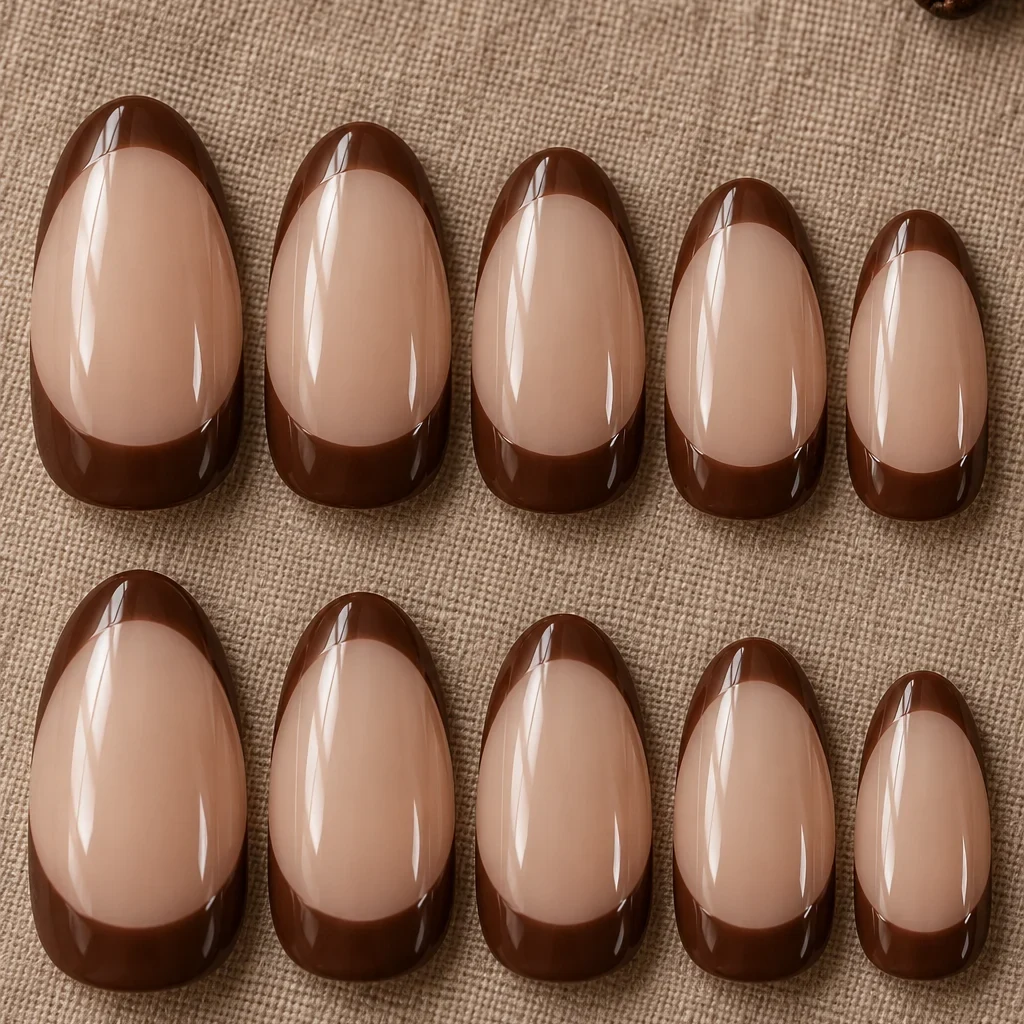
Brown French Tip Nails
What to check
A real product chosen to look like the picture. The picture is a styling reference, not this exact product.
-
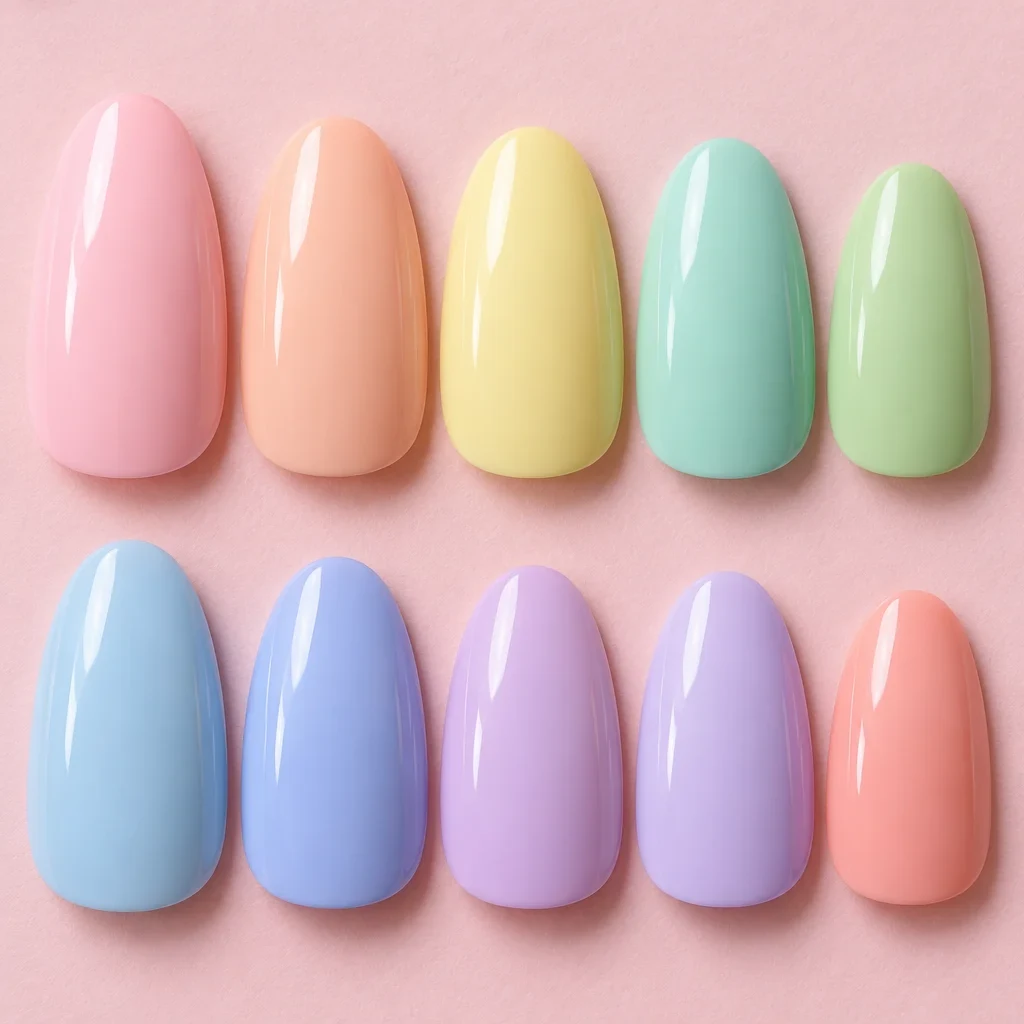
Cute Nail Polish Colors
What to check
A real product chosen to look like the picture. The picture is a styling reference, not this exact product.
-
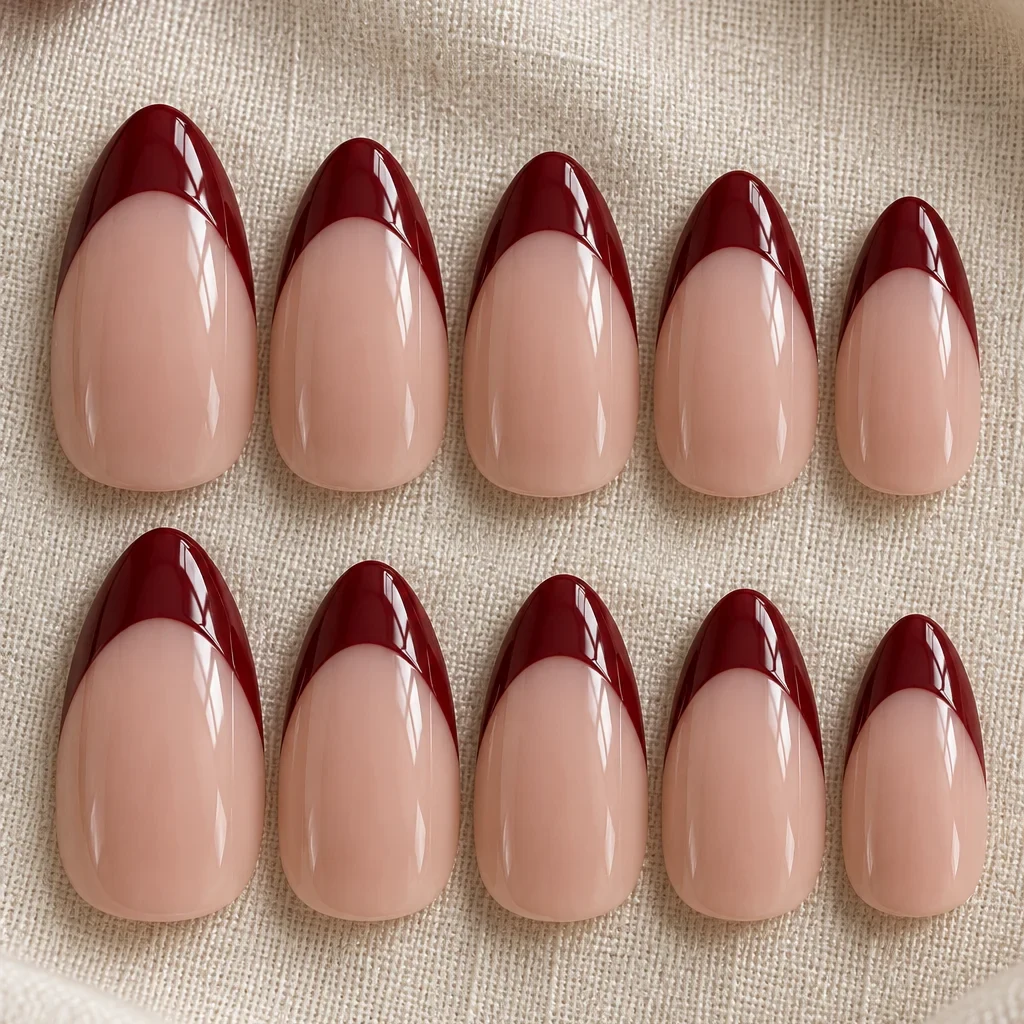
Dark Red French Tip Nails
What to check
A real product chosen to look like the picture. The picture is a styling reference, not this exact product.
-
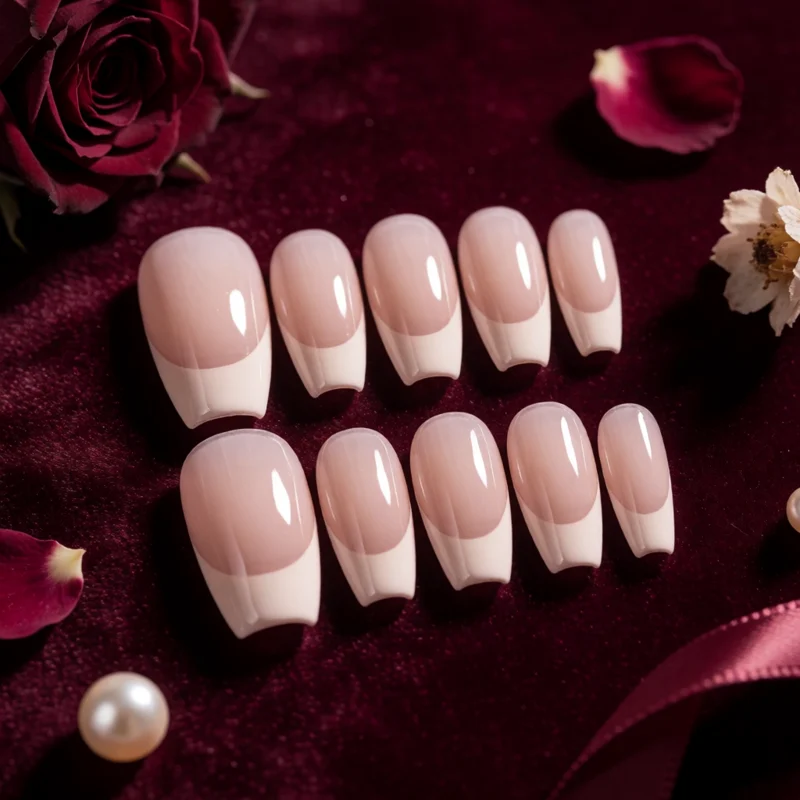
French coffin press-on nails
What to check
A real product chosen to look like the picture. The picture is a styling reference, not this exact product.
Show all 16 pieces
-
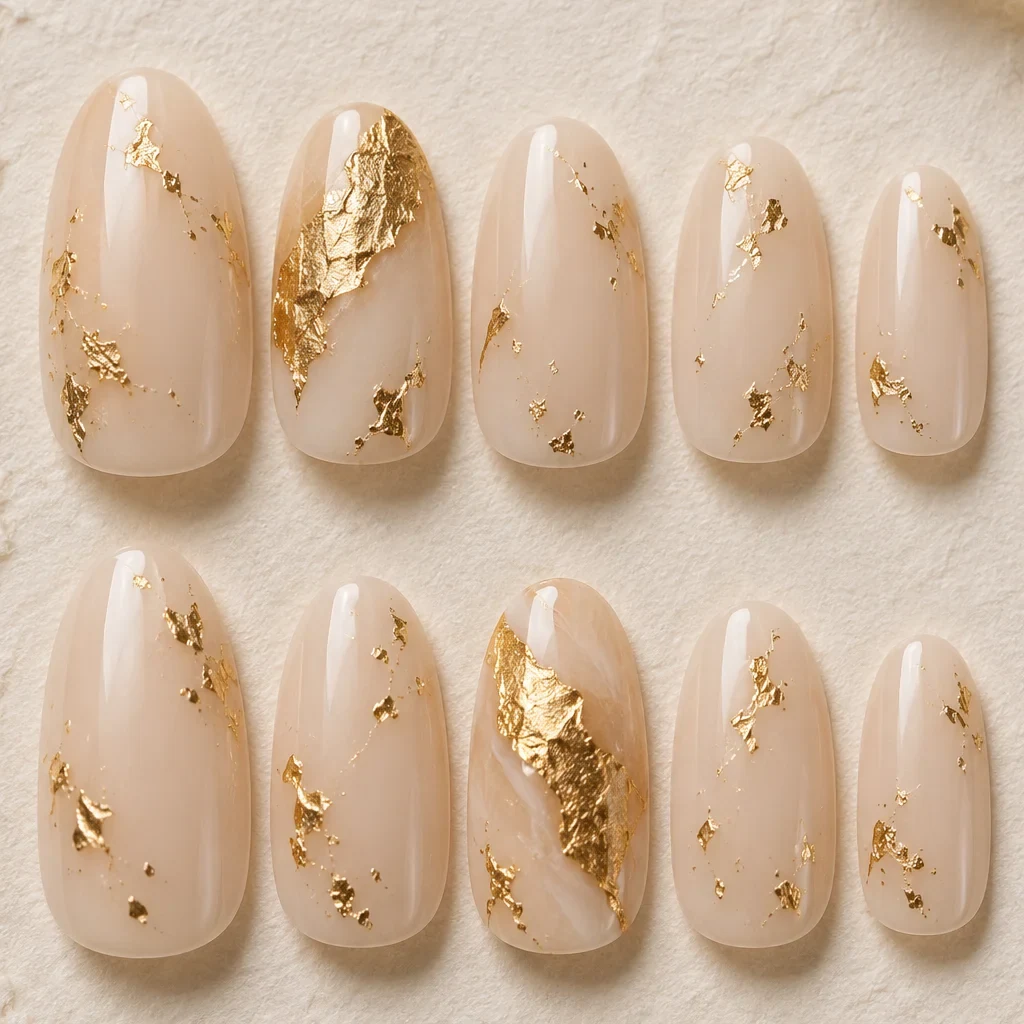
Gold Foil Nail Art
What to check
A real product chosen to look like the picture. The picture is a styling reference, not this exact product.
-
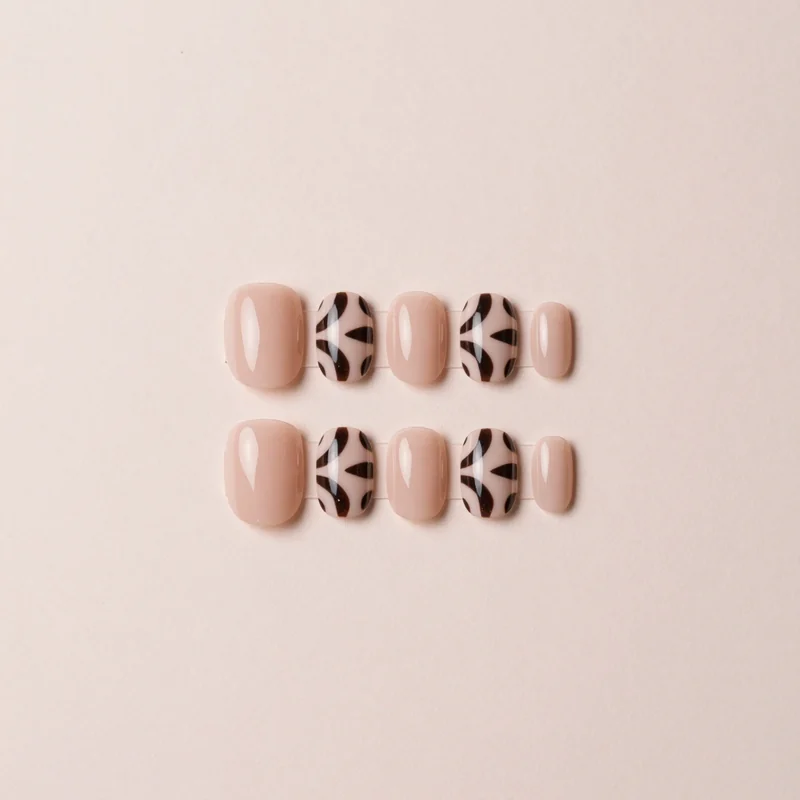
Graphic line-art press-on nails
What to check
A real product chosen to look like the picture. The picture is a styling reference, not this exact product.
-
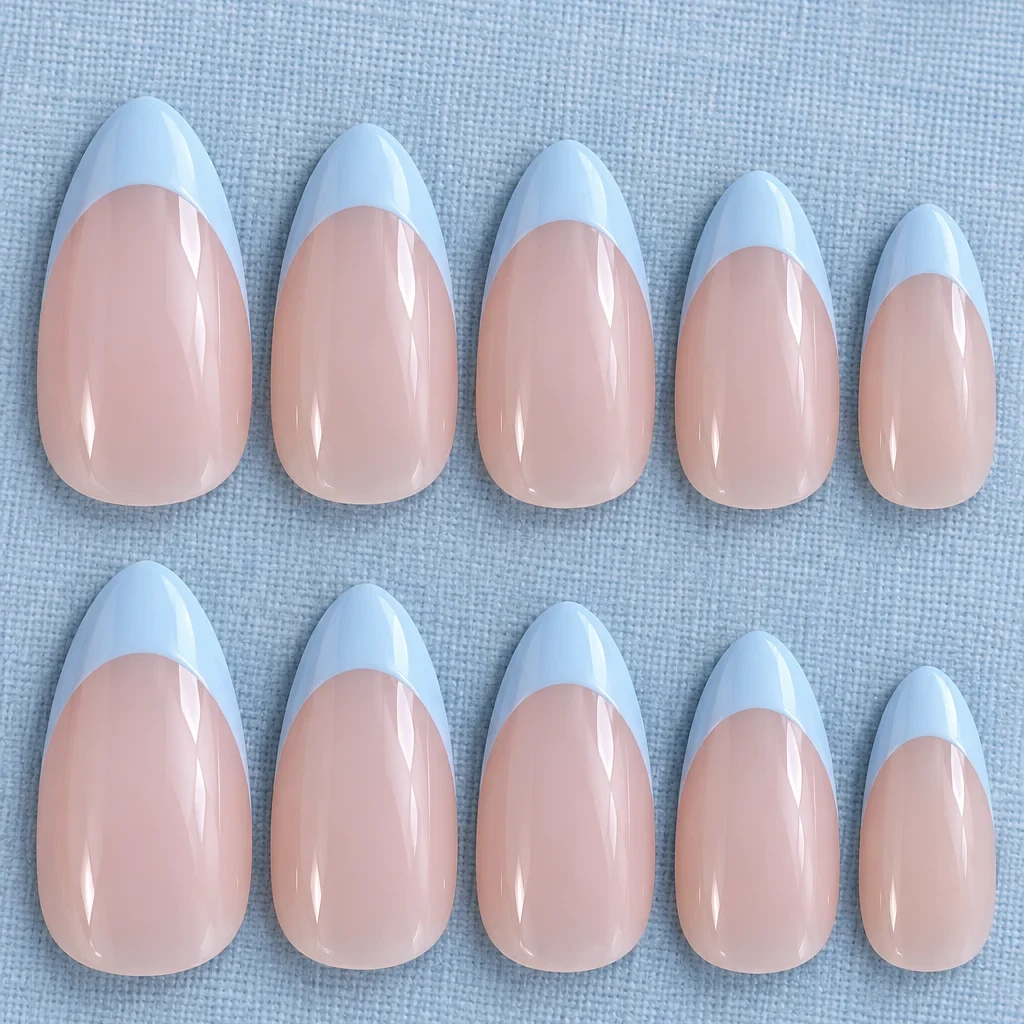
Light Blue French Tip Nails
What to check
A real product chosen to look like the picture. The picture is a styling reference, not this exact product.
-
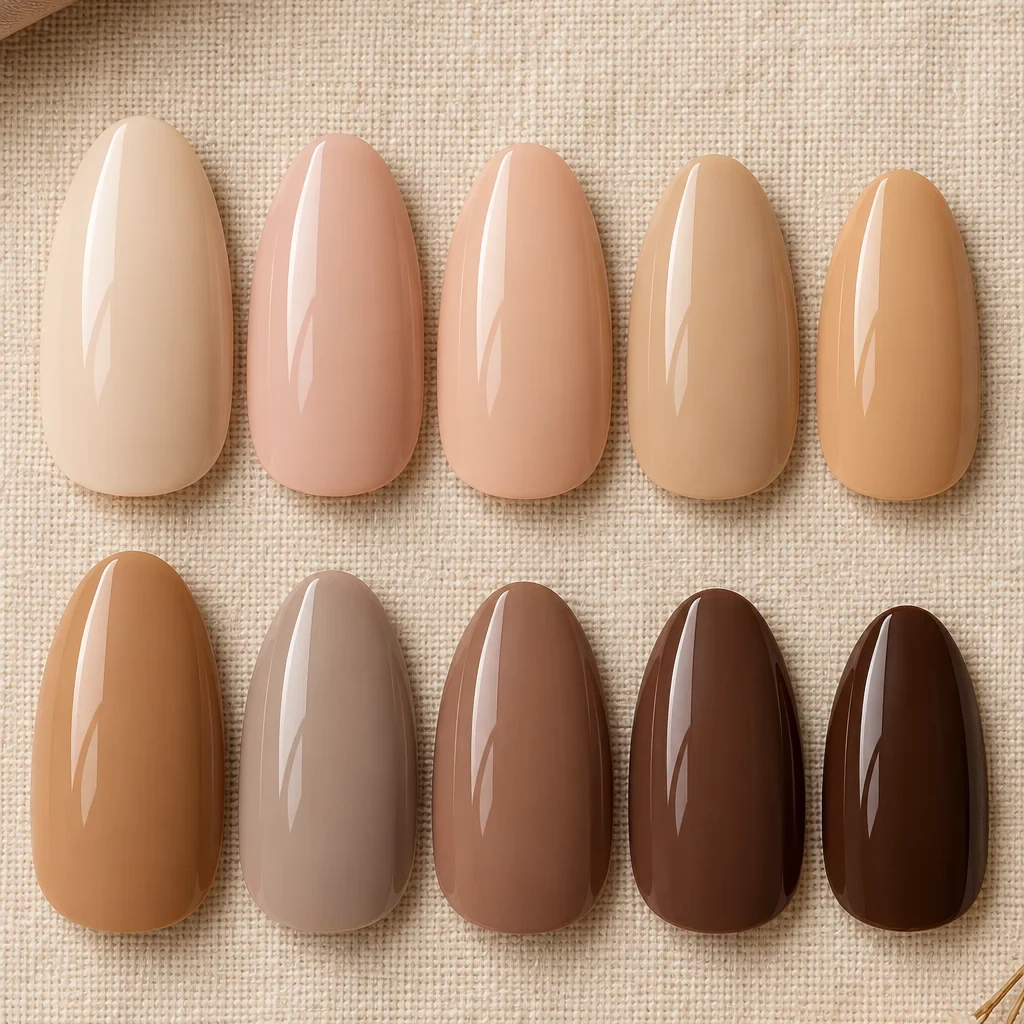
Nude Nail Polish Colors
What to check
A real product chosen to look like the picture. The picture is a styling reference, not this exact product.
-
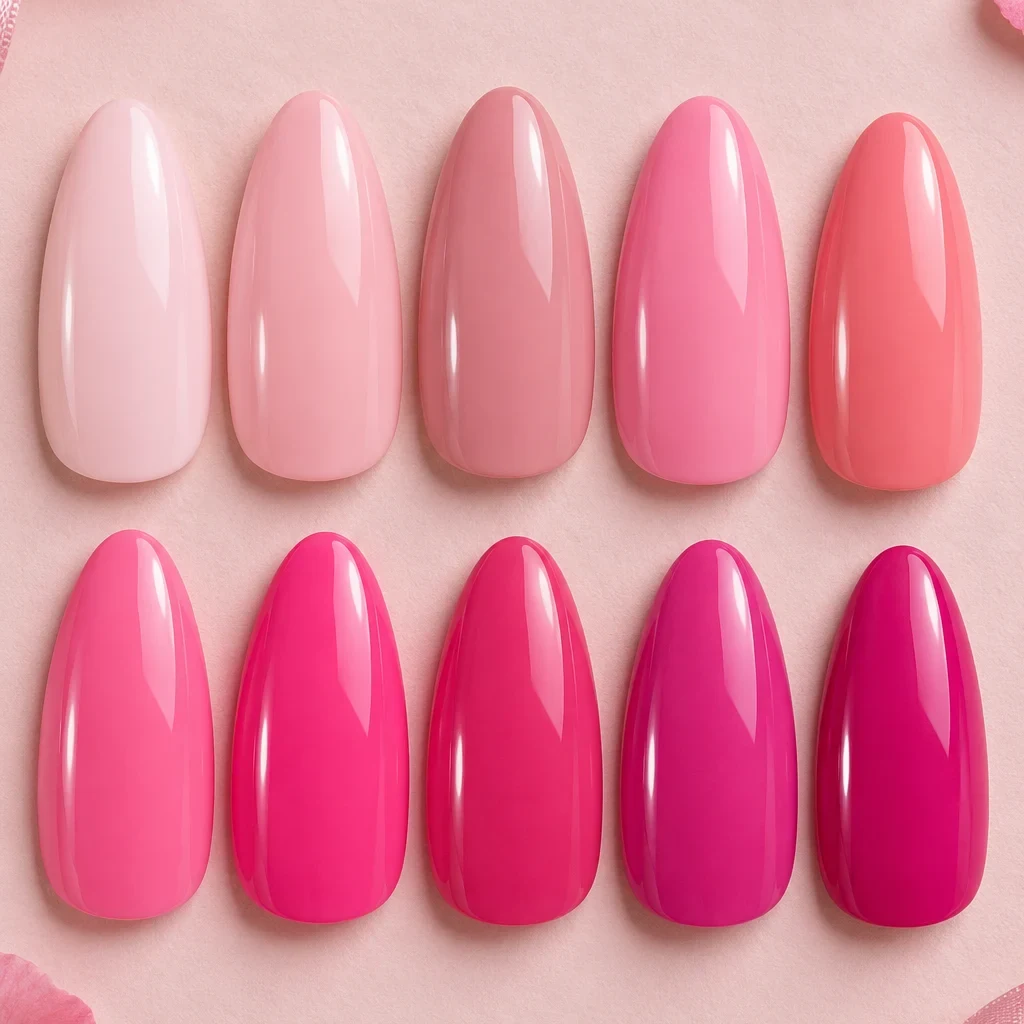
Pink Nail Polish Colors
What to check
A real product chosen to look like the picture. The picture is a styling reference, not this exact product.
-
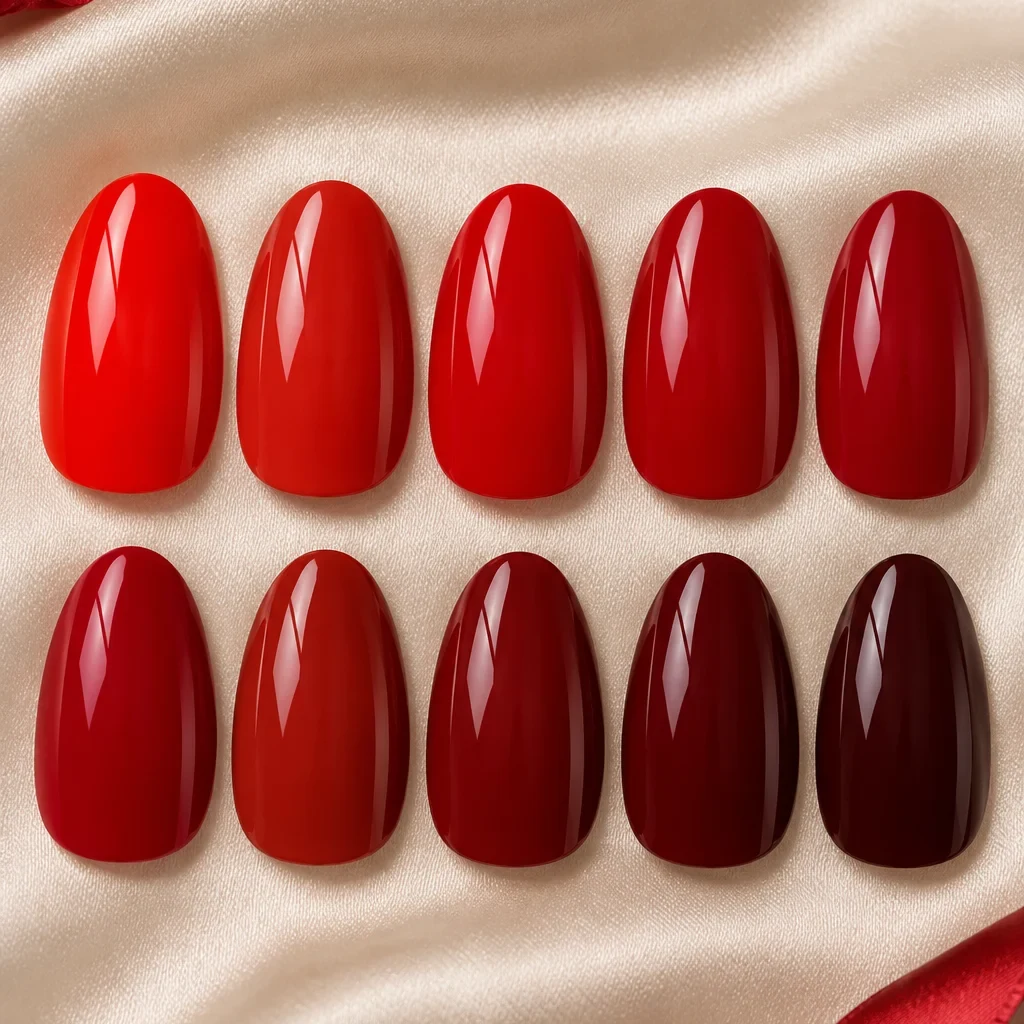
Red Nail Polish Colors
What to check
A real product chosen to look like the picture. The picture is a styling reference, not this exact product.
-
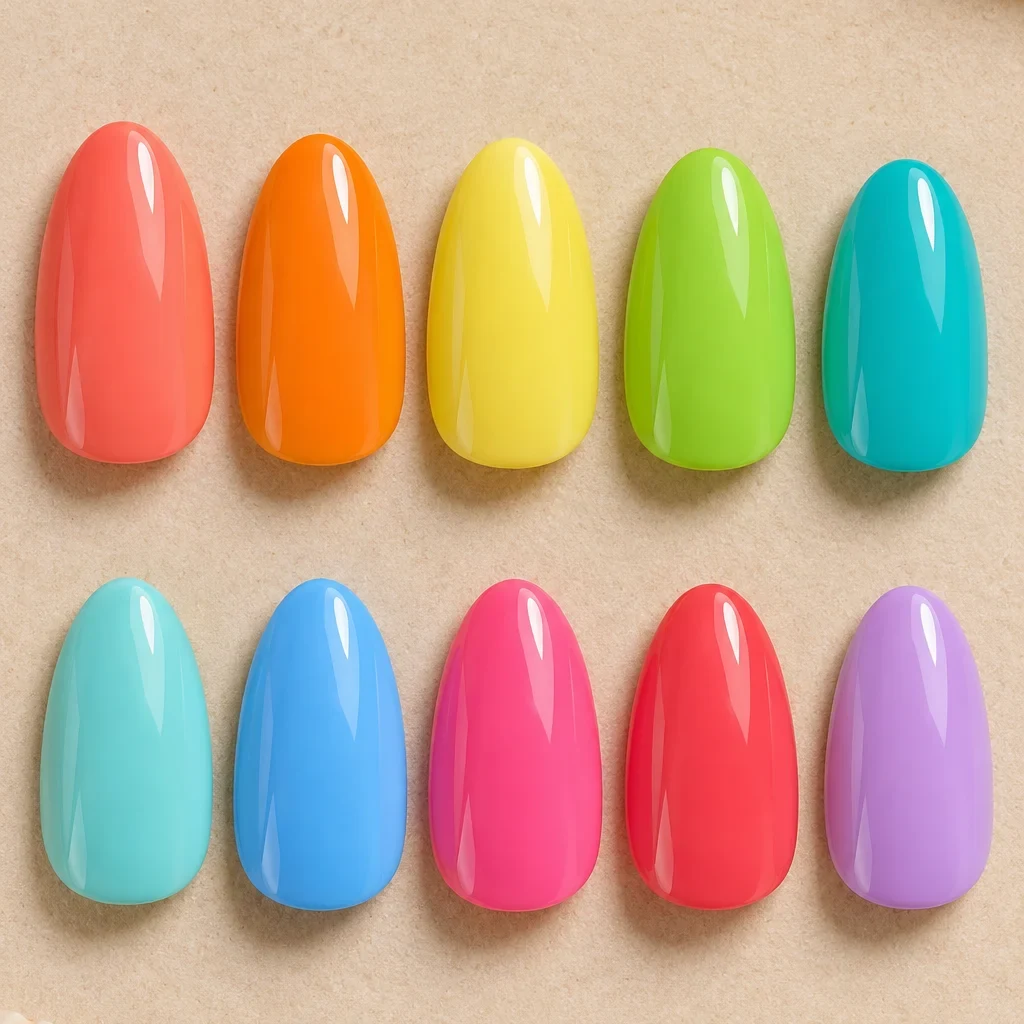
Summer Nail Polish Colors
What to check
A real product chosen to look like the picture. The picture is a styling reference, not this exact product.
-
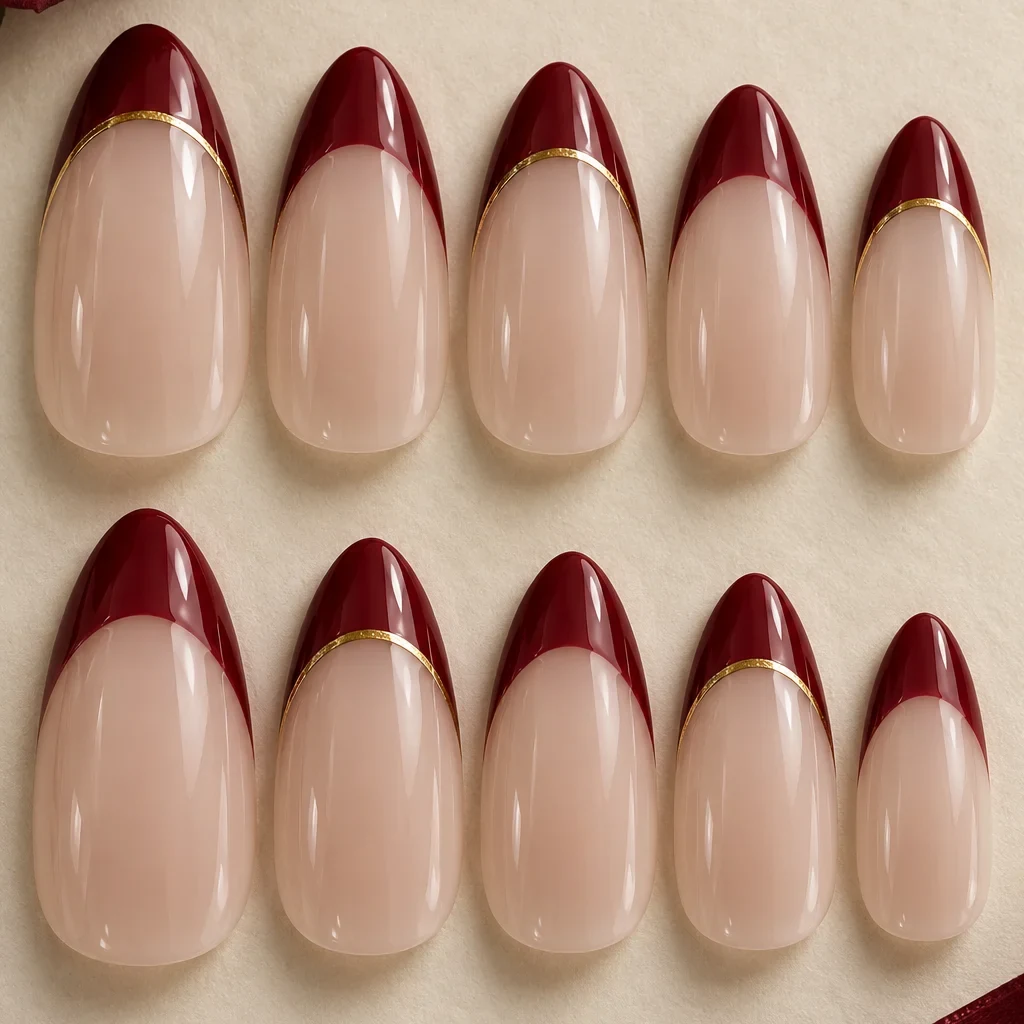
Wine Red French Tip Nails
What to check
A real product chosen to look like the picture. The picture is a styling reference, not this exact product.
The gallery
26 press-on sets looks
Open a look to see its pieces.
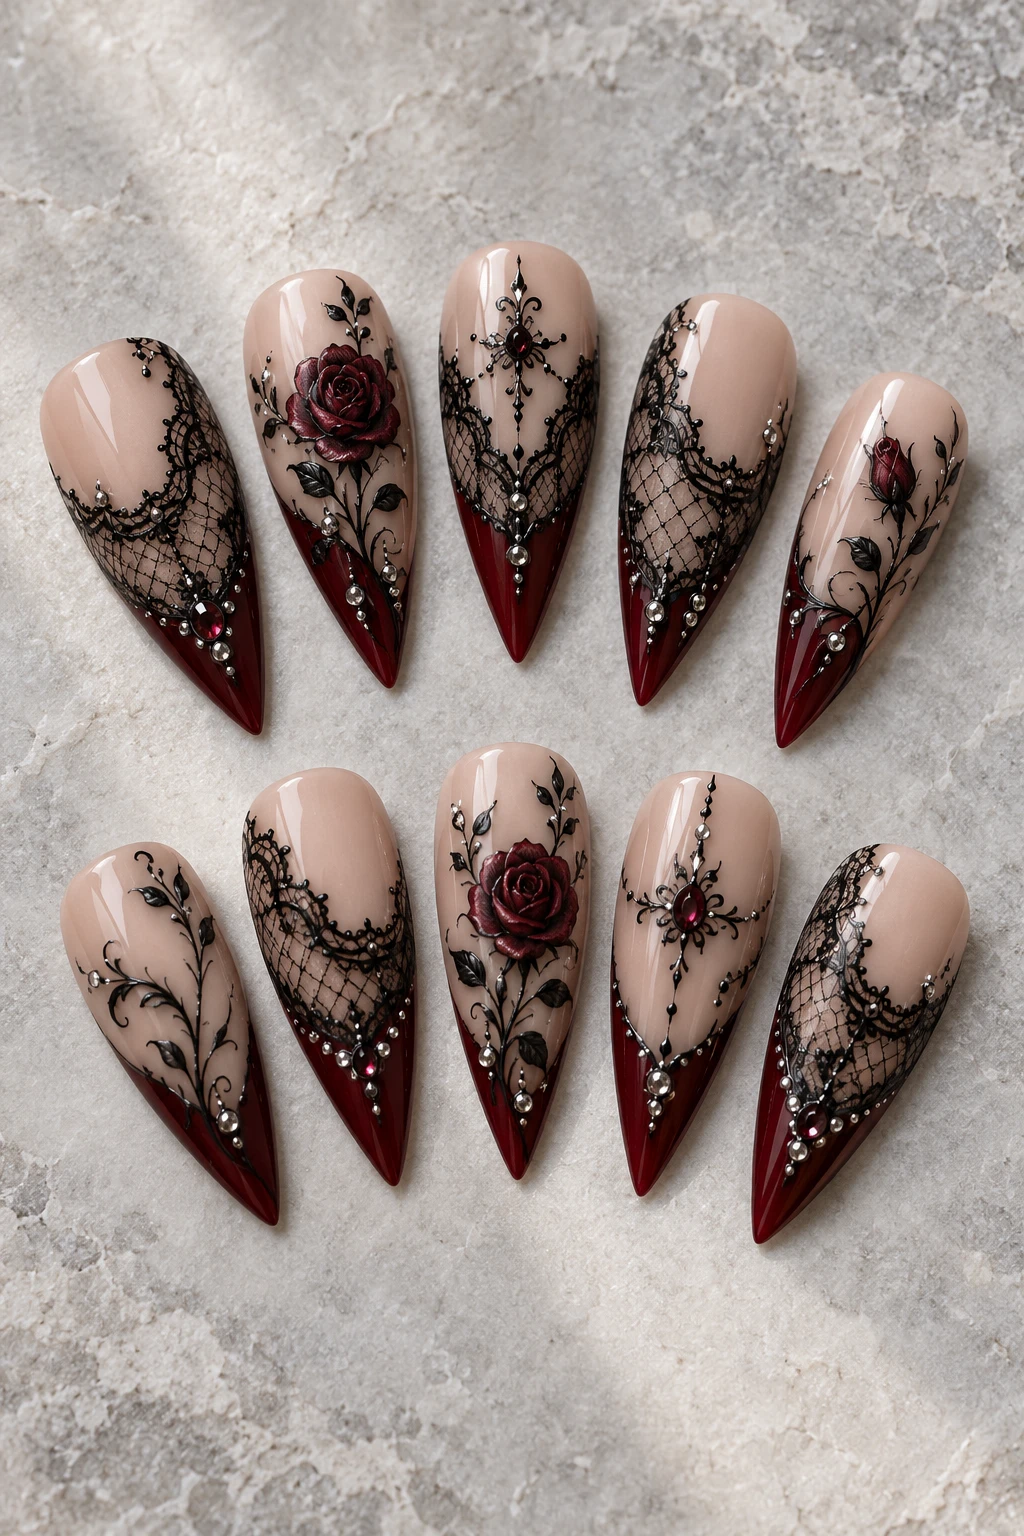 Black lace & garnet
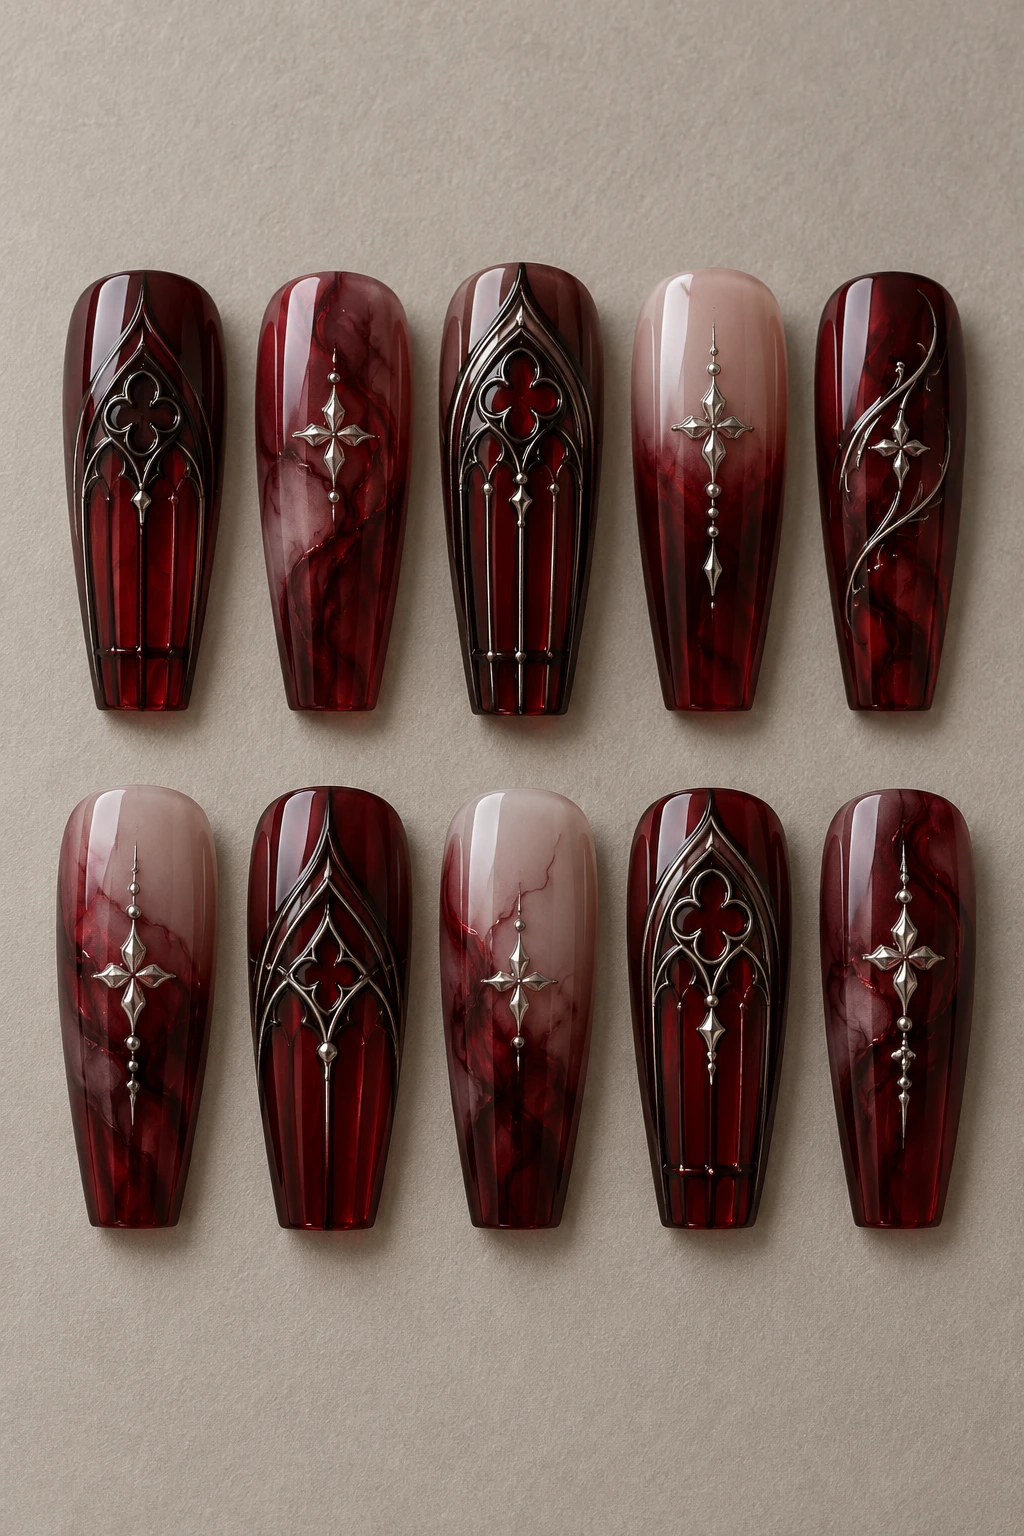 Ruby cathedral windows
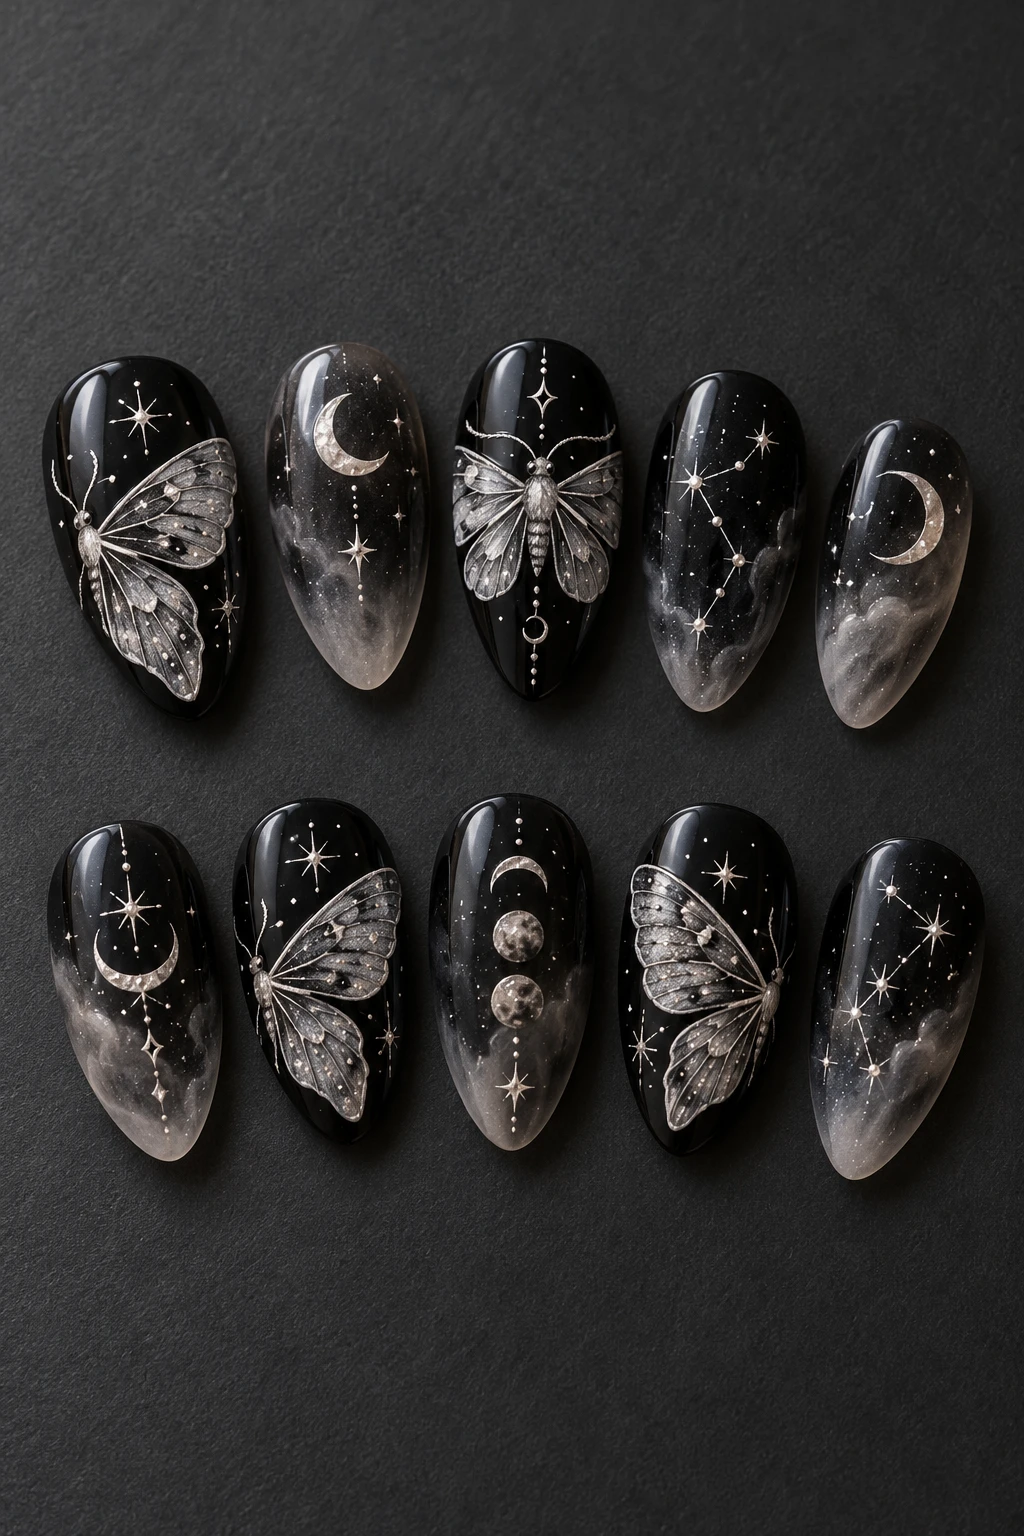 Midnight moth & moon
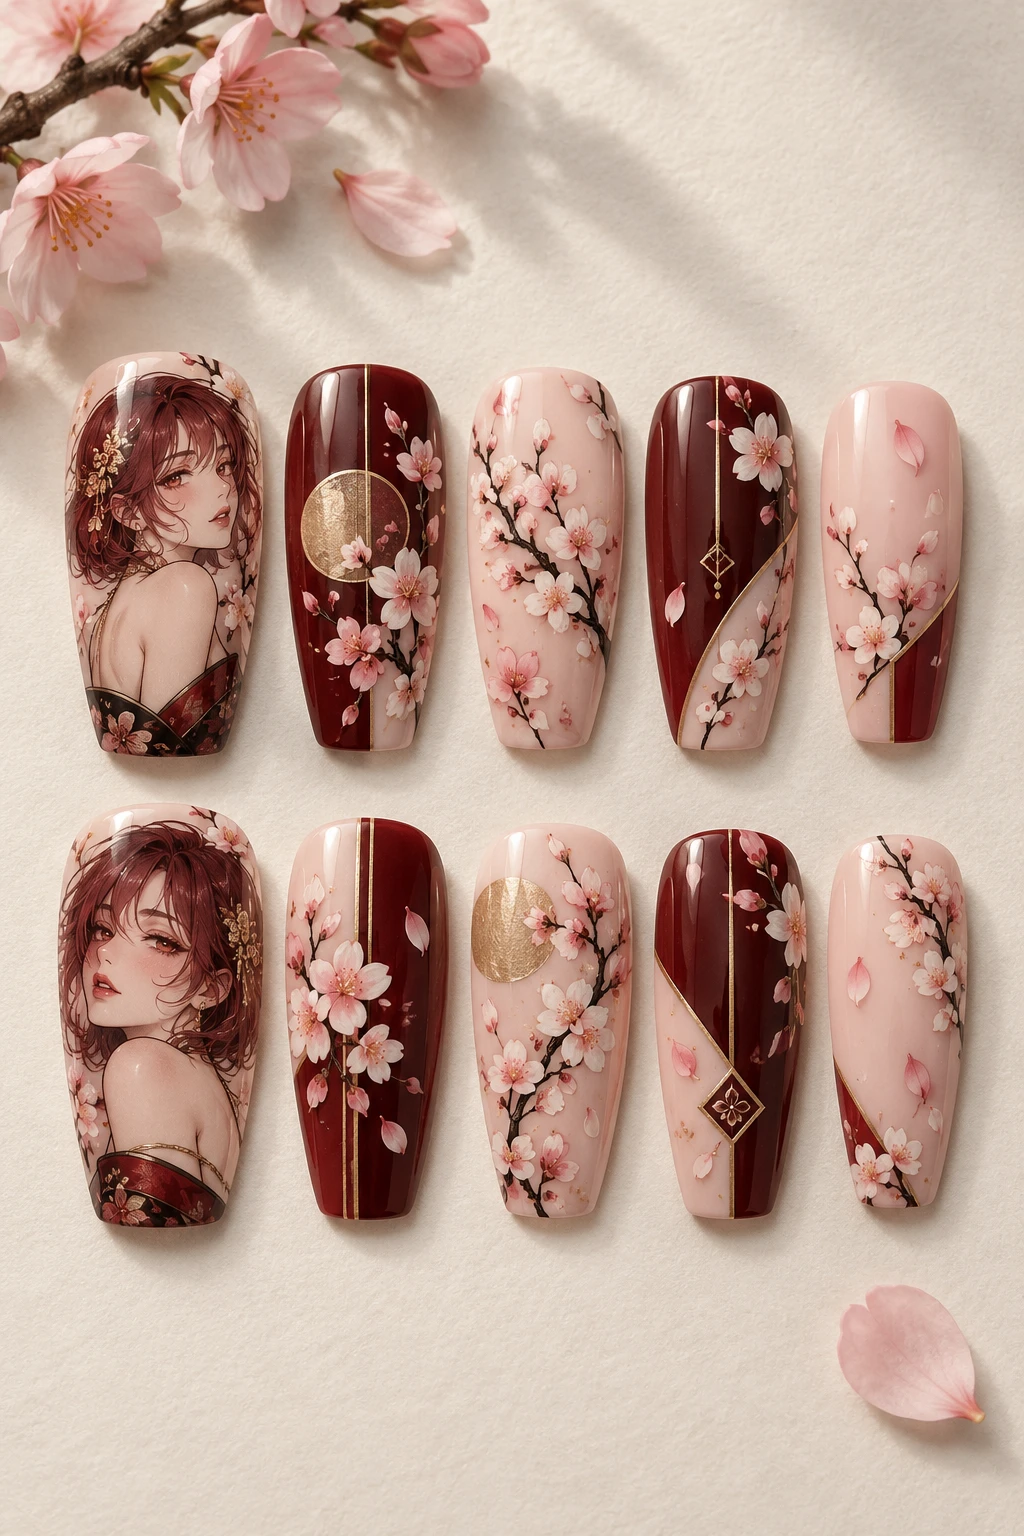 Sakura story panels
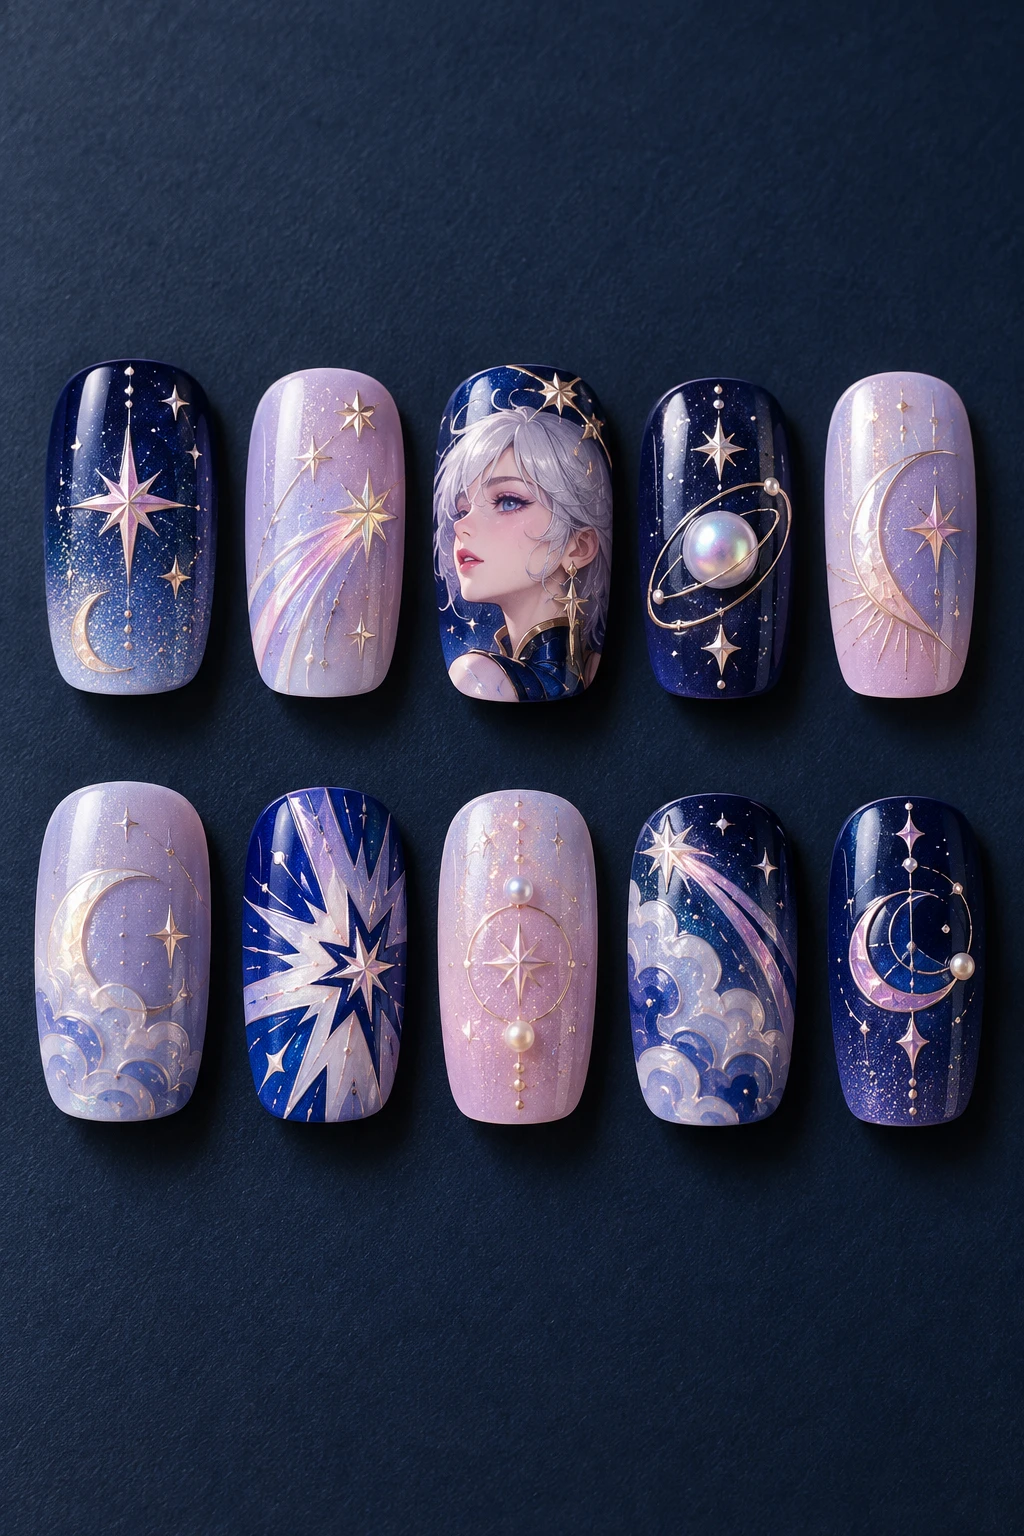 Cosmic transformation
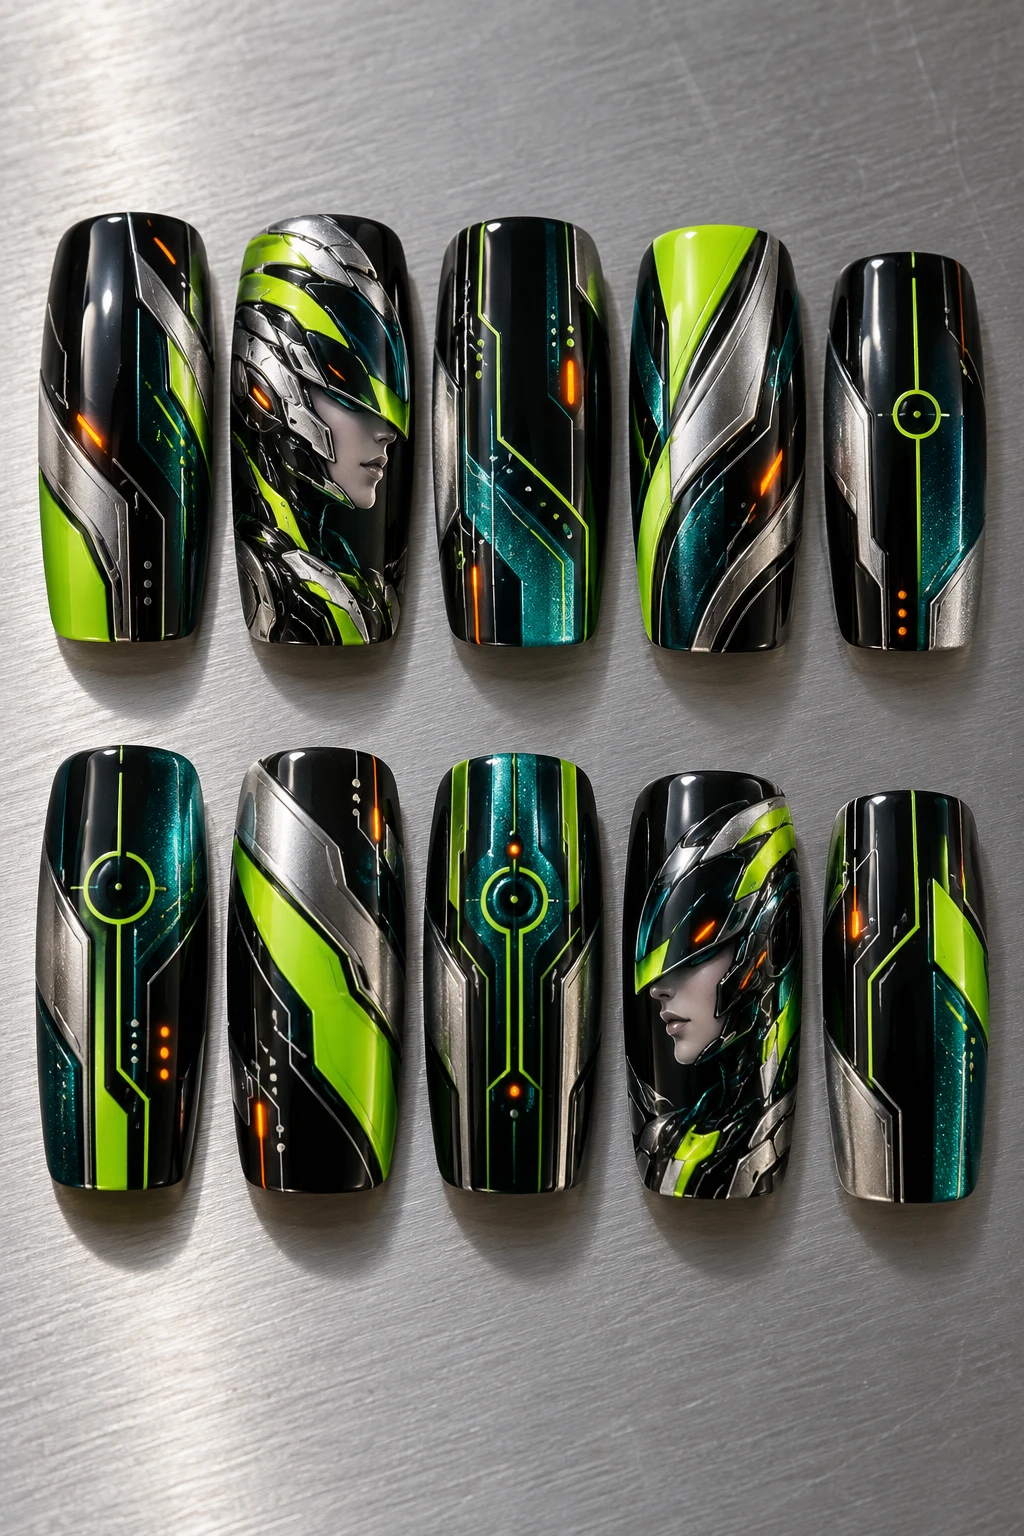 Neon arcade mecha
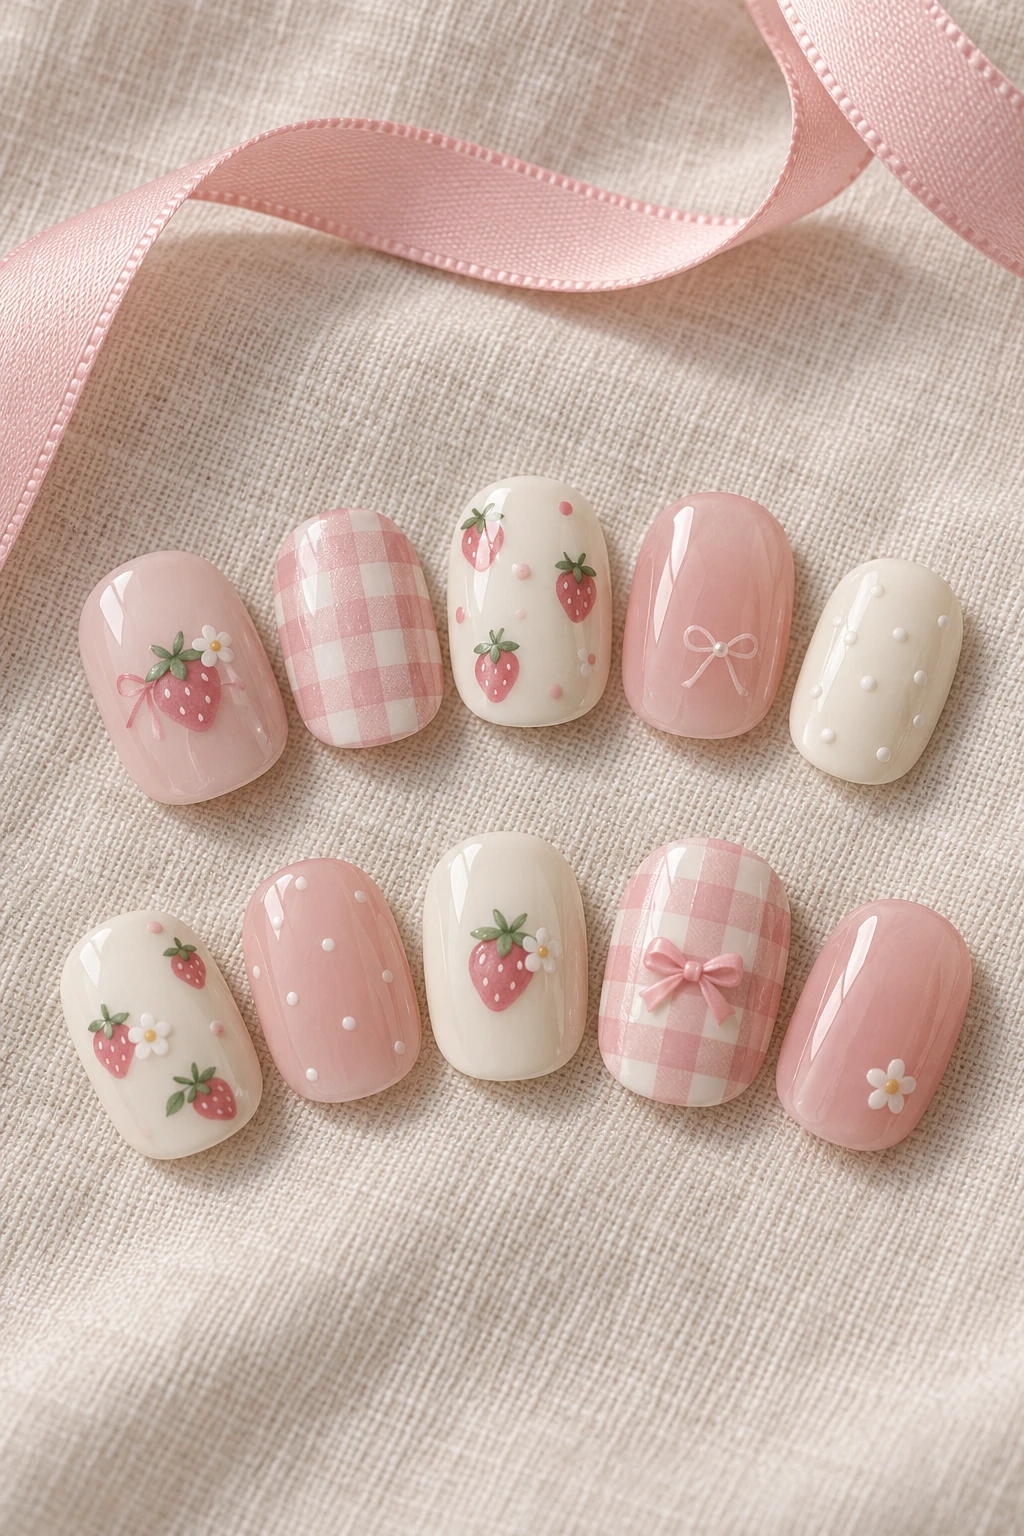 Strawberry milk picnic
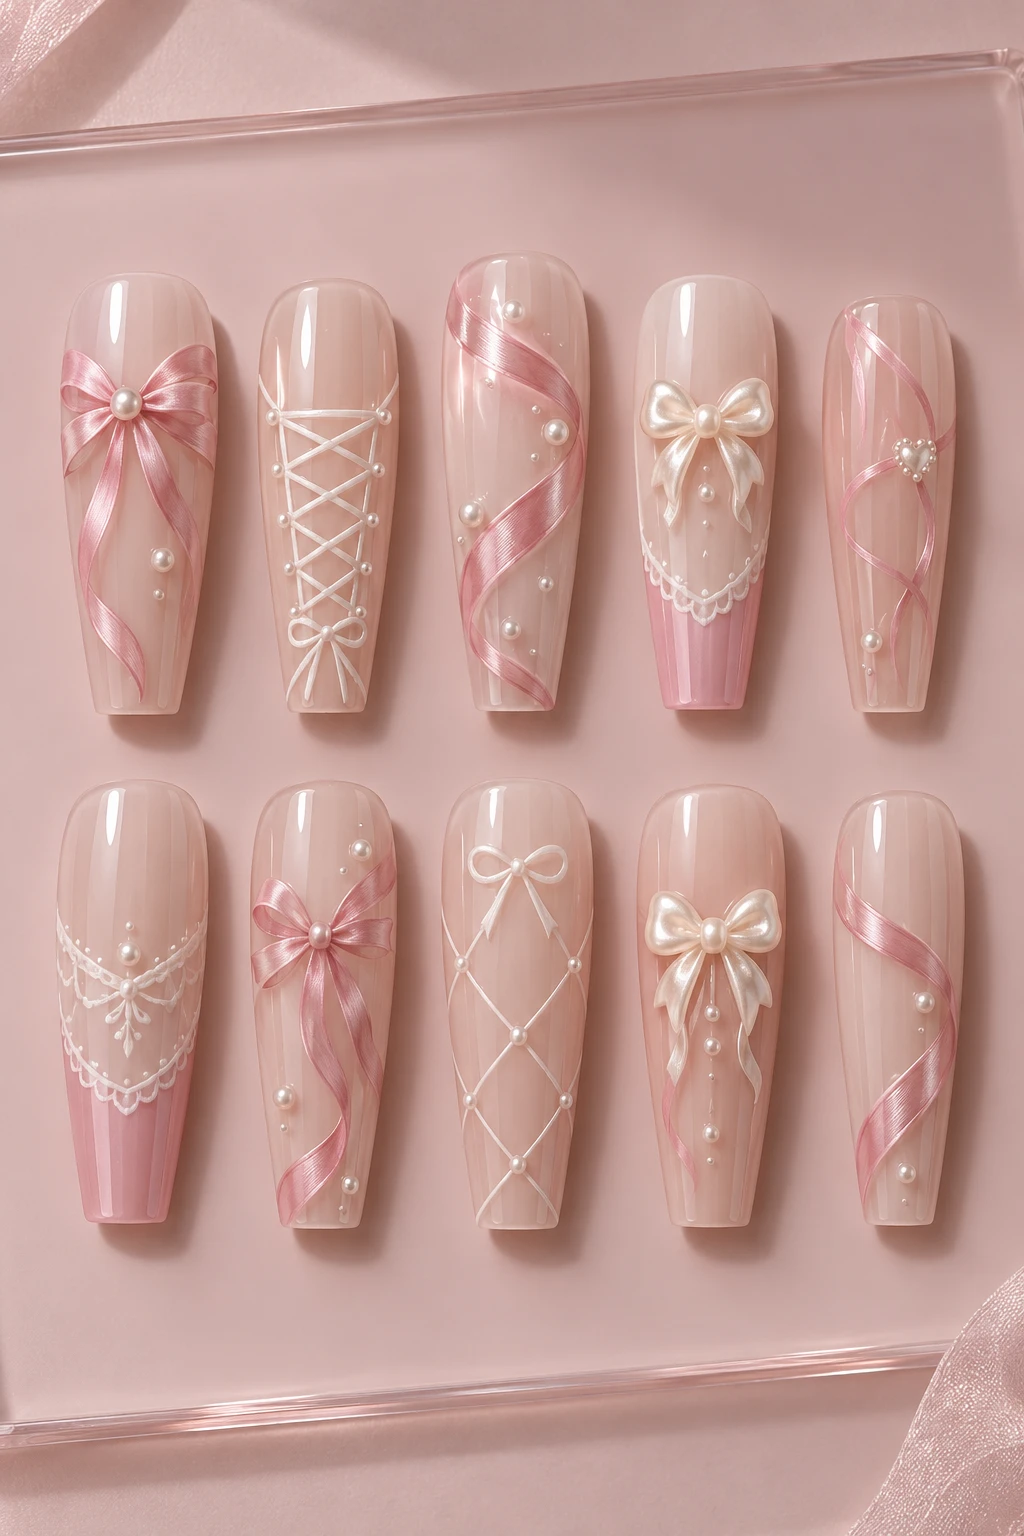 Ballet ribbon blush
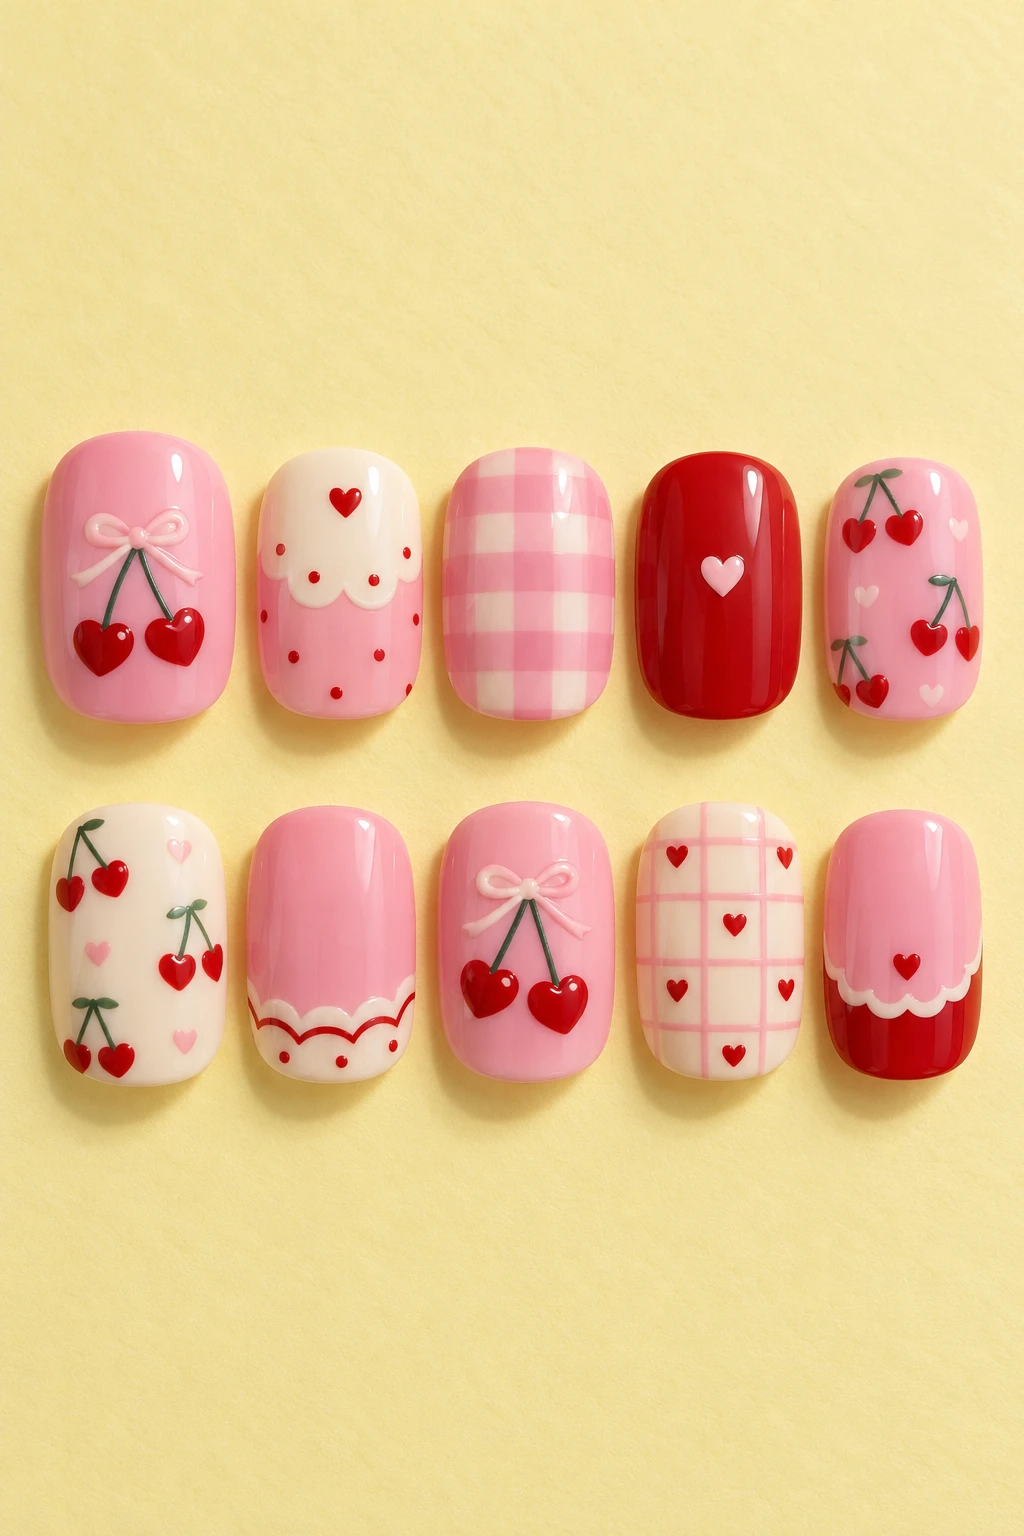 Cherry heart sweetheart
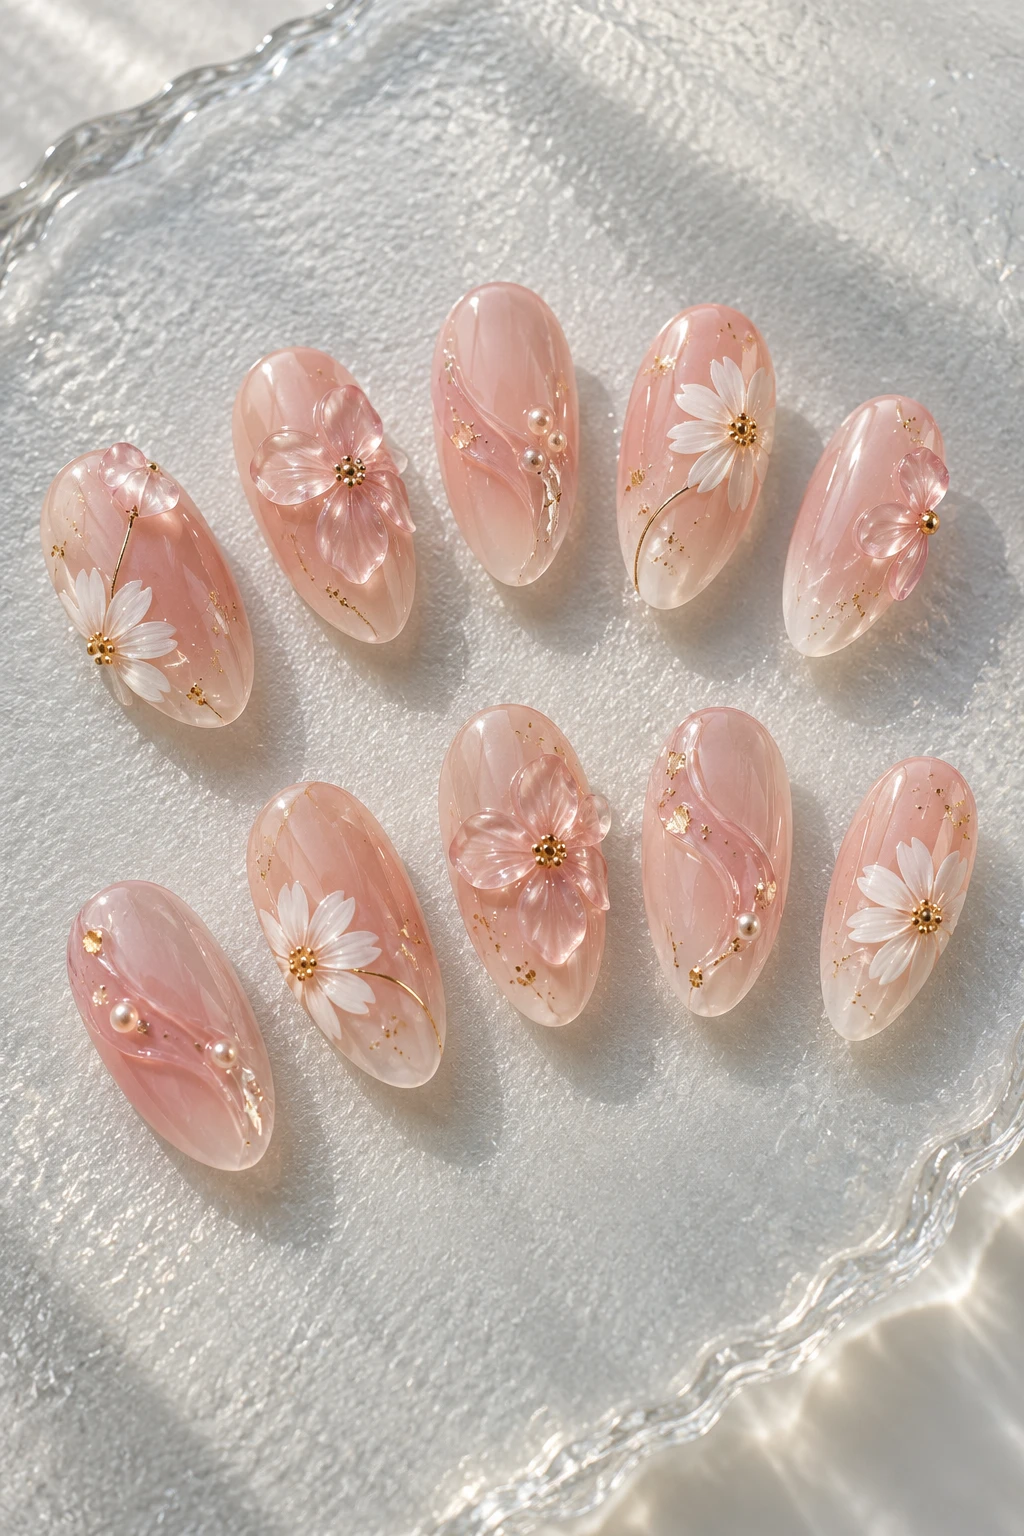 Pink jelly flower garden
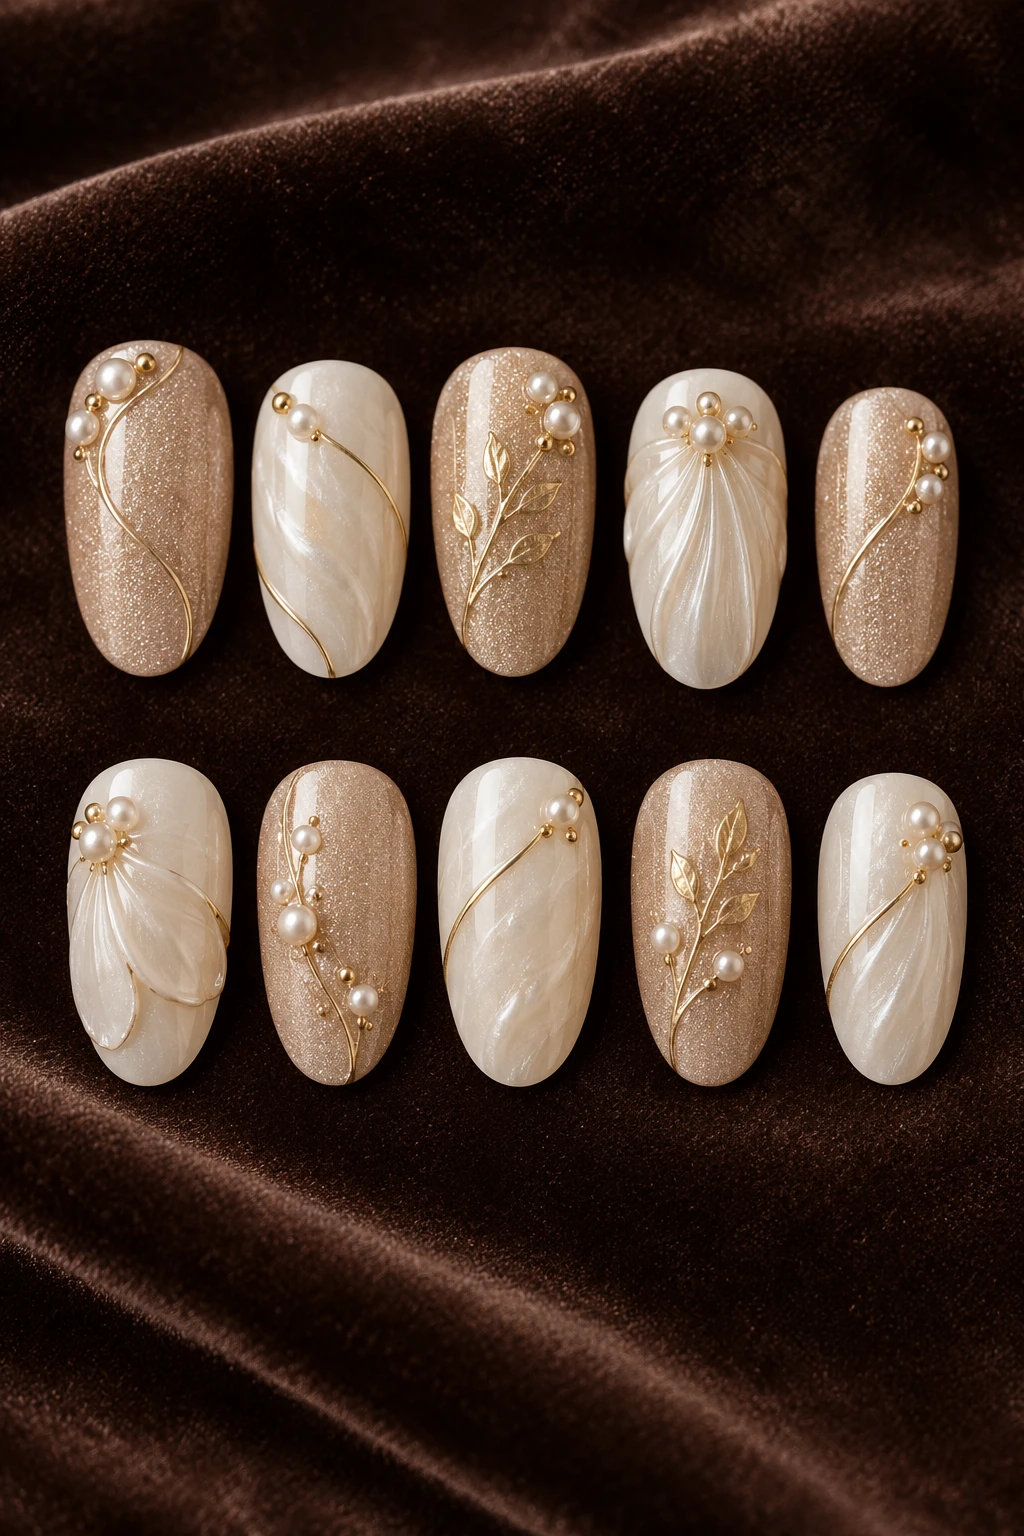 Champagne pearl filigree
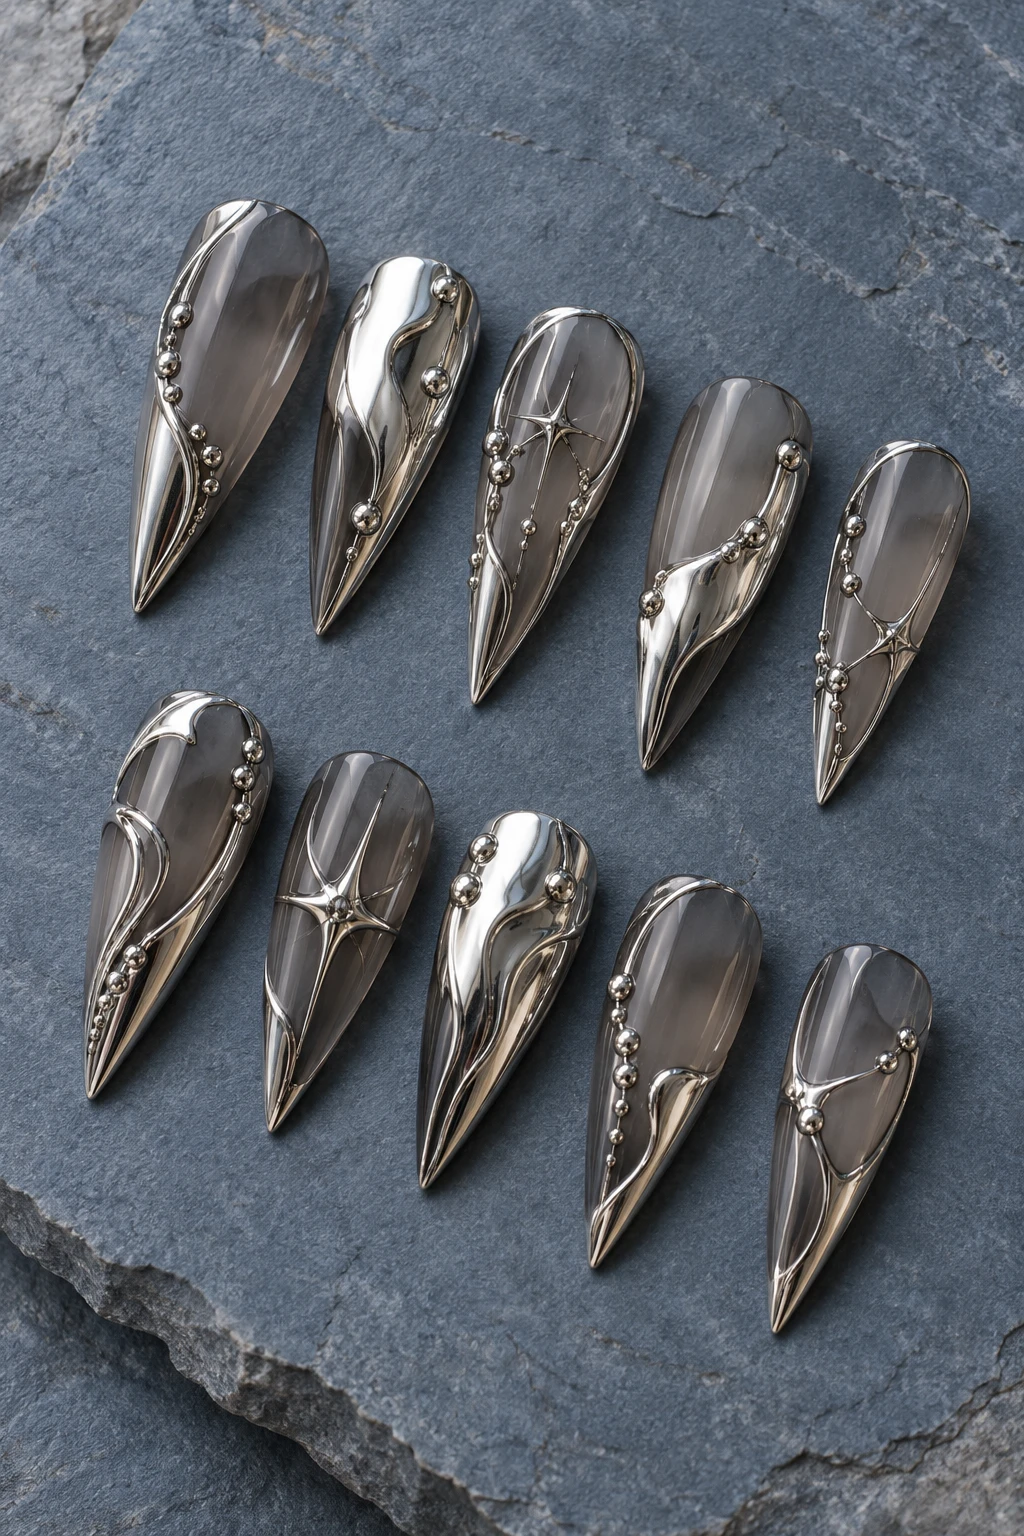 Liquid silver armor
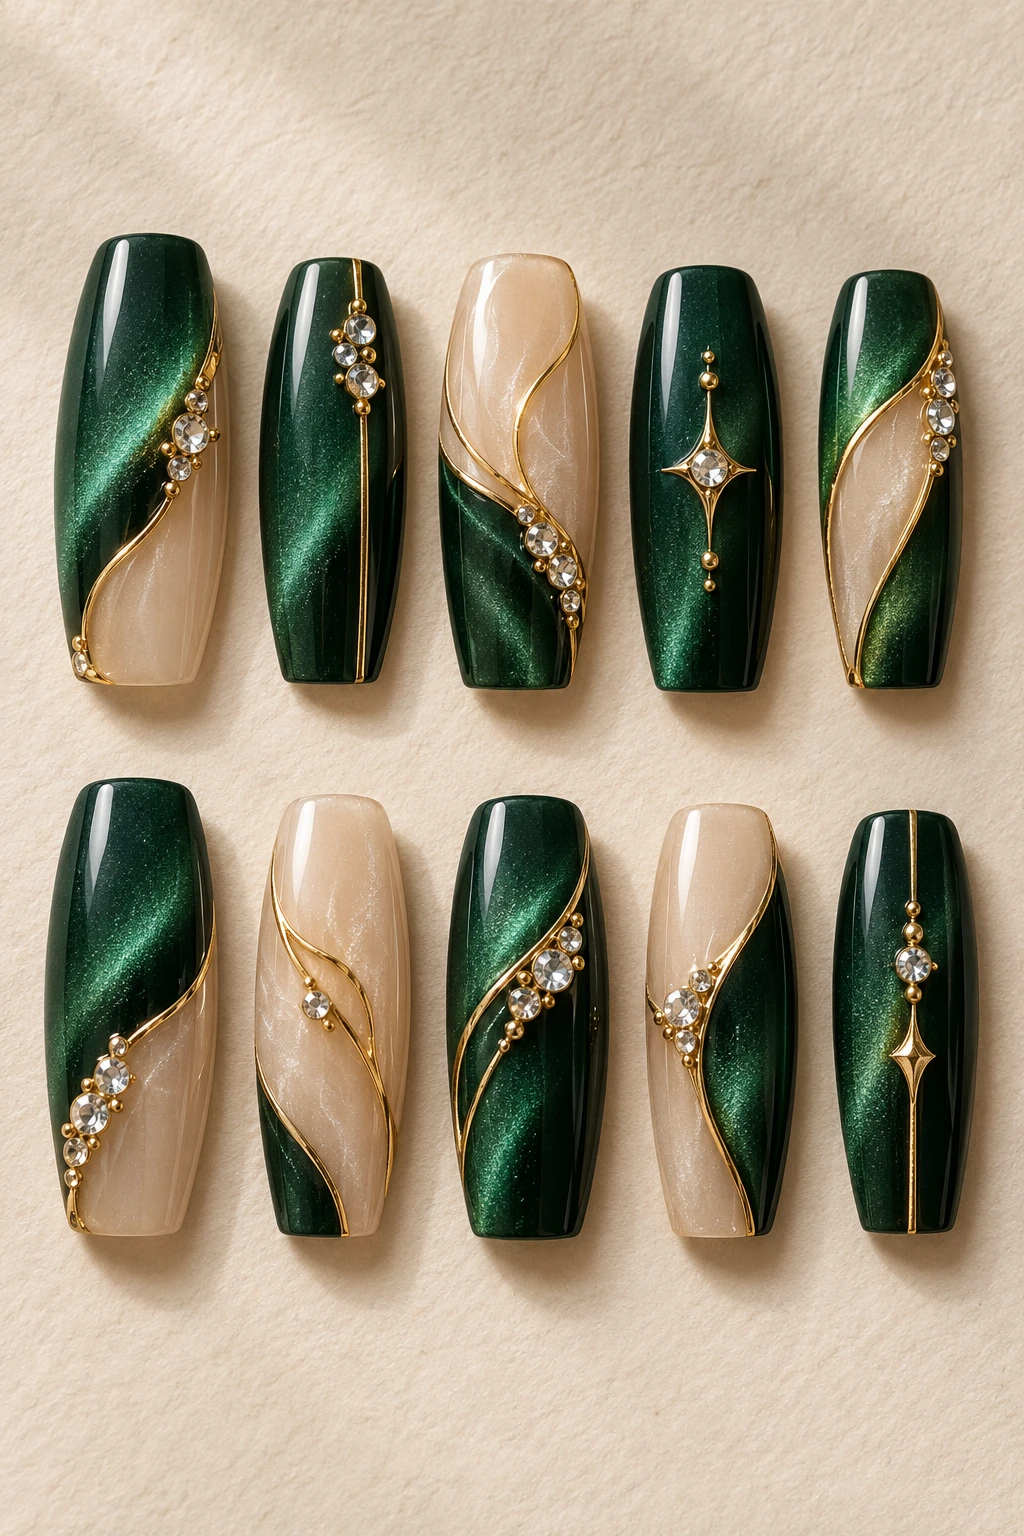 Emerald evening jewels
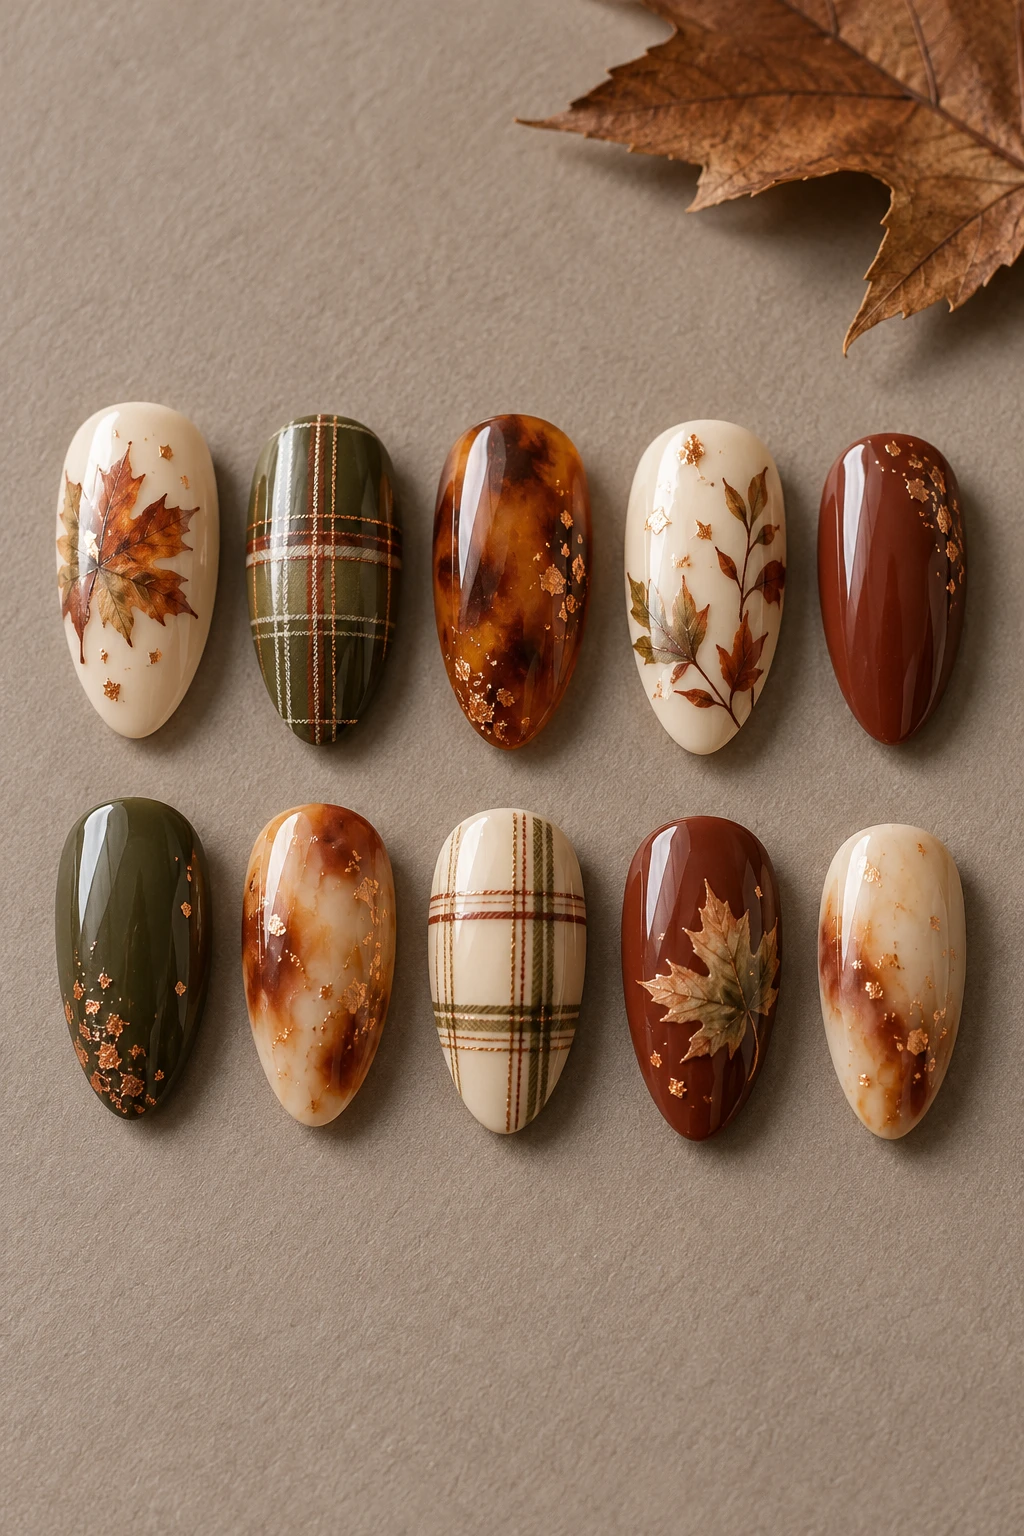 Autumn tartan & maple
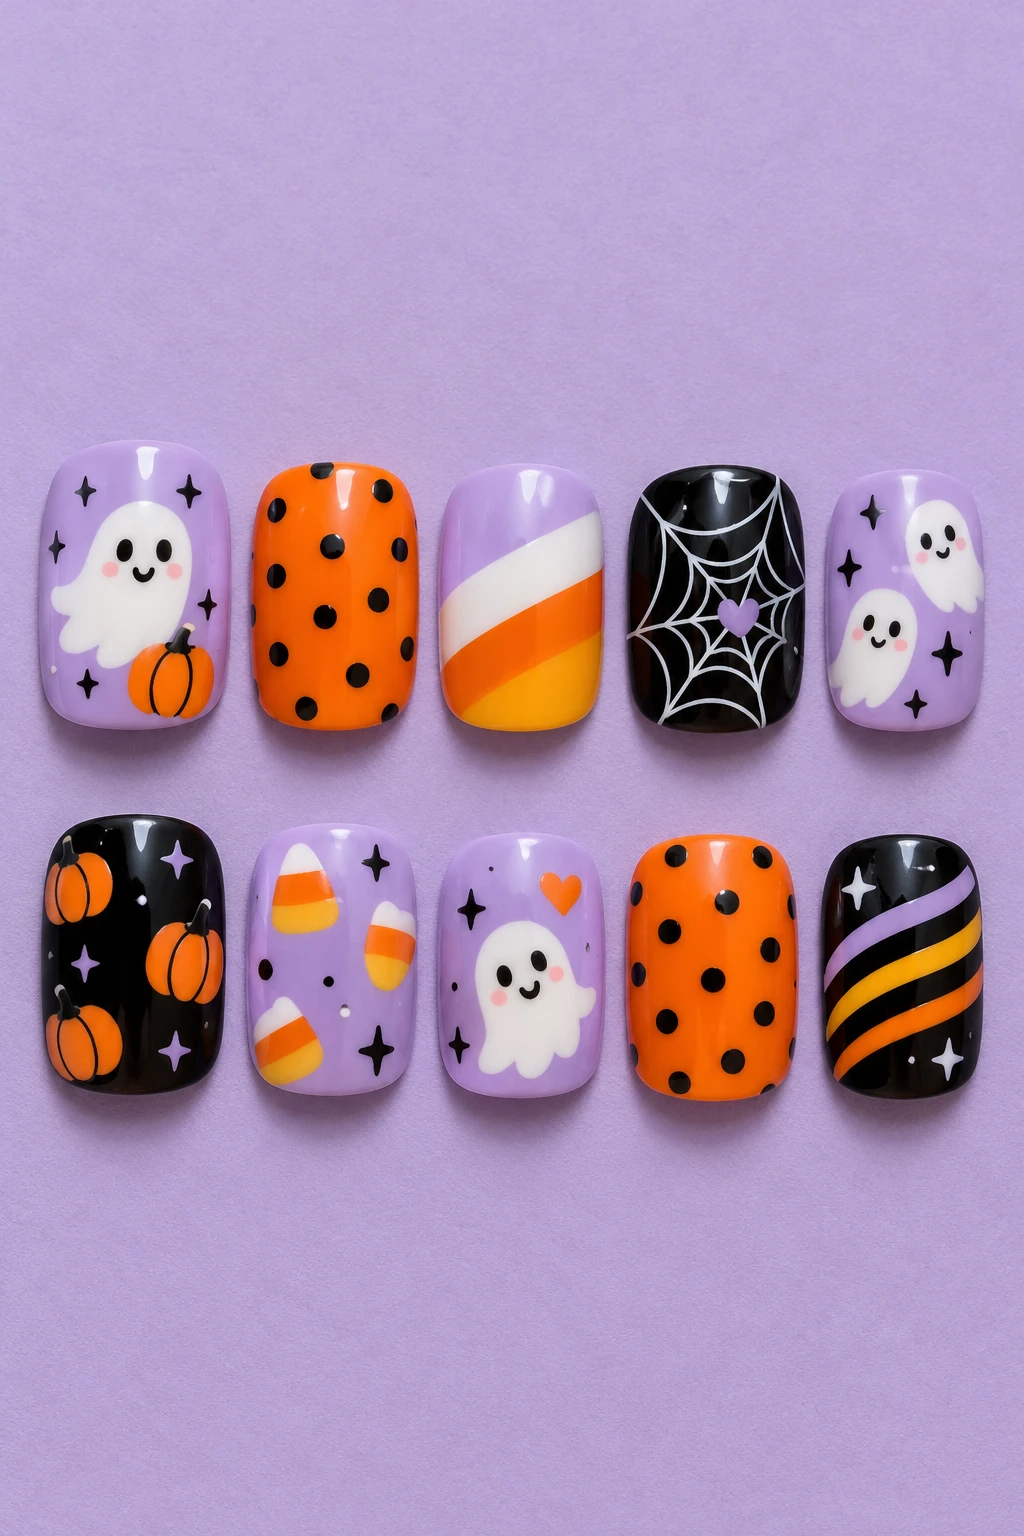 Playful haunted candy
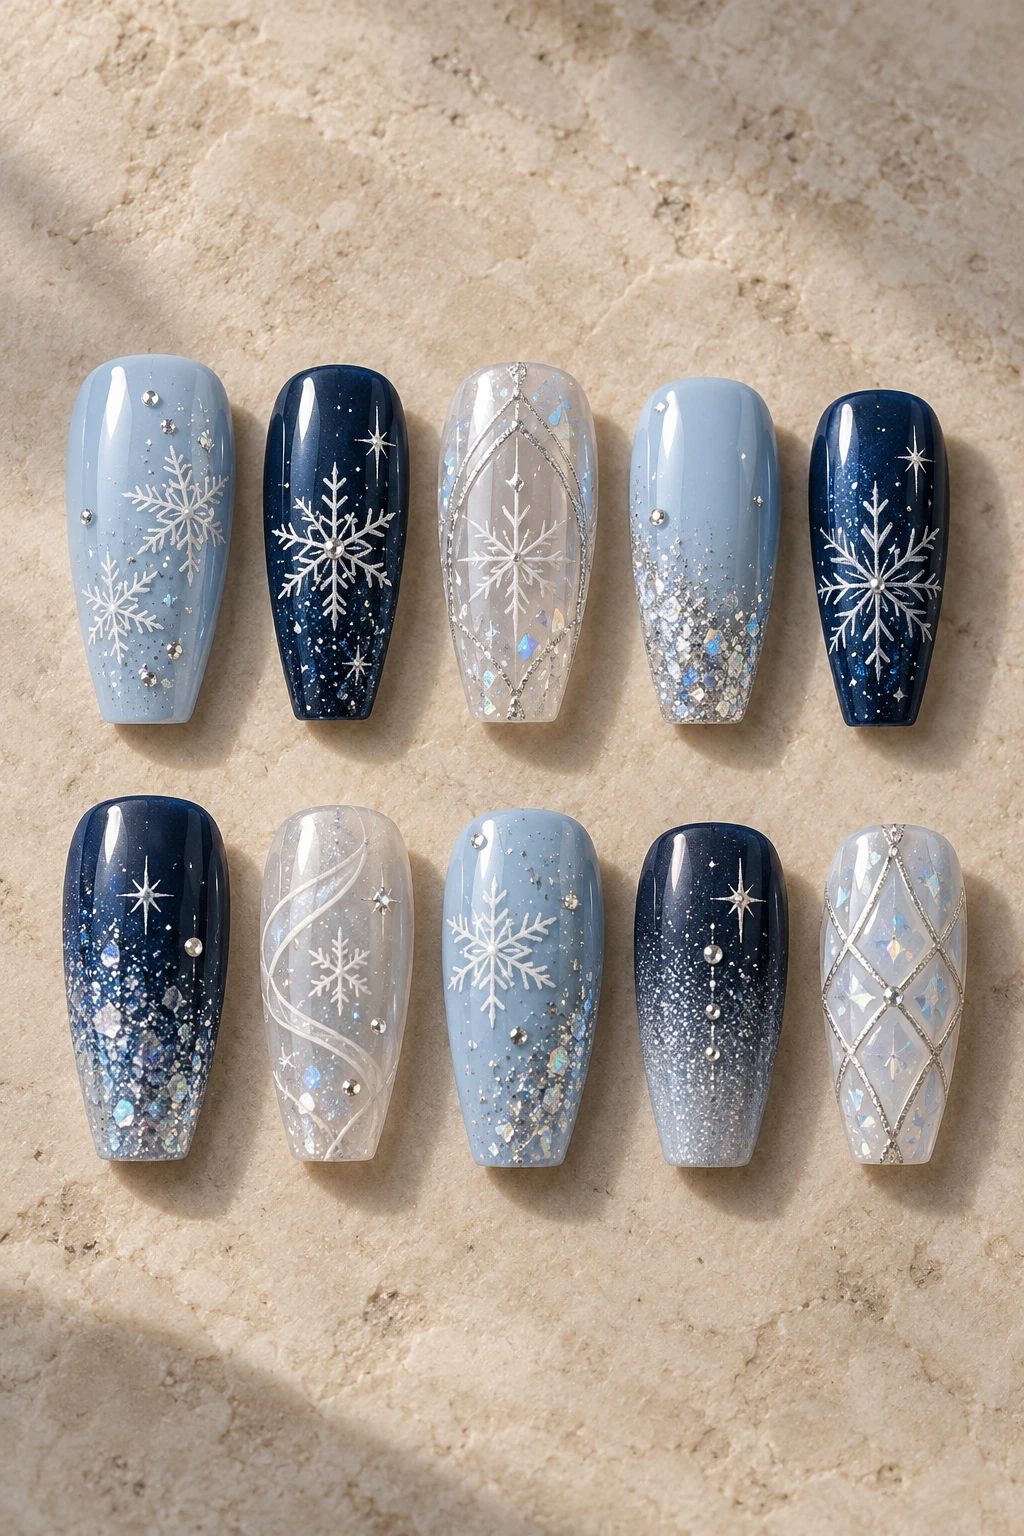 Midwinter blue frost
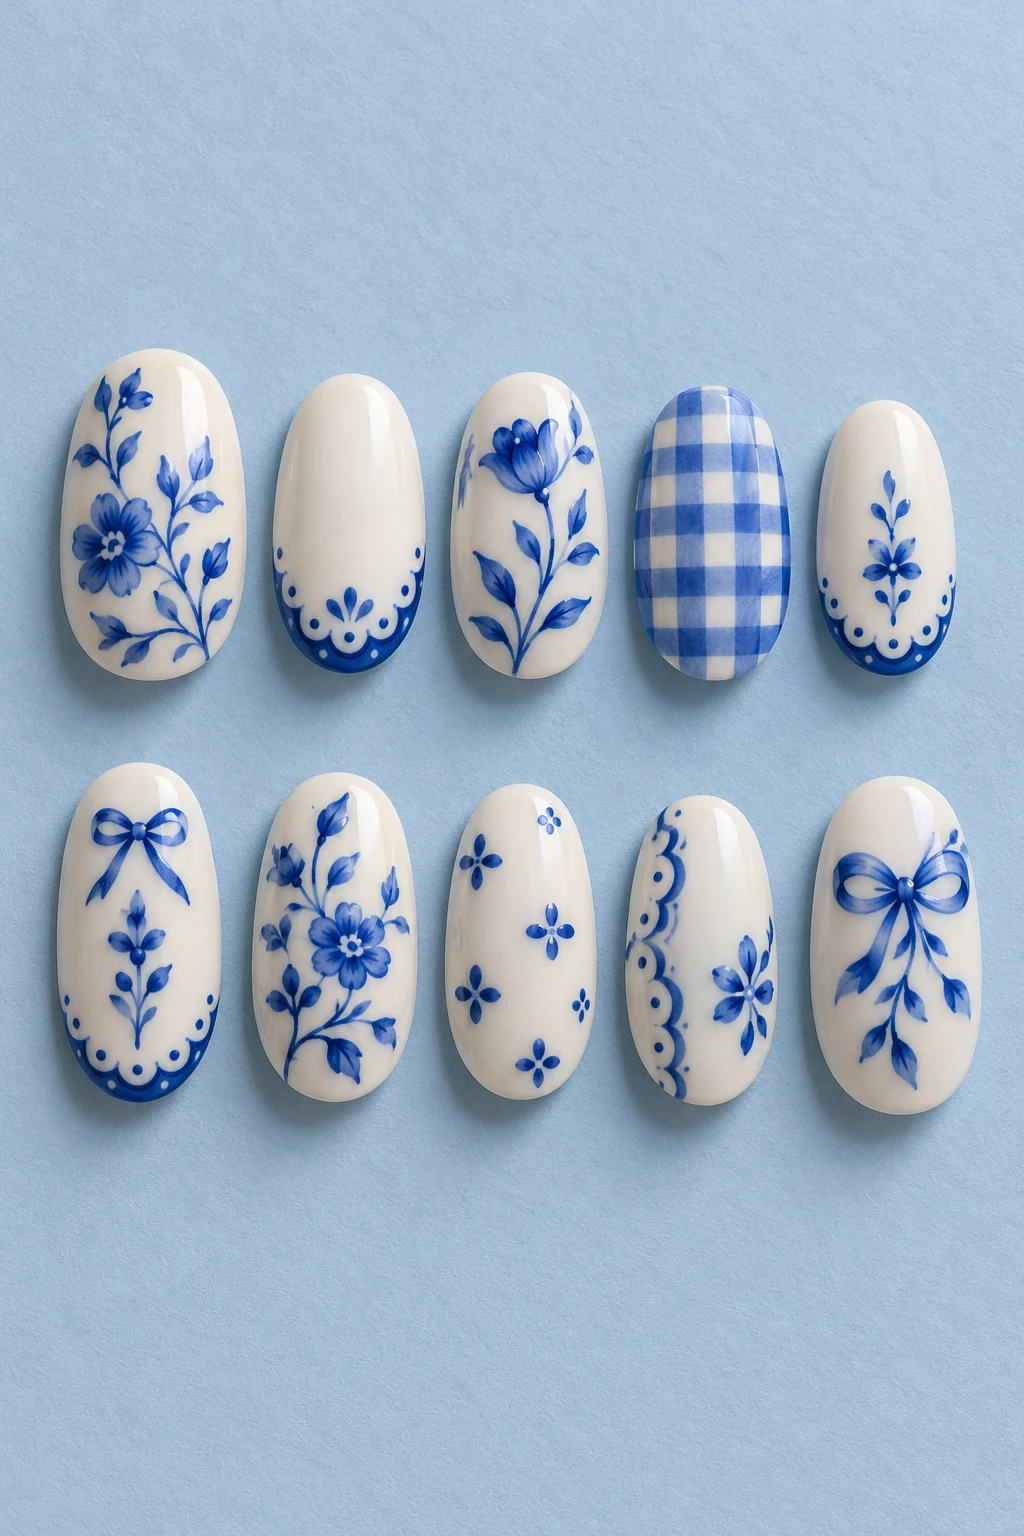 Blue porcelain garden
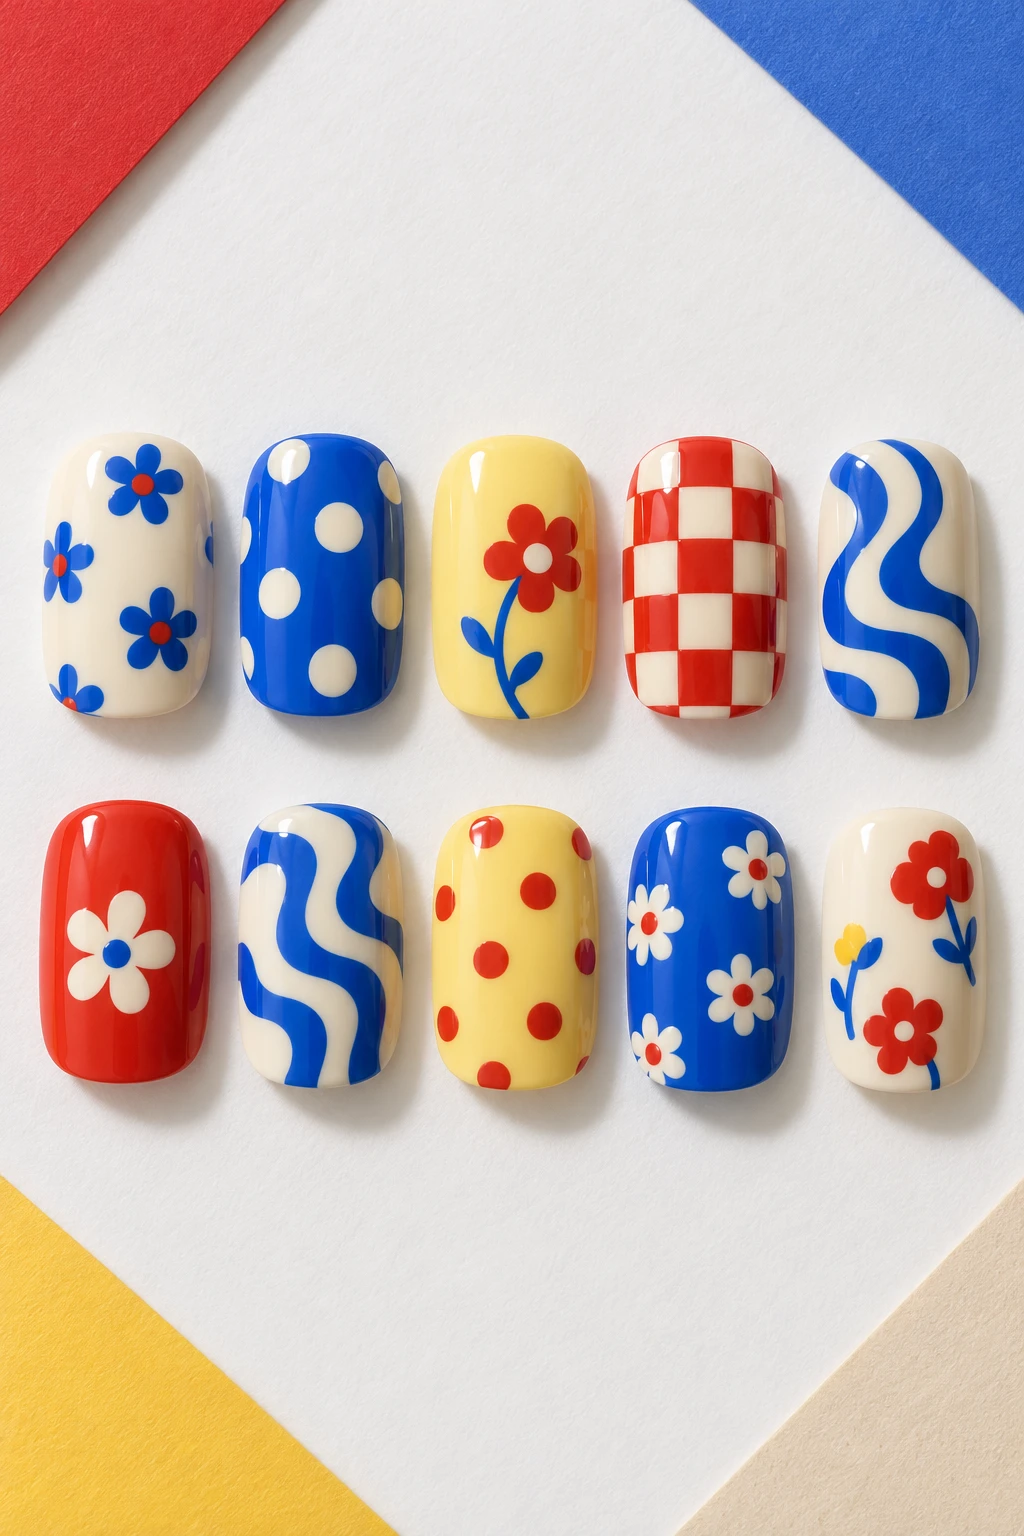 Color-pop dots & waves
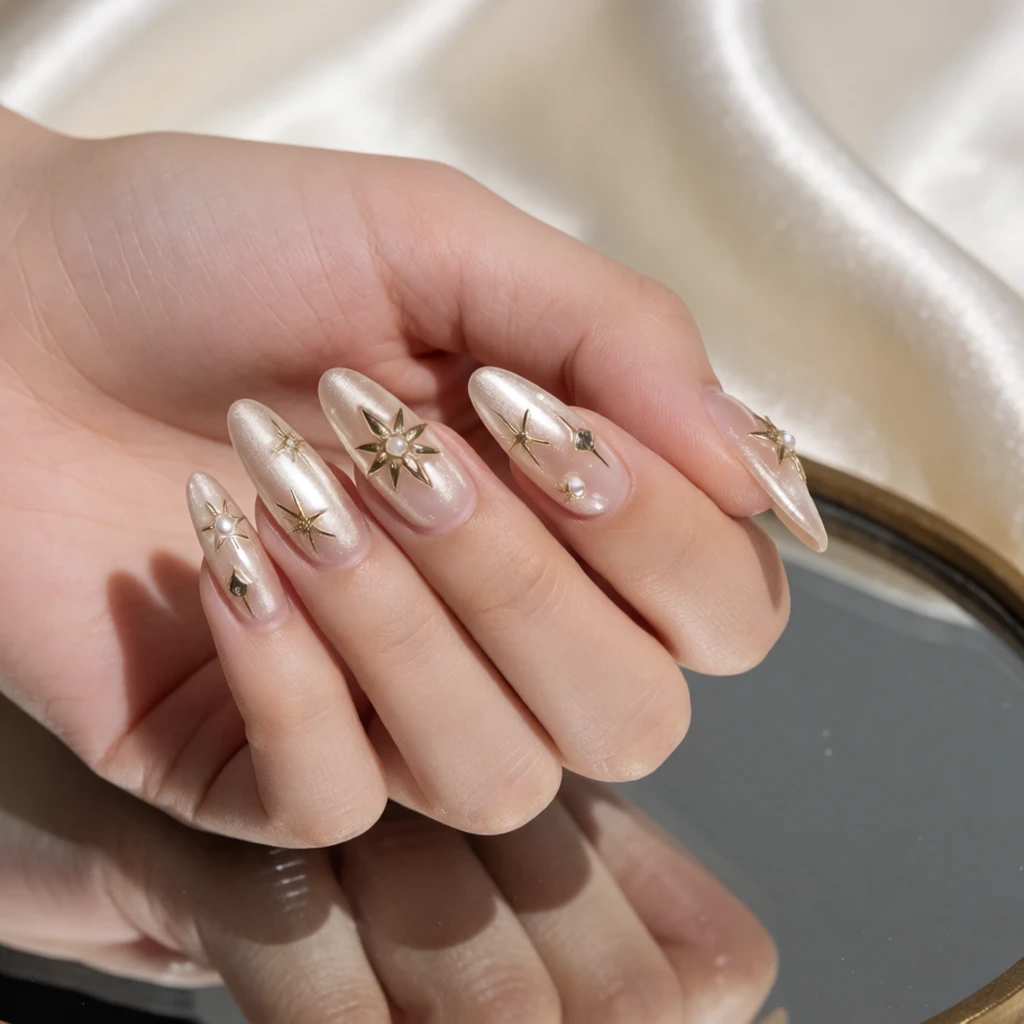 Press On Nails
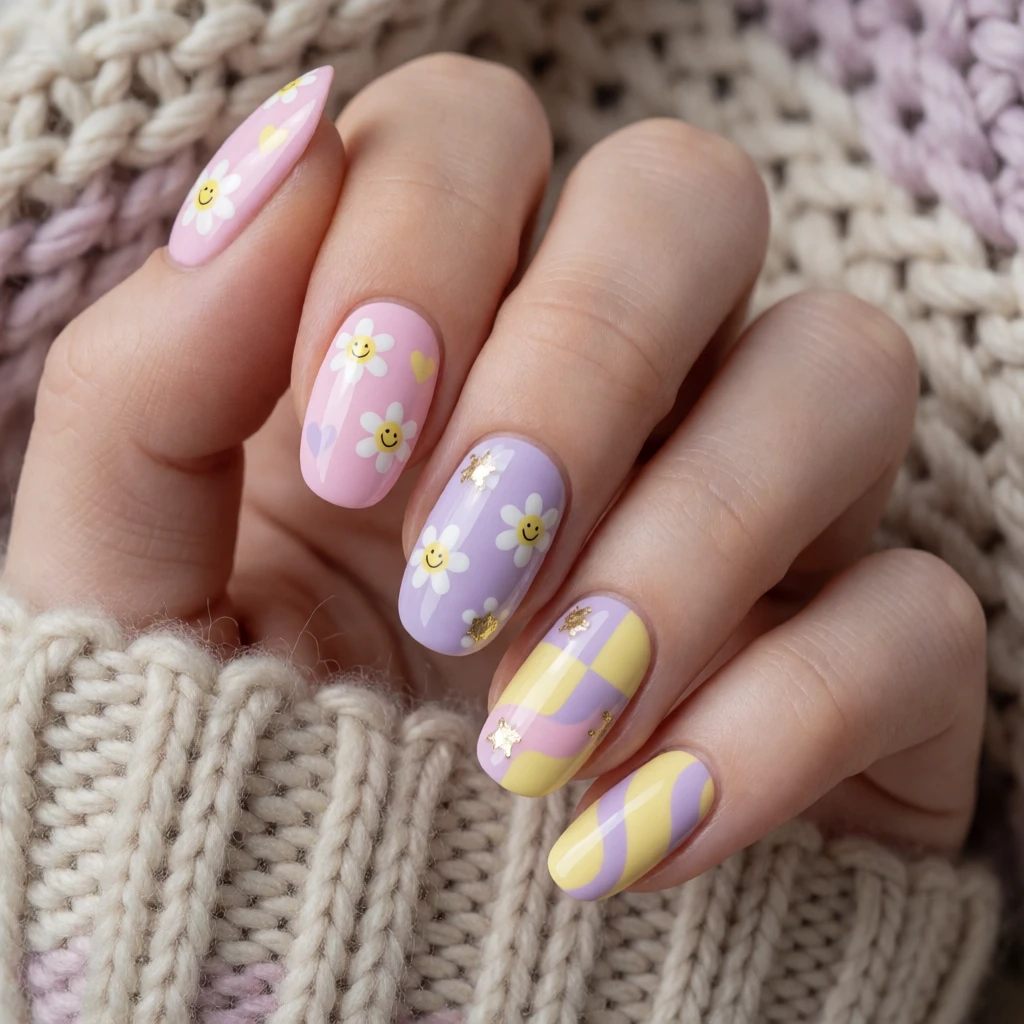 Cute Press On Nails
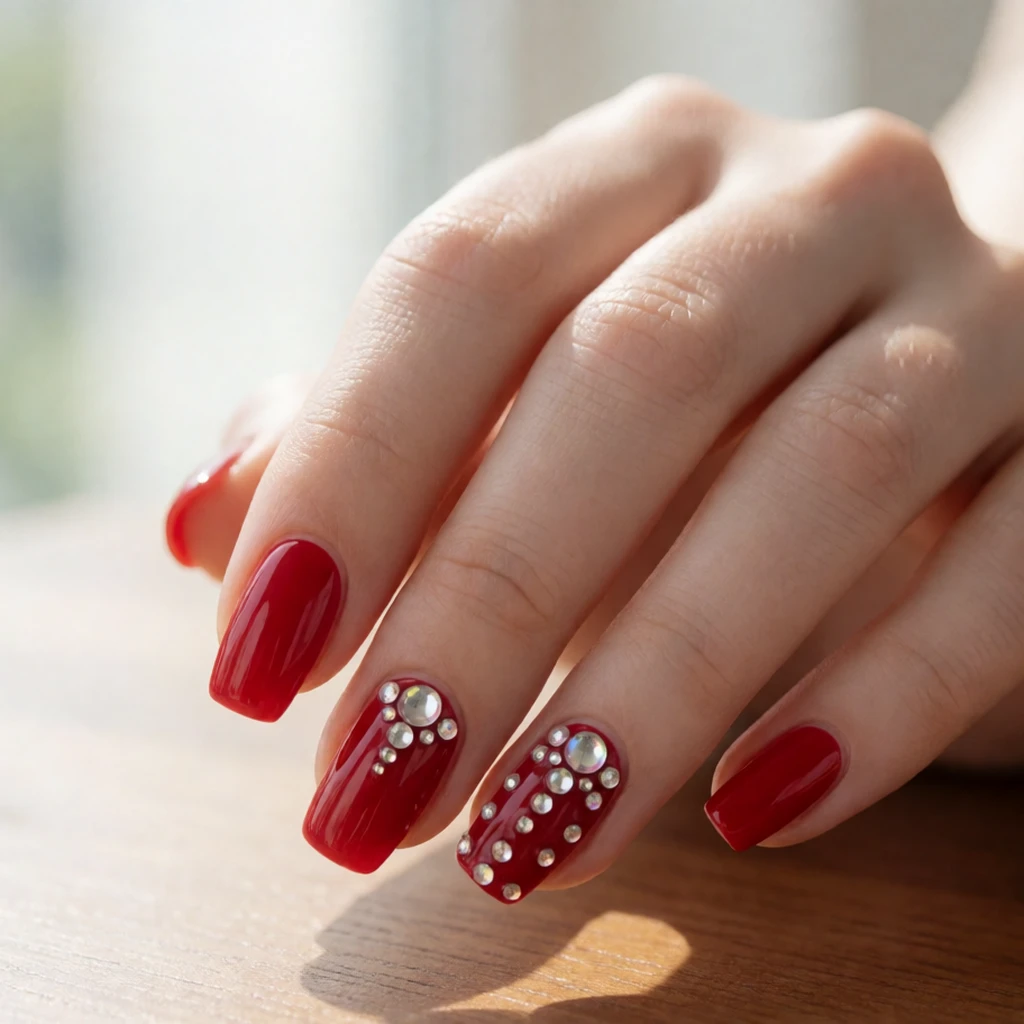 Red Press On Nails
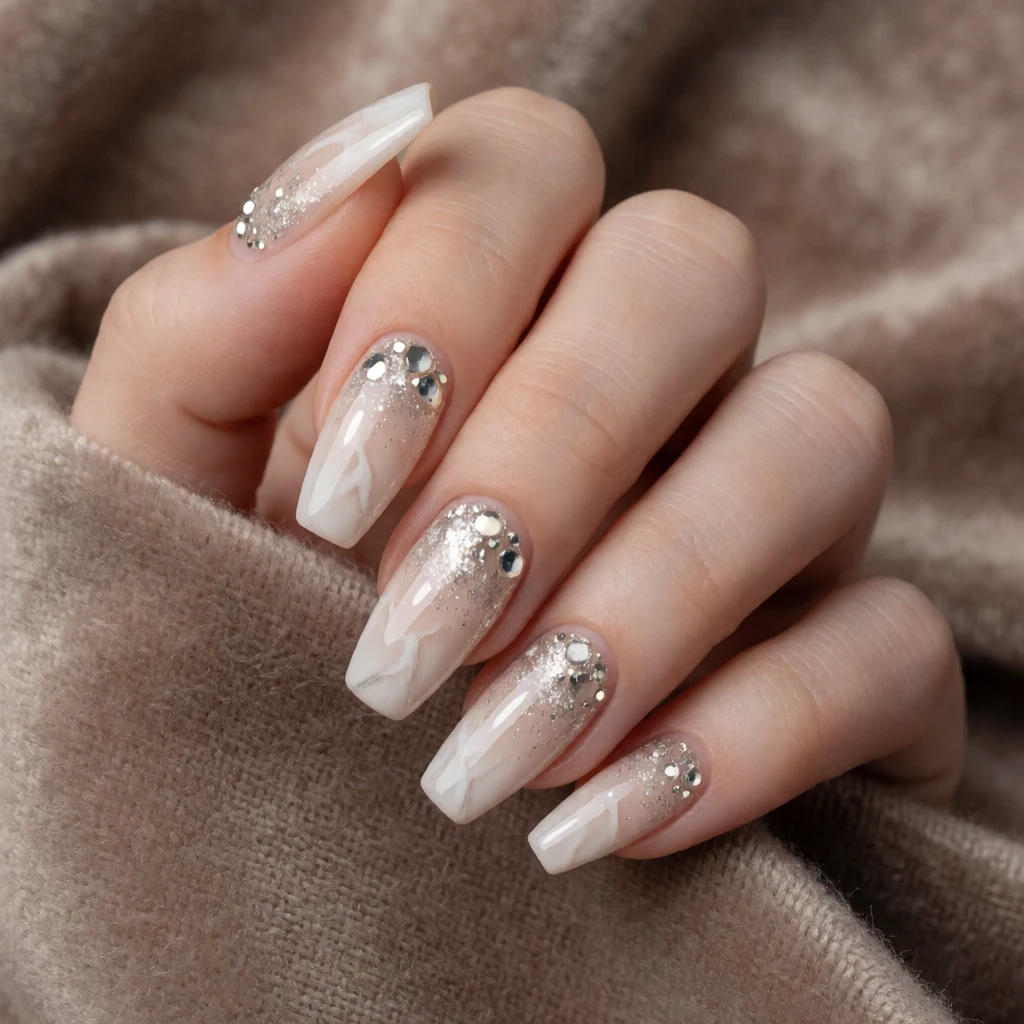 Acrylic Press On Nails
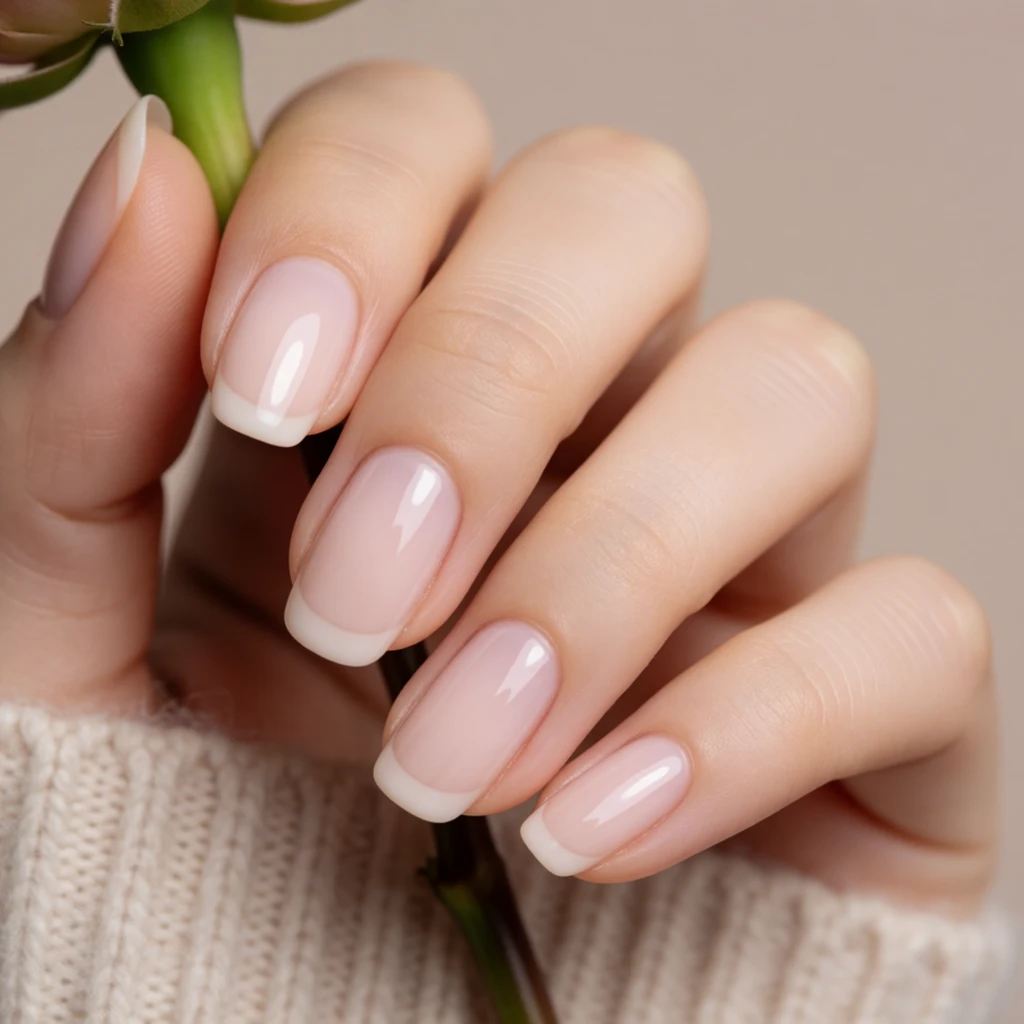 Simple Press On Nails
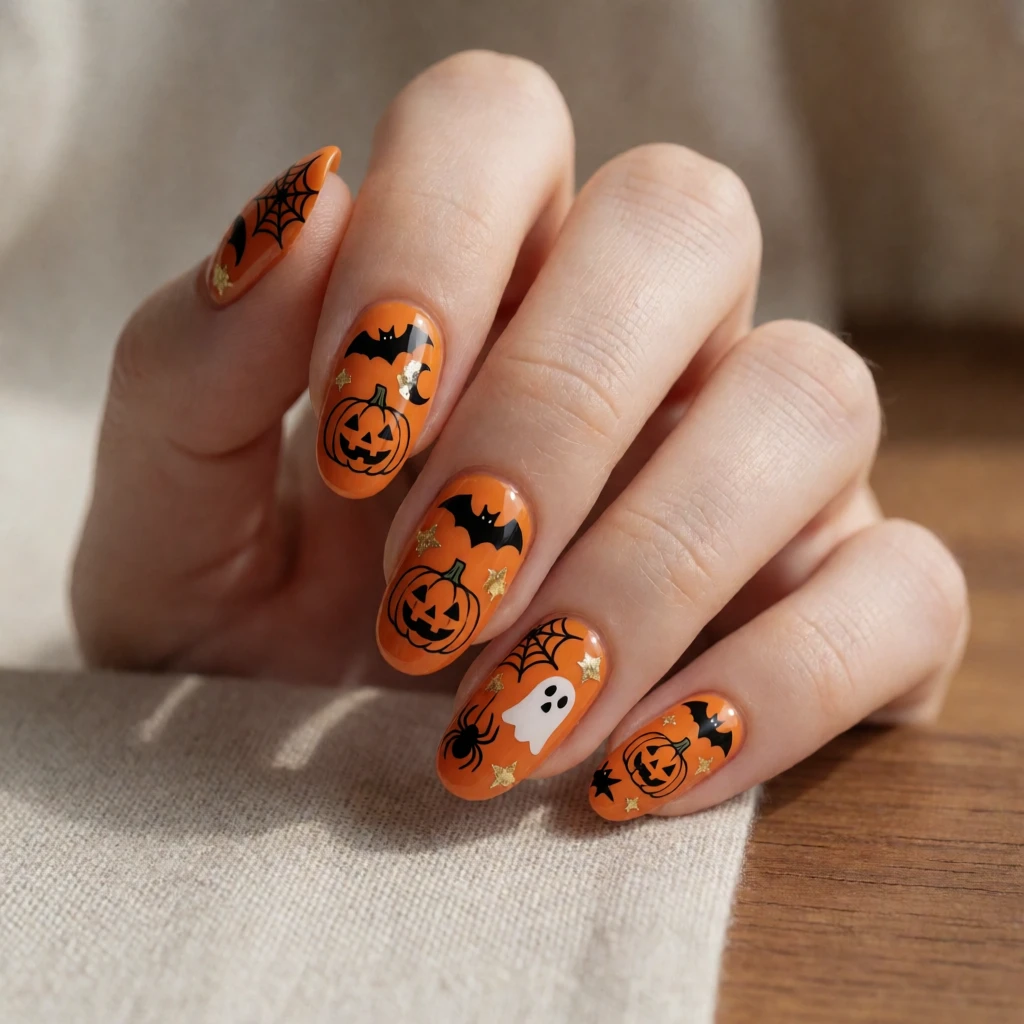 Halloween Press On Nails
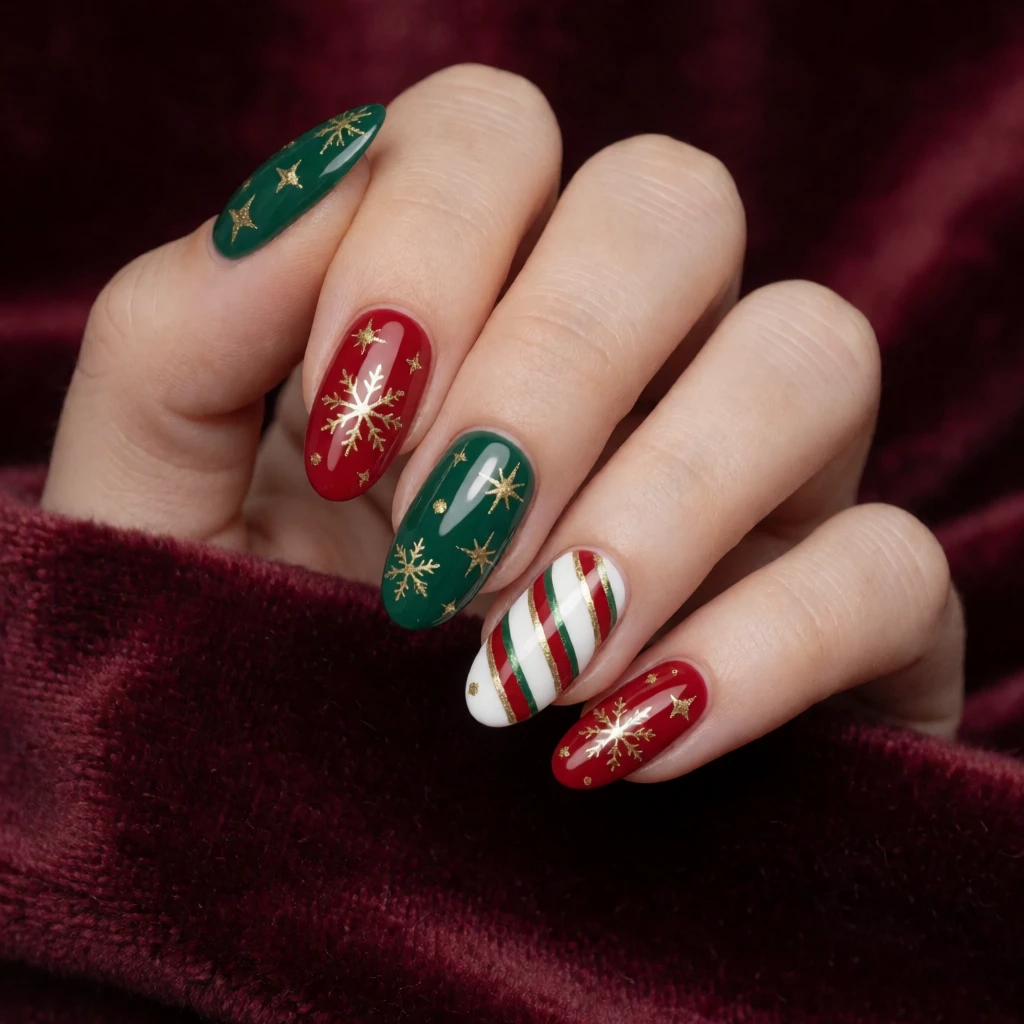 Christmas Press On Nails
Keep exploring
Related guides
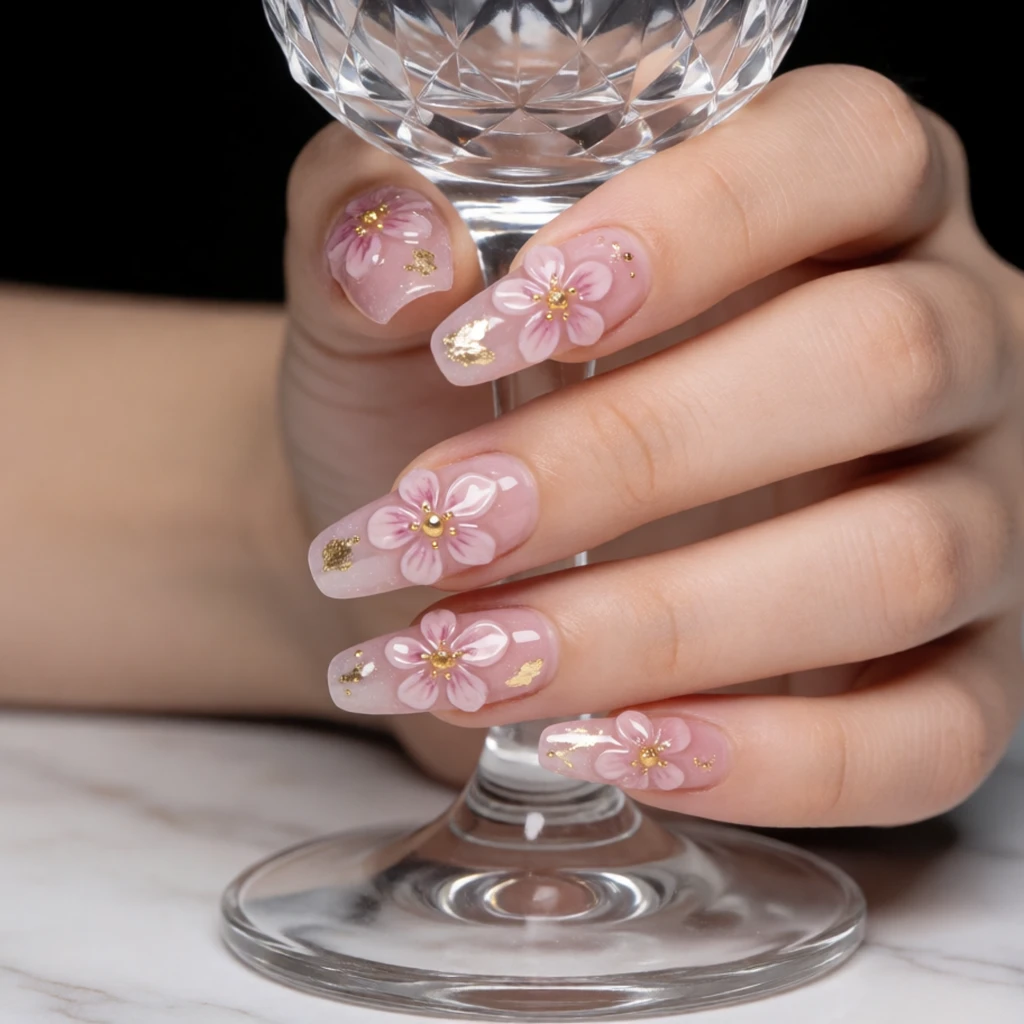 Polish, wraps & stickers
Nail wraps are flat adhesive films that stick to the natural nail surface, while press-ons are three-dimensional covers that add length and structure. Wraps conform to your nail's existing shape; press-ons create a new shape.
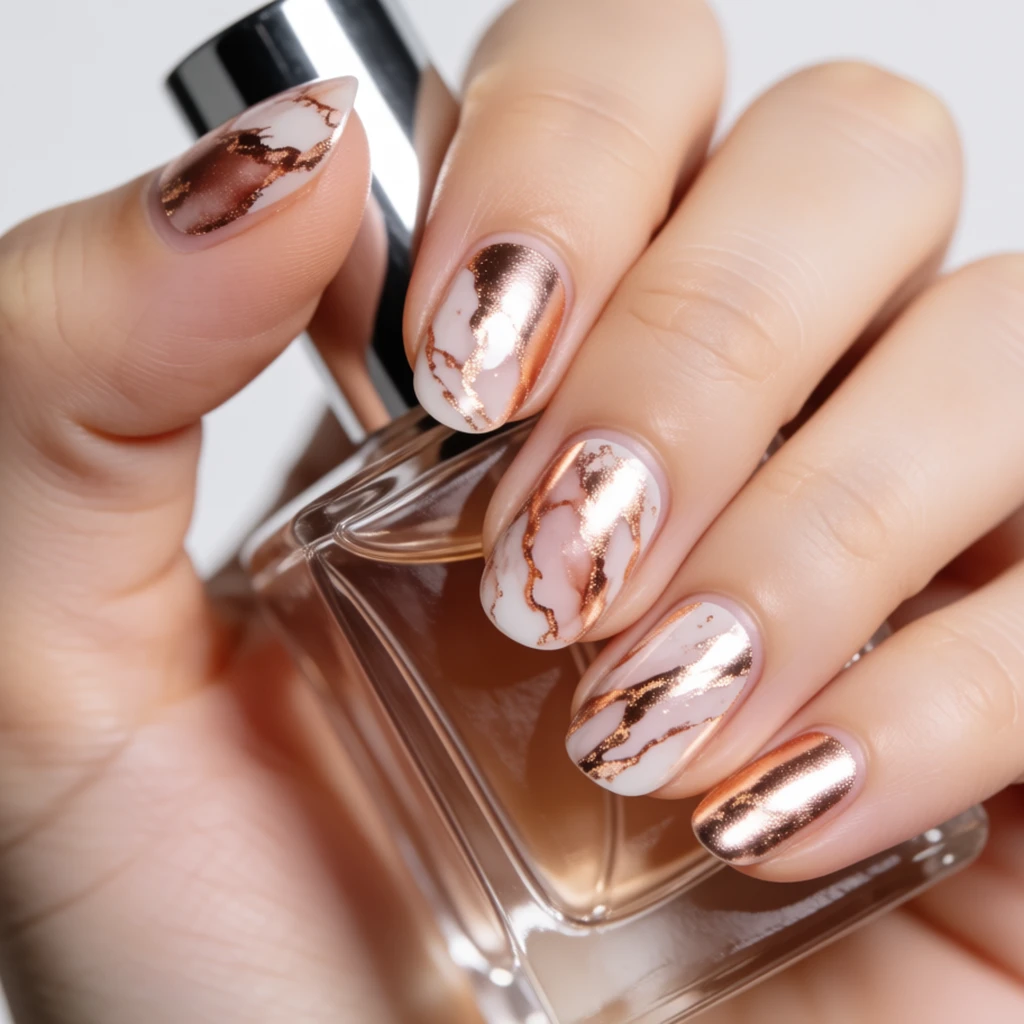 Art & themes
Themed nail art is painted or applied onto the natural nail or a polish base using tools and techniques, whereas press-ons arrive with the design already finished and require only sizing and adhesive application.
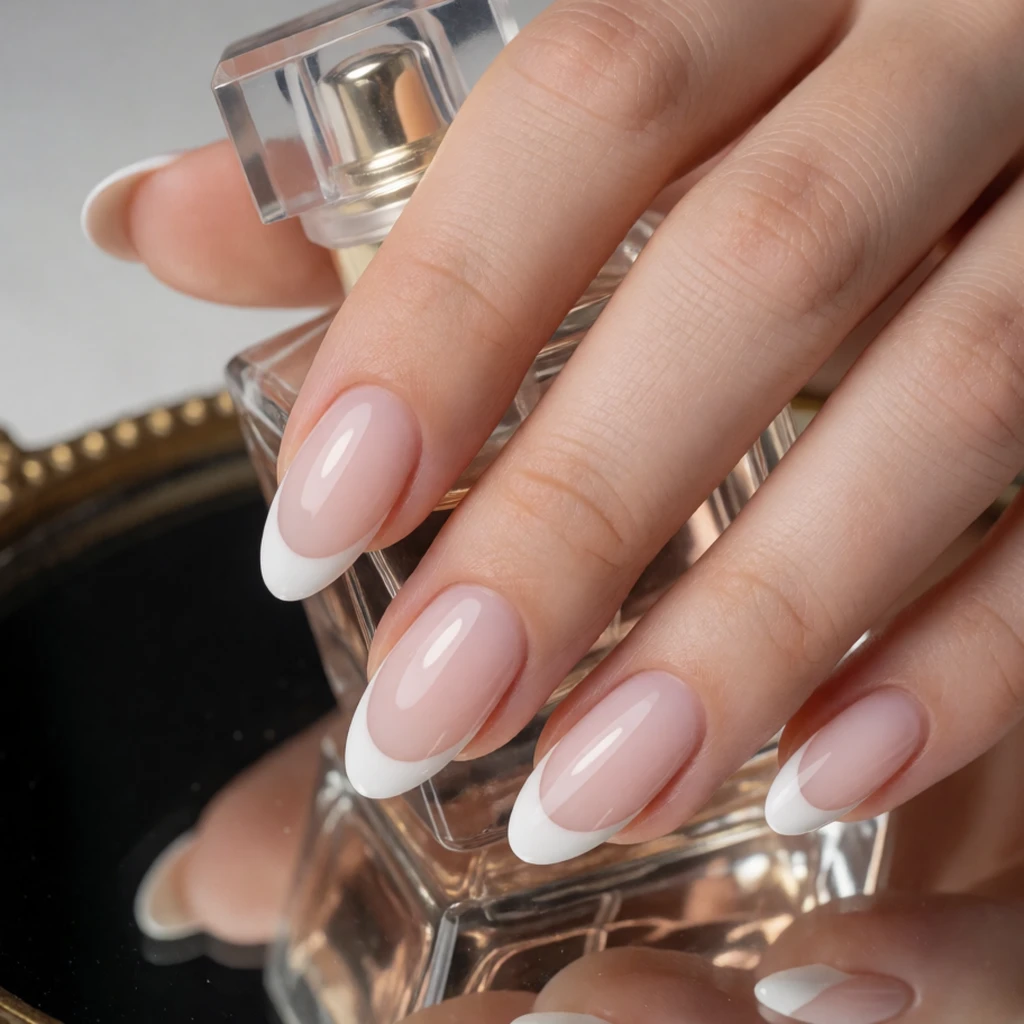 French tips
French tip designs can be achieved with polish, press-ons, or other methods. This guide focuses on the application technique for pre-made press-on covers, regardless of the design on them.
Questions
How long do press-on nails last?
Press-ons applied with adhesive tabs last one to three days. Those applied with nail glue last five to ten days depending on the glue formula, your daily activities, and how well you prepped the nail surface. Avoiding prolonged water exposure and heavy hand use helps extend wear time.
Can you reuse press-on nails?
Yes, if you applied them with adhesive tabs and removed them carefully. Clean off the old adhesive with an alcohol wipe or acetone, check that the press-on is not cracked or bent, and reapply with fresh tabs or glue. Press-ons applied with glue are harder to clean and reuse without damaging the finish.
What do I do if one press-on falls off?
Clean the natural nail and the inside of the press-on with alcohol or acetone, let both dry completely, then reapply with a small amount of nail glue. If the press-on is lost, use a spare from the kit or a similar nail from another set if you have one that matches in size and color.
How do I resize a press-on that is too wide?
File the sides of the press-on with a nail file, working from the cuticle end toward the free edge in one direction. Check the fit frequently as you file so you do not remove too much. You cannot make a press-on wider, so if no size in the kit fits, you may need a different set with larger sizes.
Generated references, not tested products. How shopping links work.