Nail ideas / Press-on sets
How to remove press-on nails without damage
Removing press-on nails correctly means identifying the adhesive type, soaking long enough for the bond to release, and stopping immediately if you feel resistance or pain. Forcing a press-on off takes layers of your natural nail with it.
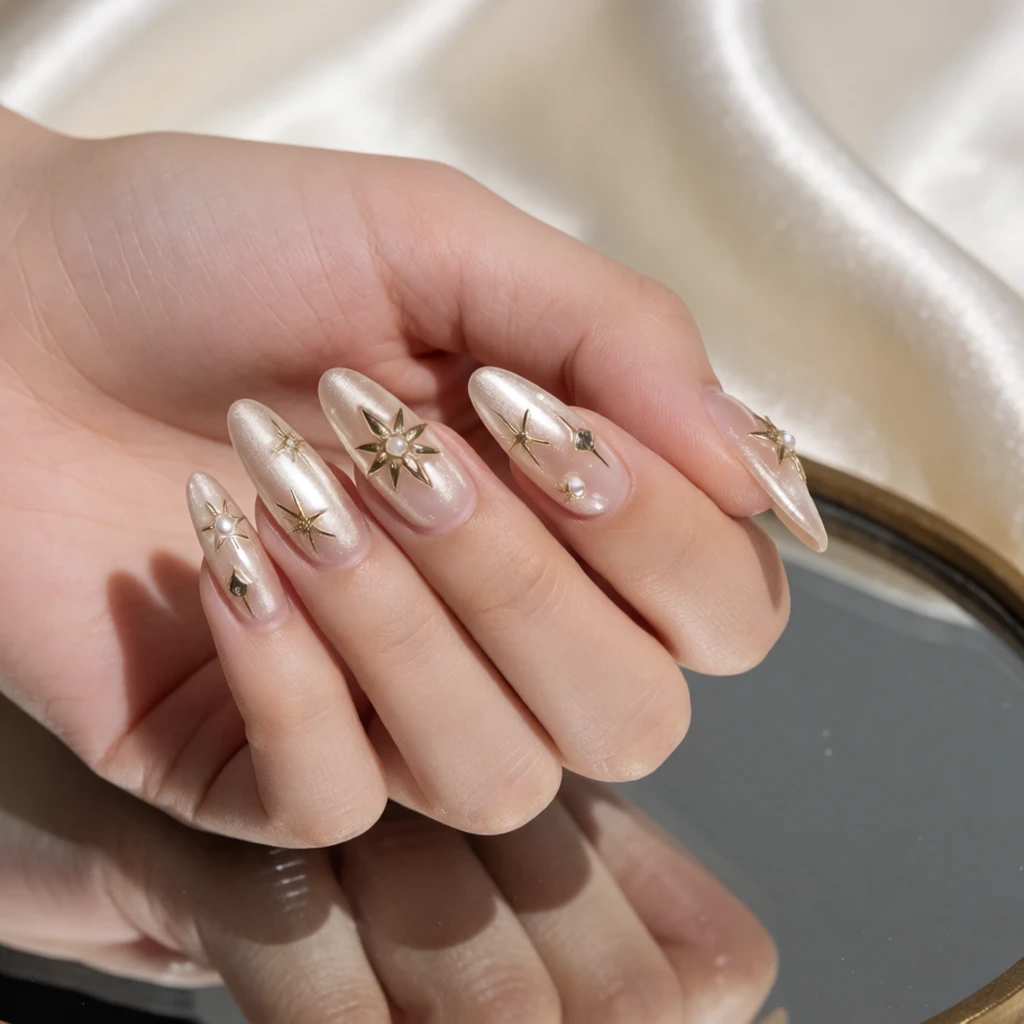
Three rules
Start here.
- Identify the adhesive type before you start removal by checking the product packaging or remembering what you applied, because tabs and glue require different removal methods and soak times.
- Soak until the adhesive releases naturally rather than pulling at the first sign of loosening, because partial release still leaves adhesive holding in spots and forcing it off will damage your nail.
- Stop immediately if you feel pain, significant resistance, or see white patches appearing on your natural nail, and soak longer or seek advice rather than continuing to pull.
A styling reference, not a product photo.
What defines it
The basics
Removing press-on nails safely means reversing the adhesive bond without pulling or peeling, which would damage the natural nail surface. The process changes depending on whether you used adhesive tabs or nail glue. Tab removal requires warm soapy water and gentle lifting from the side; glue removal requires acetone or nail glue remover, a longer soak time, and patience as the adhesive dissolves. Both methods share a non-negotiable rule: if the press-on resists coming off, you soak longer rather than applying more force.
A properly removed press-on leaves your natural nail intact, smooth, and without white patches or lifted layers. The press-on itself may be reusable if it was applied with tabs and removed carefully, or it may be discarded if glue was used. Poor removal technique shows as peeling or flaking on the natural nail, soreness at the nail bed, or white streaks across the nail plate where layers have been pulled off. Those signs mean you forced the press-on off before the adhesive fully released.
Press-on removal differs from gel or acrylic removal because you are dissolving or releasing an adhesive layer rather than filing down a hardened product. It differs from polish removal in that you cannot simply wipe with remover and expect the press-on to slide off — you need sustained soaking and gentle pressure. The key is matching your removal method to the adhesive you used at application.
Repeatable combinations
Formulas to try
- Tab removal after a single event
- Soak your hands in a bowl of warm soapy water for ten to fifteen minutes to soften the adhesive tab. Gently lift the press-on from the side edge using a wooden cuticle stick, working slowly toward the center. If the nail does not lift easily, soak for another five minutes. This method works for press-ons you applied with peel-off adhesive tabs and want to remove the next day.
- Glue removal after a work week
- Soak cotton pads in acetone or nail glue remover, place one pad on each nail, and wrap each fingertip tightly with aluminum foil to hold the pad in place. Wait fifteen to twenty minutes, then unwrap one nail and gently push the press-on off with a wooden stick. If it does not slide off easily, rewrap and soak for another five minutes. Use this method when you applied press-ons with nail glue and wore them for five to ten days.
- Emergency removal of a broken press-on
- If one press-on cracks or lifts at the edge during wear, soak just that finger in acetone or warm water depending on the adhesive you used, then gently remove the damaged nail. Clean the natural nail and either reapply the same press-on with fresh adhesive if it is intact, or replace it with a spare from the kit. Do not leave a broken press-on half-attached, which can catch on things and pull off suddenly.
- Tab versus glue removal in one session
- If you are unsure which adhesive was used or if some nails were applied with tabs and others with glue, start with the warm soapy water soak for ten minutes. If nails lift easily, they were tabs. If they do not budge, switch to the acetone foil wrap method for the remaining nails. This approach works when you are removing a set you did not apply yourself or when you do not remember the method used.
- Gentle removal for sensitive nails
- If your natural nails are weak, peeling, or sensitive, use the acetone soak method even for tab-applied press-ons to ensure the gentlest release. Keep soak times on the shorter end and check progress every five minutes. After removal, apply cuticle oil and a strengthening base coat to protect the nail surface. Avoid reapplying press-ons immediately; let your nails rest for at least twenty-four hours.
Your needs, your plans
Before you buy
- Patience and soak time
- The most common removal mistake is pulling at a press-on before the adhesive has fully released. Tab adhesive softens in warm water within ten to fifteen minutes; glue requires acetone and fifteen to twenty minutes. If you rush, you will peel layers off your natural nail. Set a timer and resist the urge to start pulling early. If one nail is taking longer than the others, it may have had more glue or a better seal; soak that nail individually for extra time rather than forcing it.
- Damage prevention
- Signs that you are damaging your nail during removal include sharp pain, a pulling sensation at the nail bed, white or cloudy patches appearing on the nail surface, and flaking or peeling after the press-on is off. If you see any of these, stop immediately, re-soak the nail, and try again with less pressure. Never use metal tools or your teeth to pry a press-on off, which guarantees damage. Wooden cuticle sticks or an orange stick are the only tools you should use for gentle lifting.
- Tools and supplies
- You need acetone or nail glue remover, cotton pads or balls, aluminum foil cut into squares large enough to wrap a fingertip, a wooden cuticle stick, a bowl for soaking if removing tabs, and cuticle oil for after removal. Acetone works faster than non-acetone remover but can dry out skin and nails, so apply cuticle oil and hand lotion after removal. Keep these supplies together in a removal kit so you have everything ready when it is time to take the press-ons off.
- Reusability of the press-ons
- Press-ons removed with the tab method can often be cleaned and reused if they are not cracked or bent. Press-ons removed with the glue method are harder to clean completely and may have a dulled finish after soaking in acetone. If you plan to reuse a set, apply it with adhesive tabs initially, remove it carefully, and store the nails in the original packaging to prevent scratches. Most press-on sets can be reused two to three times before the finish degrades.
From what you own
Build it and repeat it
Start by gathering your removal supplies: acetone or nail glue remover, cotton pads, aluminum foil squares, a wooden cuticle stick, and a bowl of warm soapy water if you used adhesive tabs. Identify which adhesive you used by checking the product packaging or remembering the application method. If you used tabs, fill a bowl with warm water and add a few drops of dish soap or hand soap. Soak your hands for ten to fifteen minutes, then gently lift each press-on from the side using the wooden stick. If the press-on does not lift after fifteen minutes, soak for another five minutes and try again. Do not pull or peel; let the water do the work.
If you used nail glue, soak cotton pads in acetone or nail glue remover and place one pad on each nail. Wrap each fingertip tightly with a square of aluminum foil to hold the pad in place and prevent the acetone from evaporating. Set a timer for fifteen minutes. After fifteen minutes, unwrap one nail and gently push the press-on off with the wooden stick, starting at the cuticle and working toward the free edge. If the nail does not slide off easily, rewrap it and wait another five minutes before trying again. Once all press-ons are removed, wash your hands with soap and water, then apply cuticle oil to each nail and massage it into the cuticle and nail plate. Let your nails breathe for at least a day before applying a new set or painting with polish.
Shop the pieces
16 press-on sets pieces
Links open similar items, not the pictured ones.
-
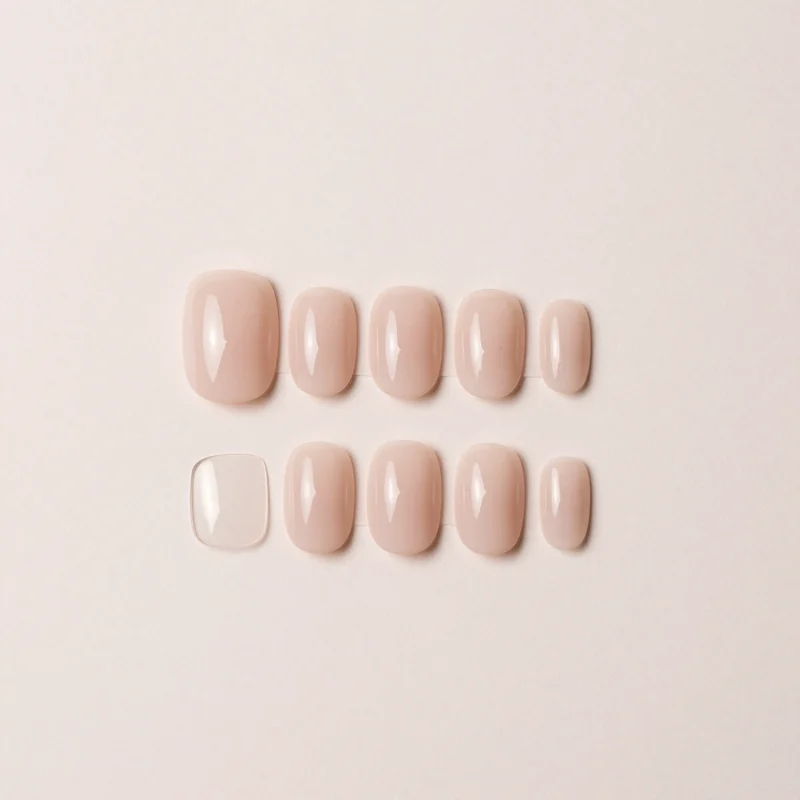
Nude press-on nails
What to check
A real product chosen to look like the picture. The picture is a styling reference, not this exact product.
-
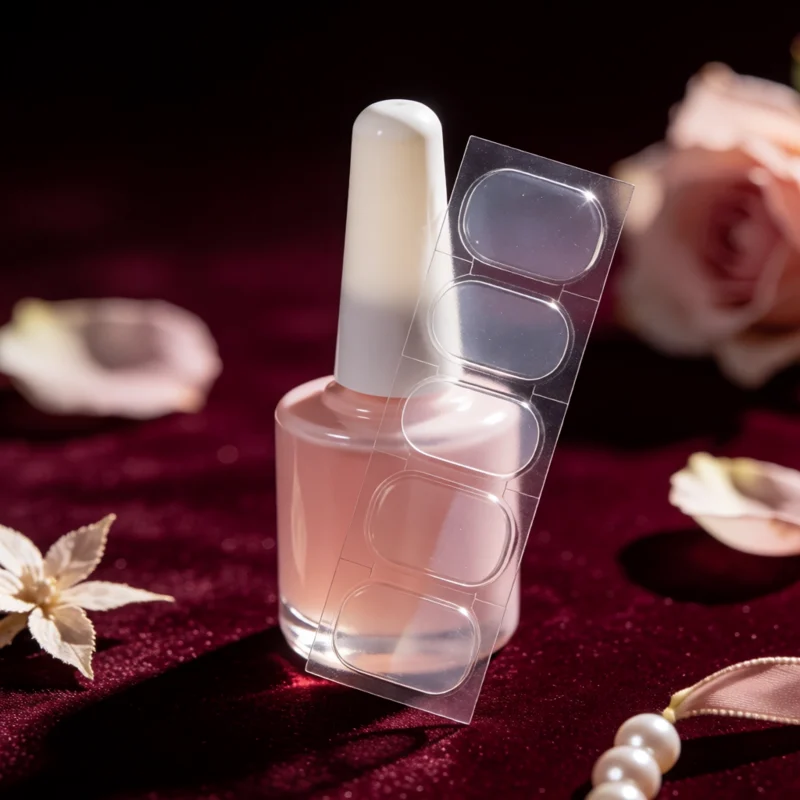
Press-on nail glue and adhesive tabs
What to check
A real product chosen to look like the picture. The picture is a styling reference, not this exact product.
-
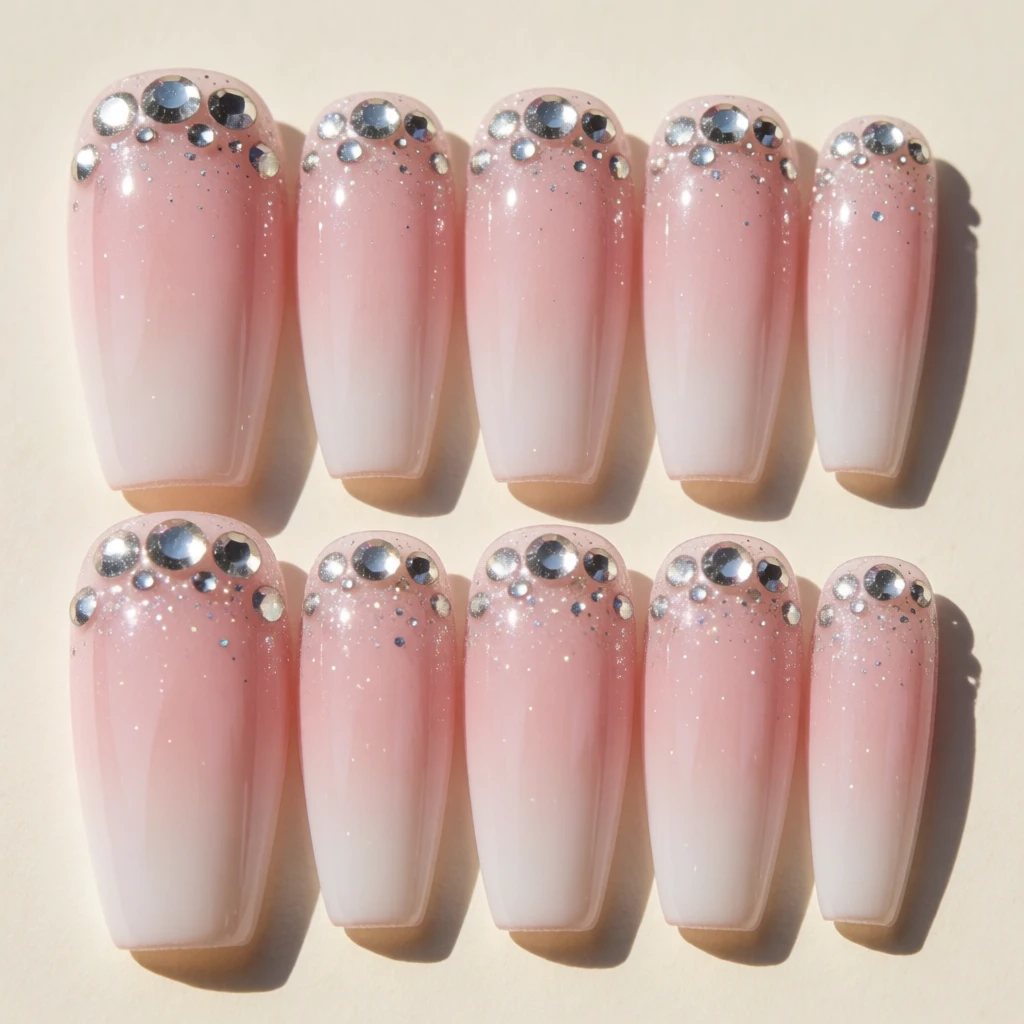
Acrylic Press On Nails
What to check
A real product chosen to look like the picture. The picture is a styling reference, not this exact product.
-
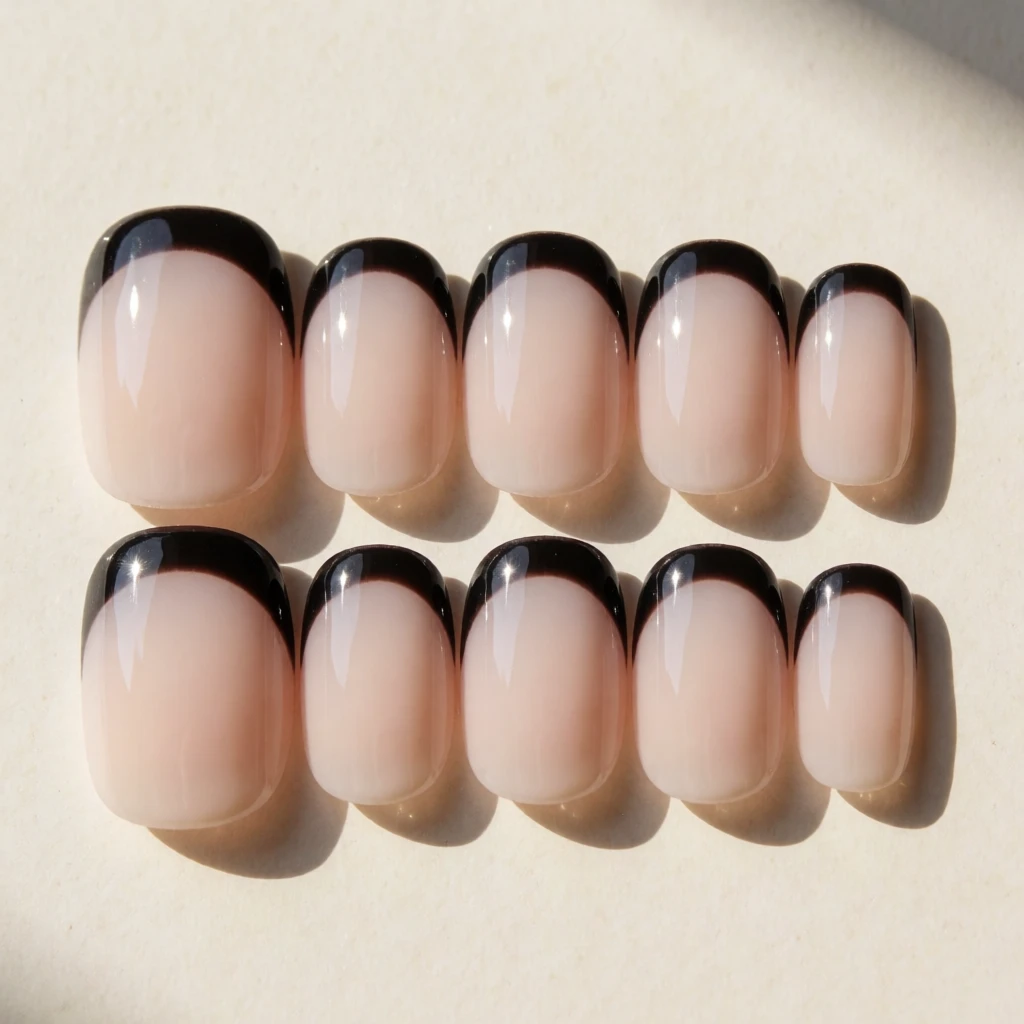
Black French Tip Nails
What to check
A real product chosen to look like the picture. The picture is a styling reference, not this exact product.
-
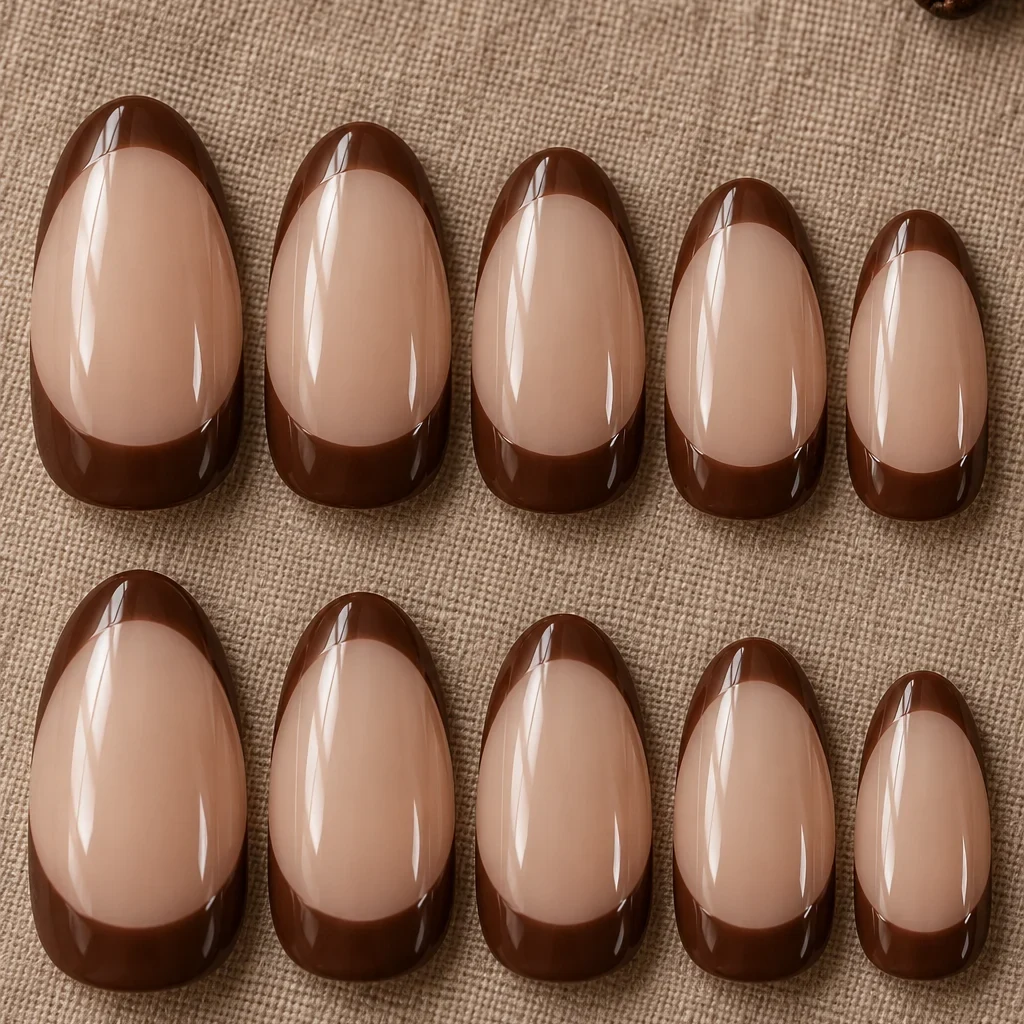
Brown French Tip Nails
What to check
A real product chosen to look like the picture. The picture is a styling reference, not this exact product.
-
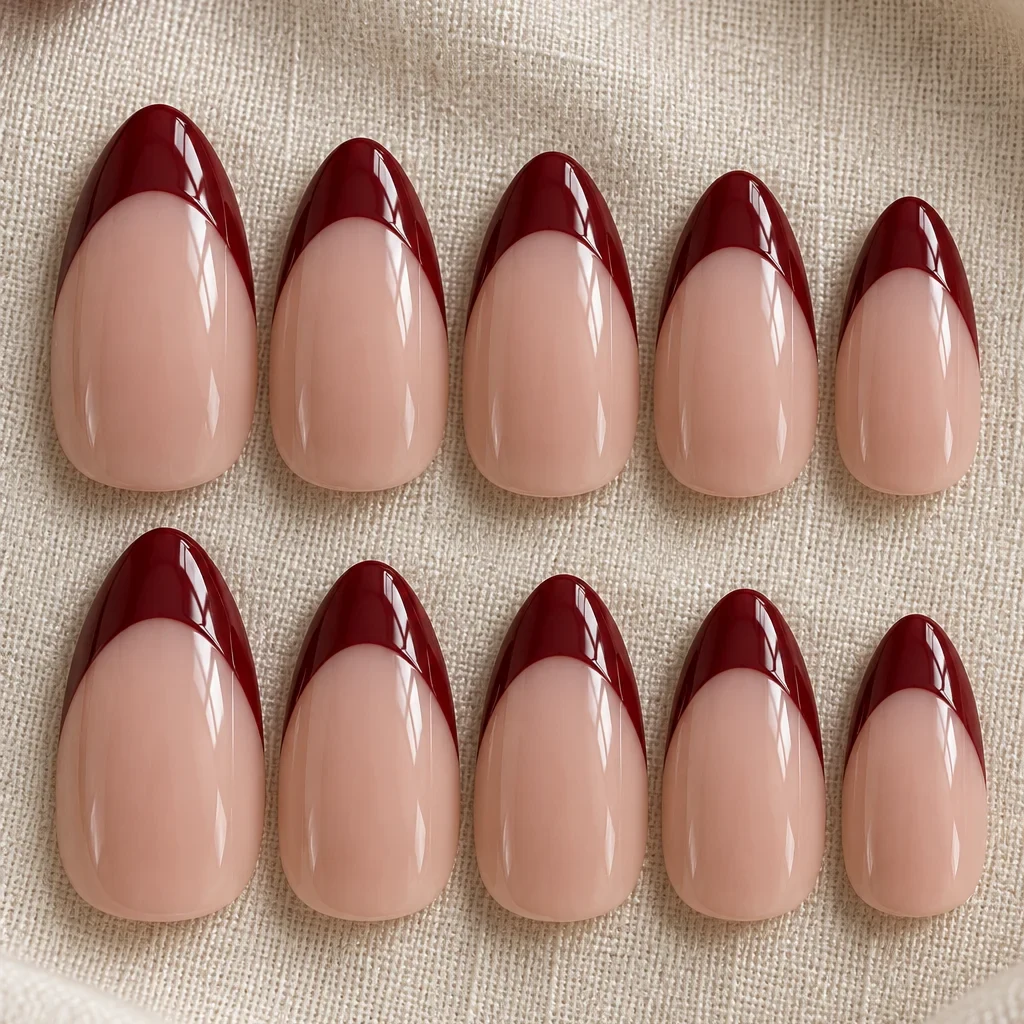
Dark Red French Tip Nails
What to check
A real product chosen to look like the picture. The picture is a styling reference, not this exact product.
-
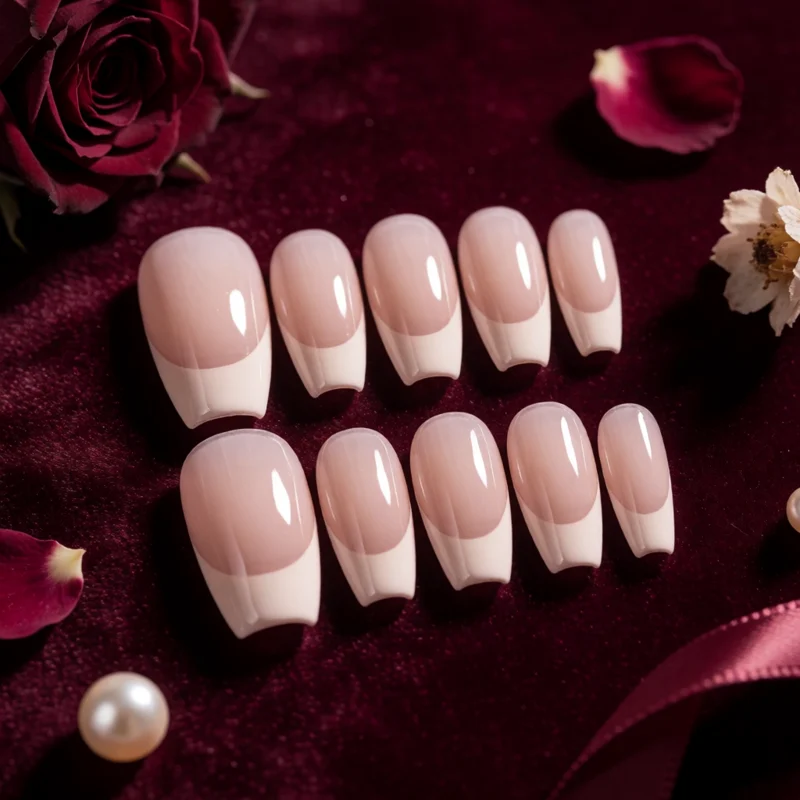
French coffin press-on nails
What to check
A real product chosen to look like the picture. The picture is a styling reference, not this exact product.
-
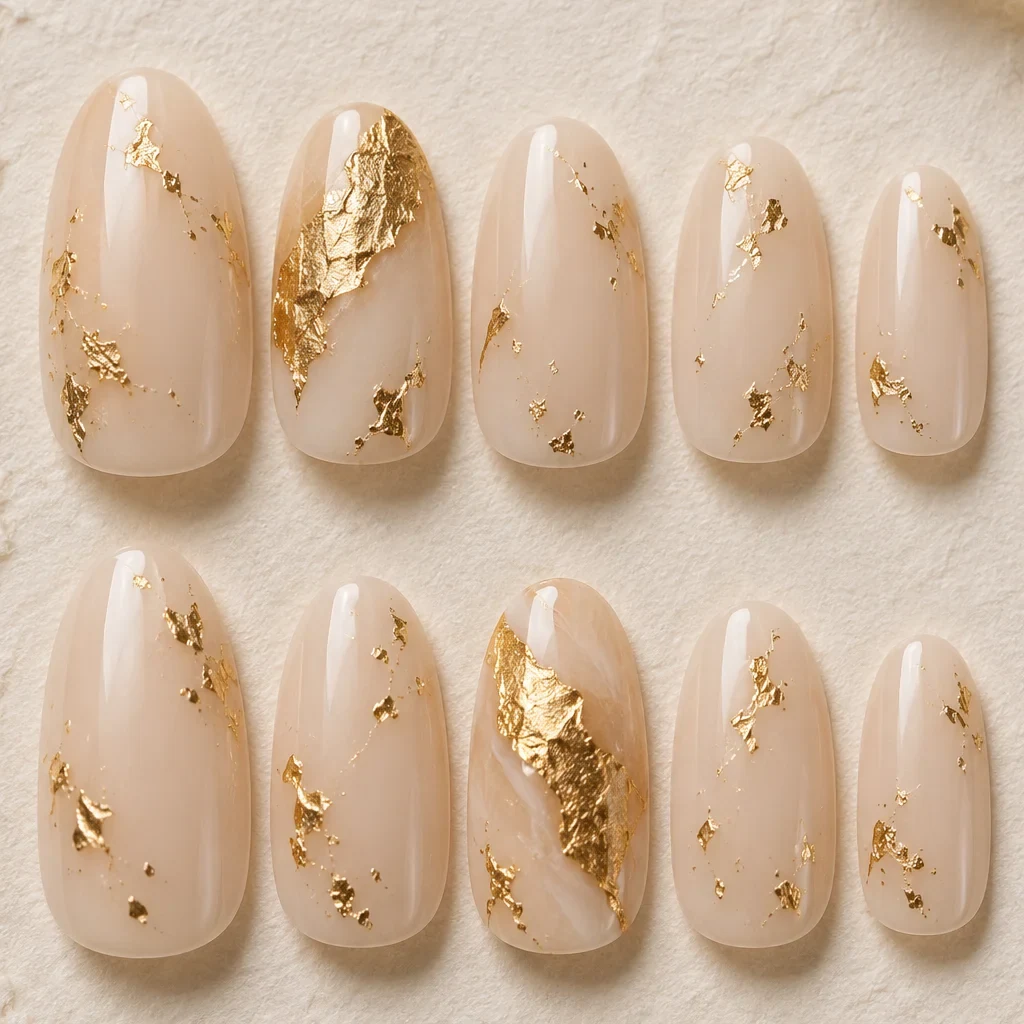
Gold Foil Nail Art
What to check
A real product chosen to look like the picture. The picture is a styling reference, not this exact product.
Show all 16 pieces
-
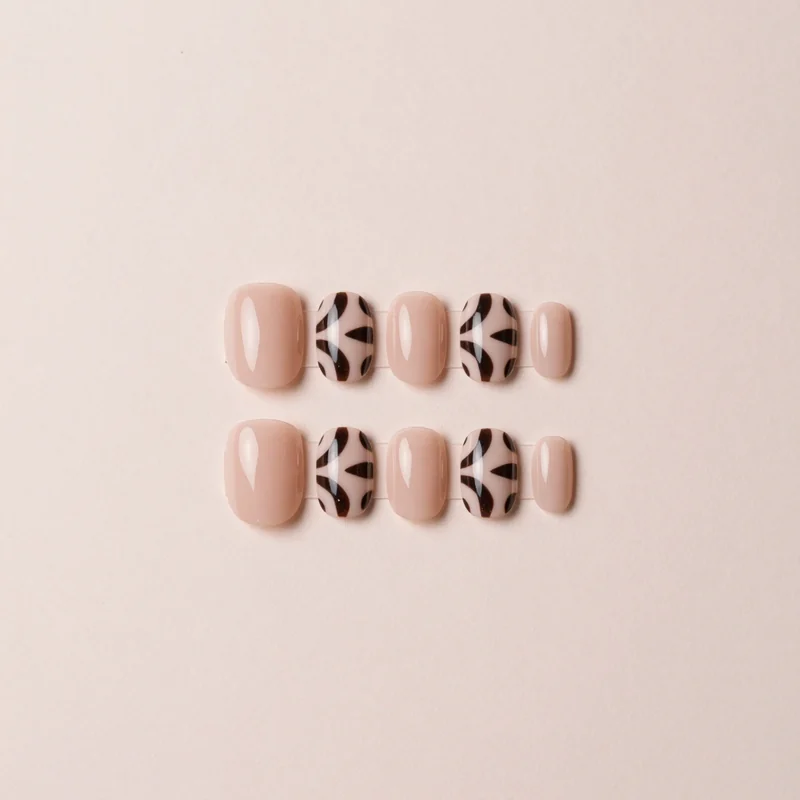
Graphic line-art press-on nails
What to check
A real product chosen to look like the picture. The picture is a styling reference, not this exact product.
-
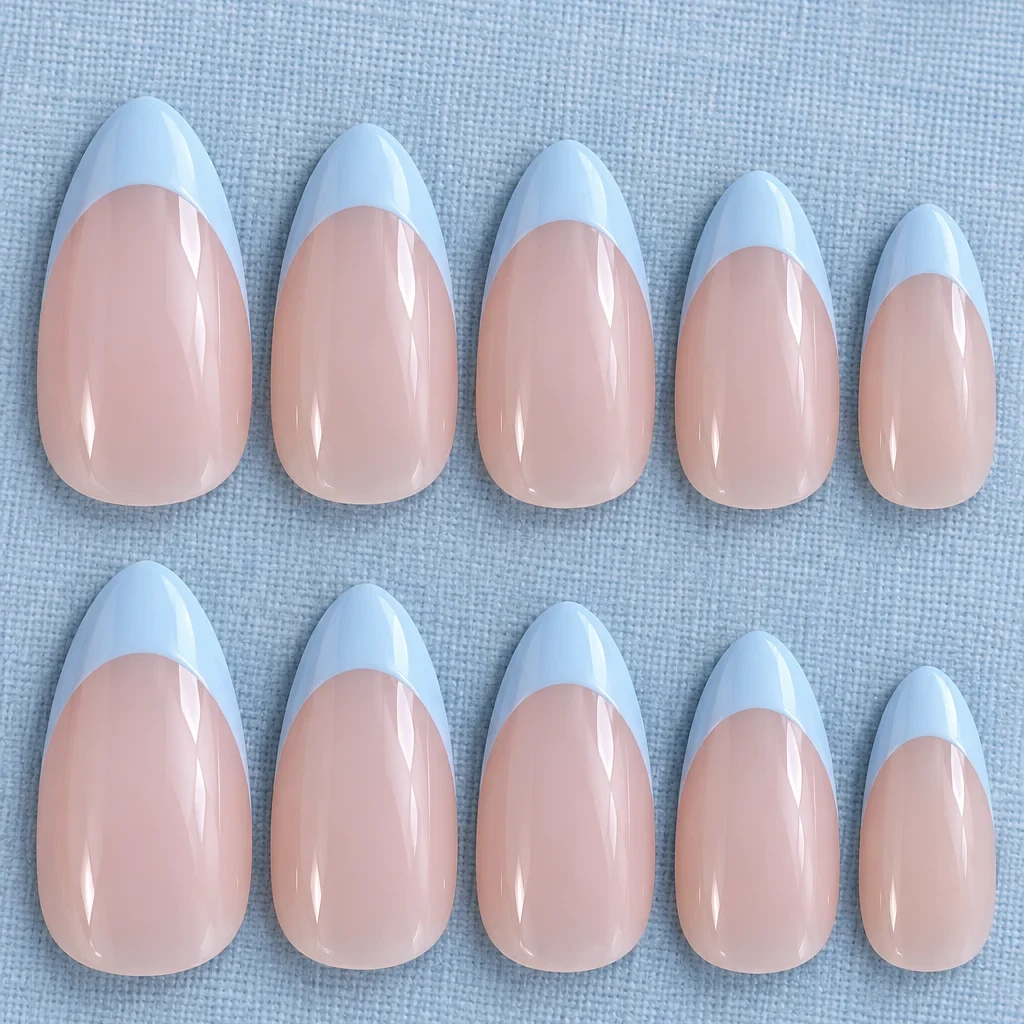
Light Blue French Tip Nails
What to check
A real product chosen to look like the picture. The picture is a styling reference, not this exact product.
-
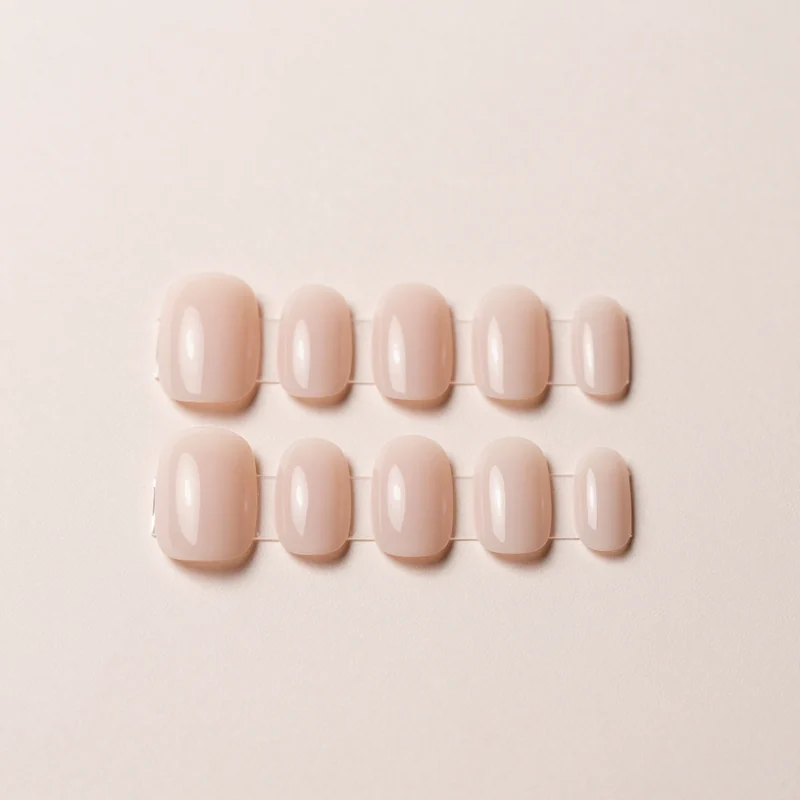
Short almond press-on nails
What to check
A real product chosen to look like the picture. The picture is a styling reference, not this exact product.
-
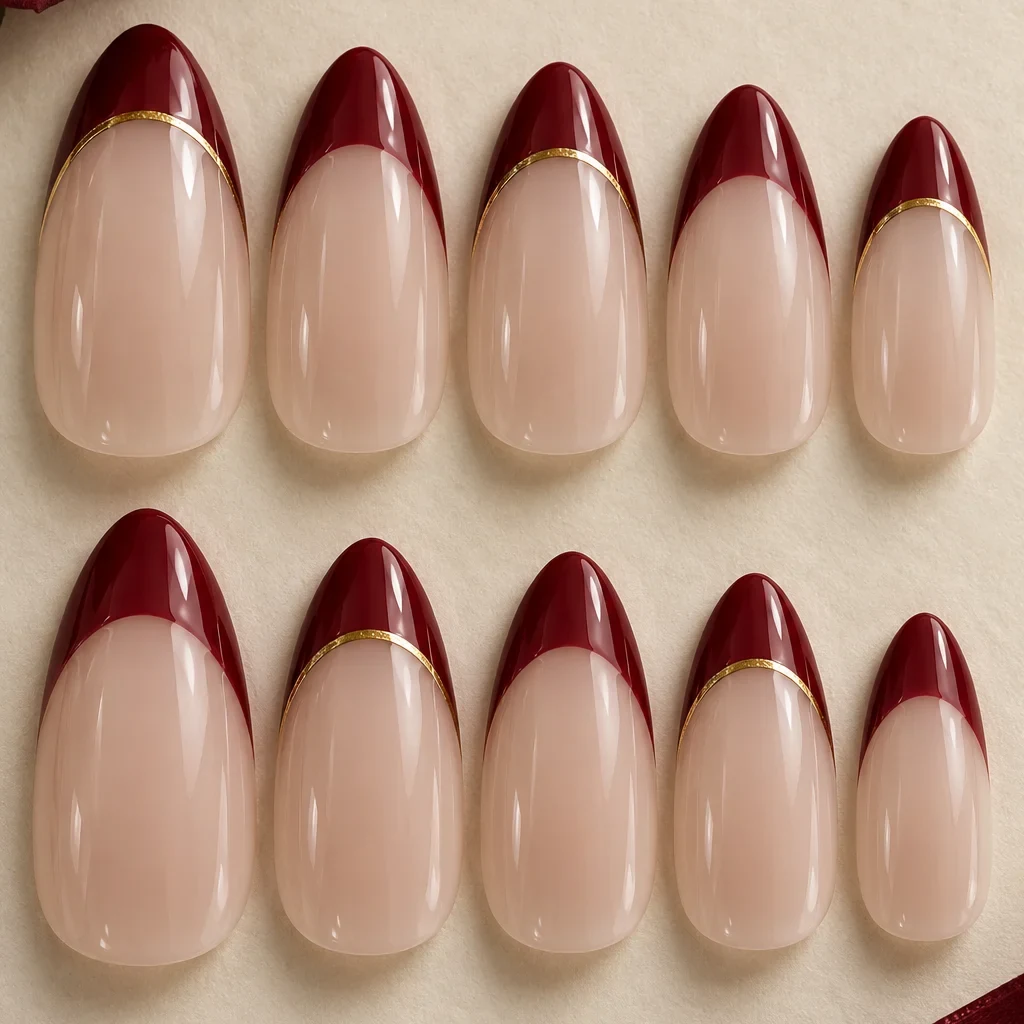
Wine Red French Tip Nails
What to check
A real product chosen to look like the picture. The picture is a styling reference, not this exact product.
-
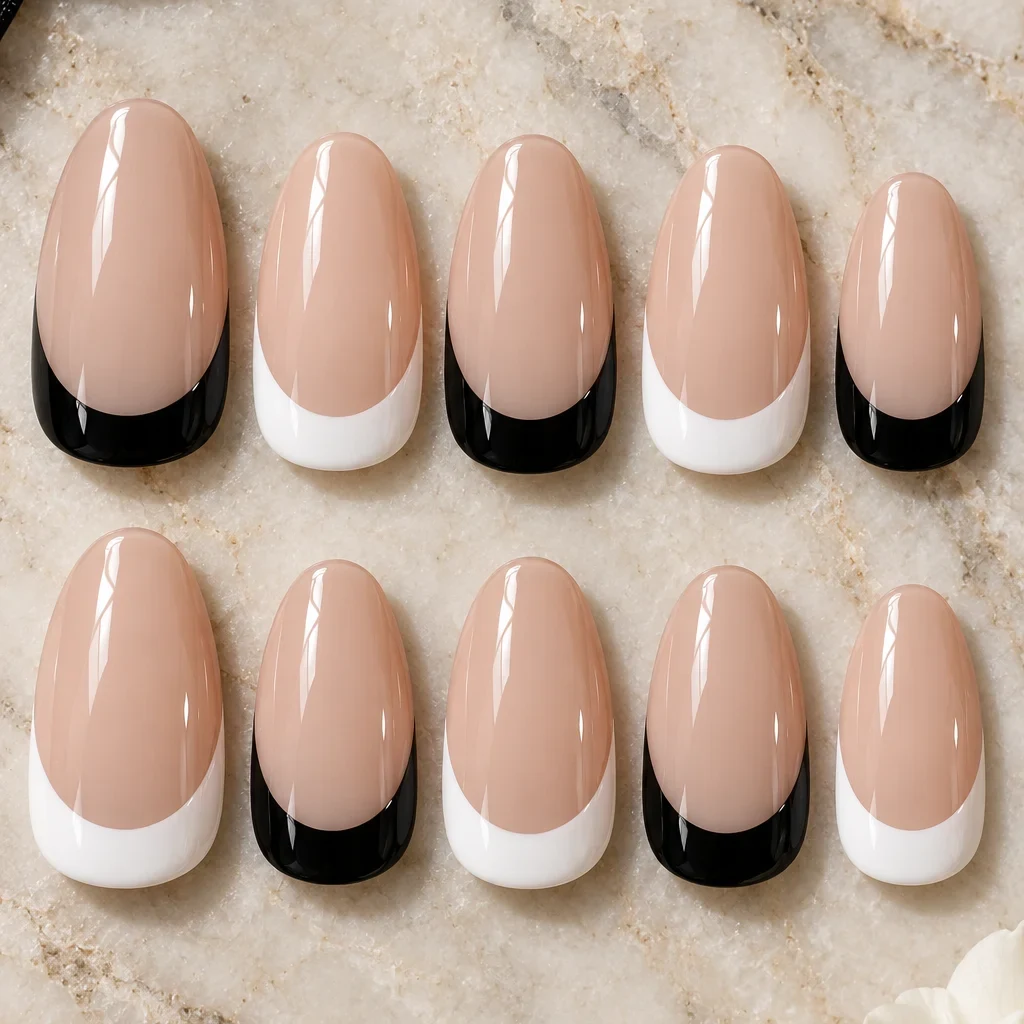
Alternating black and white tips
What to check
A real product chosen to look like the picture. The picture is a styling reference, not this exact product.
-
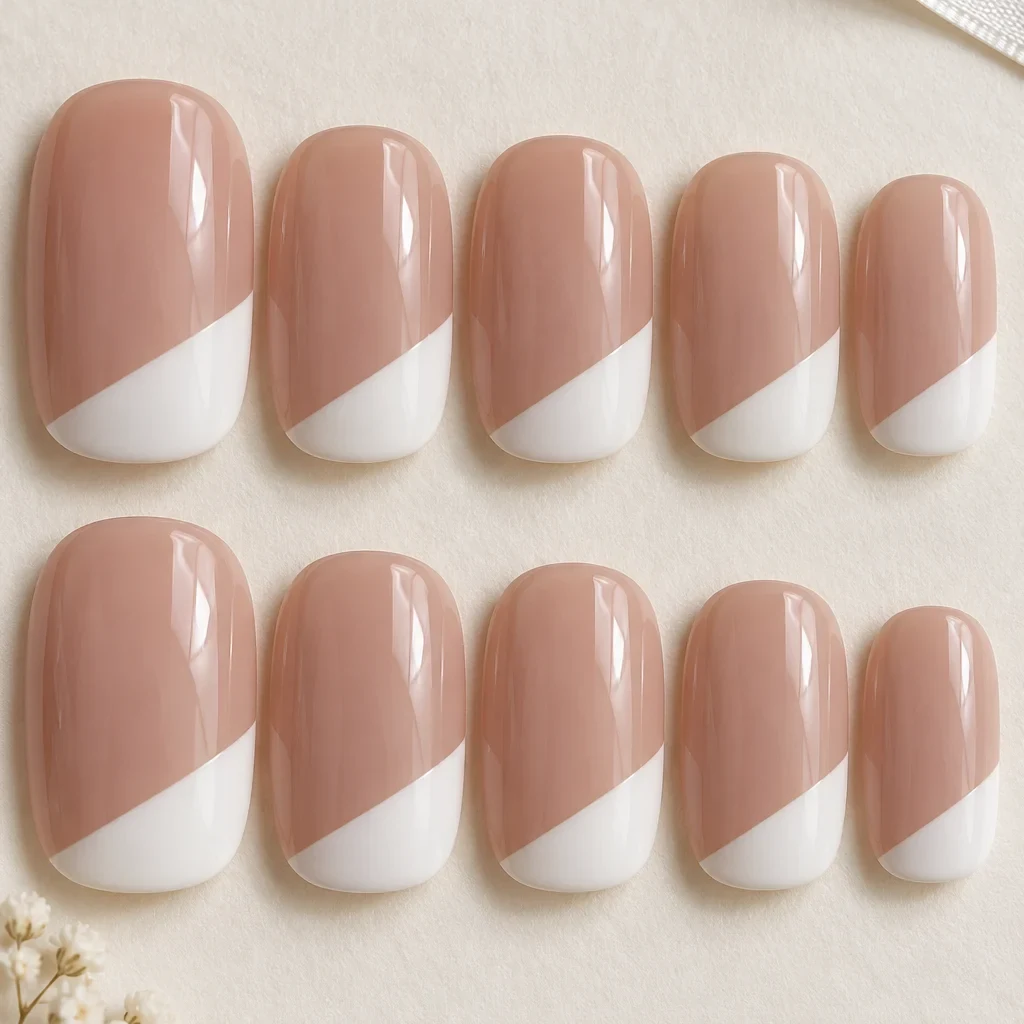
Angled white tips
What to check
A real product chosen to look like the picture. The picture is a styling reference, not this exact product.
-
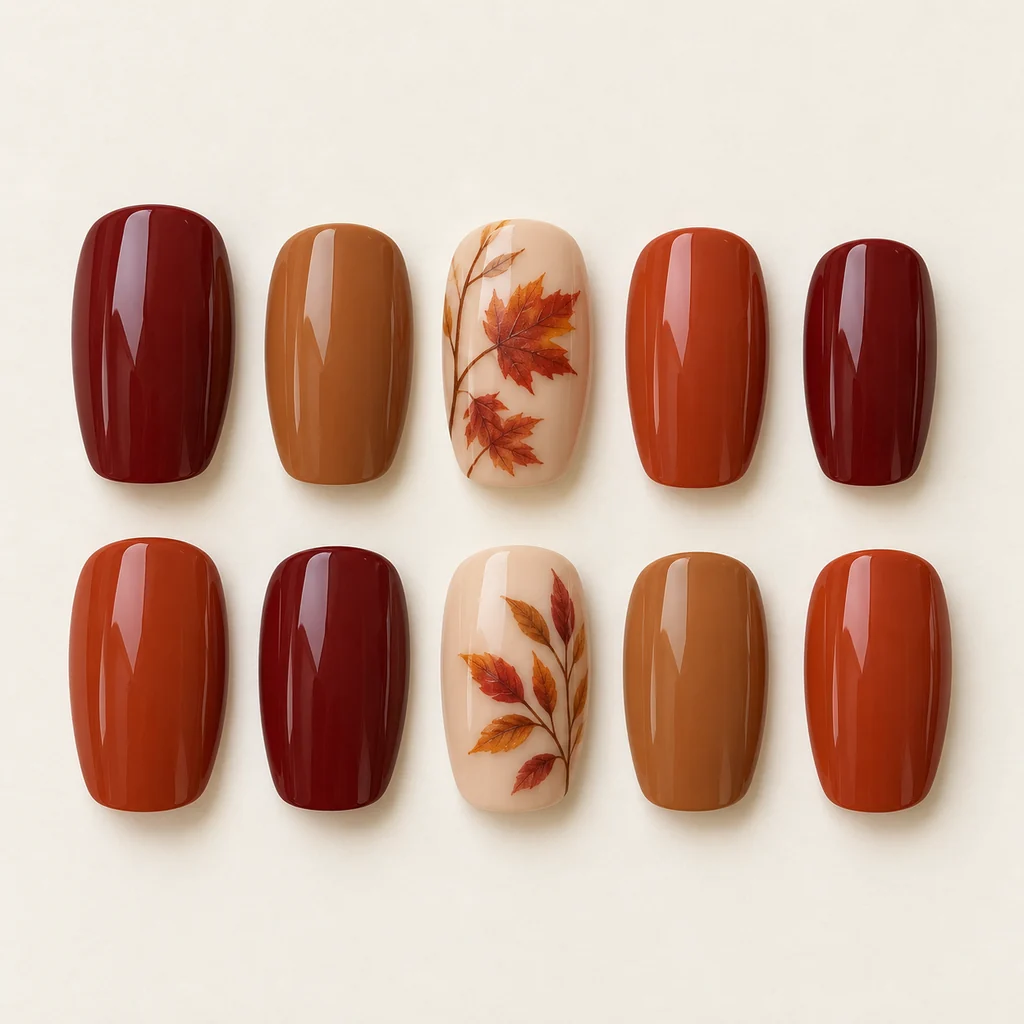
Autumn press-on nails
What to check
A real product chosen to look like the picture. The picture is a styling reference, not this exact product.
-
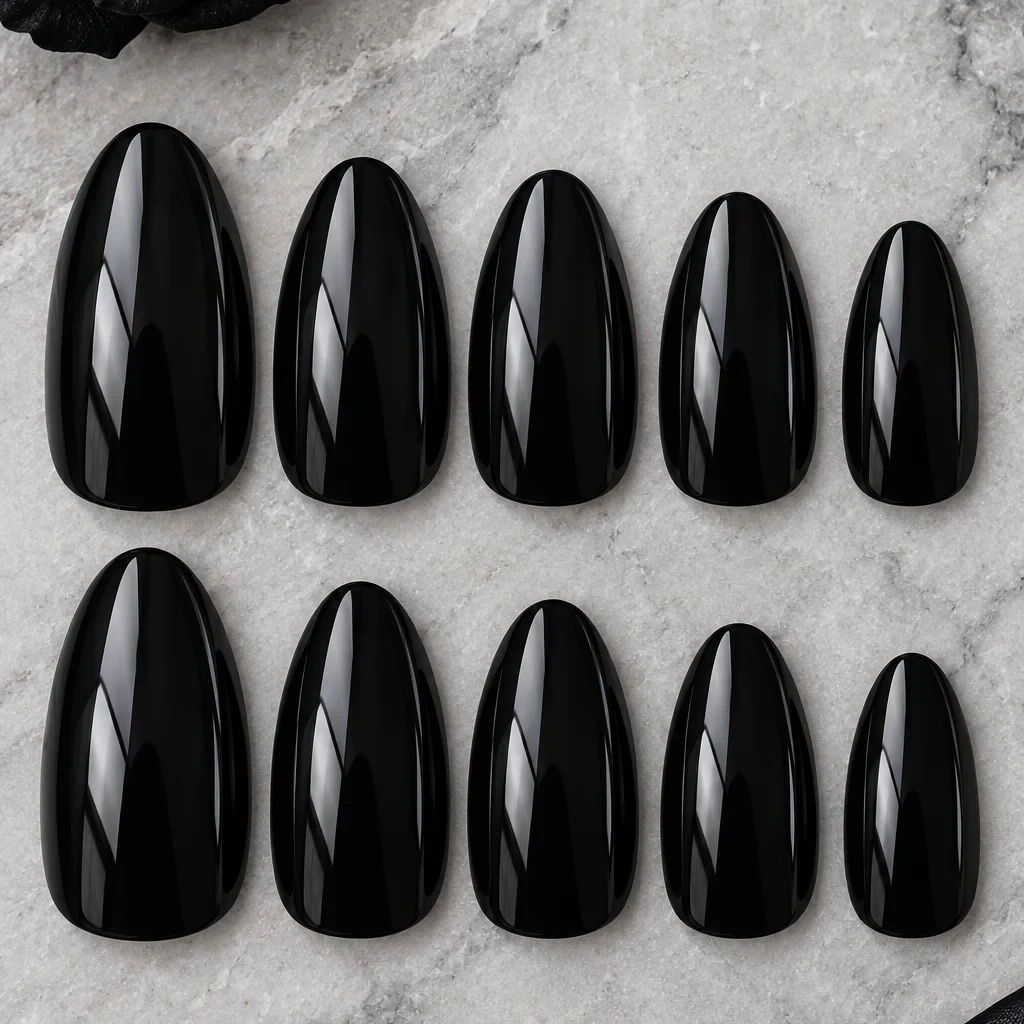
Black Nail Polish
What to check
A real product chosen to look like the picture. The picture is a styling reference, not this exact product.
The gallery
26 press-on sets looks
Open a look to see its pieces.
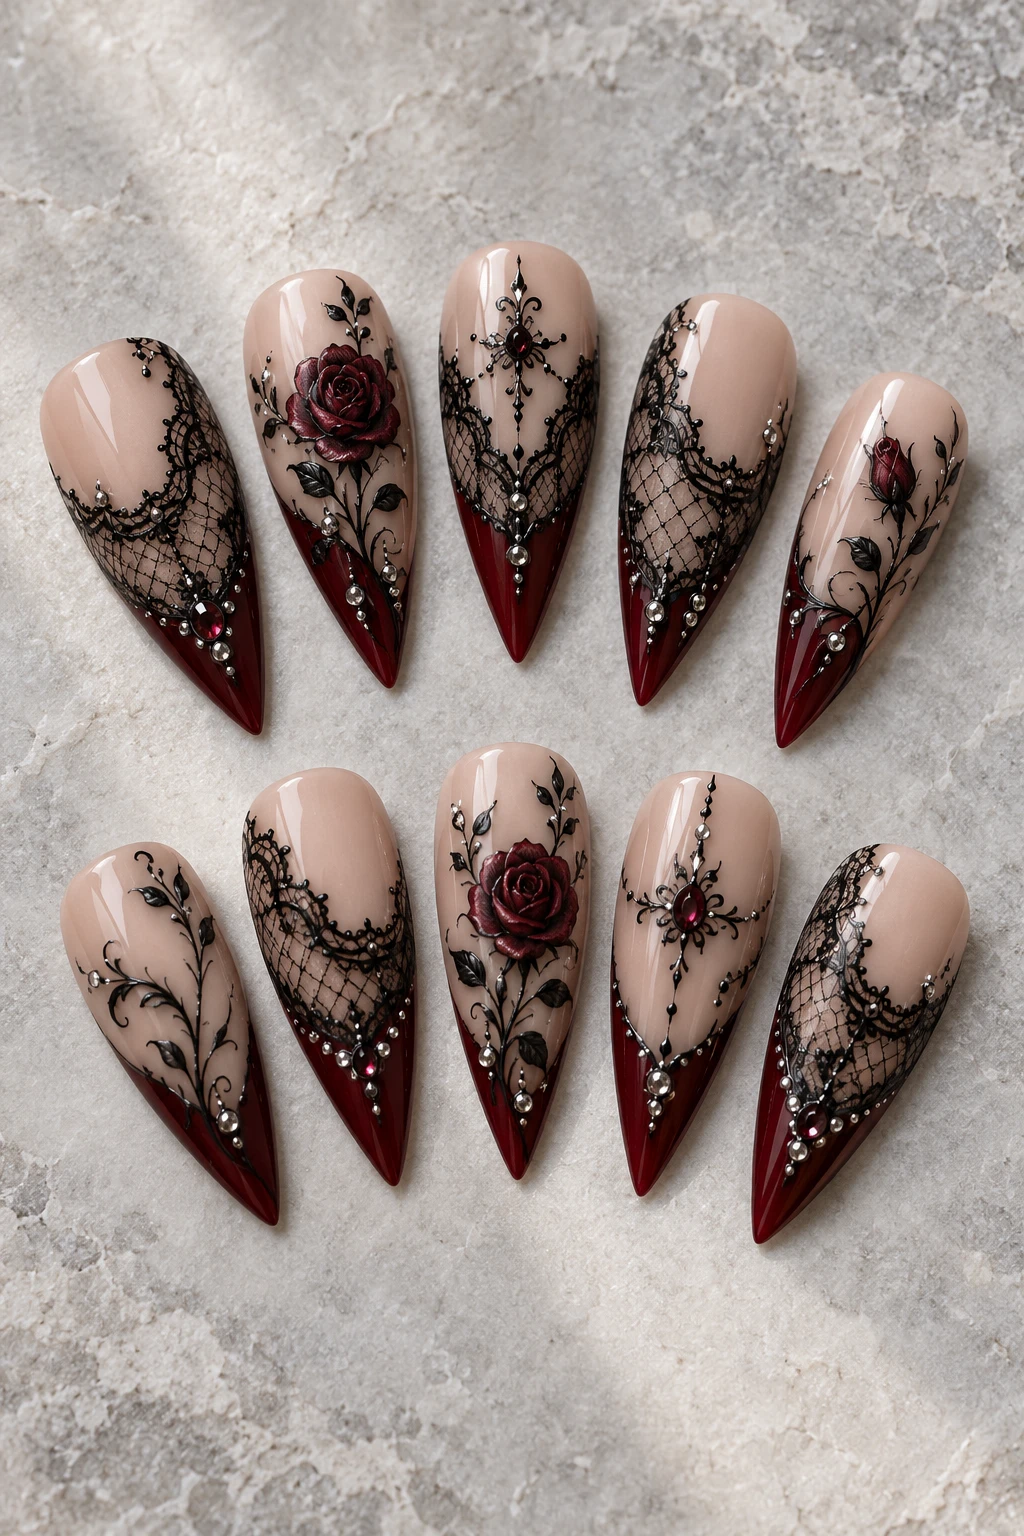 Black lace & garnet
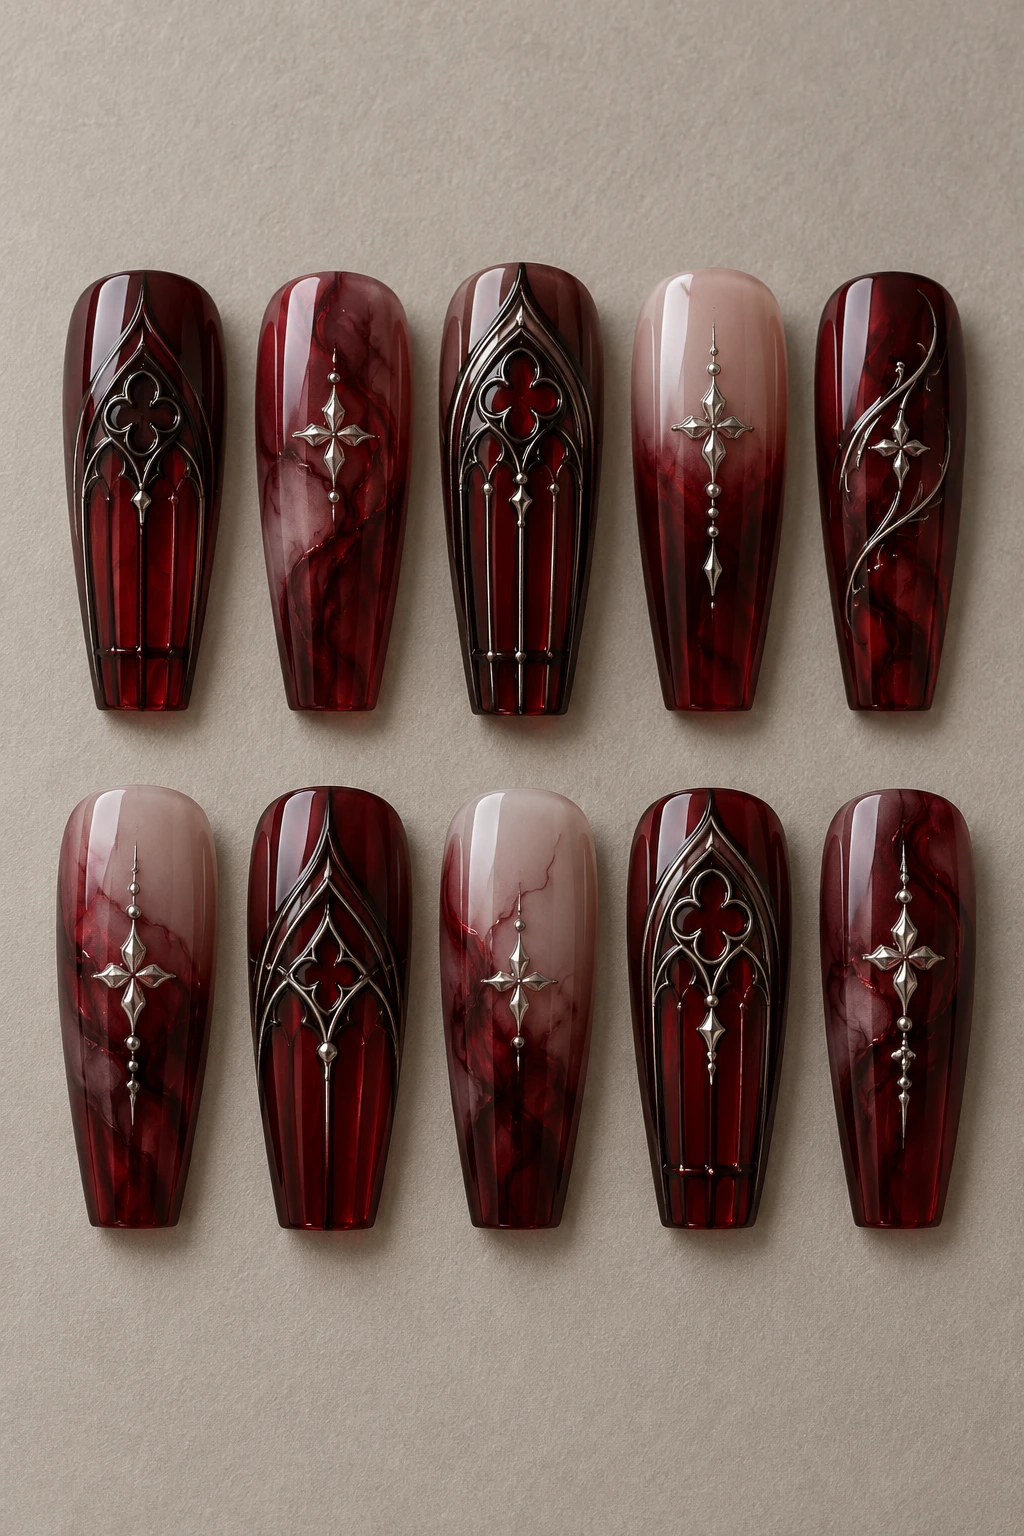 Ruby cathedral windows
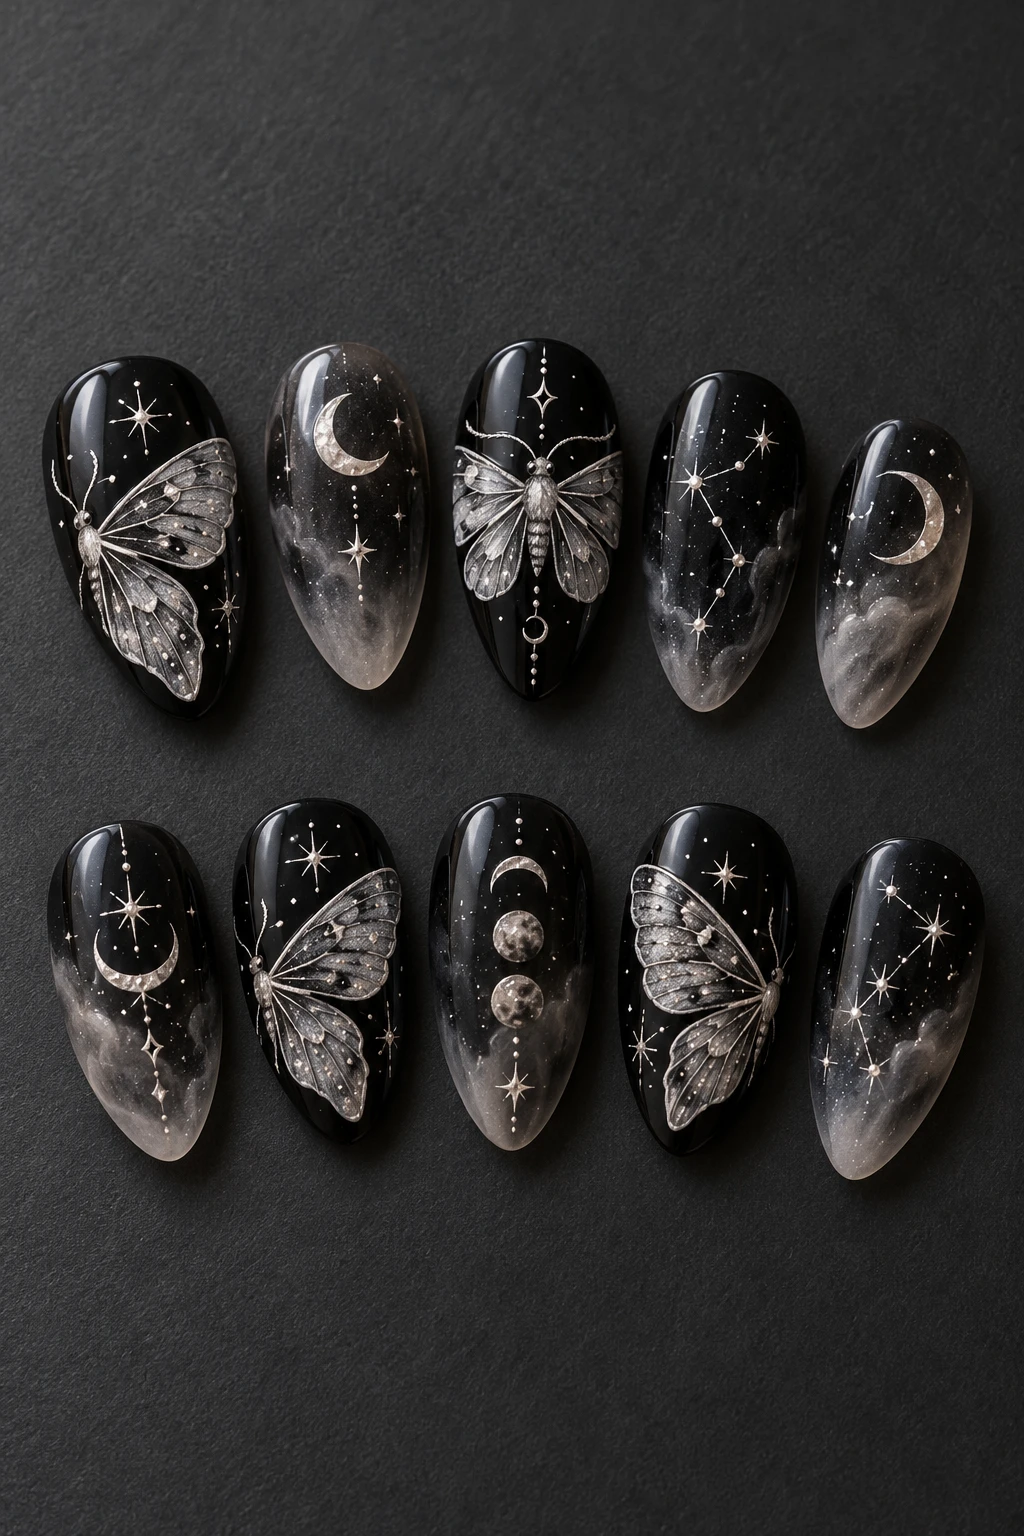 Midnight moth & moon
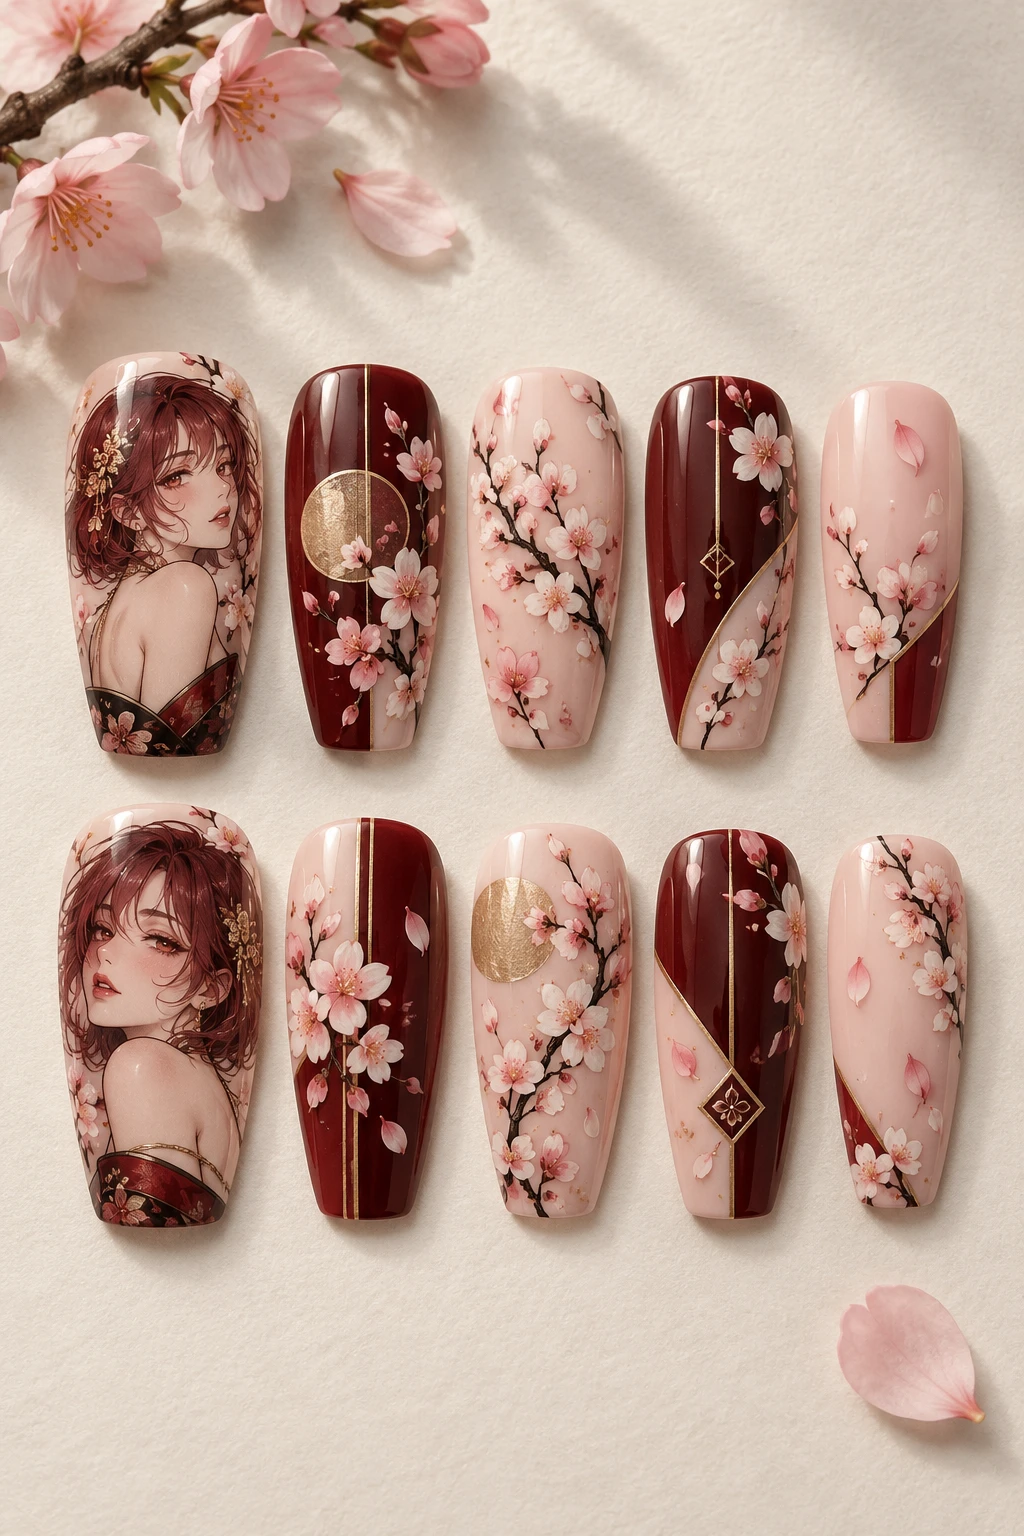 Sakura story panels
 Cosmic transformation
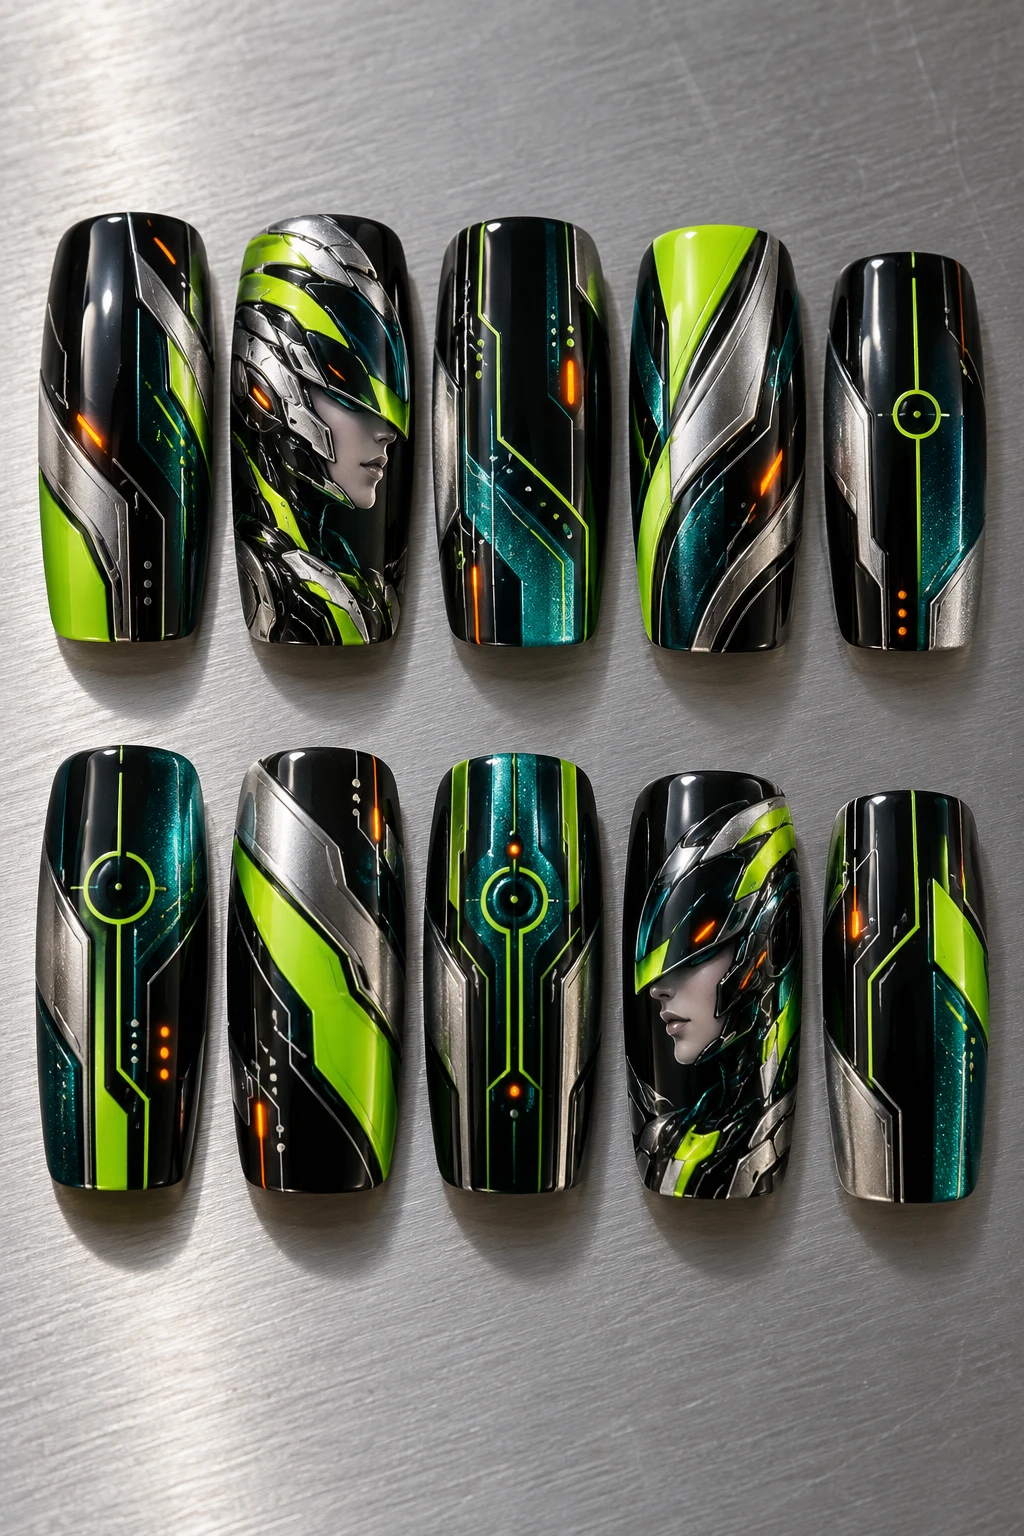 Neon arcade mecha
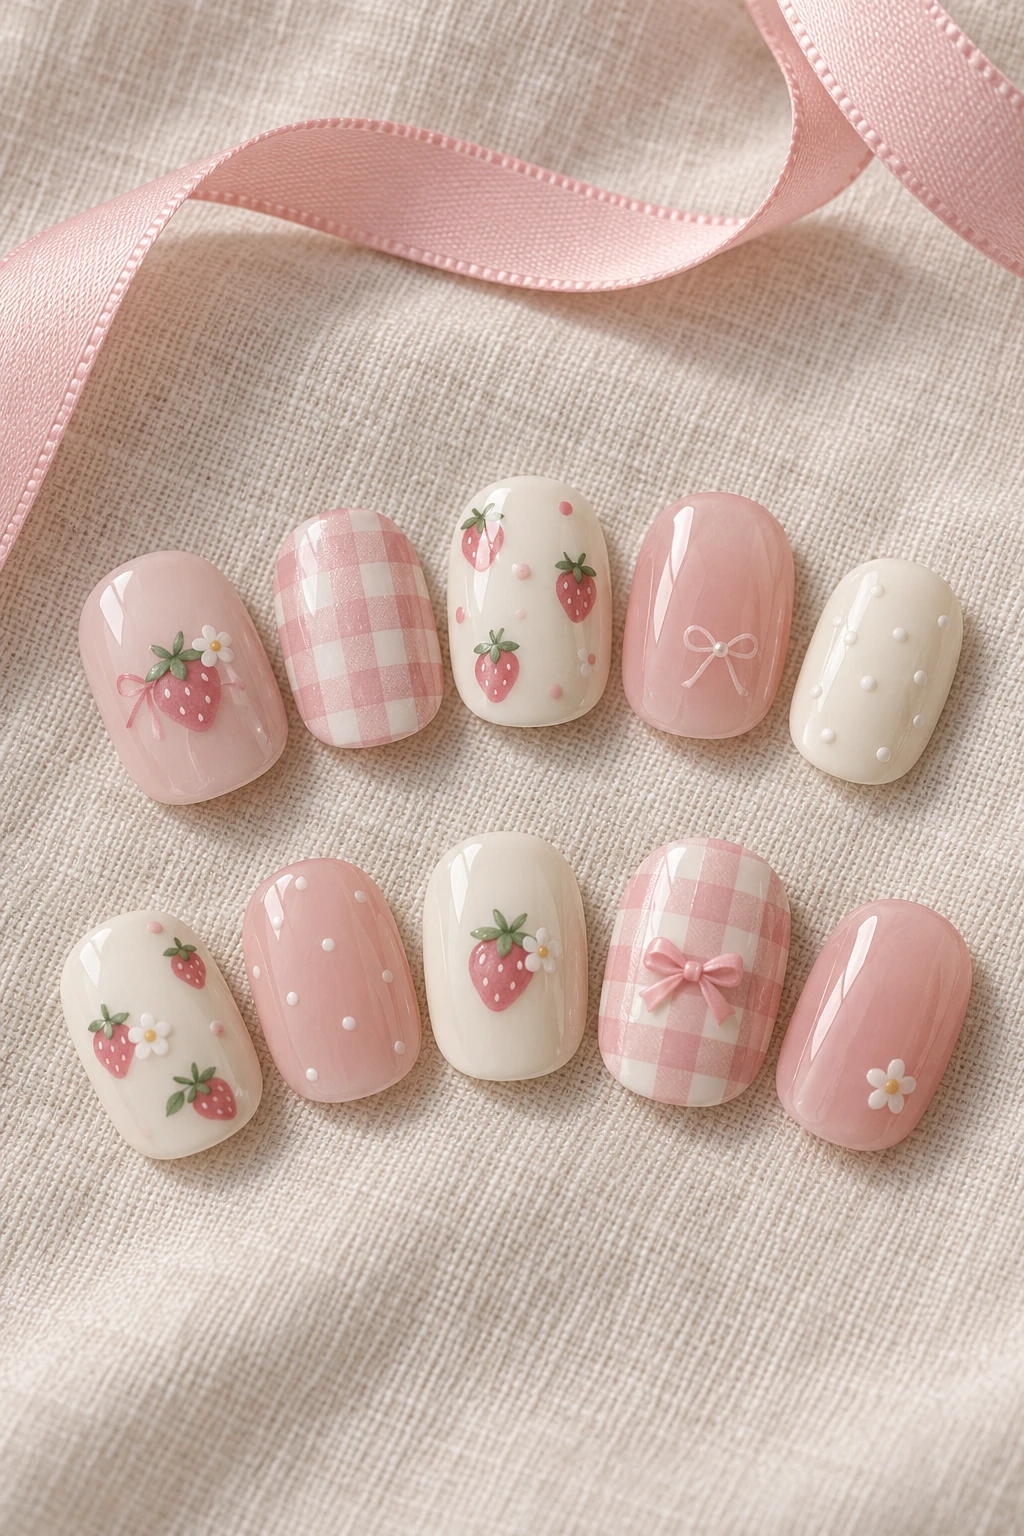 Strawberry milk picnic
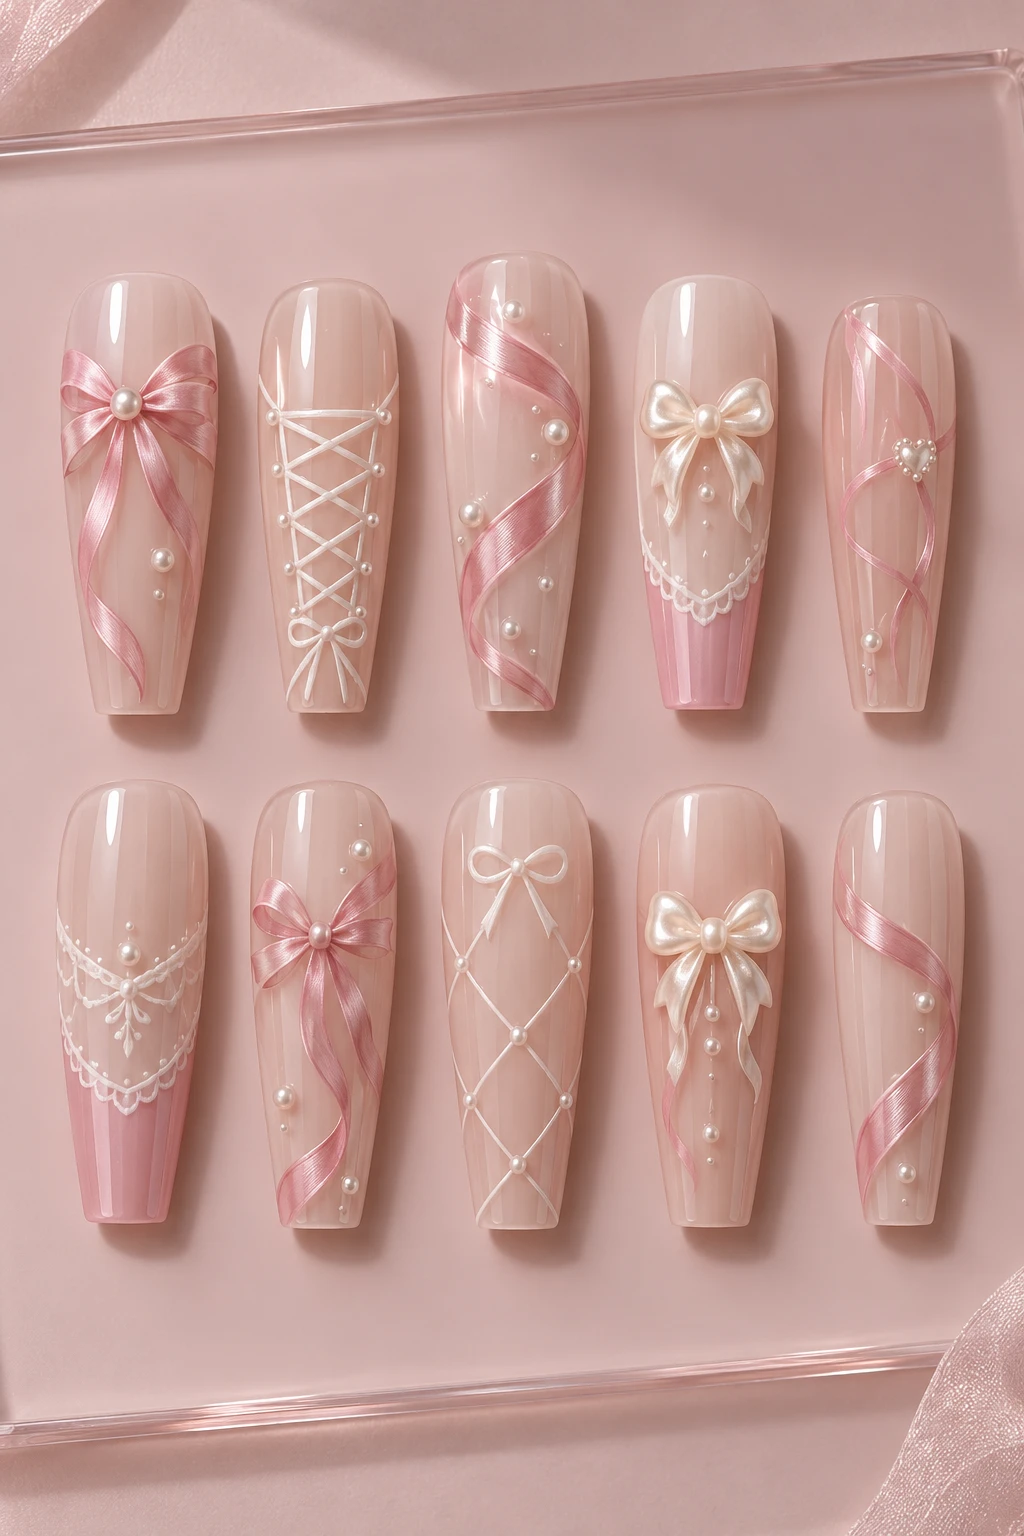 Ballet ribbon blush
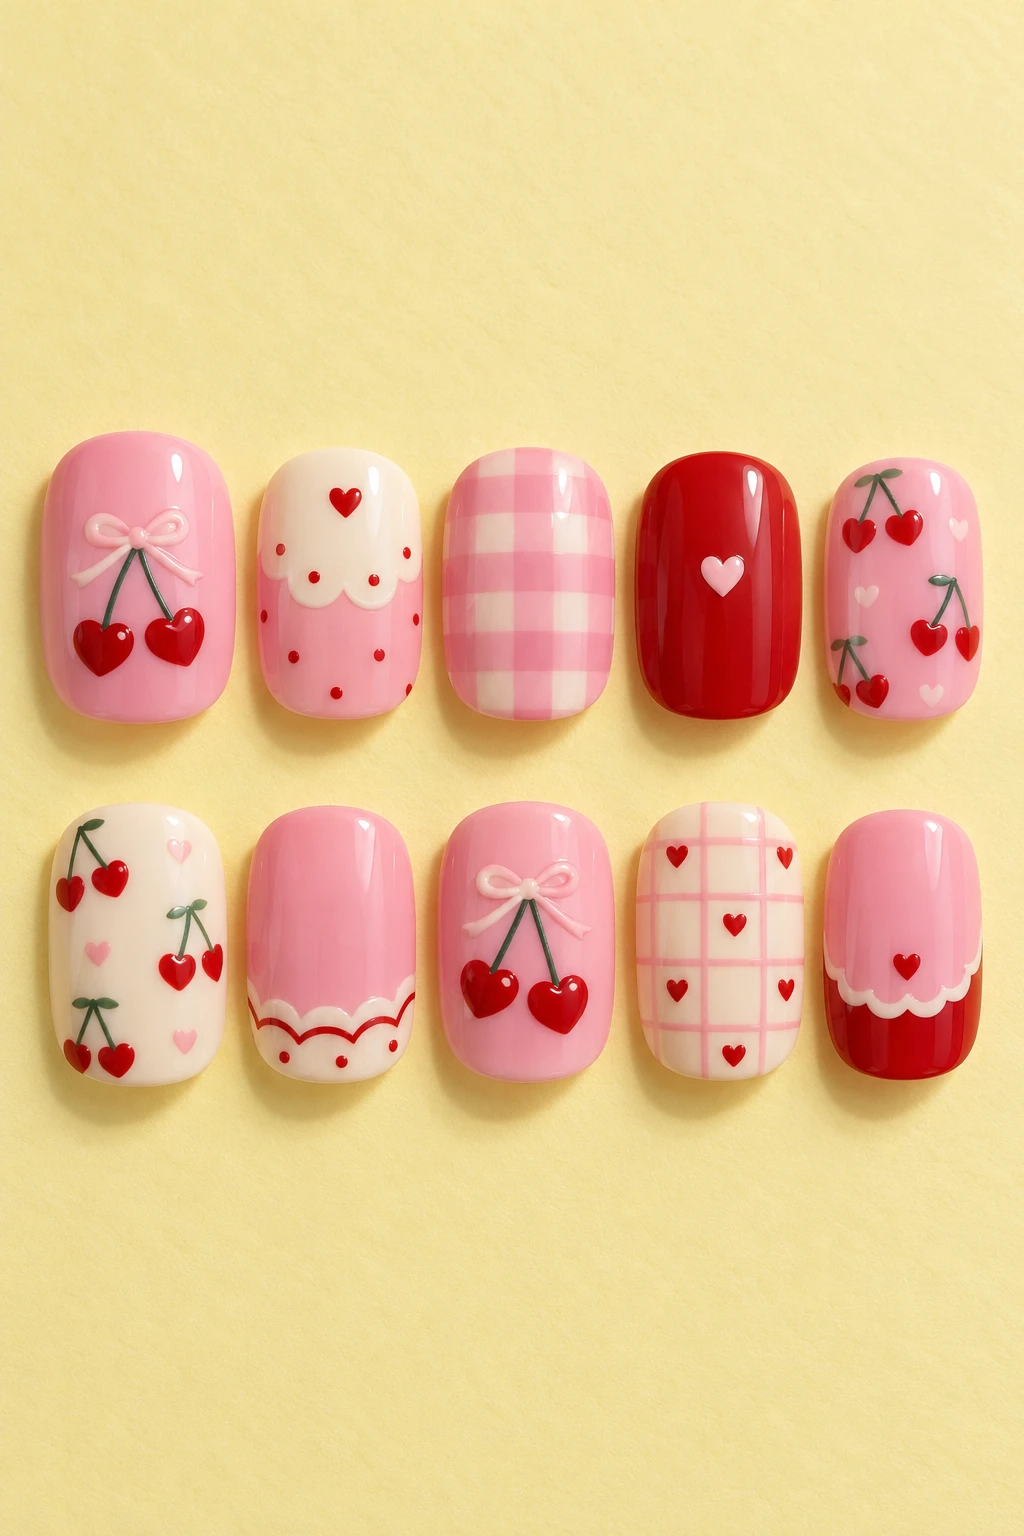 Cherry heart sweetheart
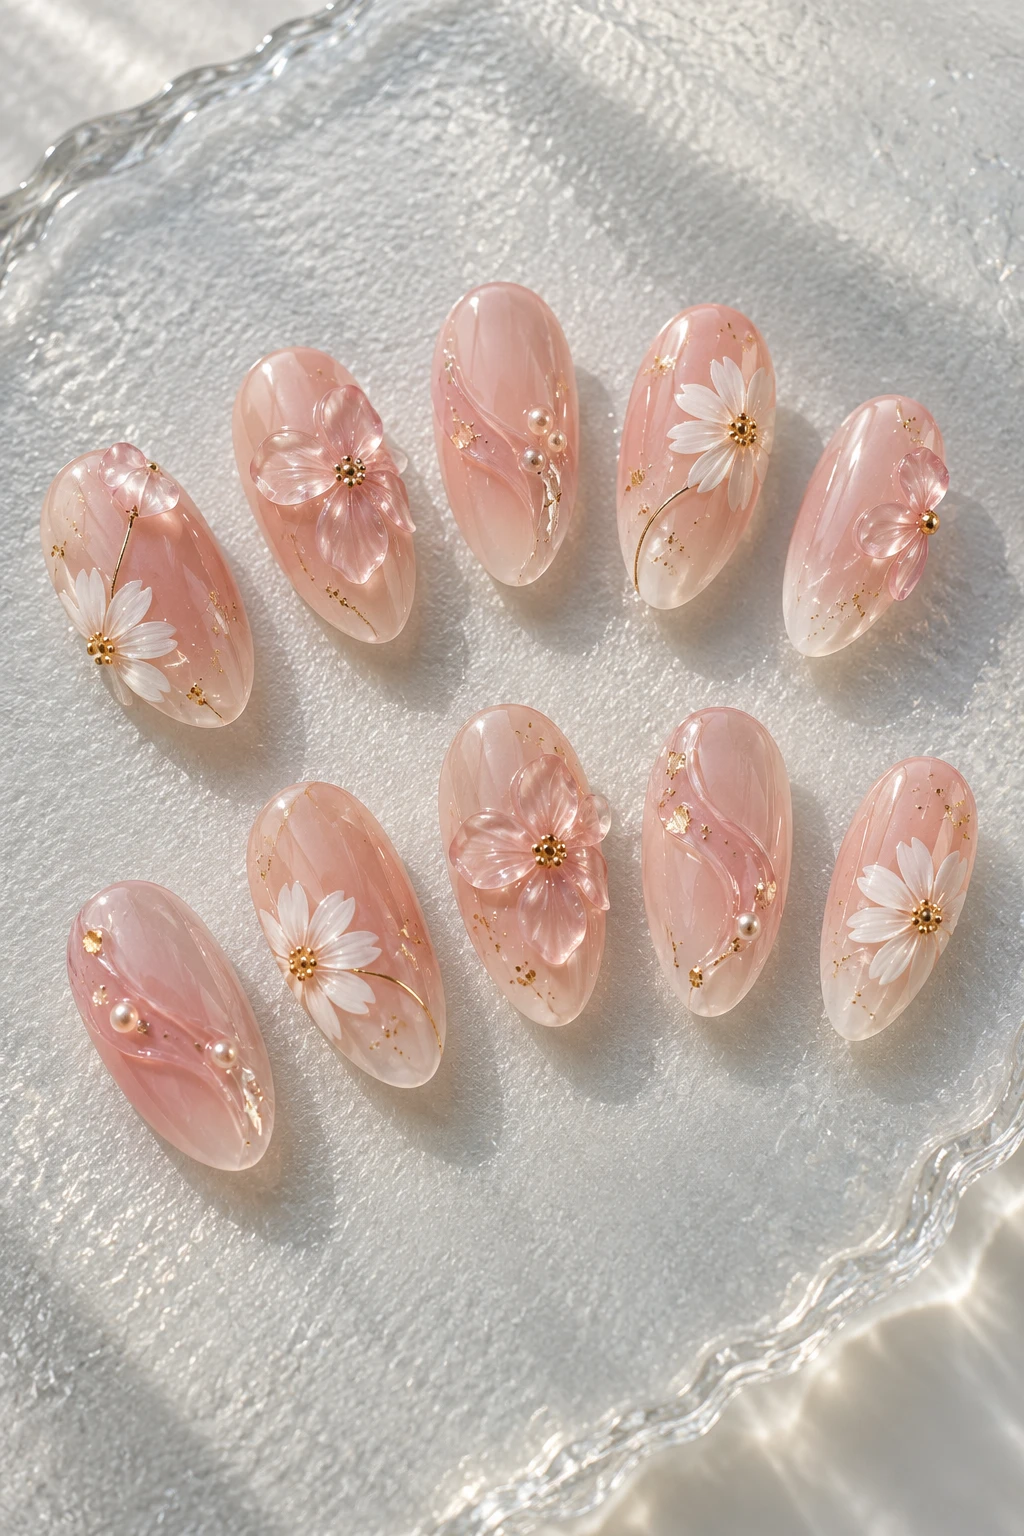 Pink jelly flower garden
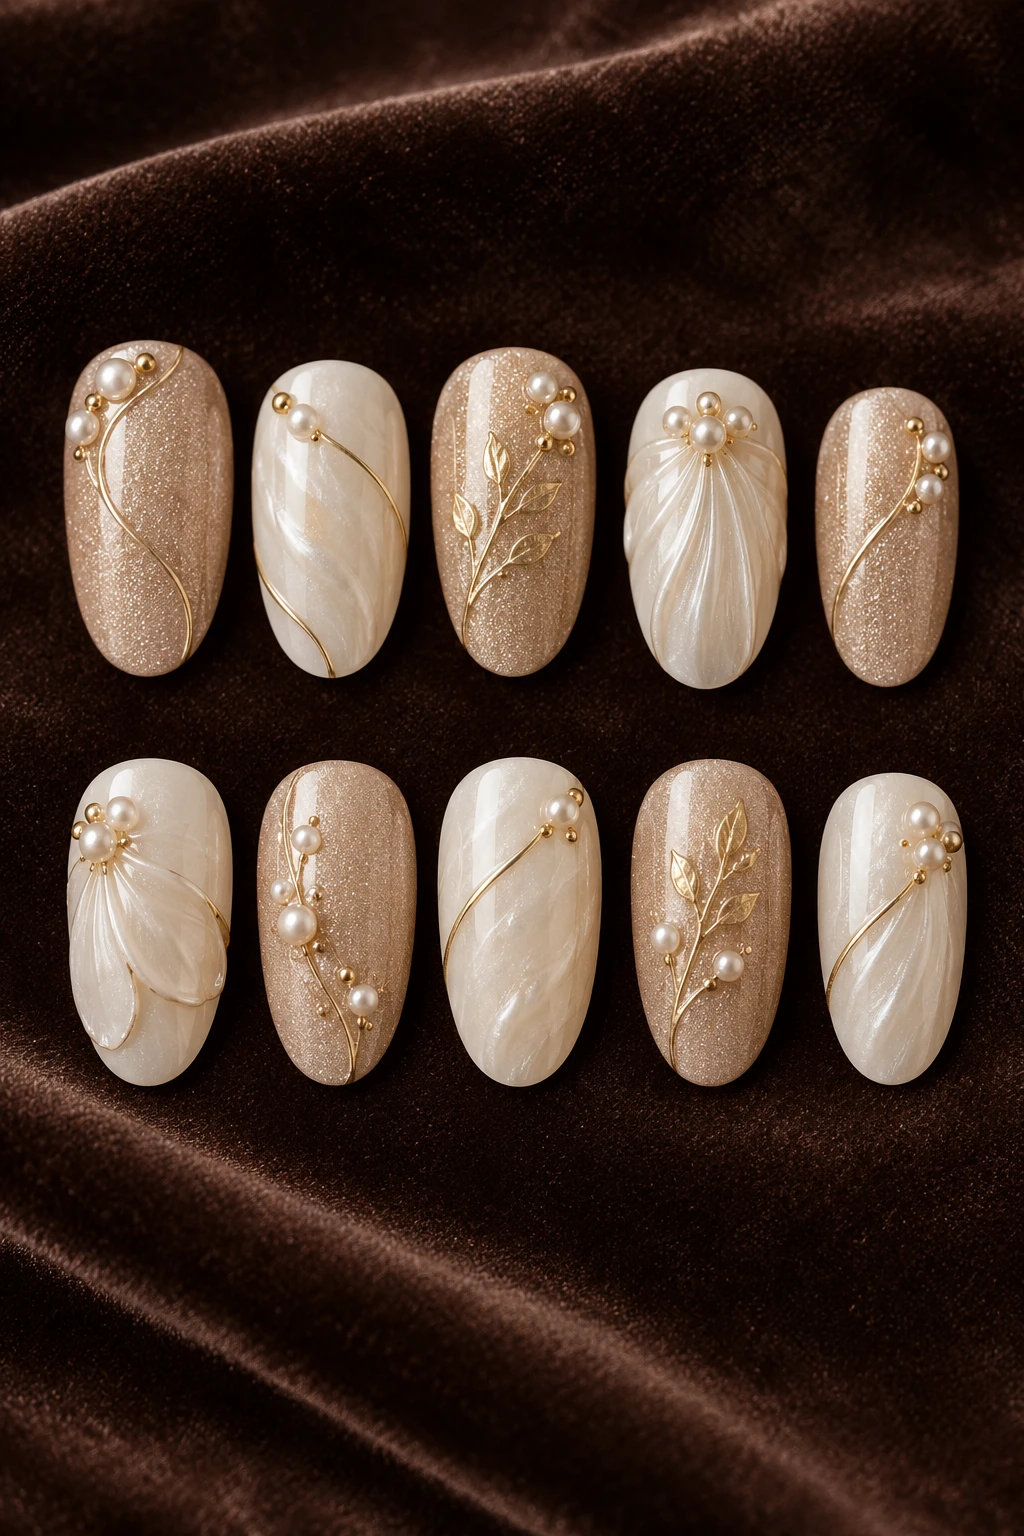 Champagne pearl filigree
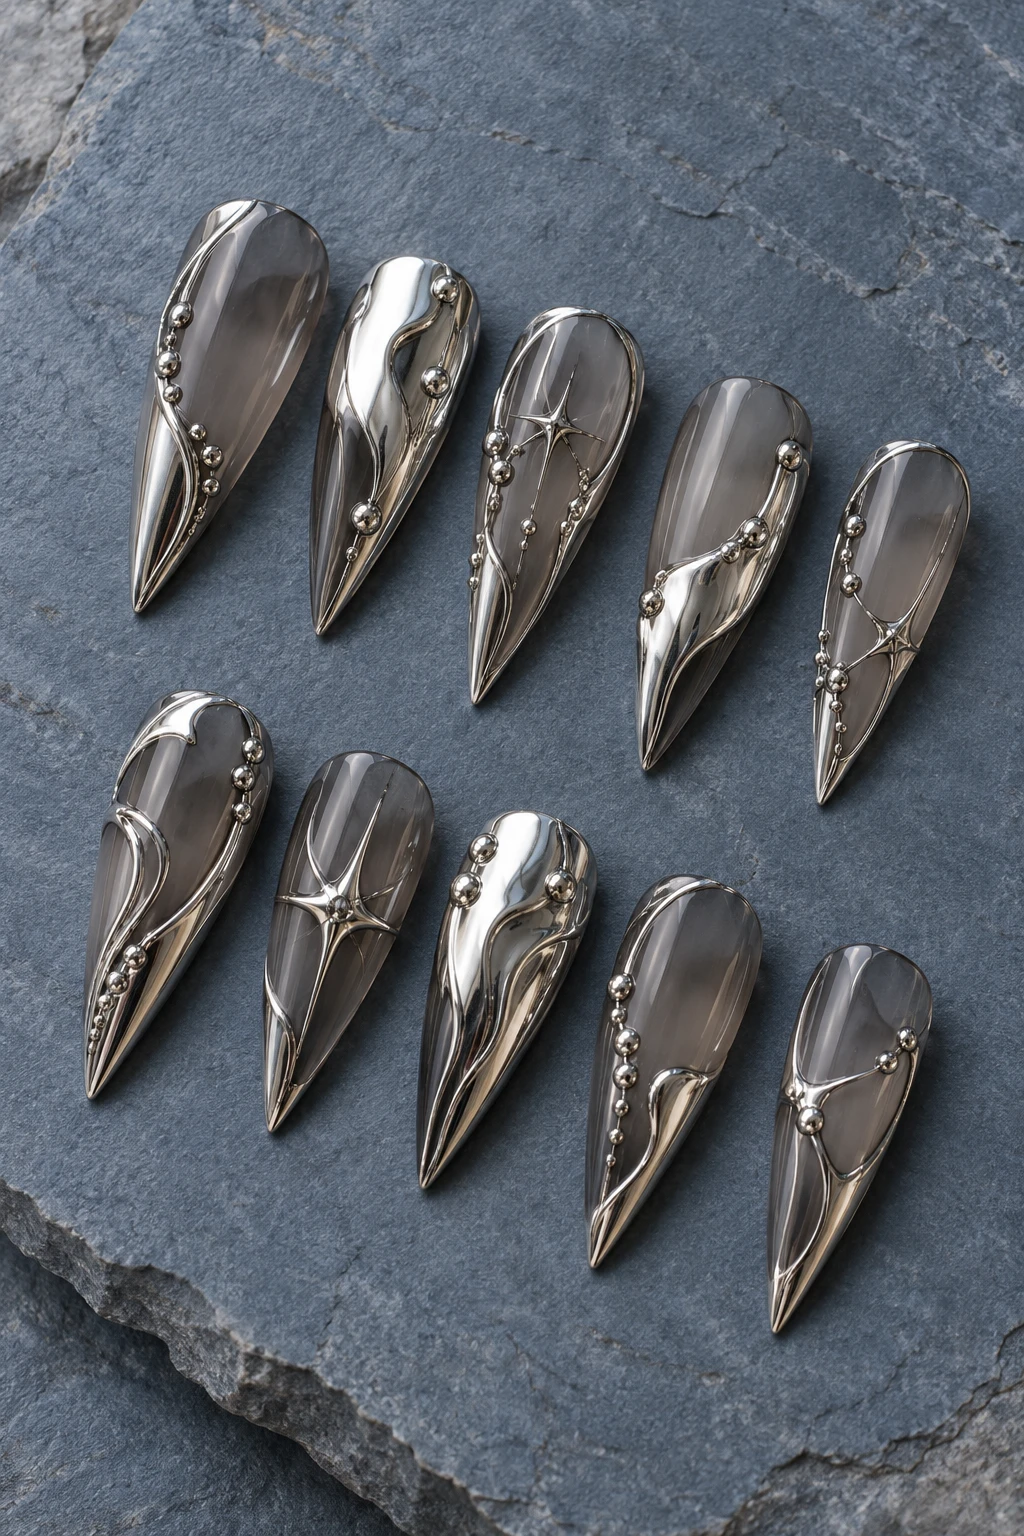 Liquid silver armor
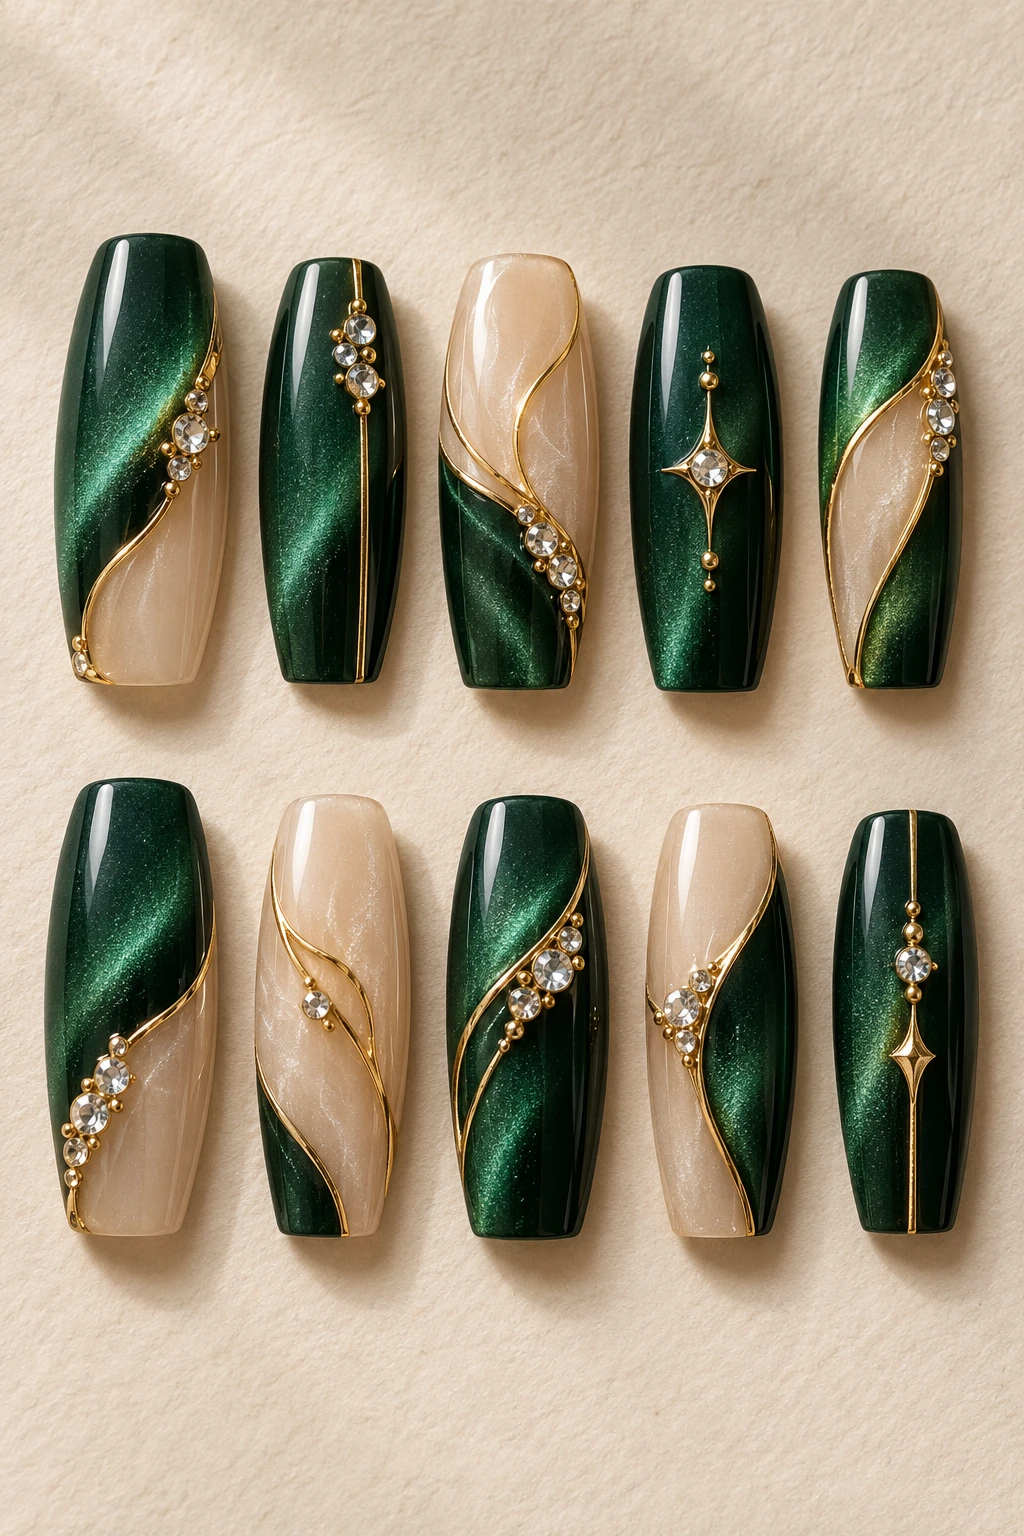 Emerald evening jewels
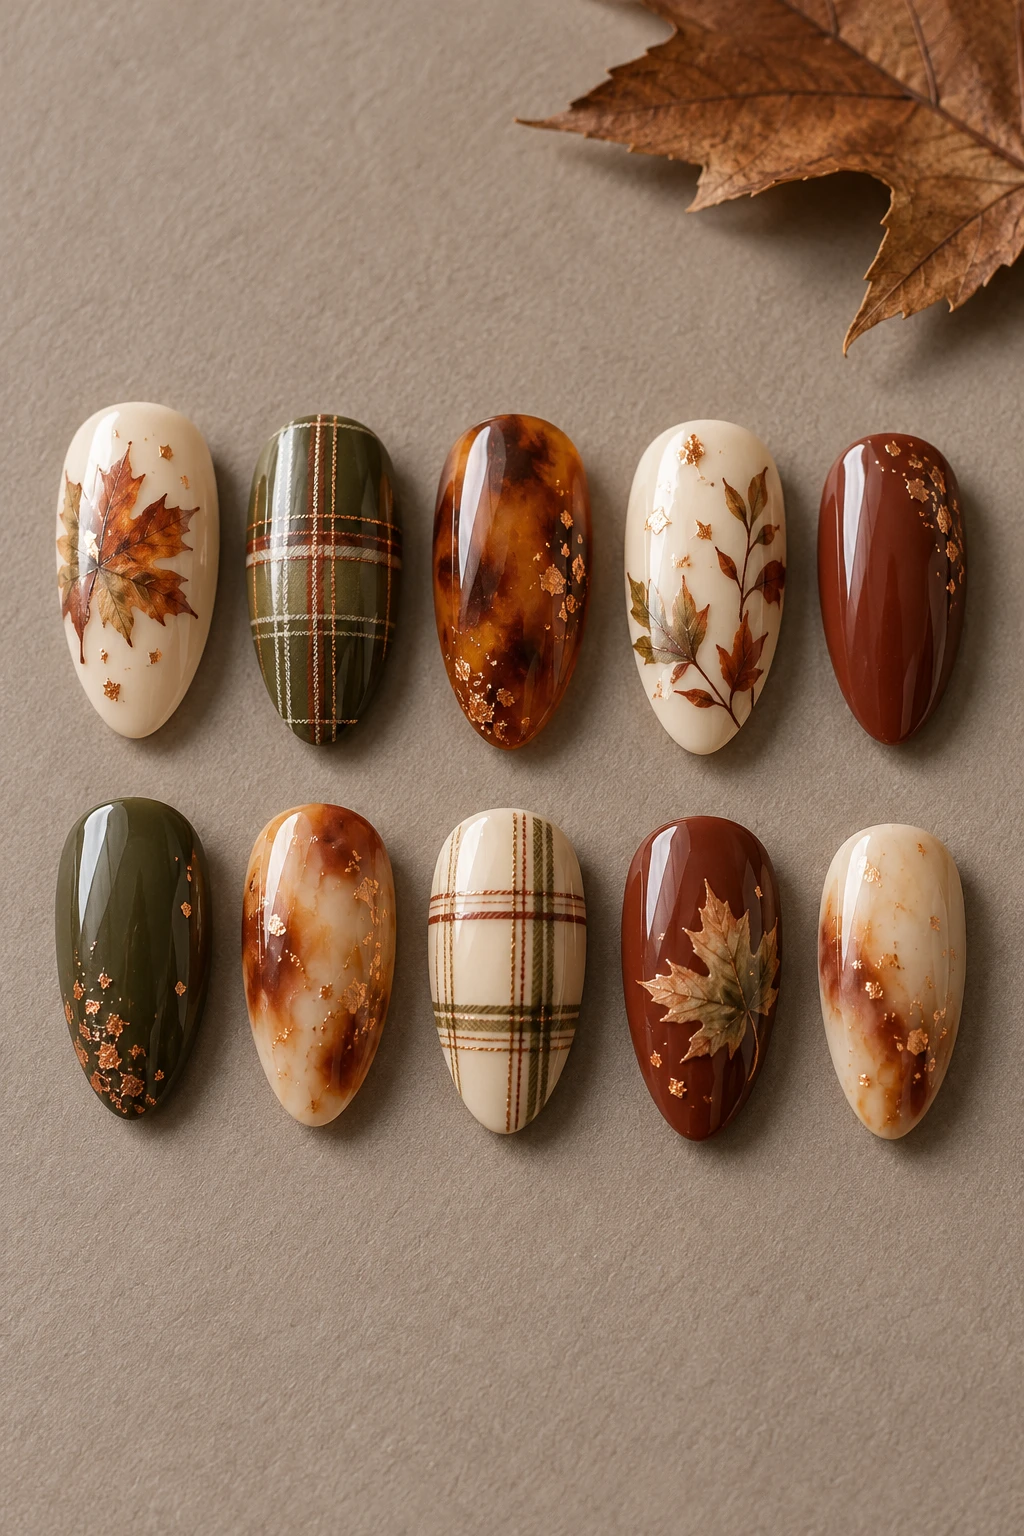 Autumn tartan & maple
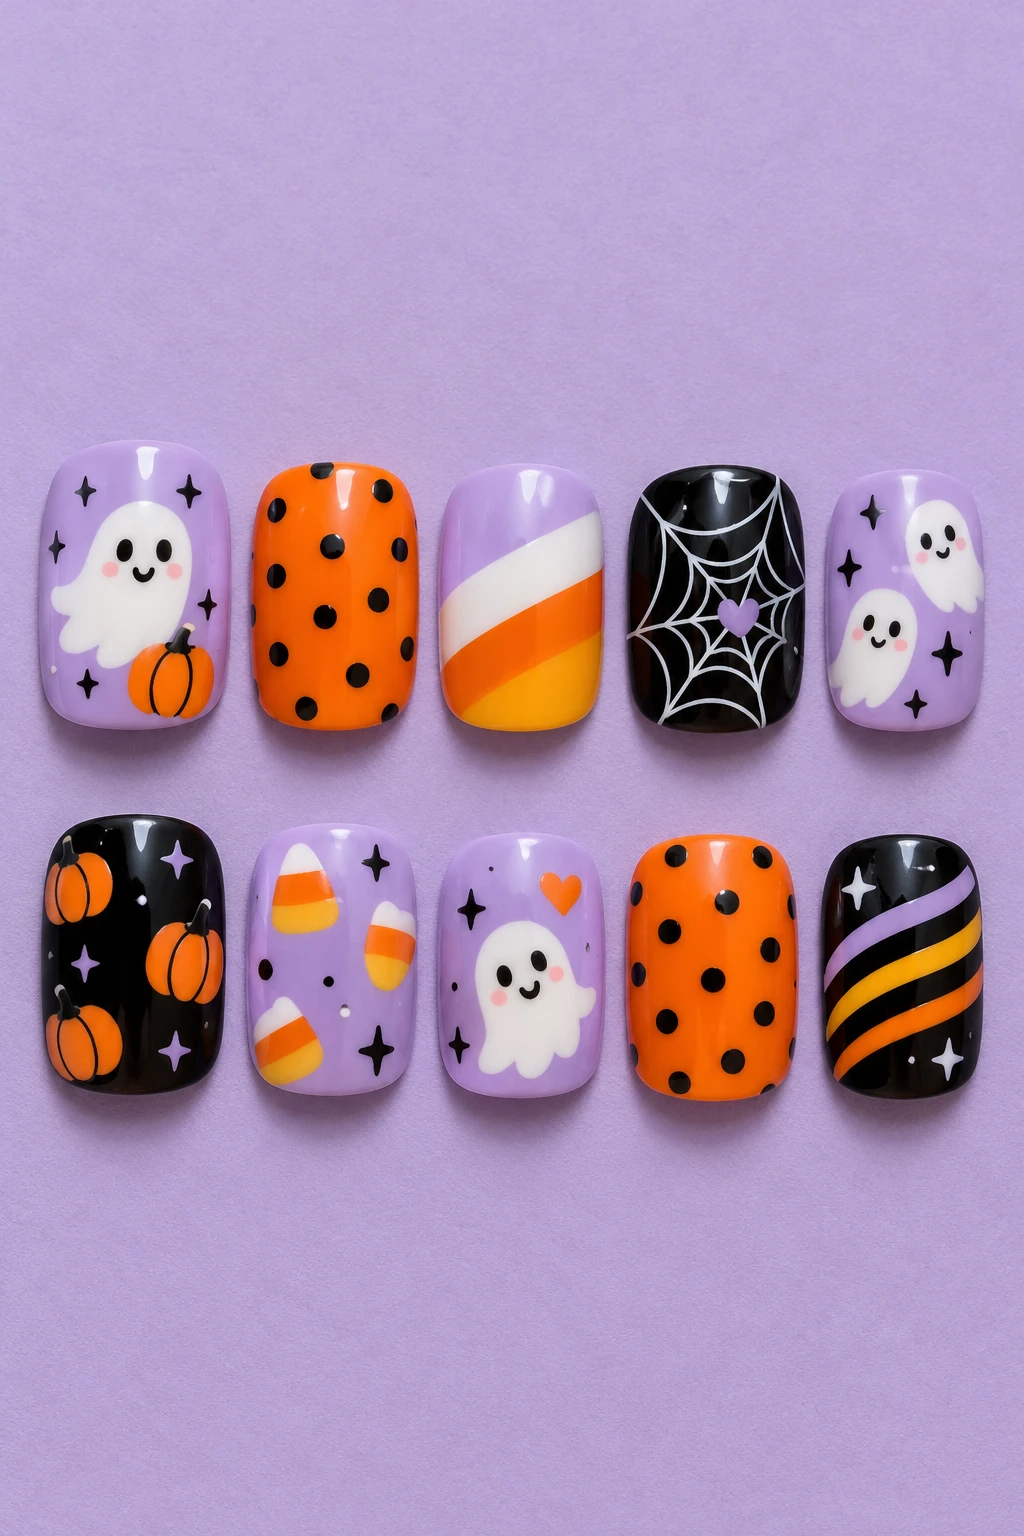 Playful haunted candy
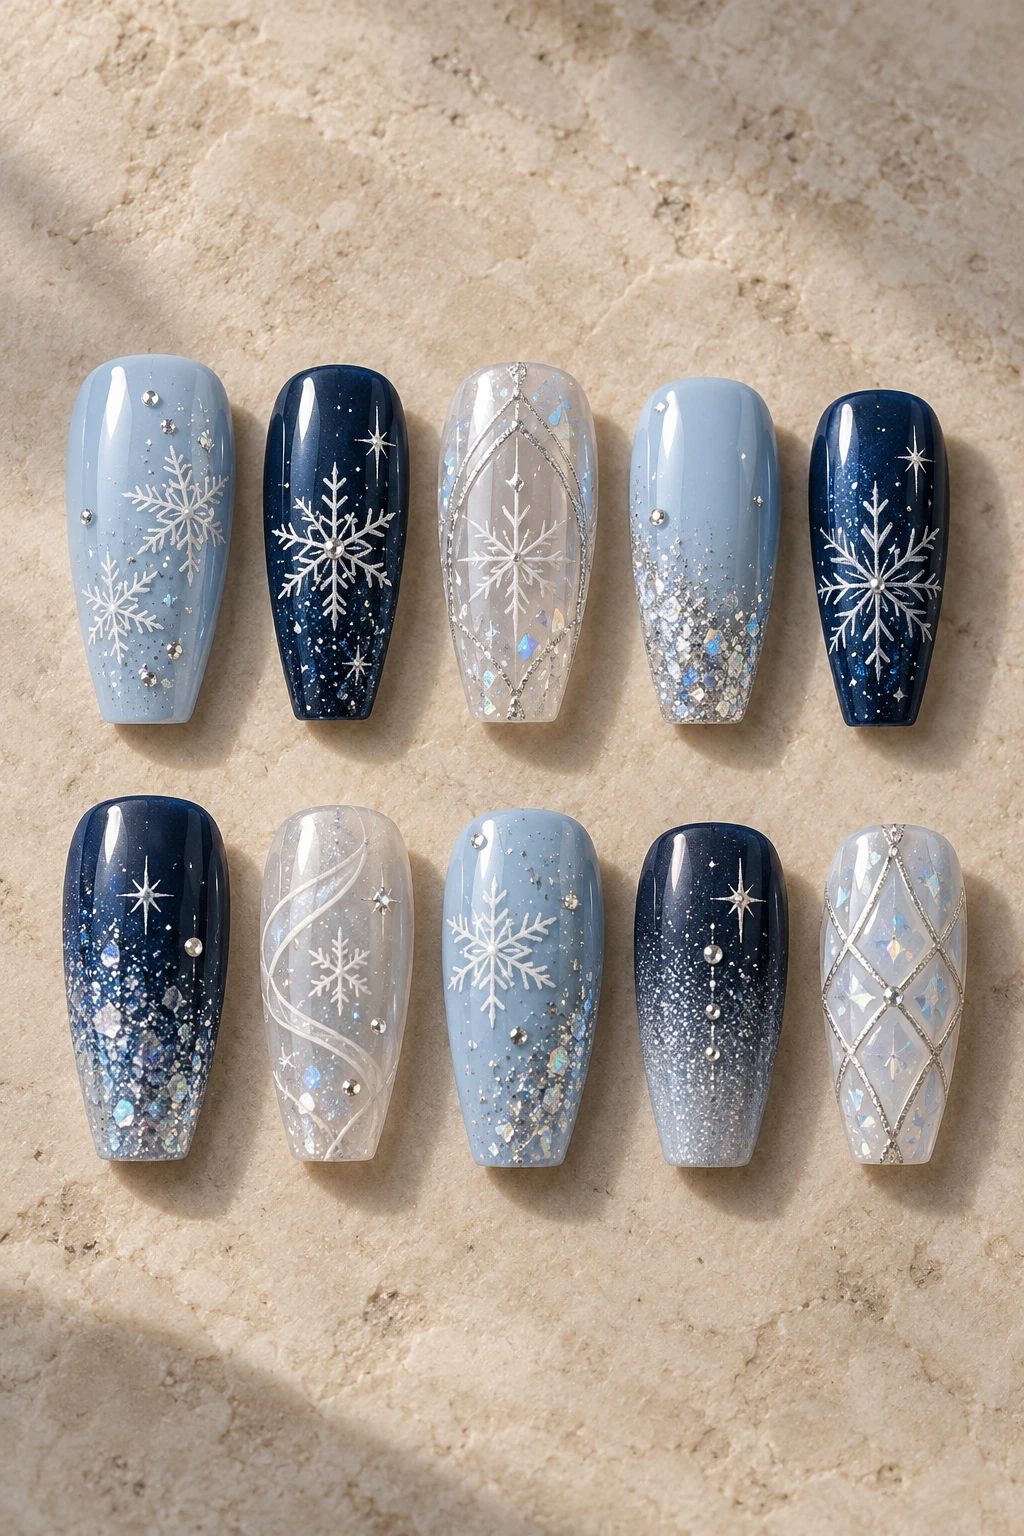 Midwinter blue frost
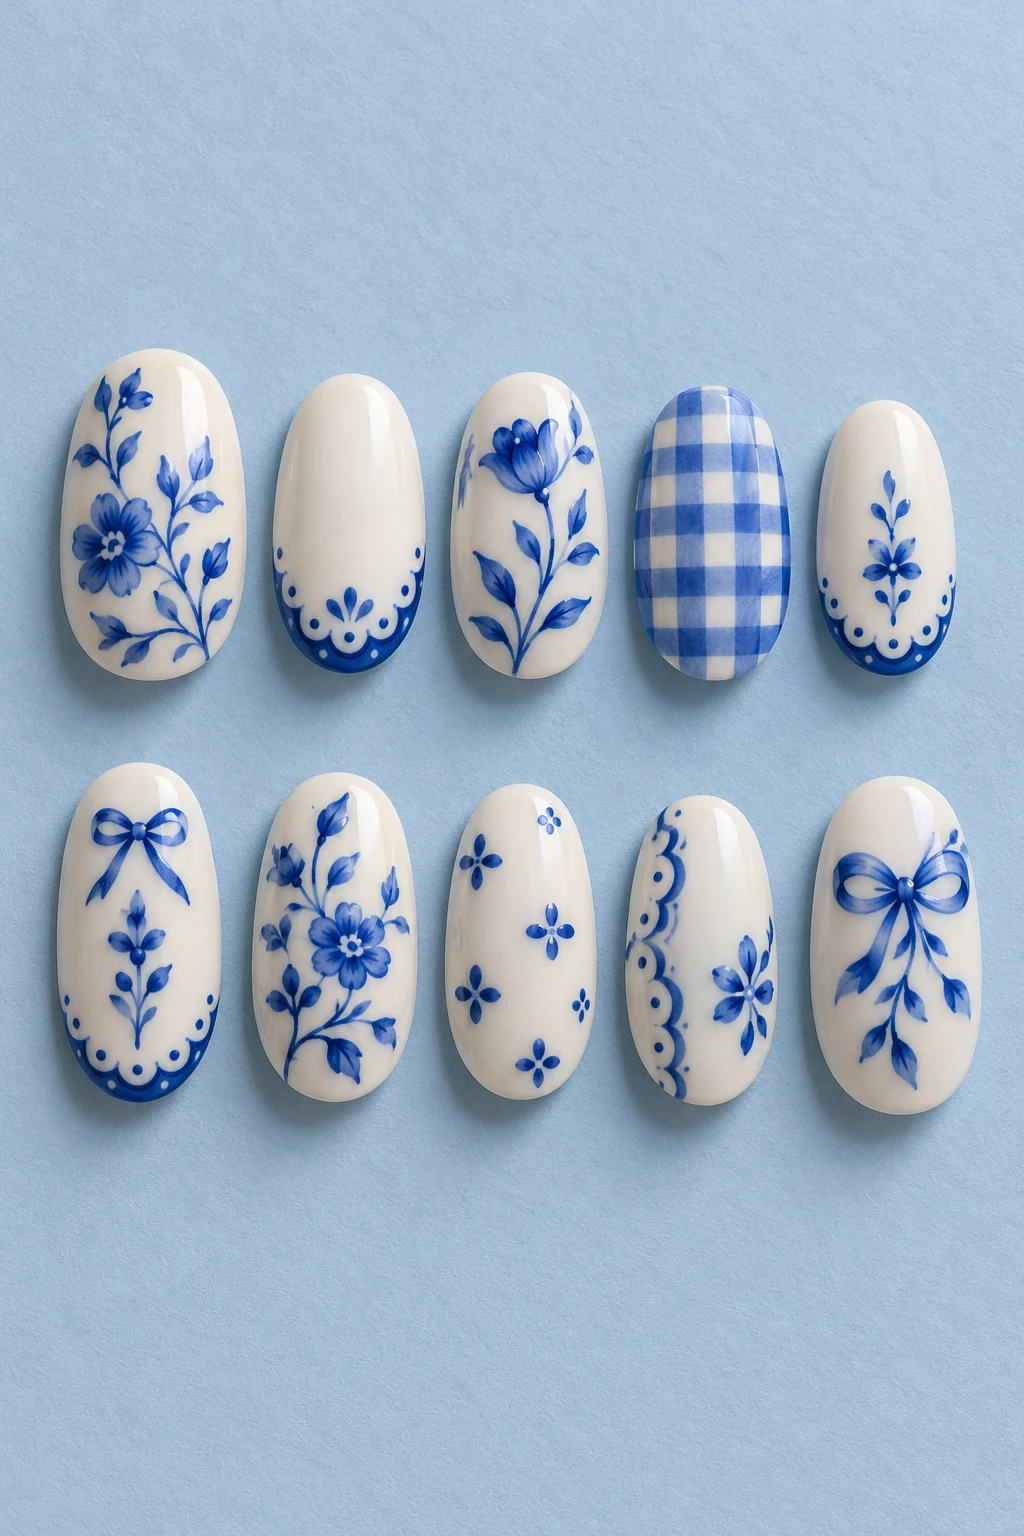 Blue porcelain garden
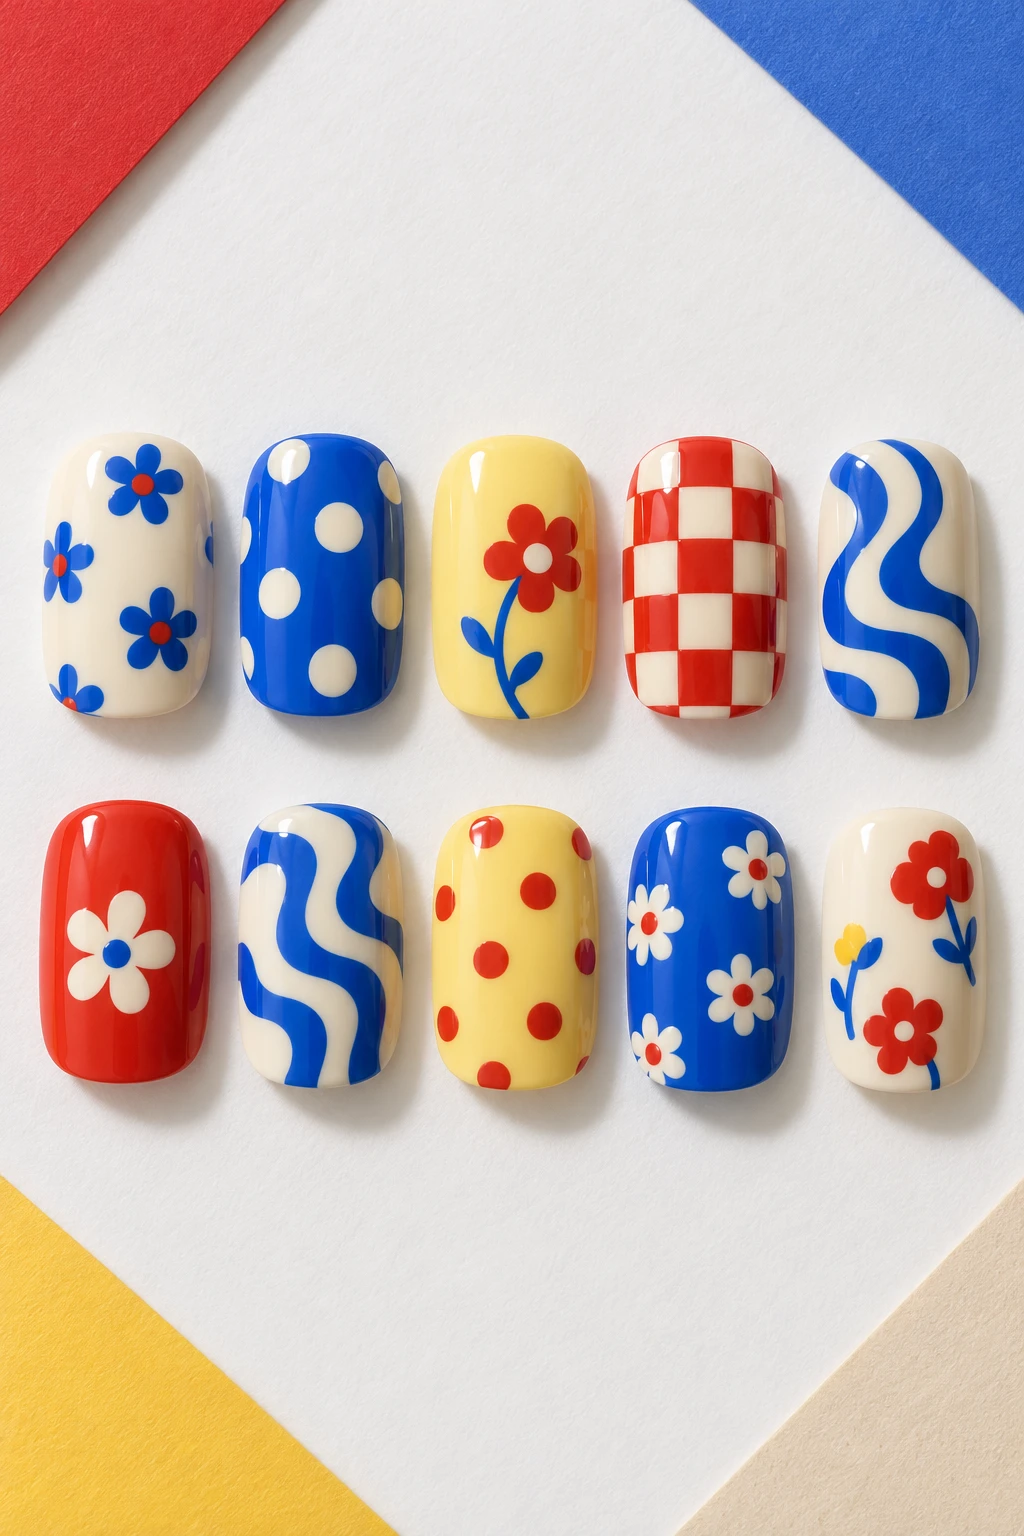 Color-pop dots & waves
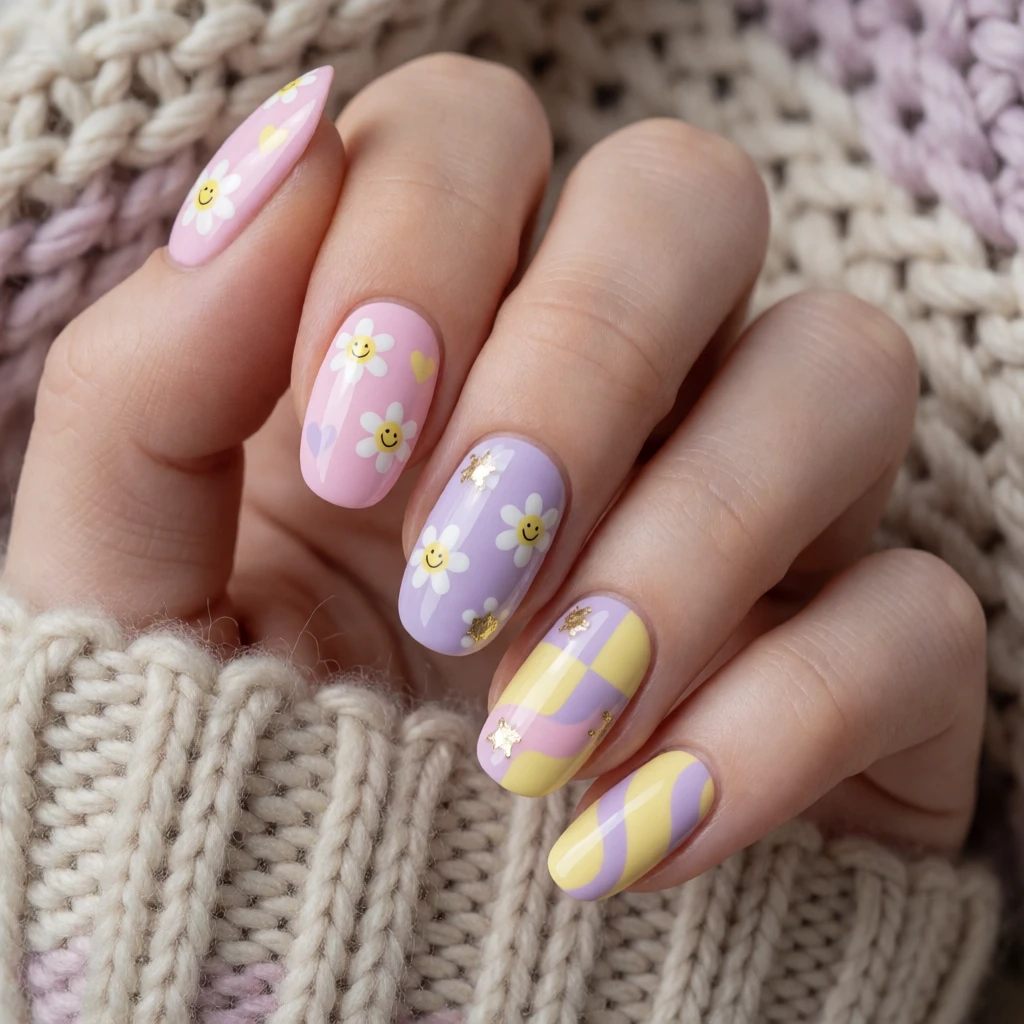 Cute Press On Nails
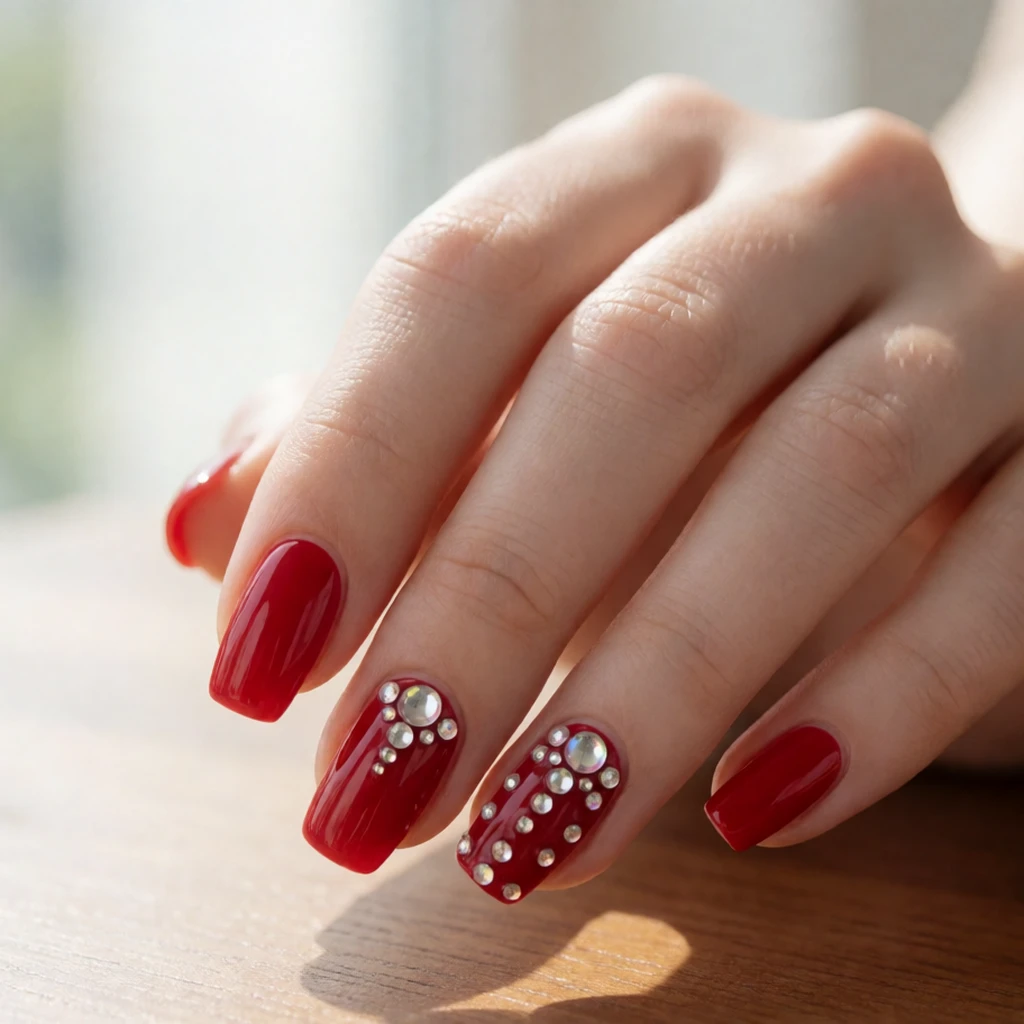 Red Press On Nails
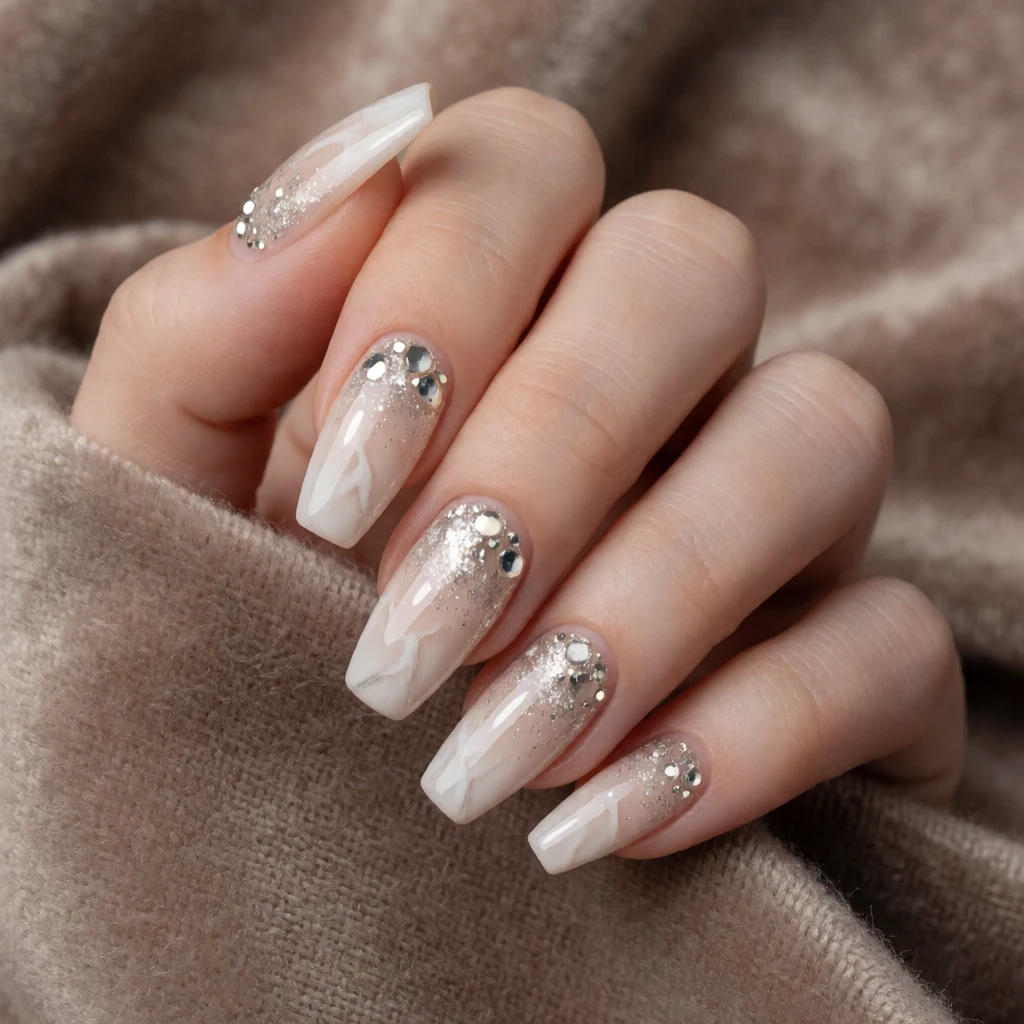 Acrylic Press On Nails
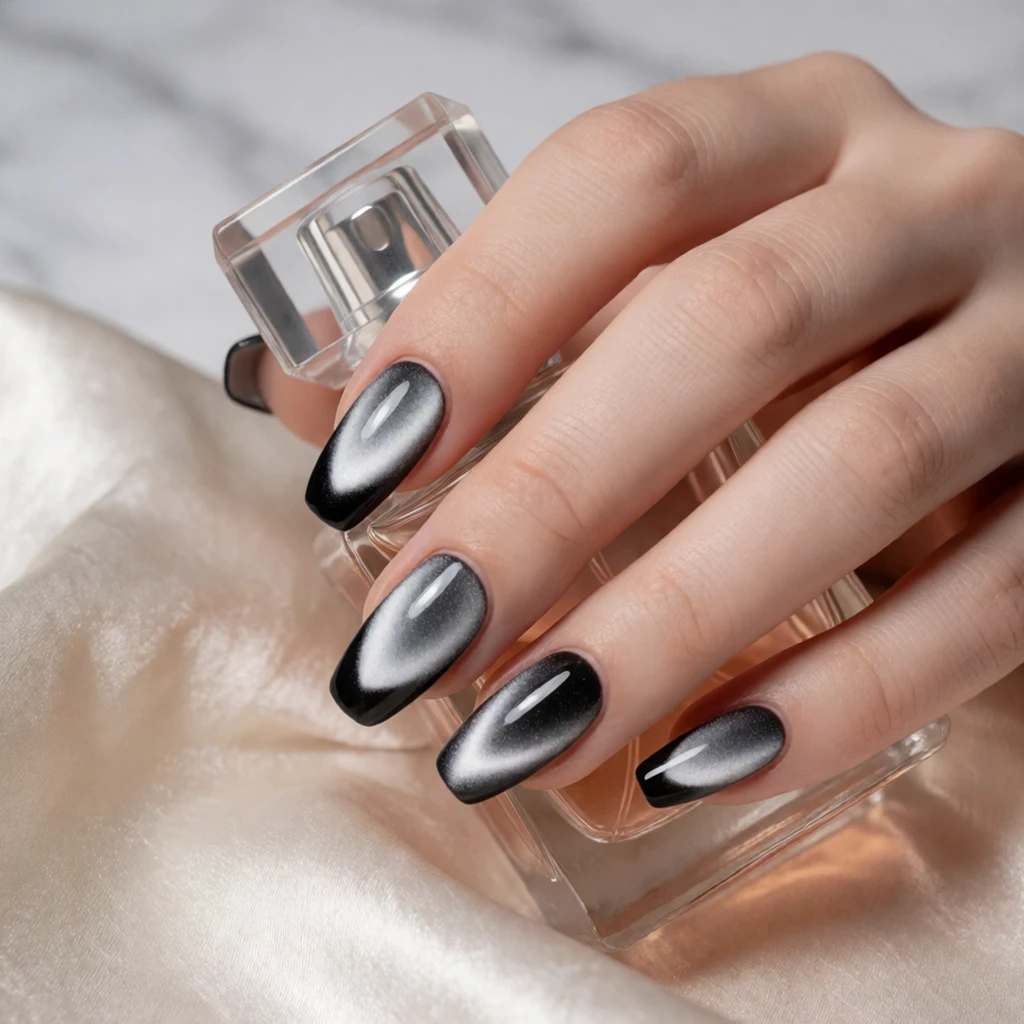 Black Press On Nails
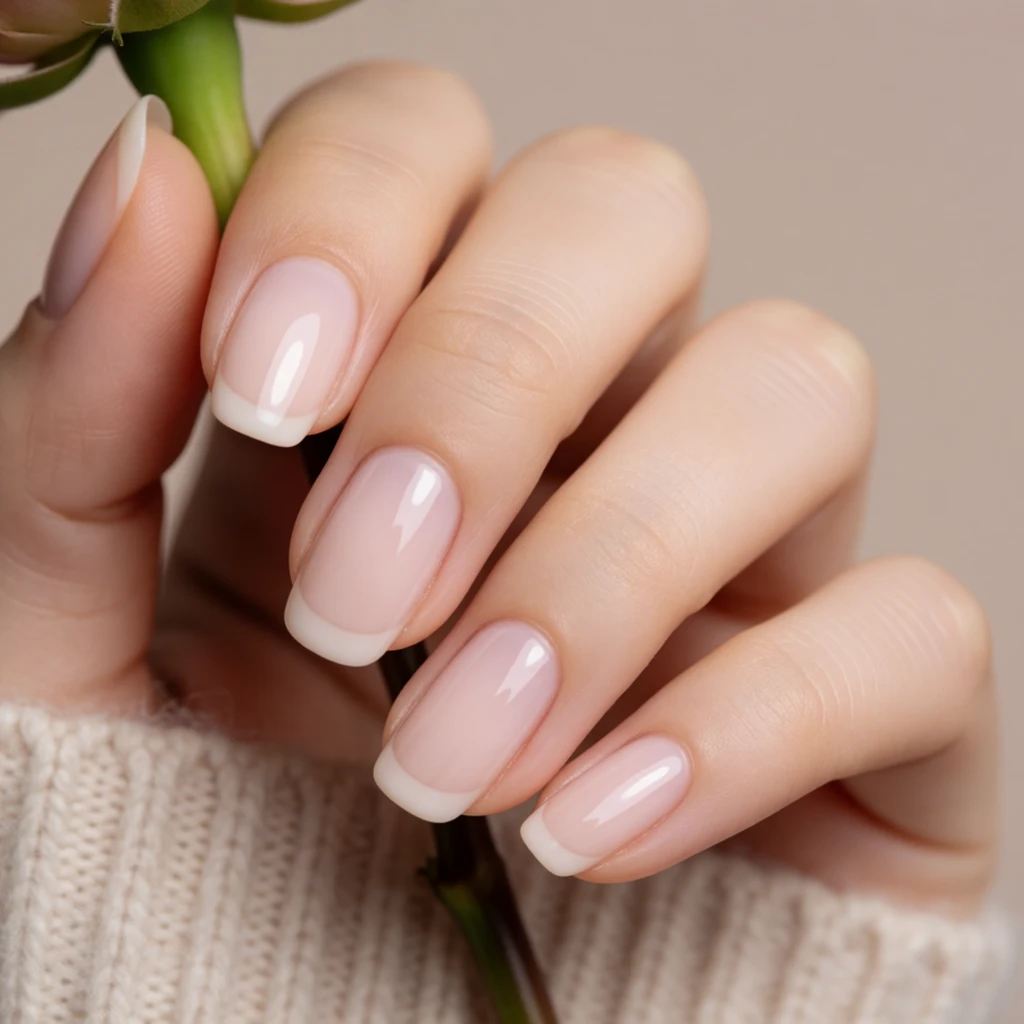 Simple Press On Nails
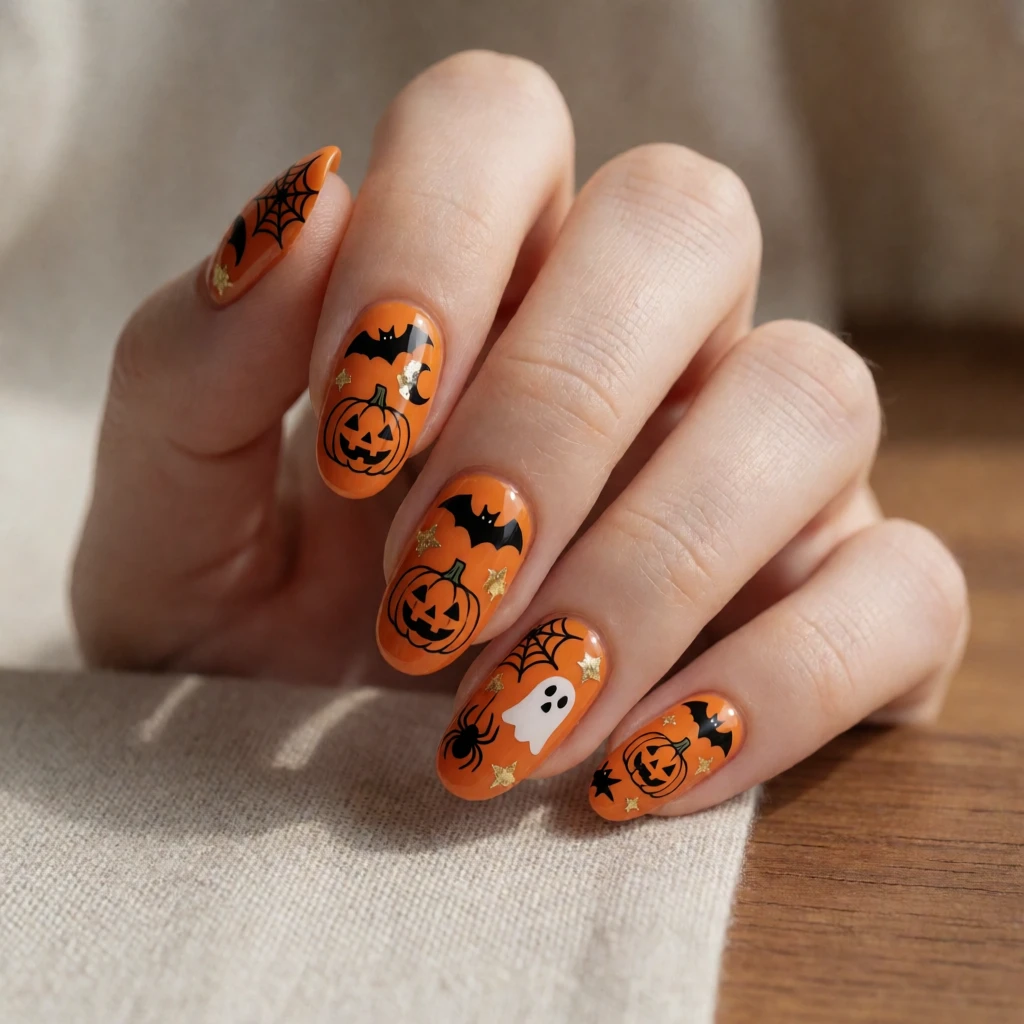 Halloween Press On Nails
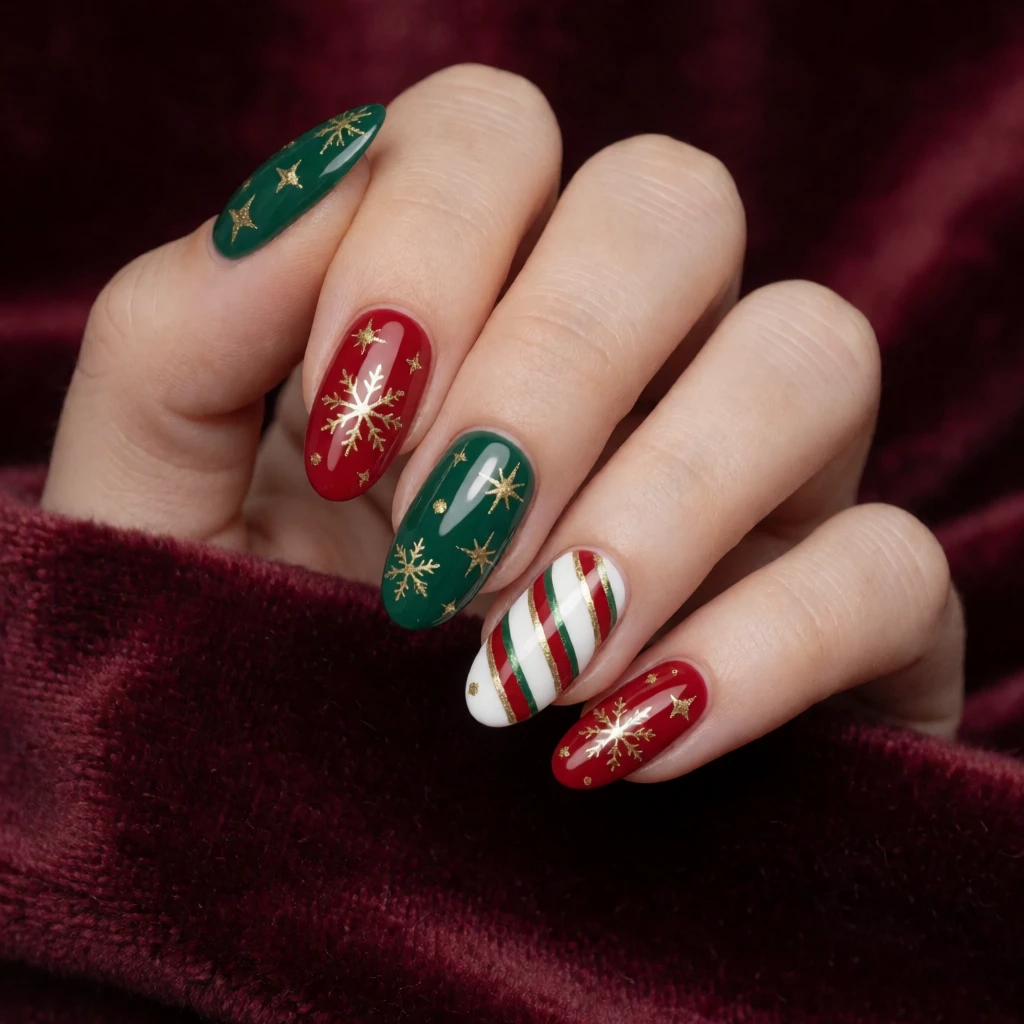 Christmas Press On Nails
Keep exploring
Related guides
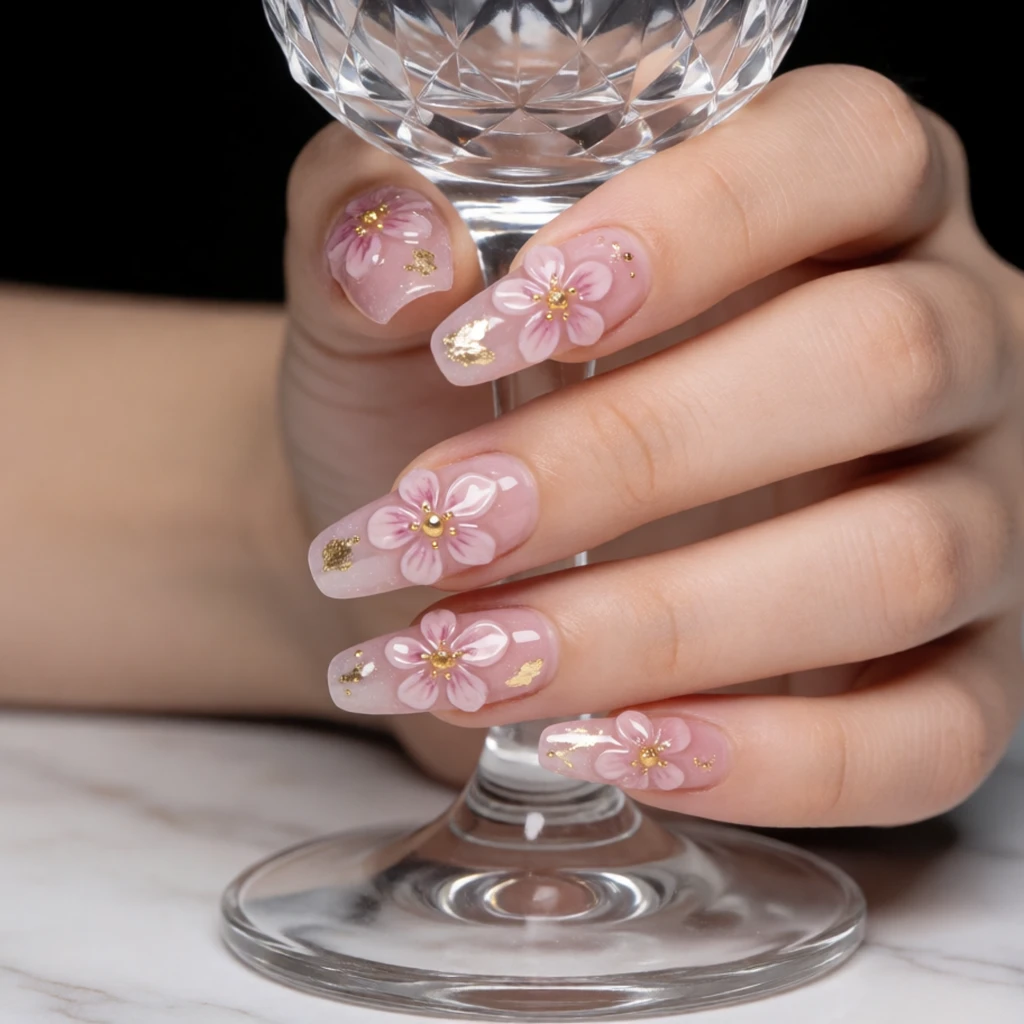 Polish, wraps & stickers
Nail wraps remove by peeling from the edge or dissolving with remover depending on the type, while press-ons require soaking and gentle pushing because they are thicker and bonded with stronger adhesive.
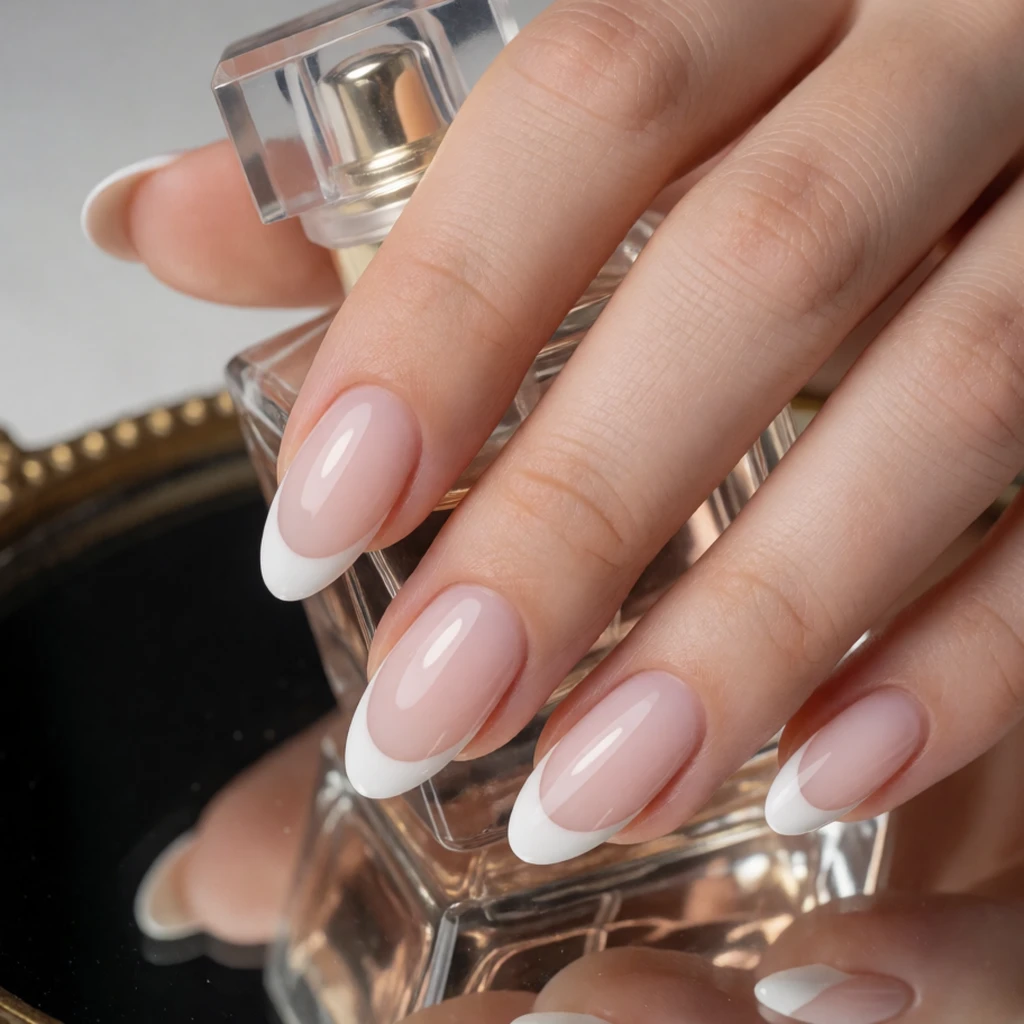 French tips
Removing French tip polish or gel follows standard polish or gel removal methods, whereas removing press-ons specifically addresses the adhesive bond between the cover and the natural nail.
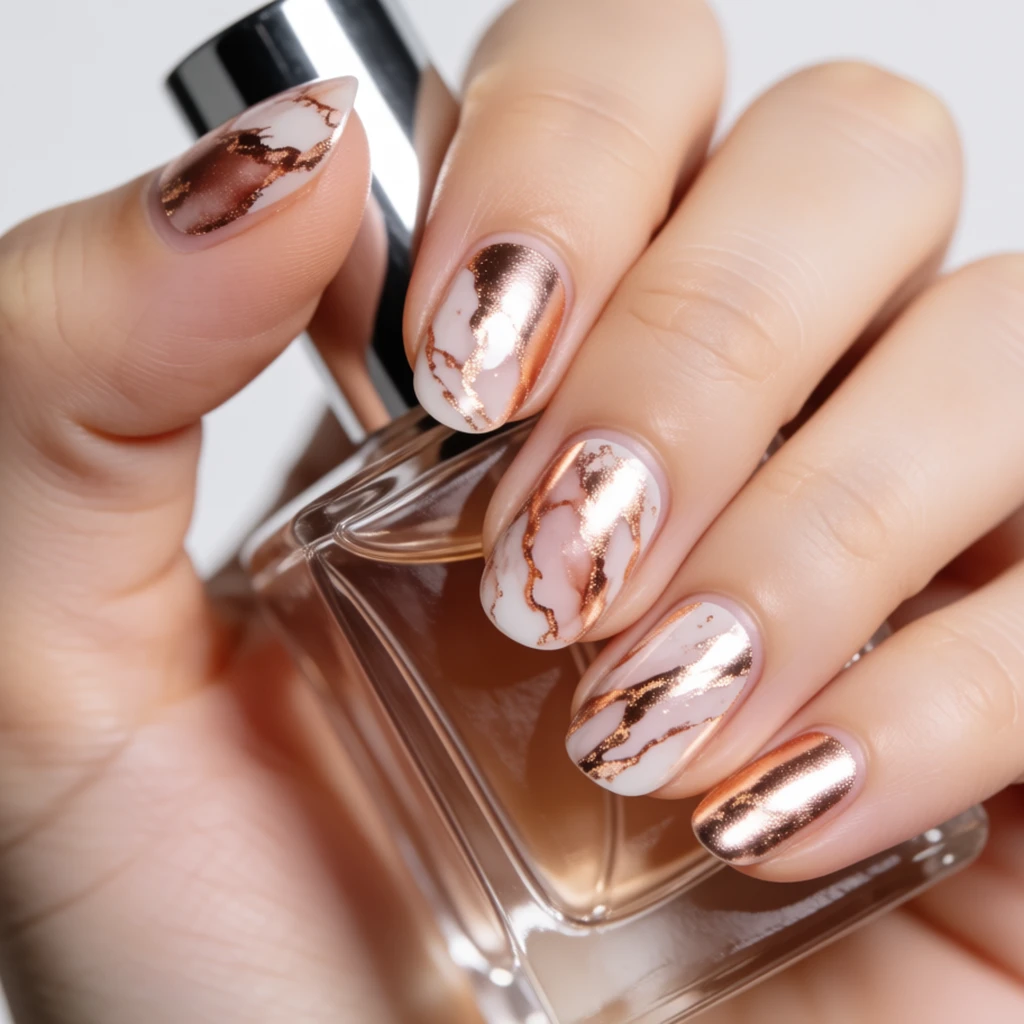 Art & themes
Removing nail art involves taking off polish layers, whereas removing press-ons involves dissolving or releasing the adhesive that holds a three-dimensional cover in place.
Questions
How long does it take to remove press-on nails?
Tab-applied press-ons take ten to twenty minutes of soaking in warm soapy water. Glue-applied press-ons take fifteen to twenty-five minutes with acetone-soaked cotton pads wrapped in foil. The time varies based on how much adhesive was used and how long the press-ons were worn. Always soak until the nails lift easily rather than forcing them off early.
Can you save press-on nails after removing them?
Yes, if you used adhesive tabs and removed the press-ons carefully. Clean off the old adhesive with an alcohol wipe, check for cracks or bends, and store them in the original packaging. Press-ons removed after glue application are harder to clean and may have a dulled finish from the acetone soak, so they are typically discarded.
What if removal hurts or the nail resists coming off?
Stop immediately and soak longer. Pain or strong resistance means the adhesive has not fully released. Rewrap the nail with acetone or return it to the warm water soak for another five to ten minutes, then try again. Never pull or peel a press-on that is resisting removal, which will damage your natural nail.
How do I fix nails that look white or damaged after removal?
White patches or flaking mean layers of your natural nail were pulled off during removal. Apply cuticle oil daily, avoid polish and press-ons until the damage grows out, and use a strengthening base coat to protect the nail surface. Keep your nails short and moisturized, and consider taking a break from press-ons for a few weeks to let your nails recover.
Generated references, not tested products. How shopping links work.